Step-by-Step Guide to Creating and Customizing Your QR Code
15 mins read · Updated 29 Sep, 2025
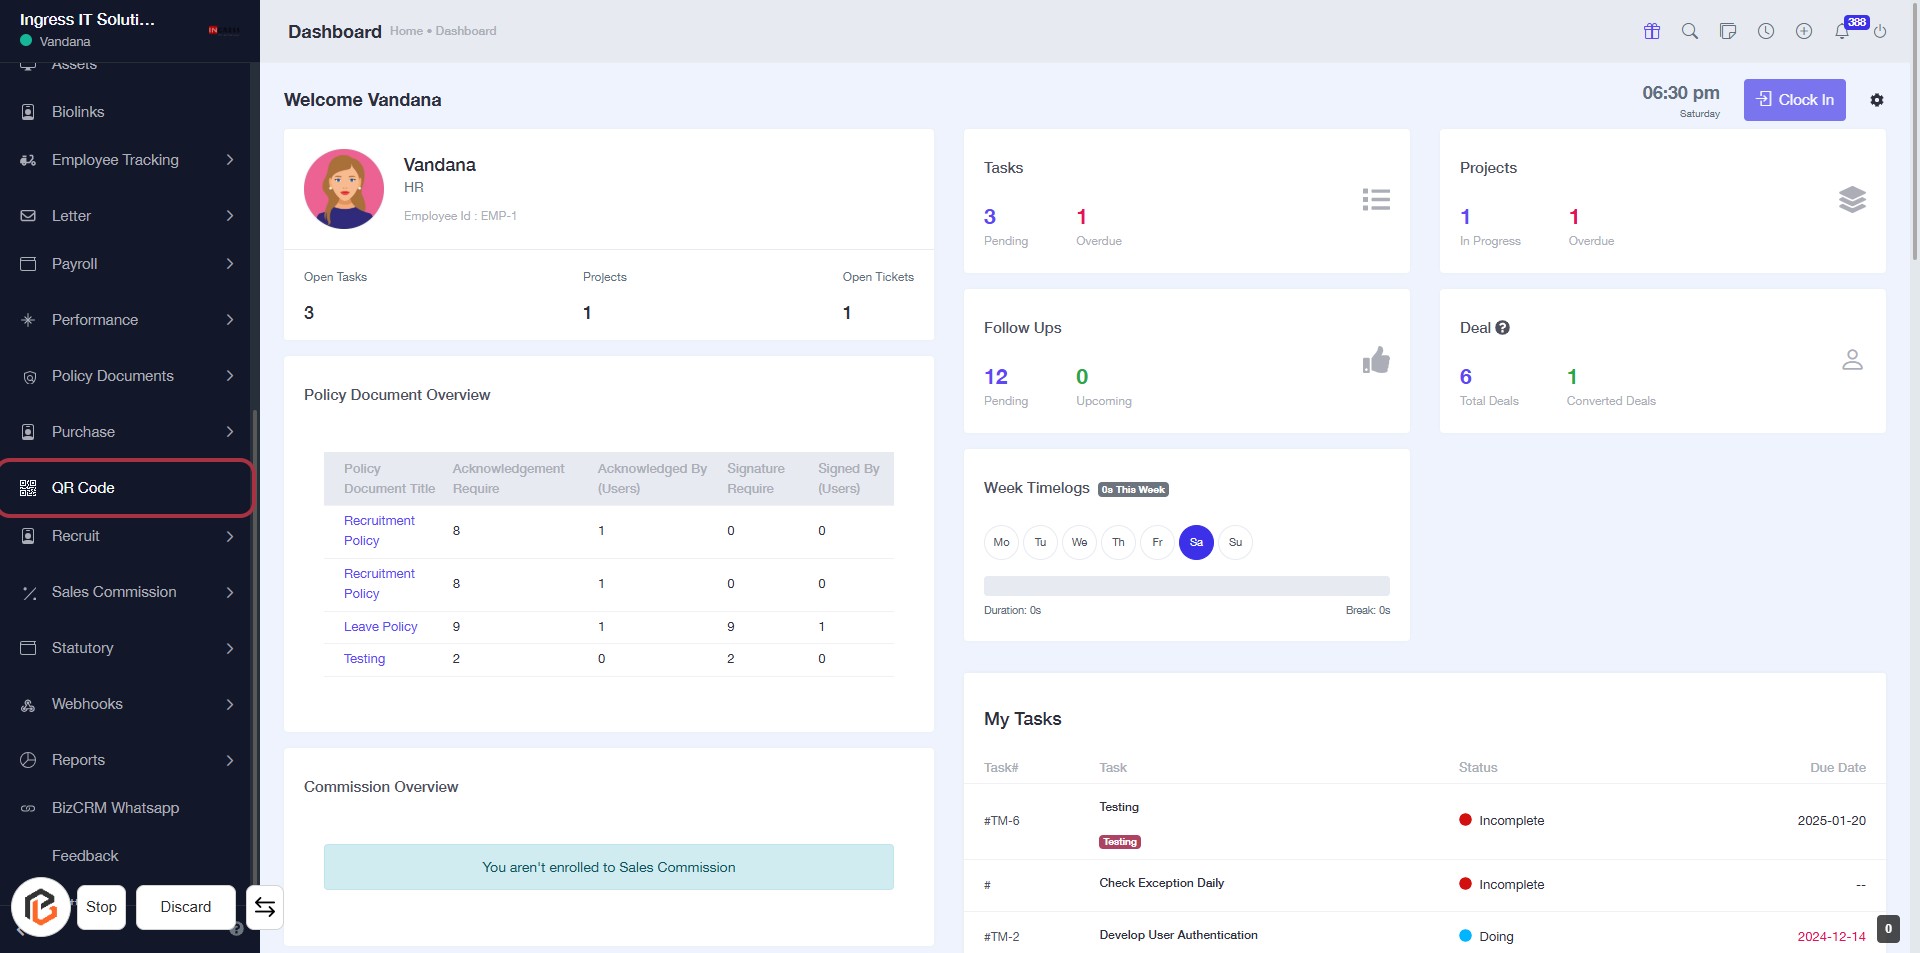
STEP 1: Click on "QR Code" in the Dashboard
- Navigate to the left sidebar of the dashboard.
- Locate and click on the "QR Code" option highlighted in red.
- This action will direct you to the QR Code management section for further actions.
Next Step: Click on "Create QR Code".
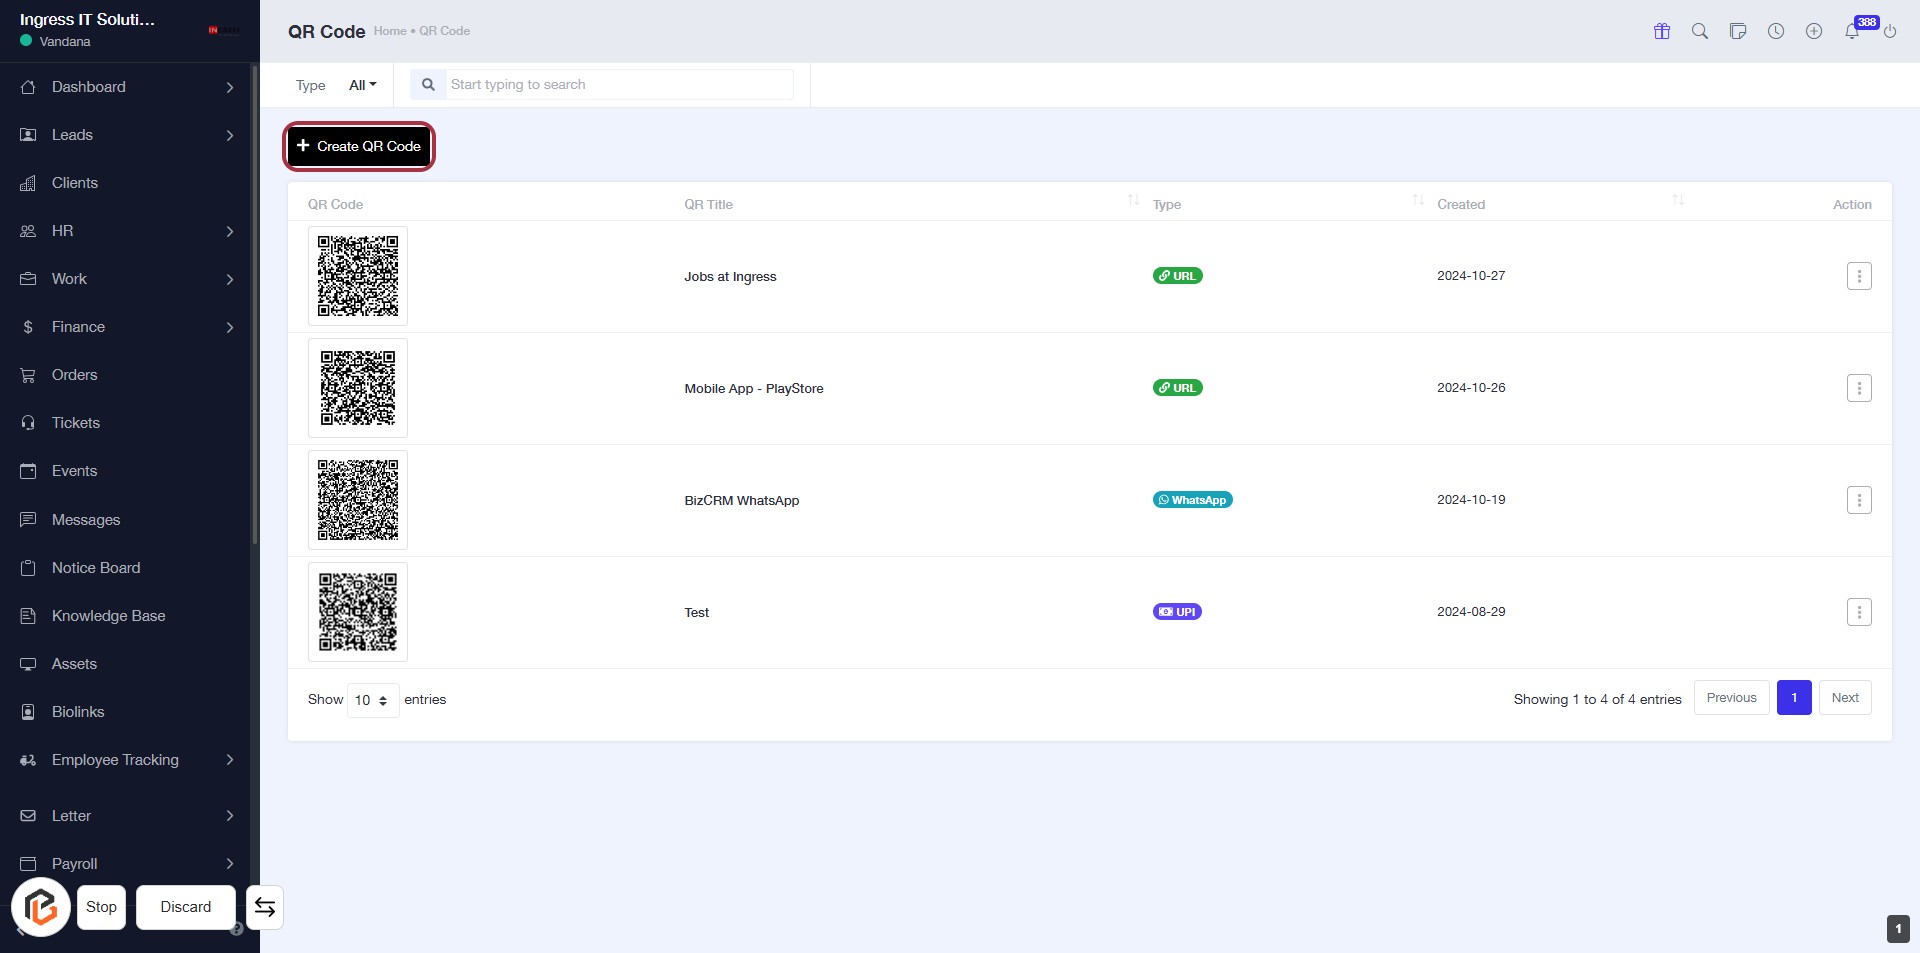
STEP 2: Click on "Create QR Code"
- Navigate to the QR Code section.
- Click on the Create QR Code button highlighted in the interface.
- This action will lead you to the next step where you can enter the QR Title.
- Ensure you have the necessary information ready for the QR code creation.
STEP 3: Enter QR Title
- Click on the "QR Title" field (marked with a red border).
- This field is mandatory (indicated by the asterisk *).
- Ensure to provide a relevant title for your QR code.
- After entering the title, proceed to the next step to write your "Message".
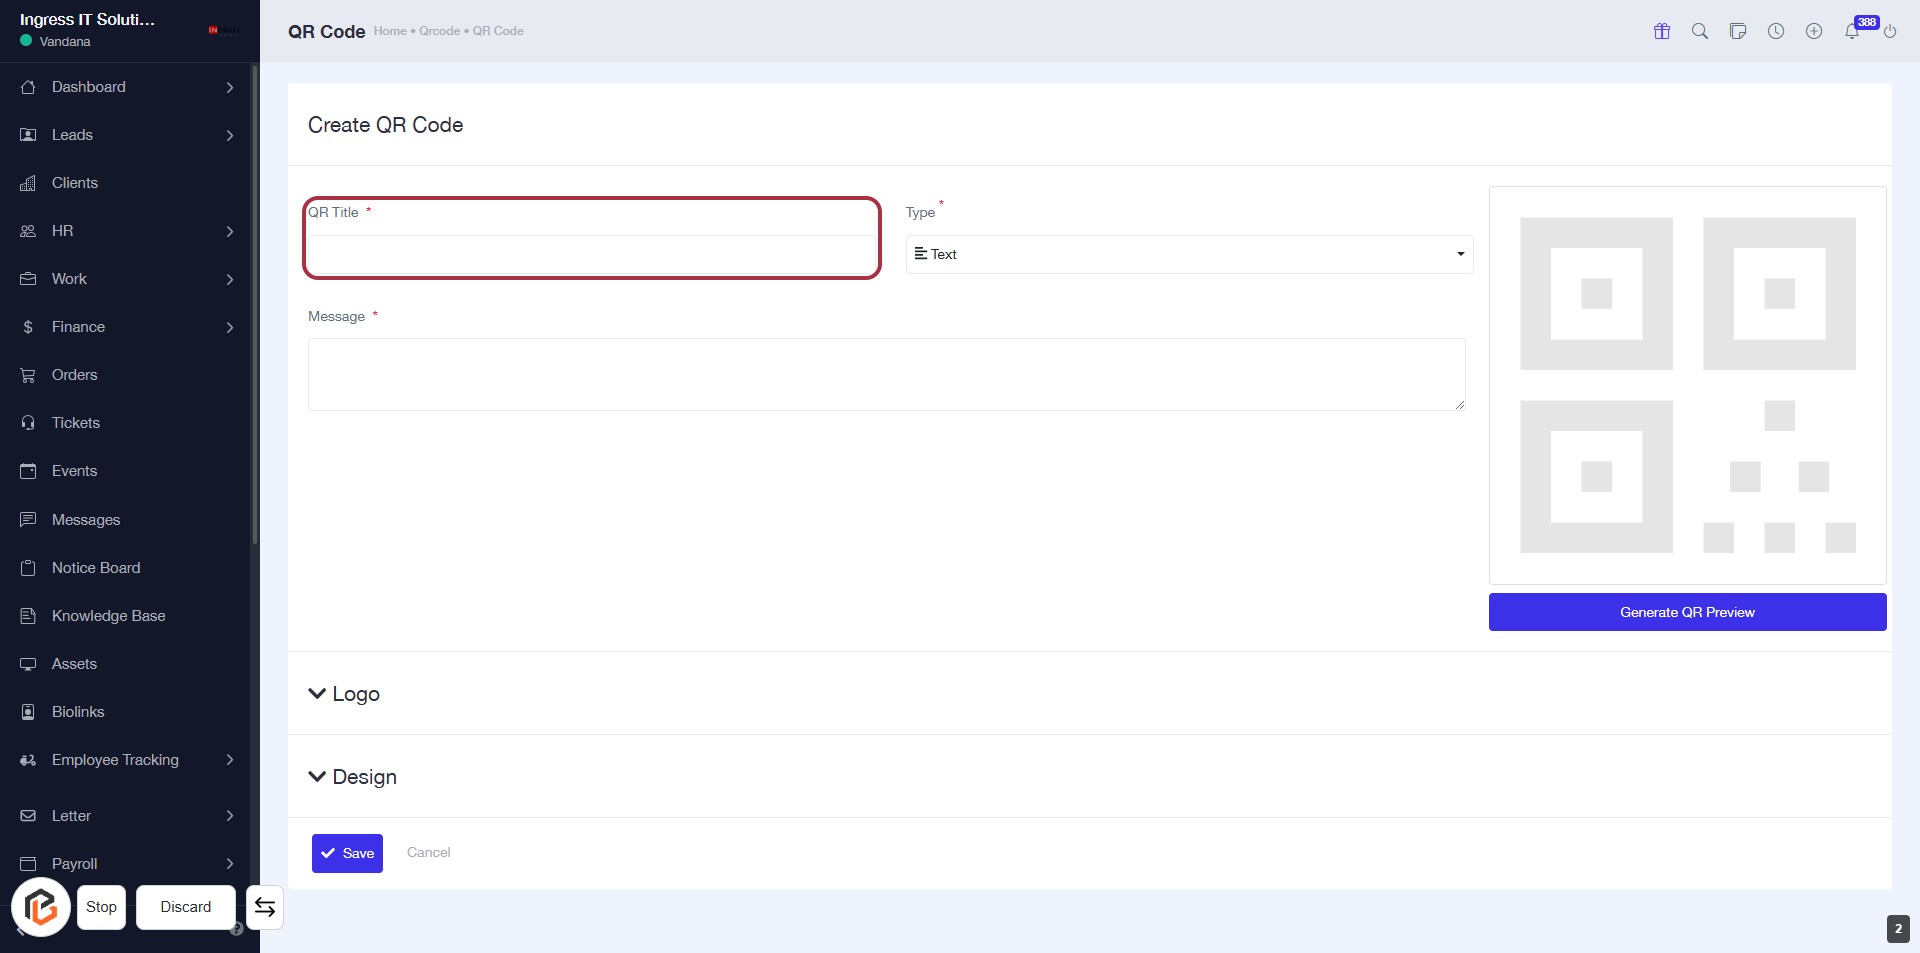
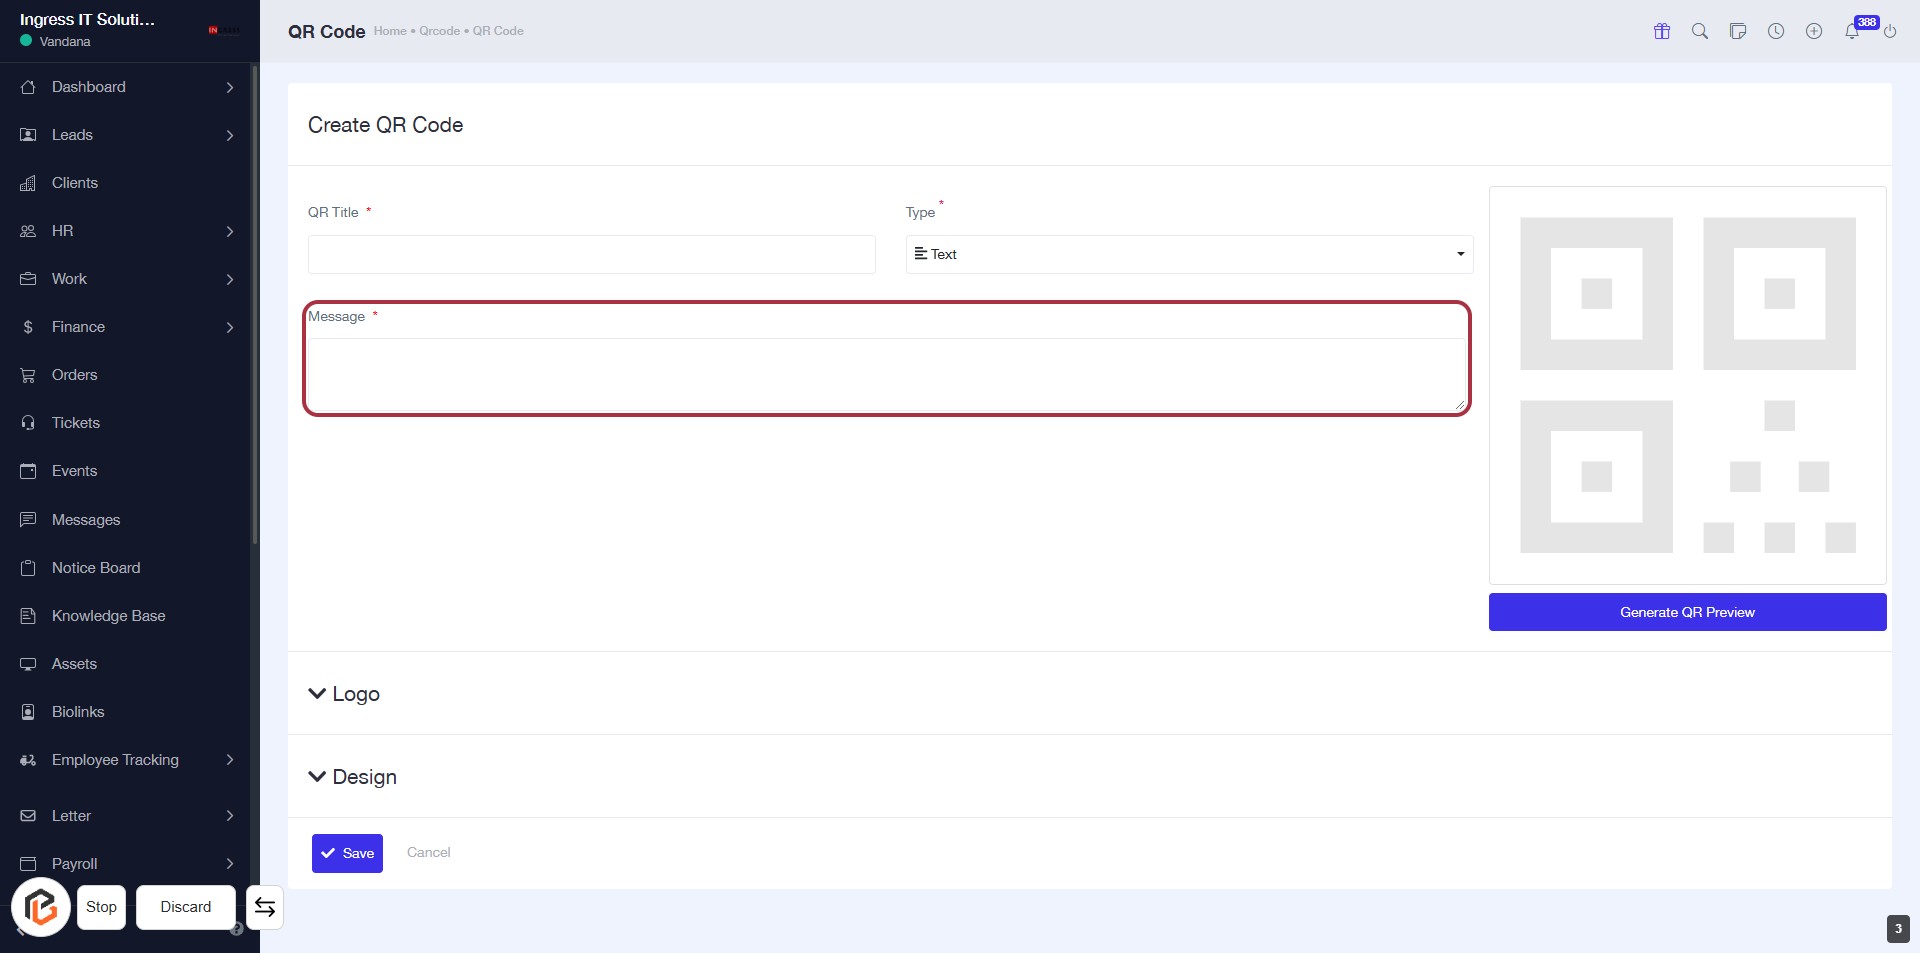
STEP 4: Click "Message" to Enter Your Text
- Click on the highlighted "Message" field to input your desired text.
- This field is mandatory, indicated by the asterisk (*).
- Ensure your message is clear and concise for optimal QR code functionality.
- Proceed to the next step after entering your message.
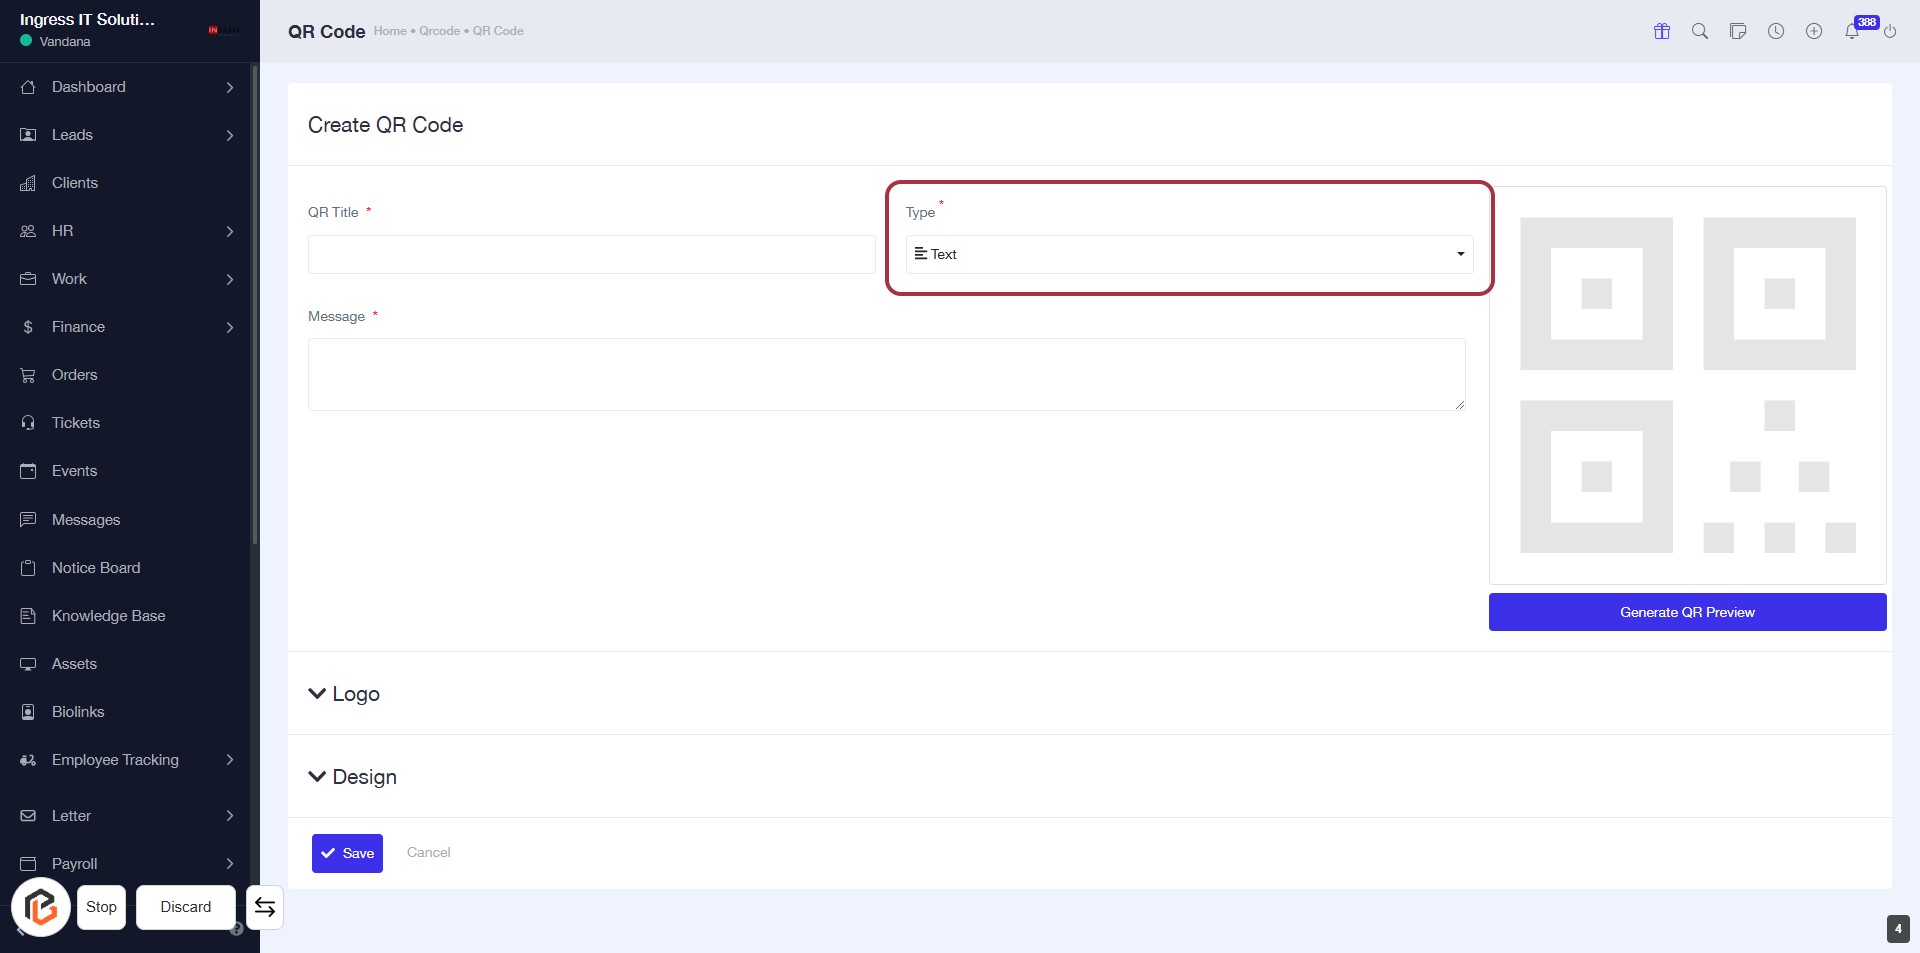
STEP 5: Select "Type" for QR Code Creation
- Click on the "Type" dropdown menu.
- Choose the appropriate option (e.g., "Text").
- Ensure that the field marked with an asterisk (*) is filled, as it is required.
- Proceed to the next step by clicking on "Logo" after selection.
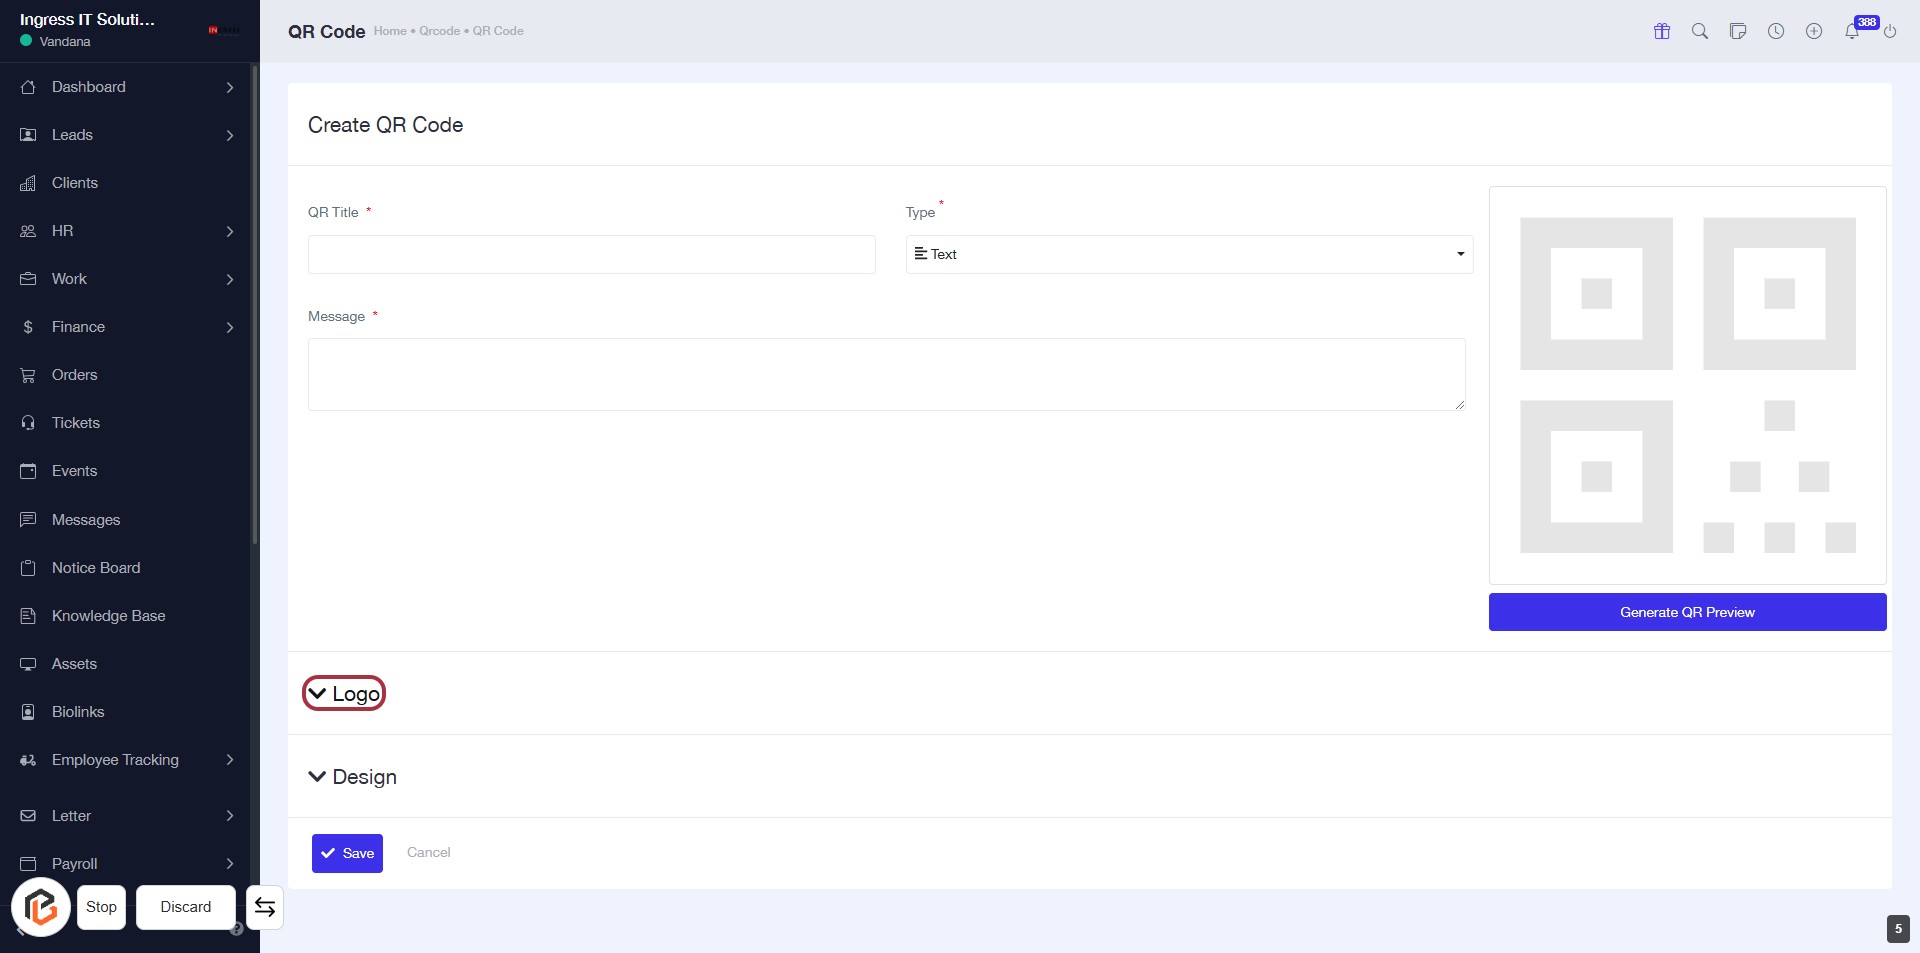
STEP 6: Click on "Logo" to Add Branding
- Navigate to the "Create QR Code" section.
- Locate the "Logo" link highlighted in red.
- Click on the "Logo" link to proceed with uploading your logo.
- Ensure all required fields (QR Title, Message) are filled before moving to the next step.
STEP 7: Upload Logo
- Click on the highlighted area labeled "Choose a file" to upload your logo.
- Ensure the logo file meets any specified requirements (e.g., format, size).
- If an error occurs, check the file format or size and try again.
- After uploading, proceed to select the "Logo Size" in the next step.
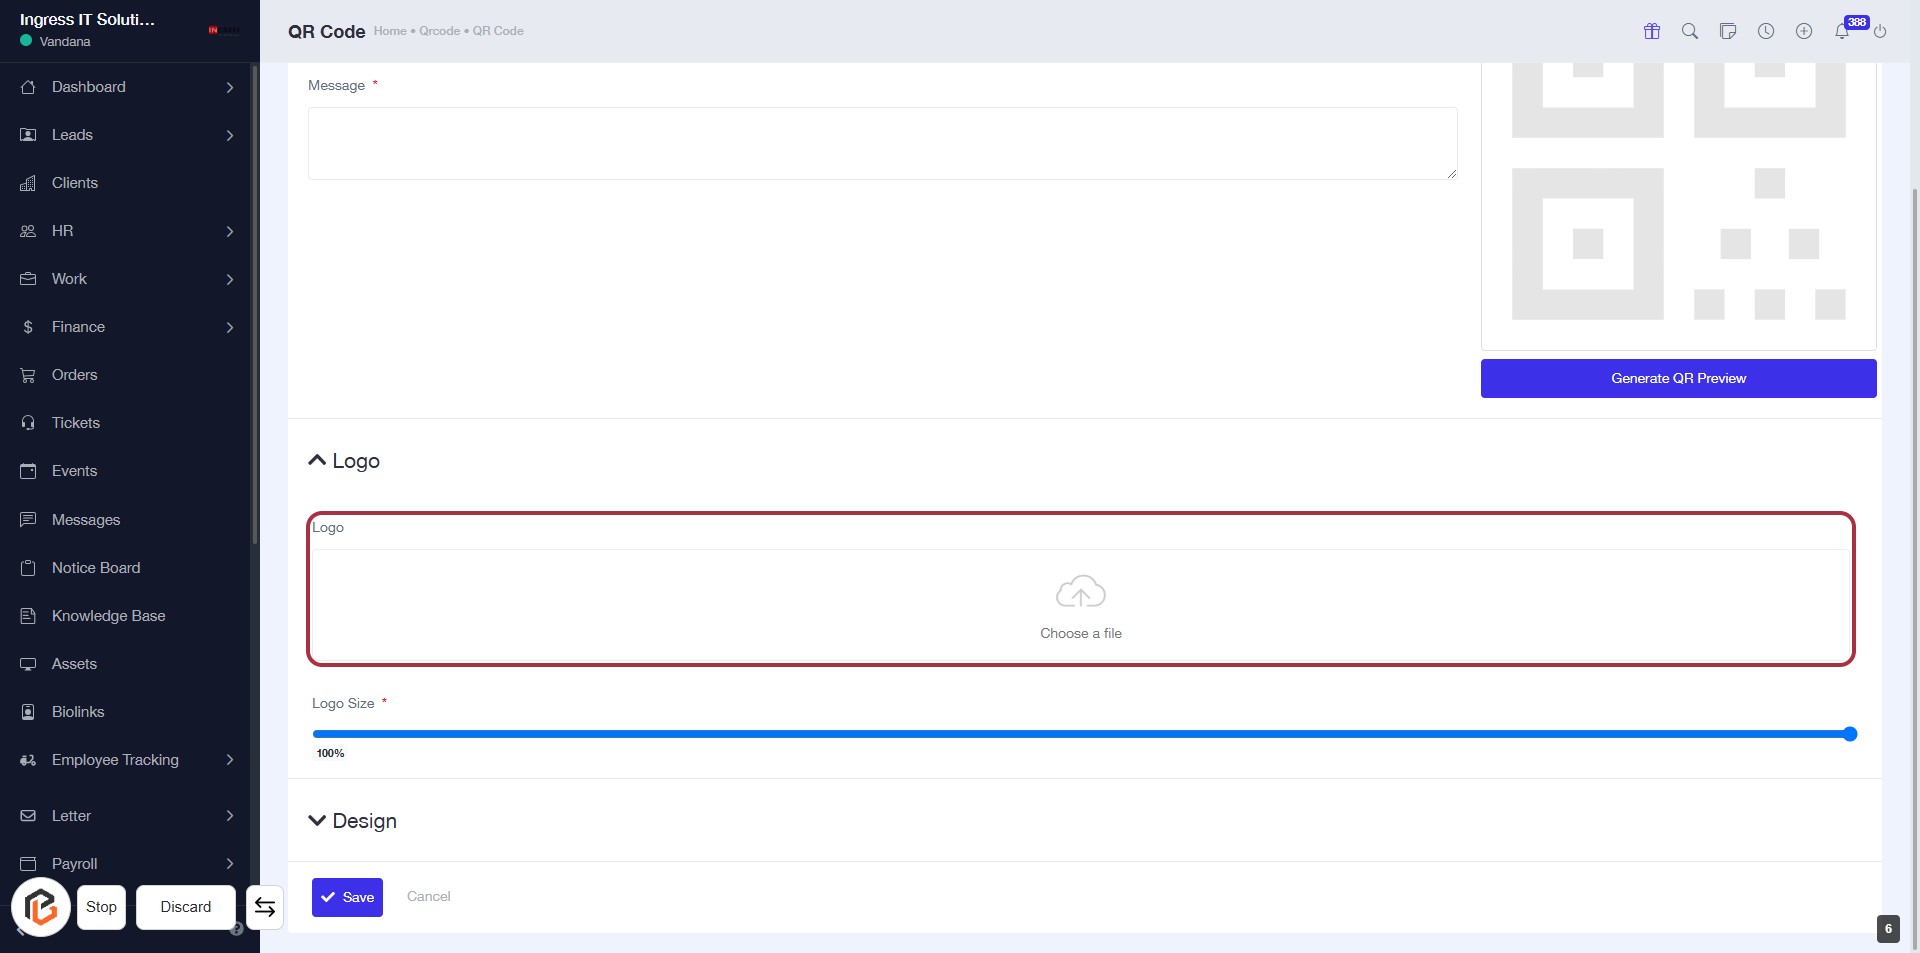
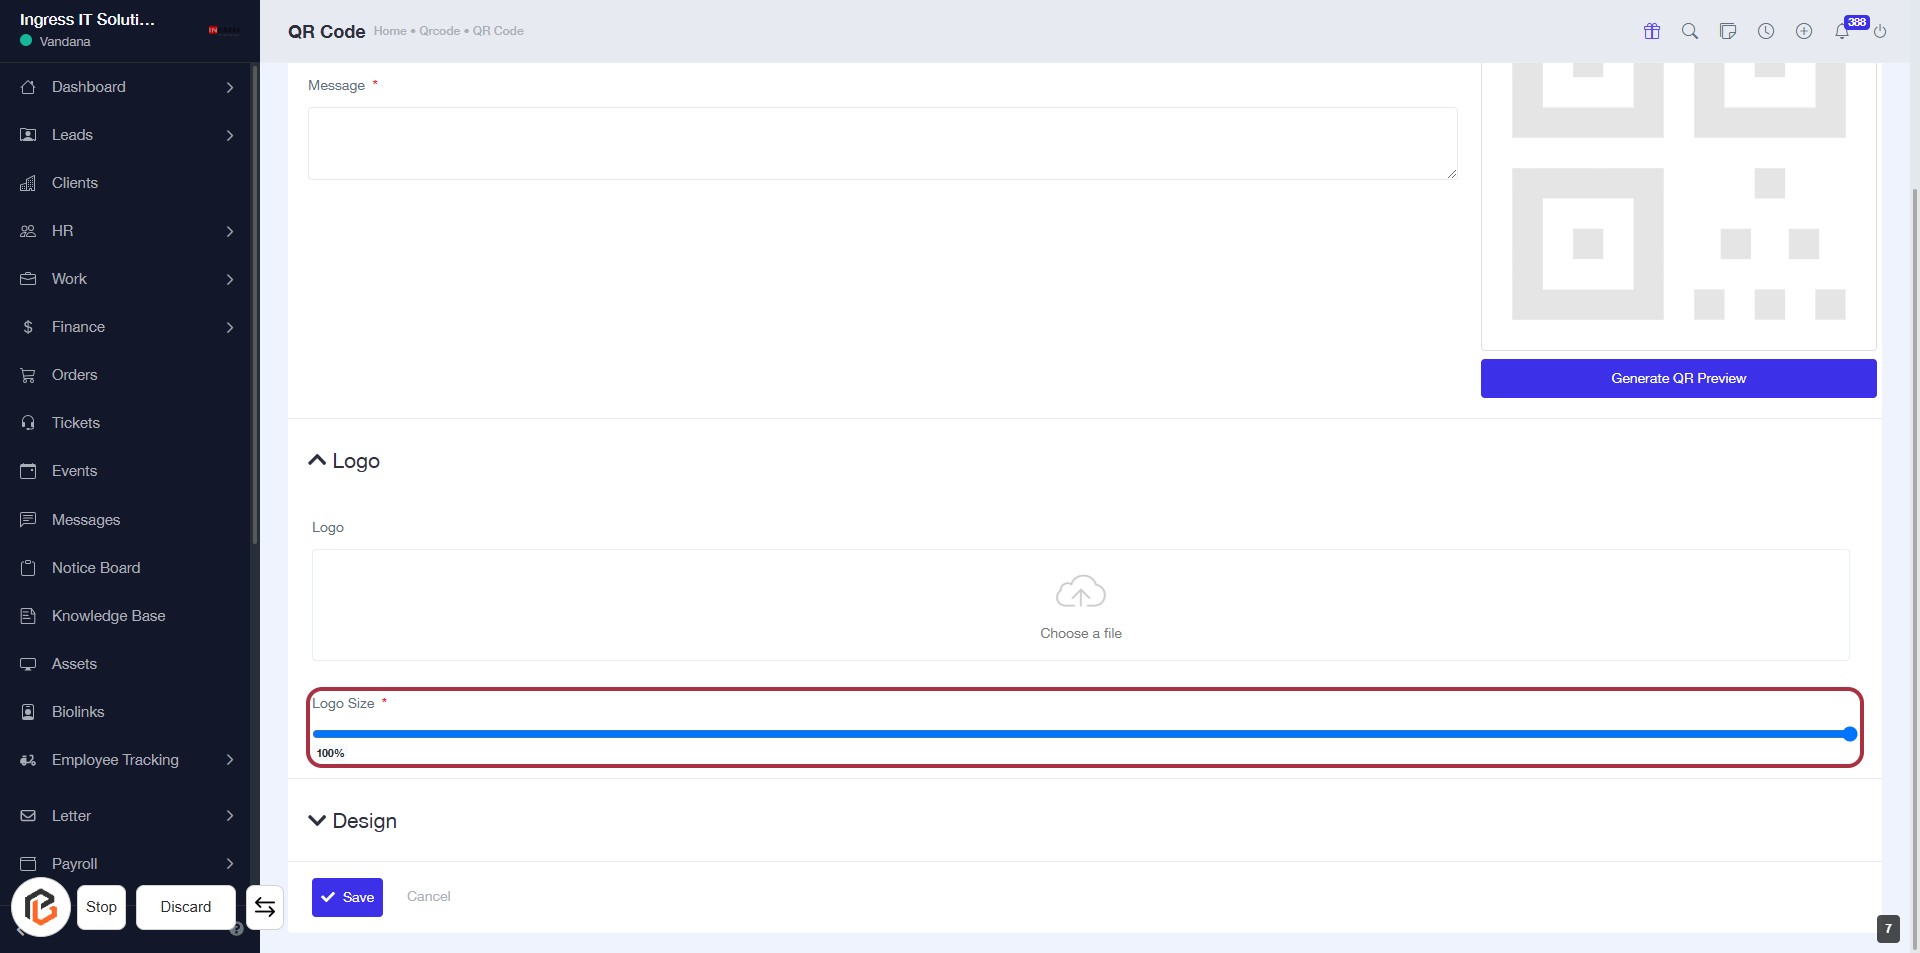
STEP 8: Select "Logo Size"
- Click on the "Logo Size" option to adjust the logo dimensions.
- Ensure the field marked with an asterisk (*) is filled, as it is required.
- Use the slider to select the desired size for your logo.
- Review other input fields in the "Logo" section for any additional requirements.
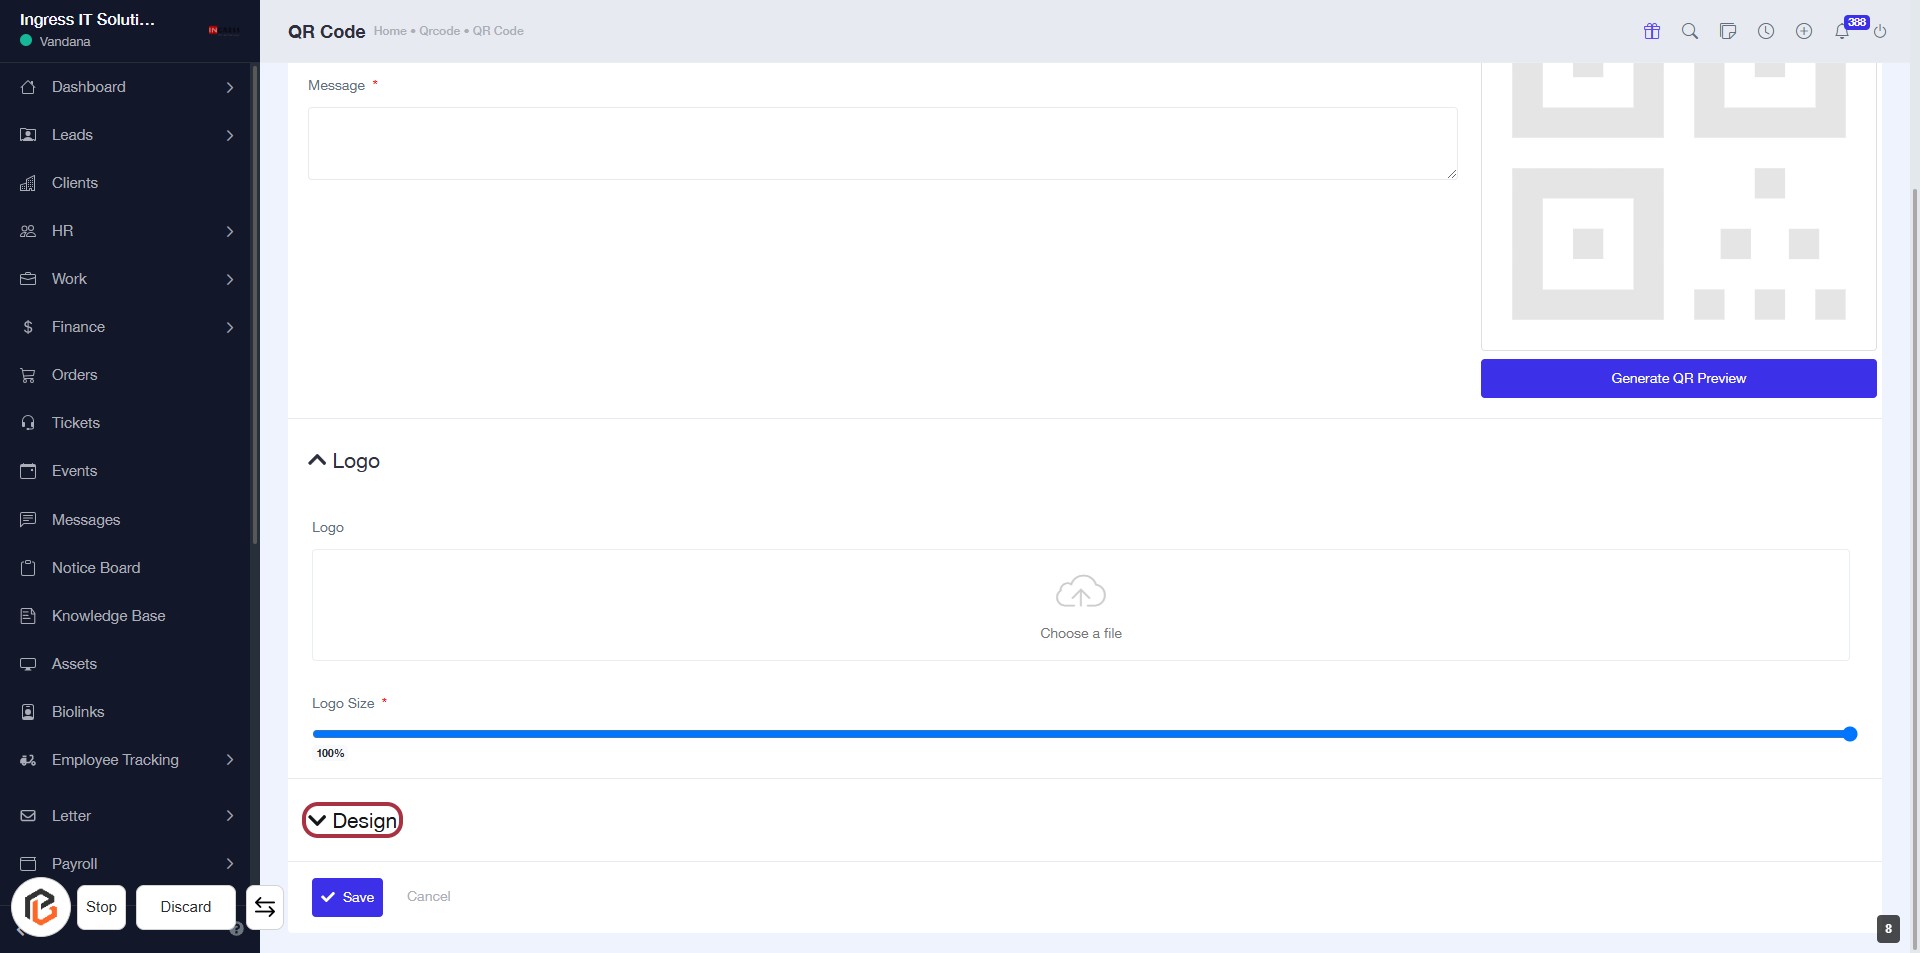
STEP 9: Click on "Design" to Customize Your Logo
- Navigate to the "Logo" section.
- Click on the highlighted Design link to access design options.
- Ensure to fill in any required fields marked with an asterisk (*).
- Proceed to the next step to Enter "Size" for your logo.
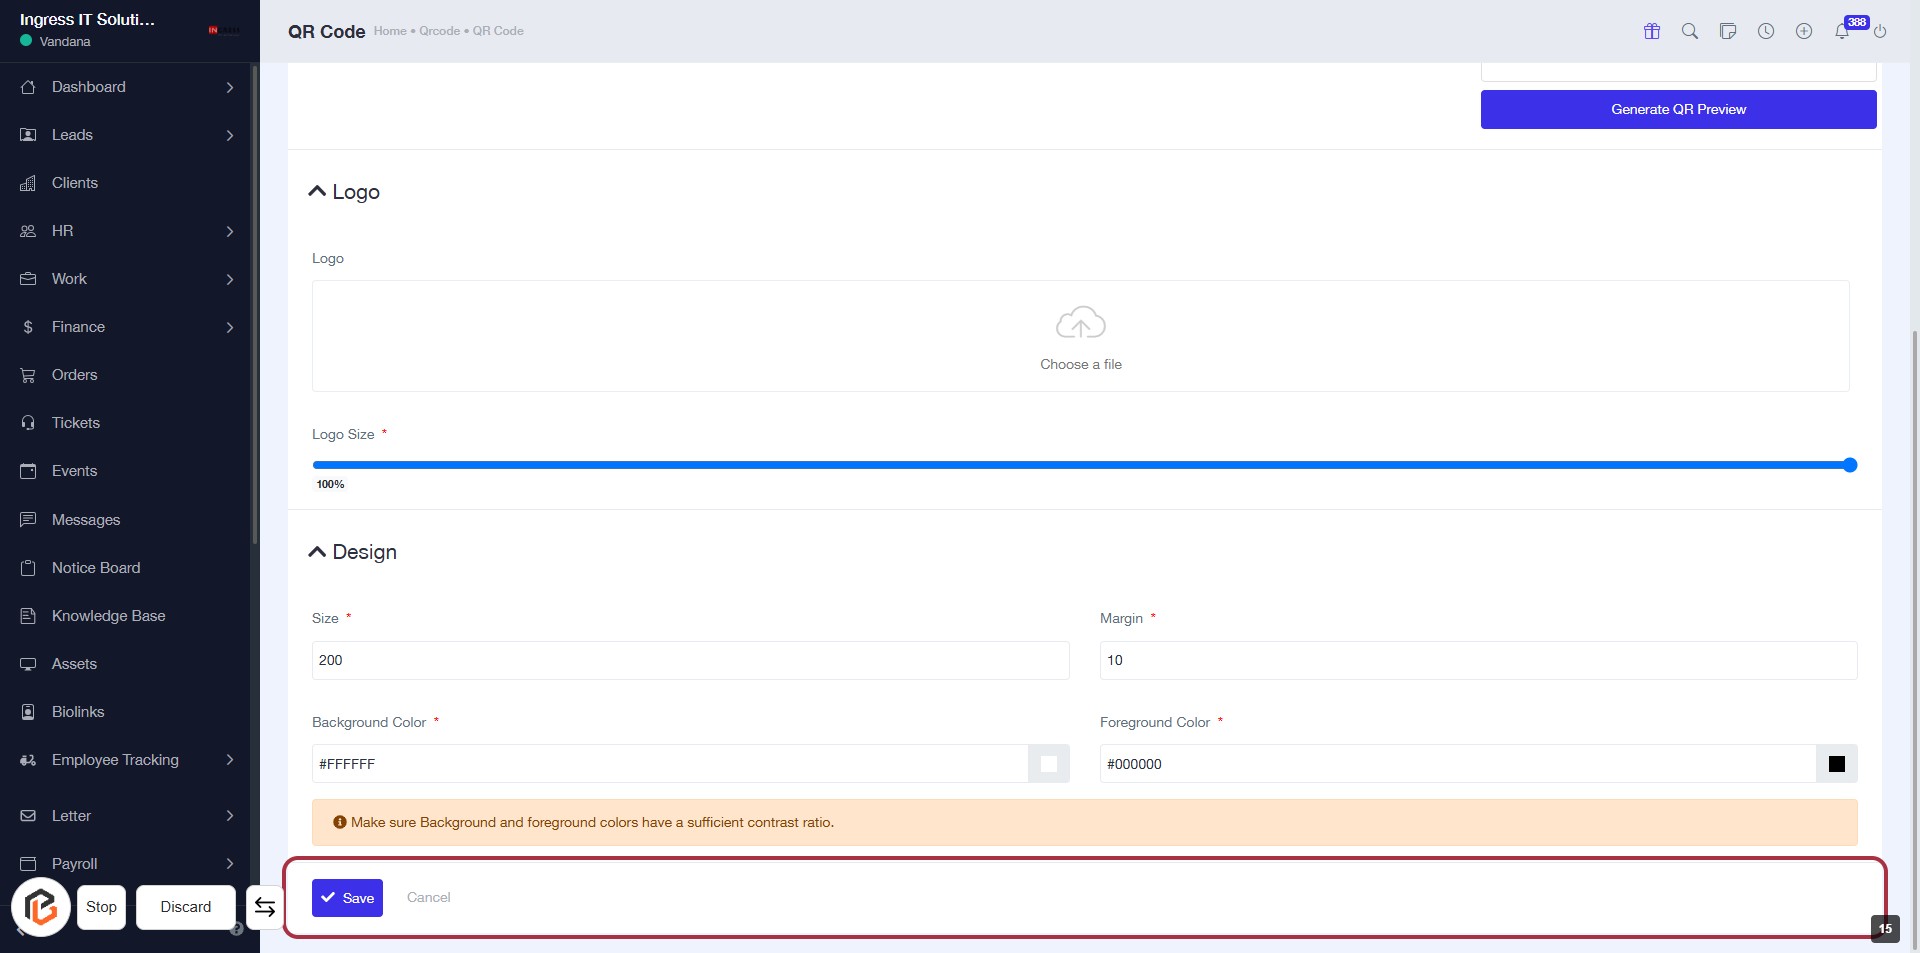
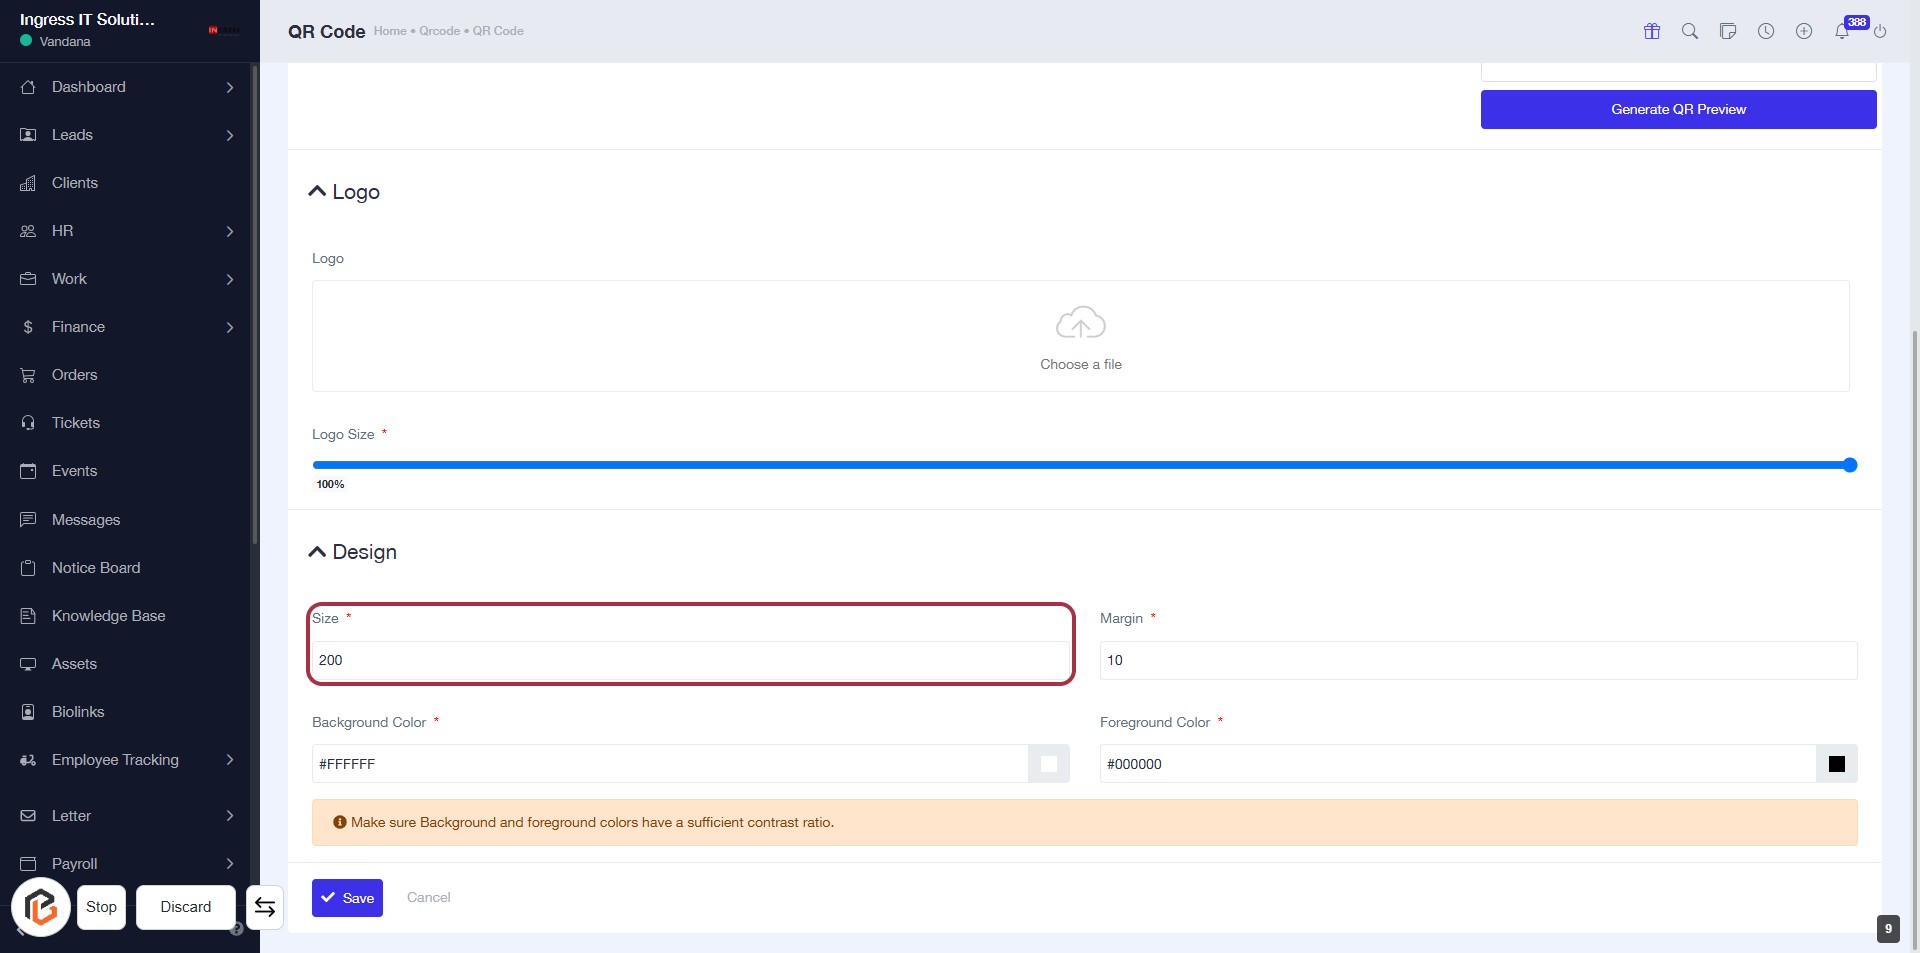
STEP 10: Enter Size for Your QR Code Design
- Click on the "Size" input field (marked with an asterisk * for required).
- Enter the desired size value (e.g., 200).
- Ensure to fill in other required fields like "Margin" and "Background Color" as indicated.
- Review the design to ensure it meets your requirements before proceeding.
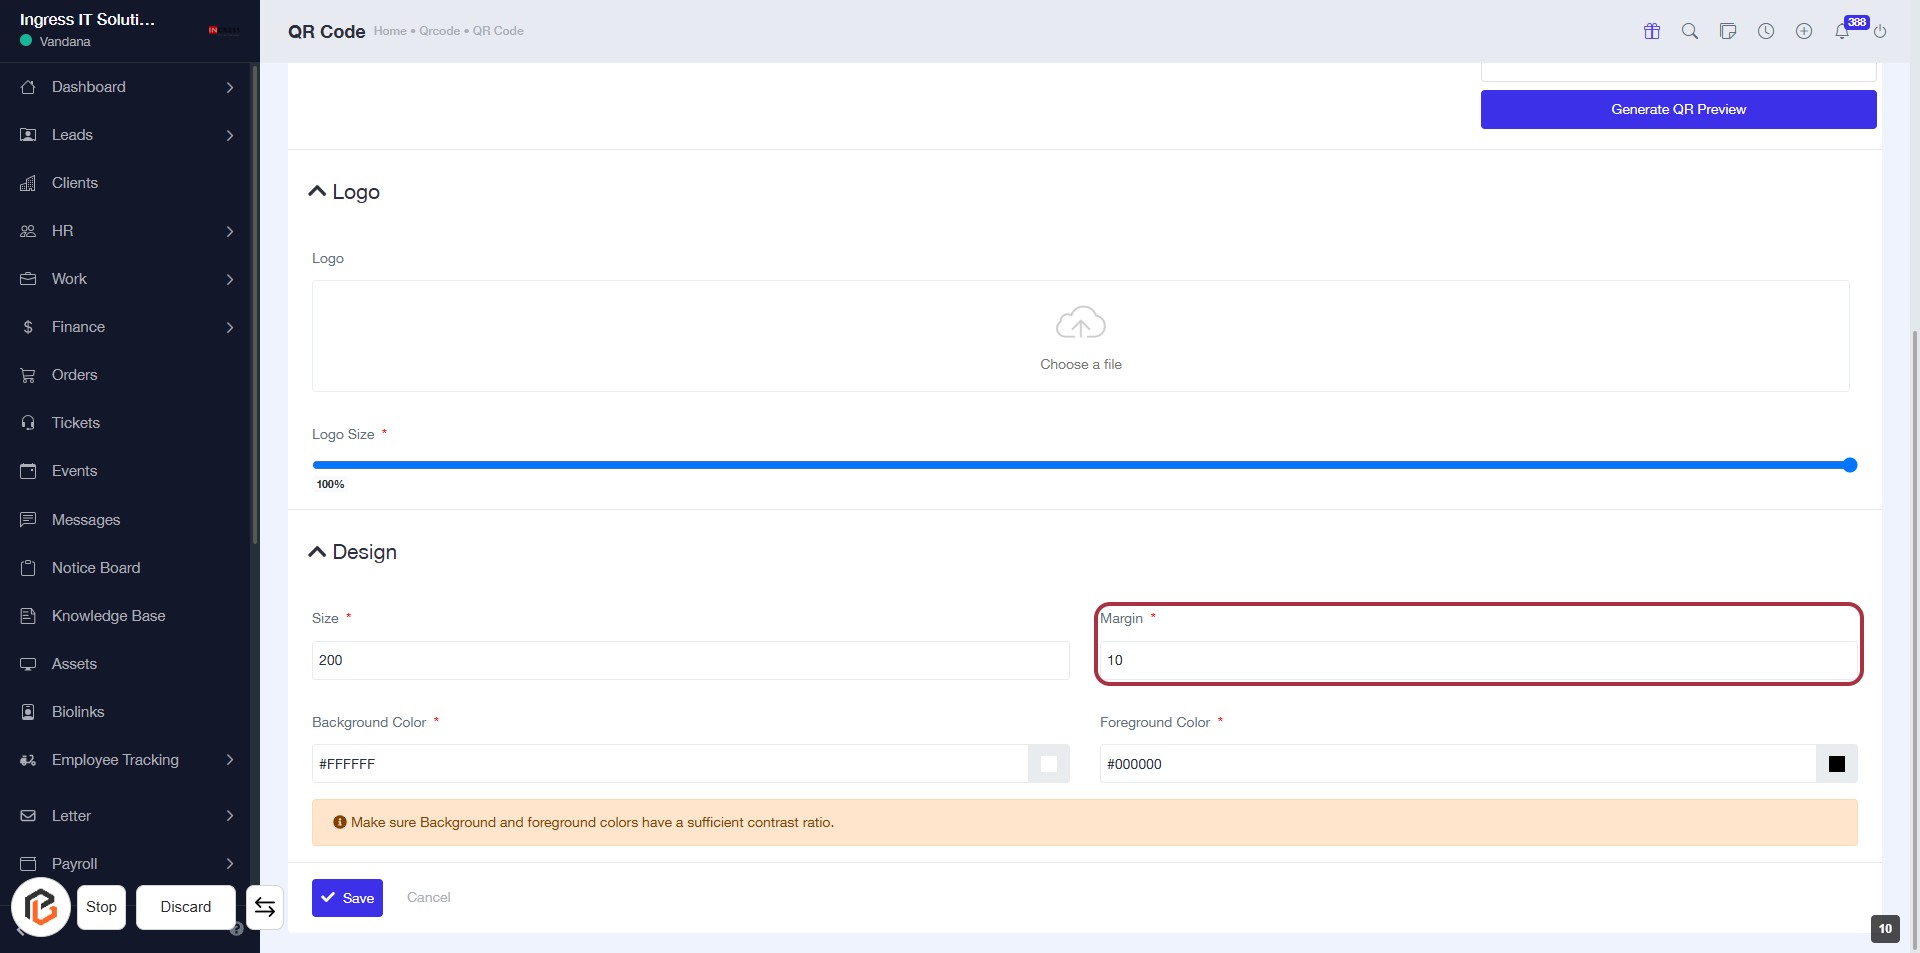
STEP 11: Enter Margin for Your QR Code Design
- Click on the "Margin" field to input your desired margin size.
- Ensure the margin value is filled as it is marked with an asterisk (*), indicating it's a required field.
- Review other fields like "Size" and "Foreground Color" for completeness.
- Proceed to the next step by selecting "Background Color."
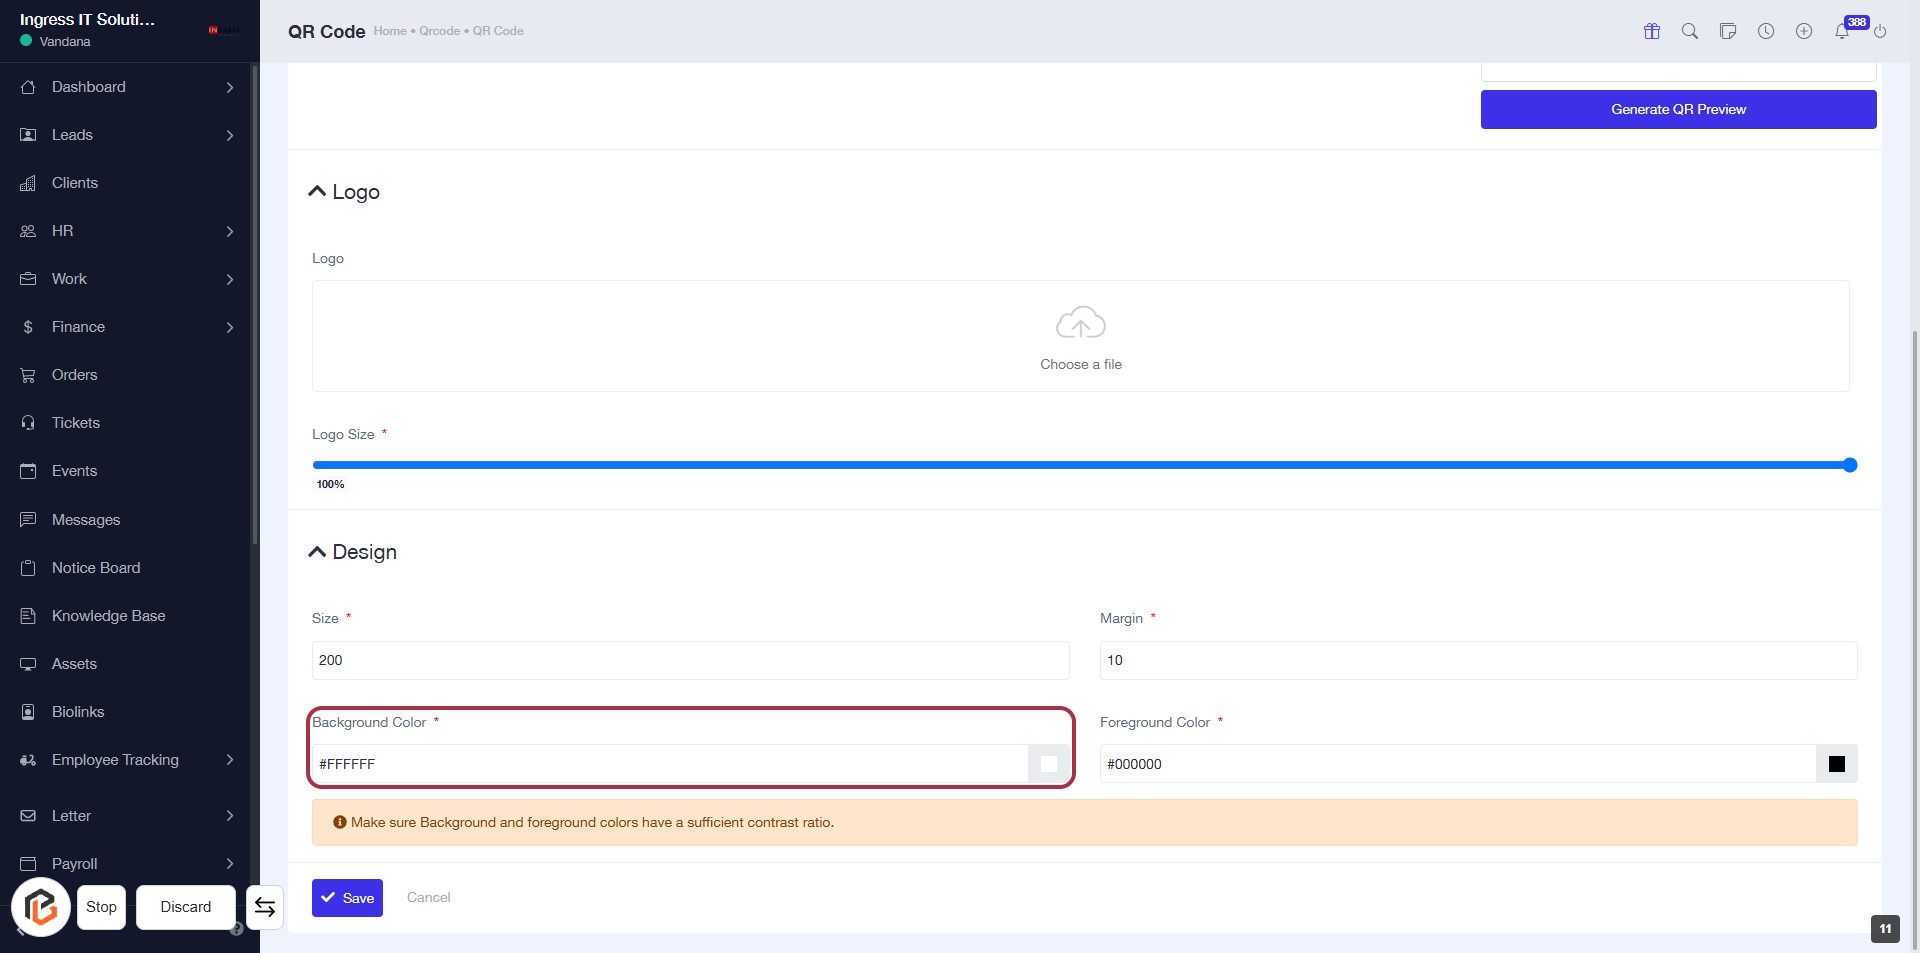
STEP 12: Select Background Color
- Click on the "Background Color" field (marked with an asterisk * for required input).
- Enter the desired color code (e.g., #FFFFFF for white).
- Ensure the background and foreground colors have sufficient contrast for visibility.
- Proceed to the next step by selecting "Foreground Color."
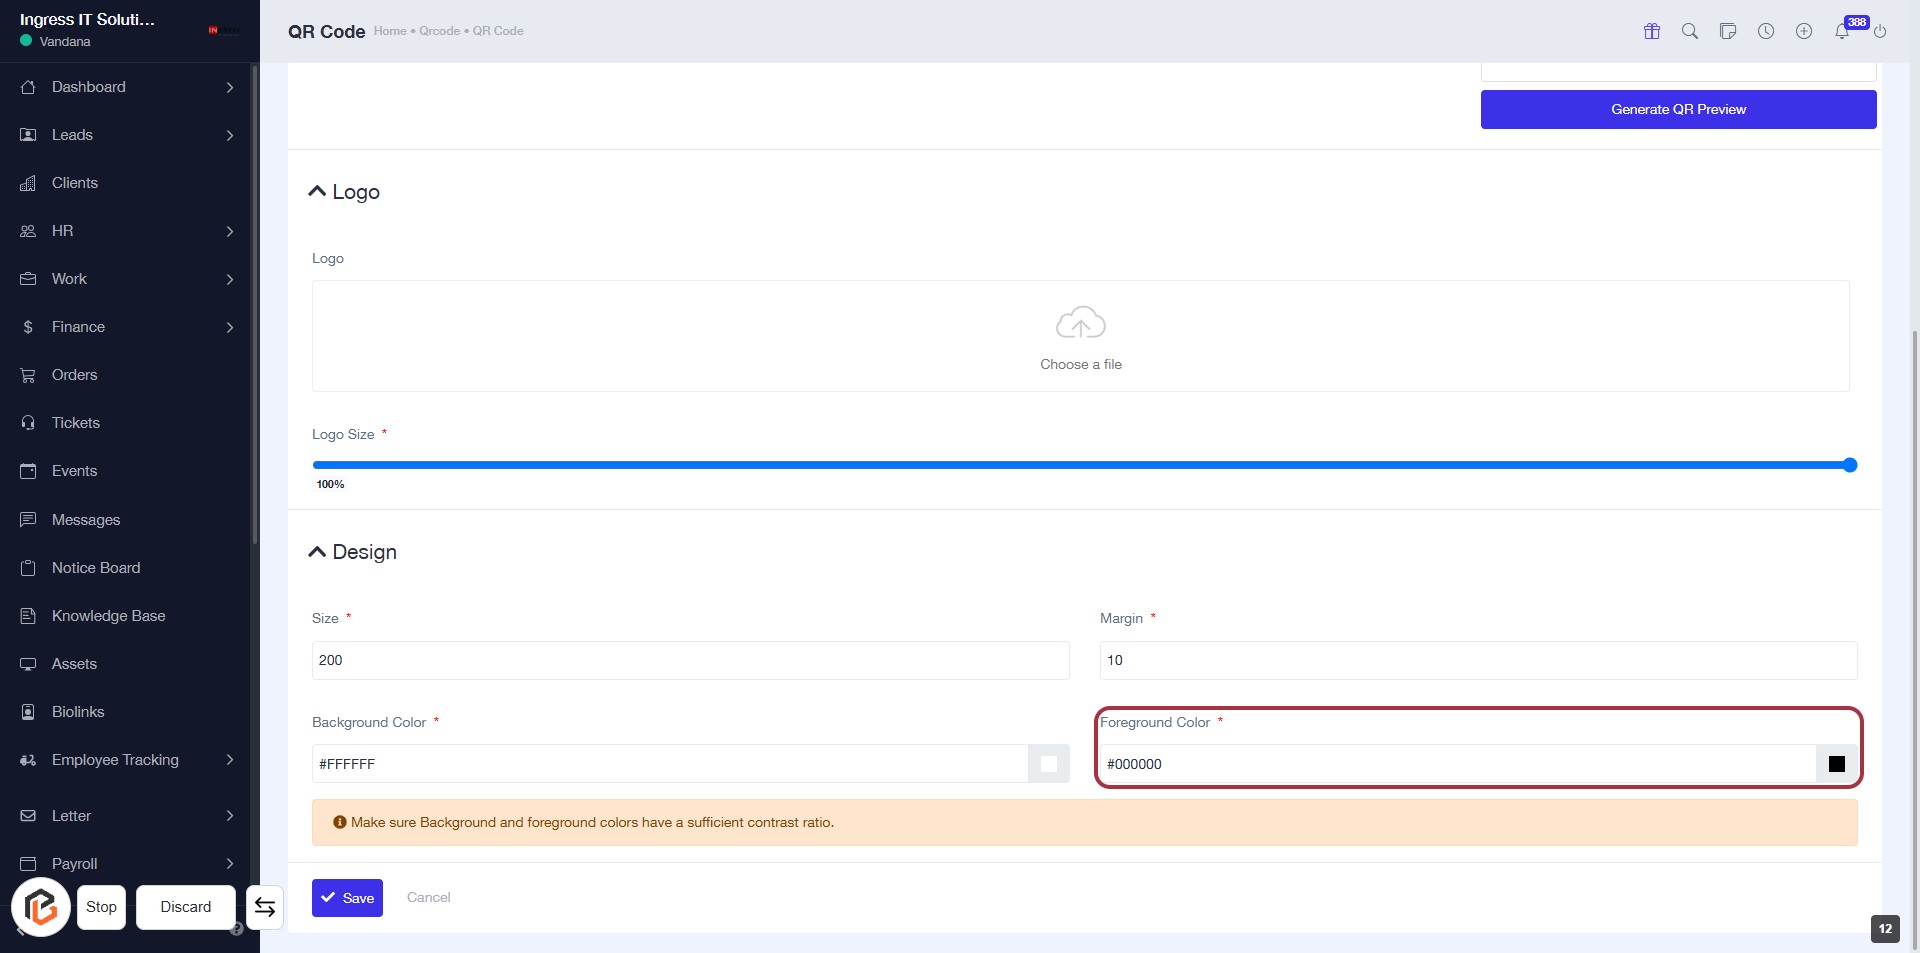
STEP 13: Select Foreground Color
- Click on the "Foreground Color" field to choose your desired color.
- Ensure the field is marked with an asterisk (*) indicating it's a required input.
- Input the color code or select from the color picker.
- Verify that the contrast ratio with the background color is sufficient.
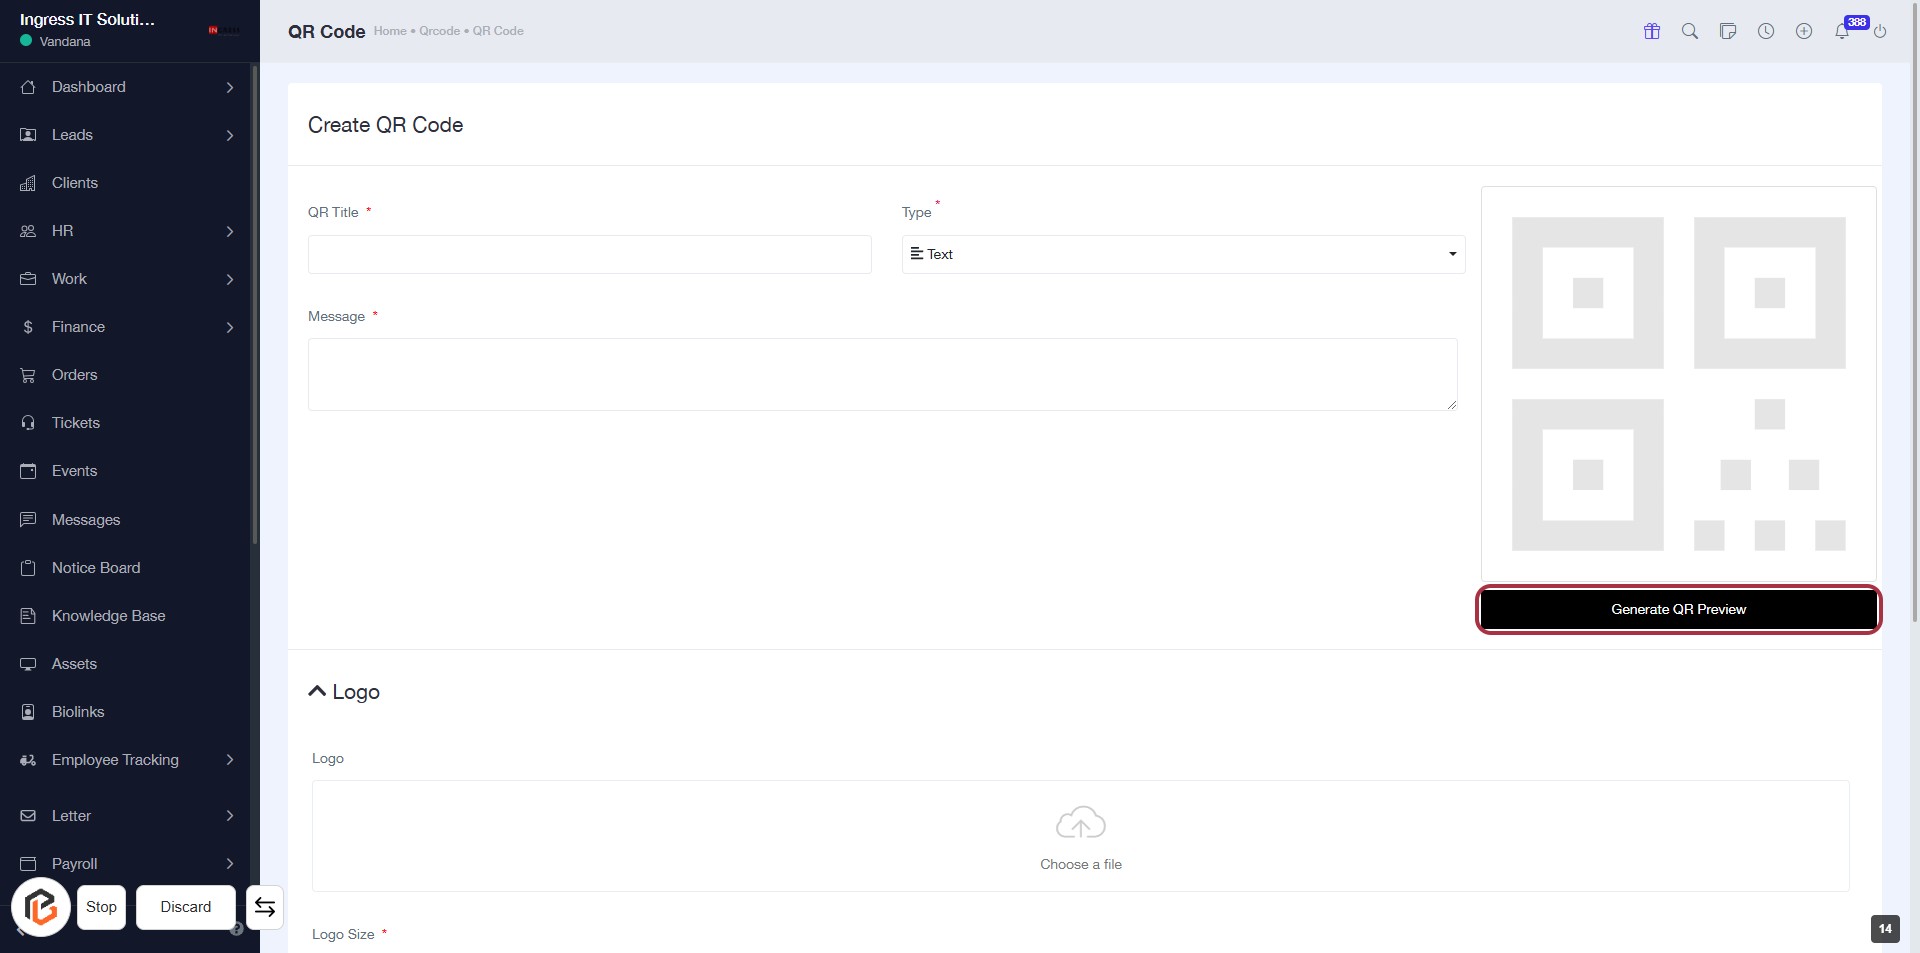
STEP 14: CLICK on "Generate QR Preview"
- Ensure all required fields (marked with *) are filled: QR Title and Message.
- Locate the "Generate QR Preview" button at the bottom right of the form.
- Click the button to generate a preview of your QR code.
- Review the generated QR code displayed on the right side of the screen.
STEP 15: CLICK on "Save" to Finalize QR Code Settings
- Ensure all required fields marked with '*' are filled out.
- Click the Save button located at the bottom of the form to save your QR code settings.
- Review any warnings or messages displayed above the button before saving.
- If needed, you can also click Cancel to discard changes.