Step-by-Step Guide to Creating and Managing Policy Documents in the Platform
10 mins read · Updated 29 Sep, 2025
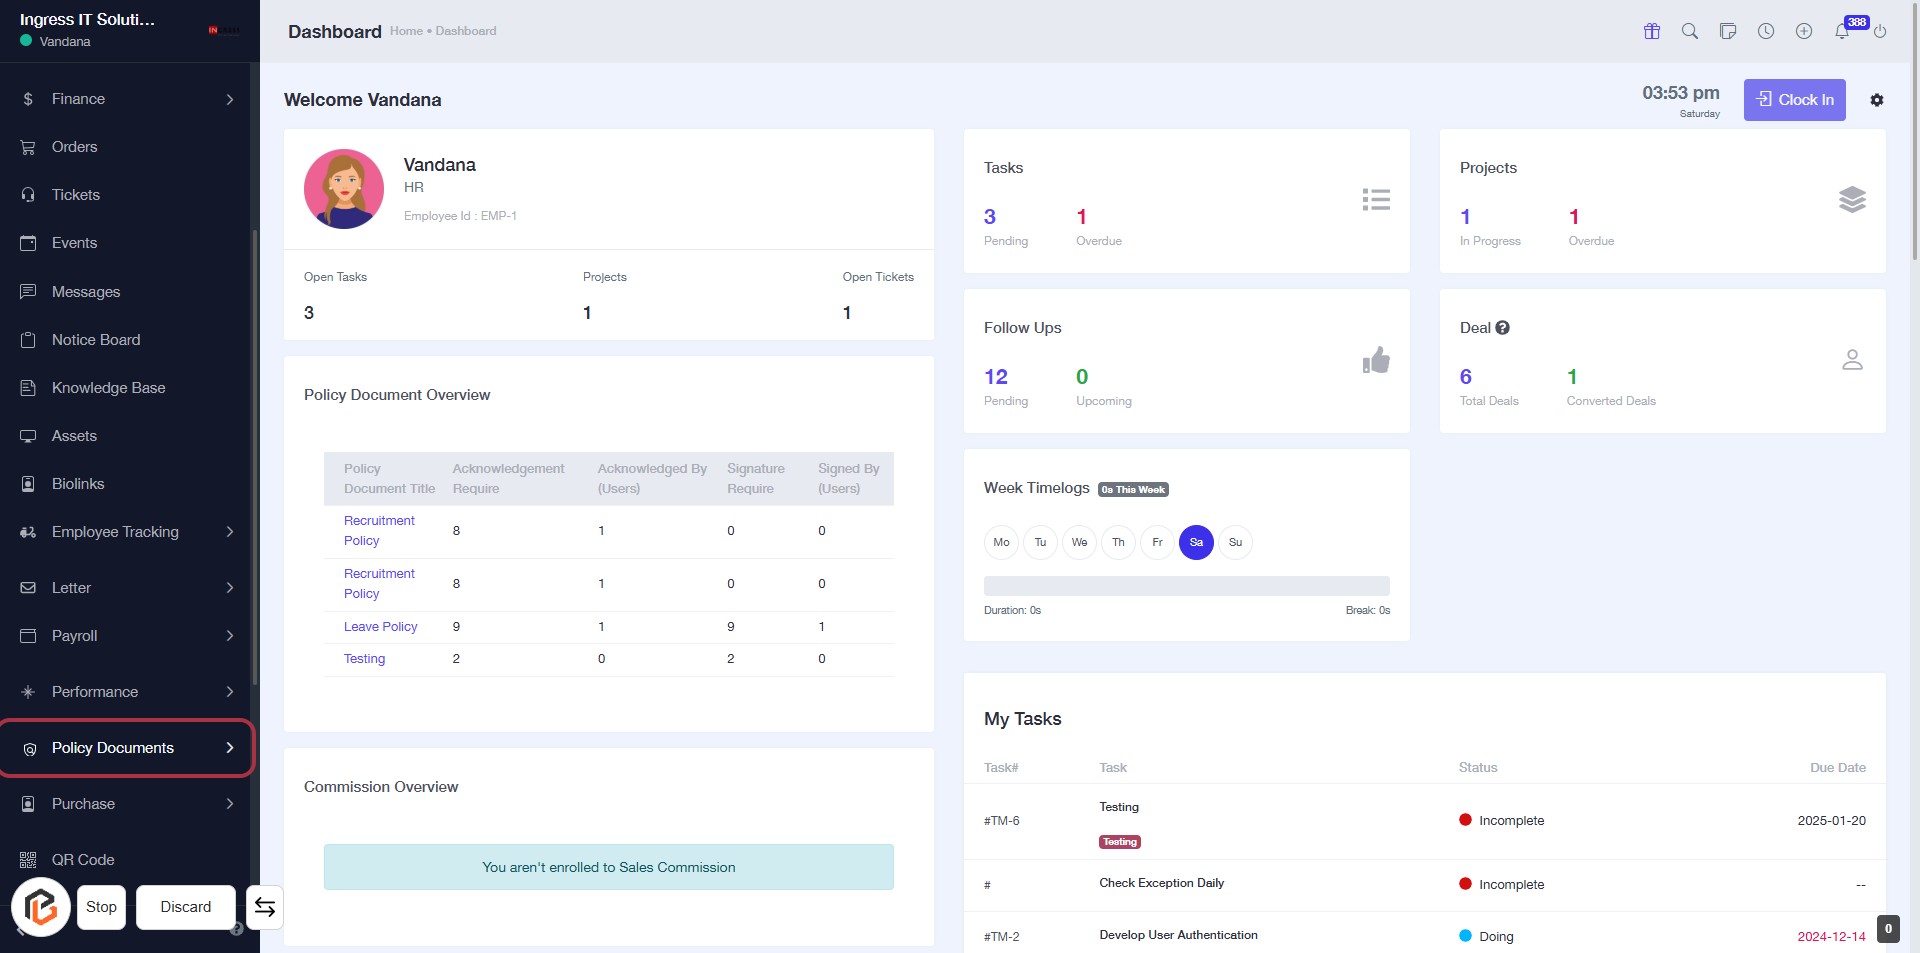
STEP 1: Click on "Policy Documents" to Access Document Overview
- Navigate to the left sidebar and locate the "Policy Documents" option.
- Click on "Policy Documents" to view the Policy Document Overview.
- Review the table displaying various policy documents and their acknowledgment statuses.
- Ensure to check any highlighted areas for additional actions or information.
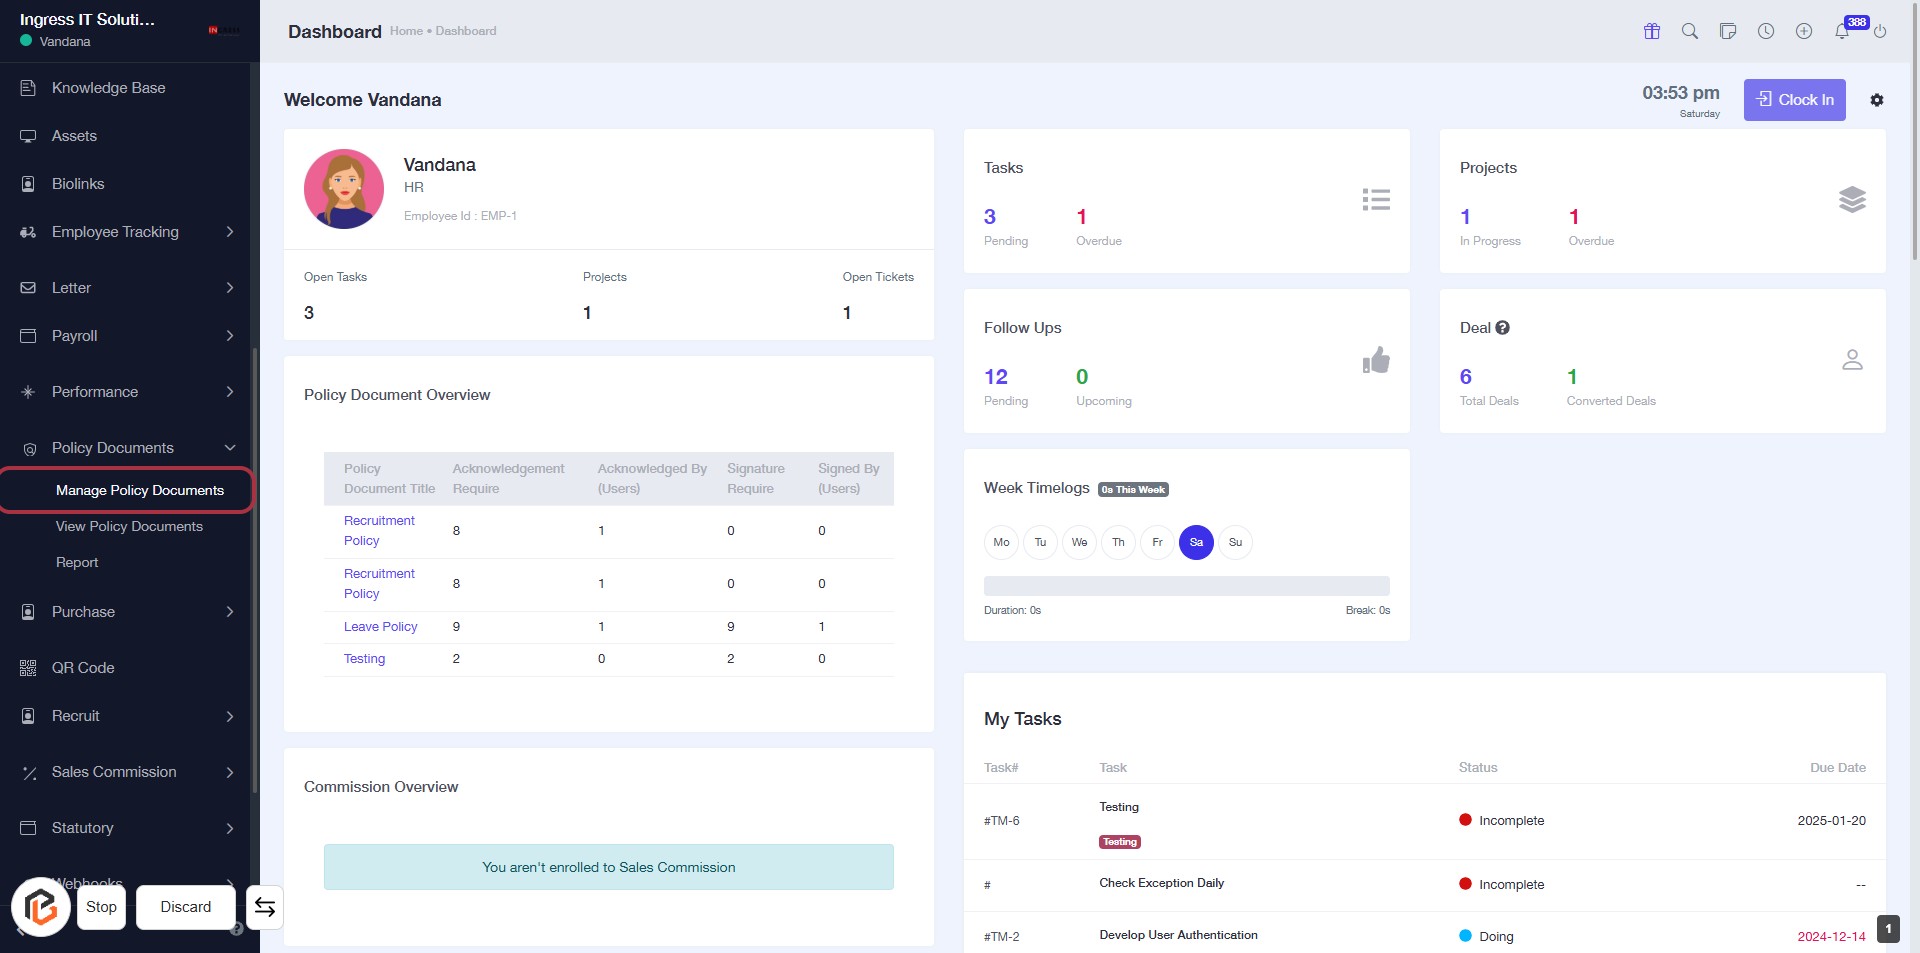
STEP 2: Click on "Manage Policy Documents" to Access Document Overview
- Click on the "Manage Policy Documents" link in the sidebar.
- This will take you to the Policy Document Overview section.
- Review the list of policy documents displayed, including their acknowledgment and signature requirements.
- Ensure to check for any documents that need your attention.
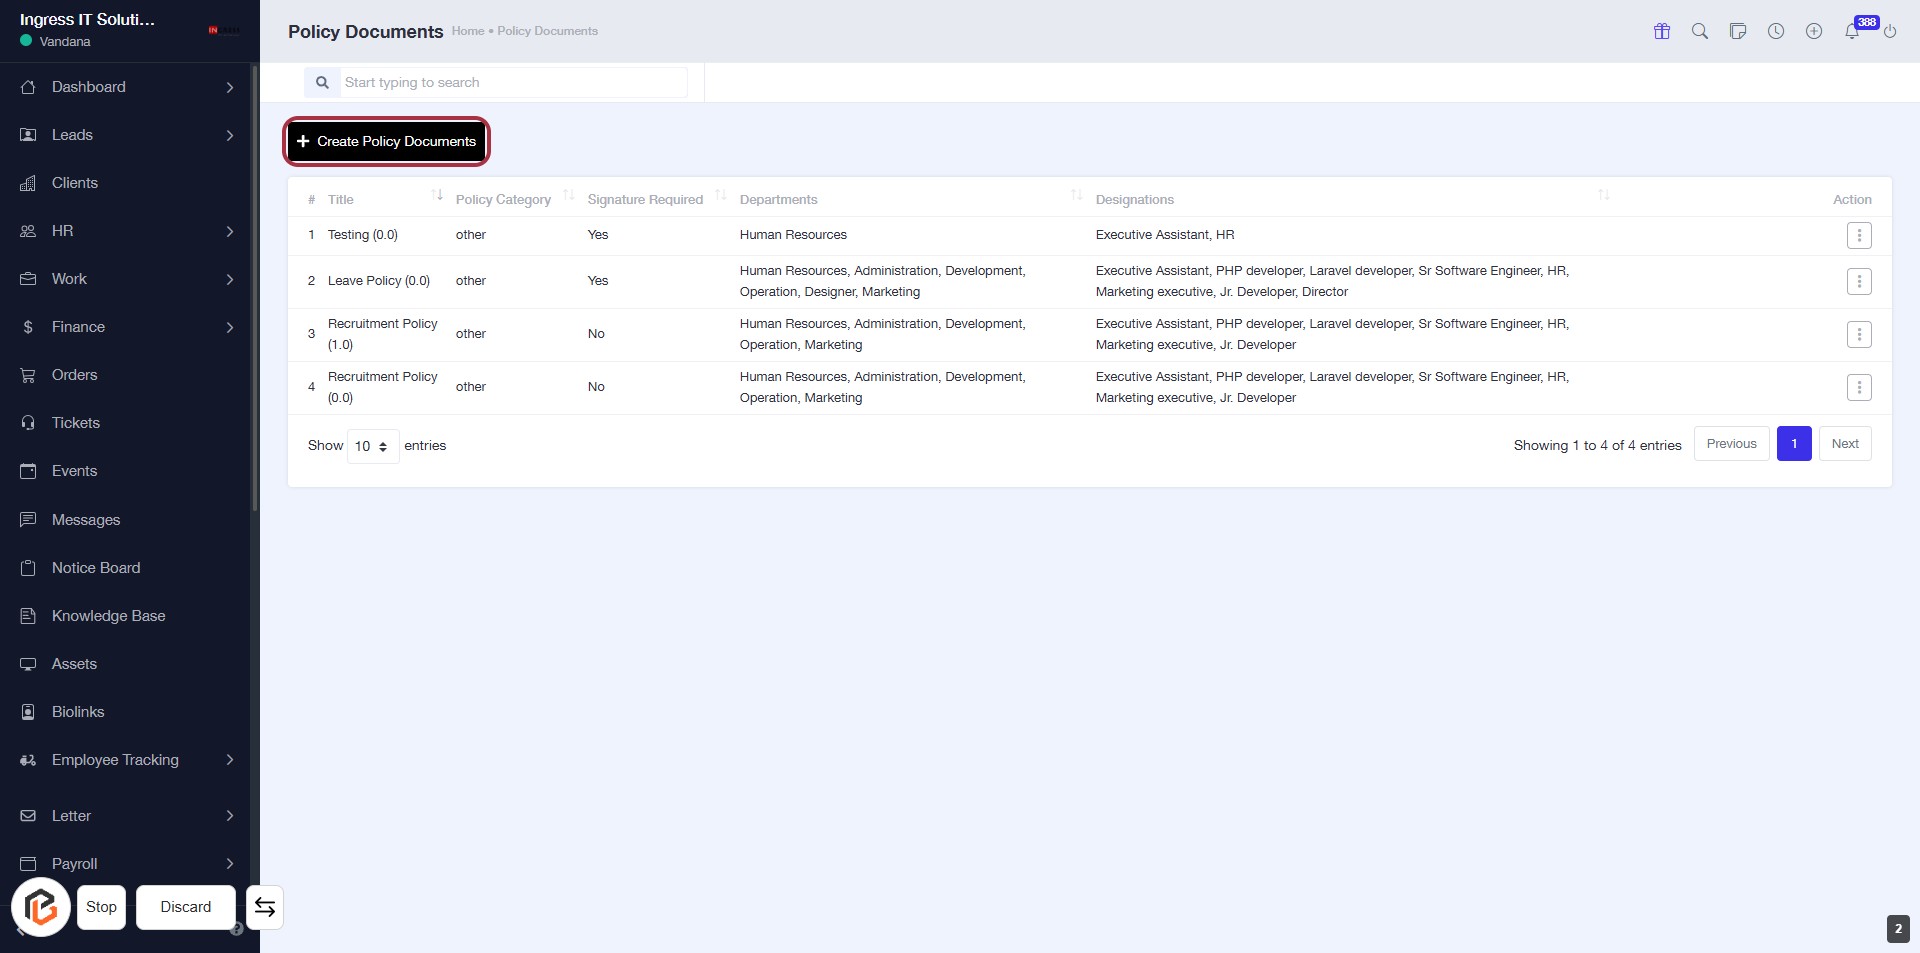
STEP 3: Click on "Create Policy Documents"
- Navigate to the "Policy Documents" section.
- Click on the Create Policy Documents link highlighted in red.
- This action will lead you to the form for entering new policy details.
- Ensure to fill in all required fields marked with an asterisk (*).
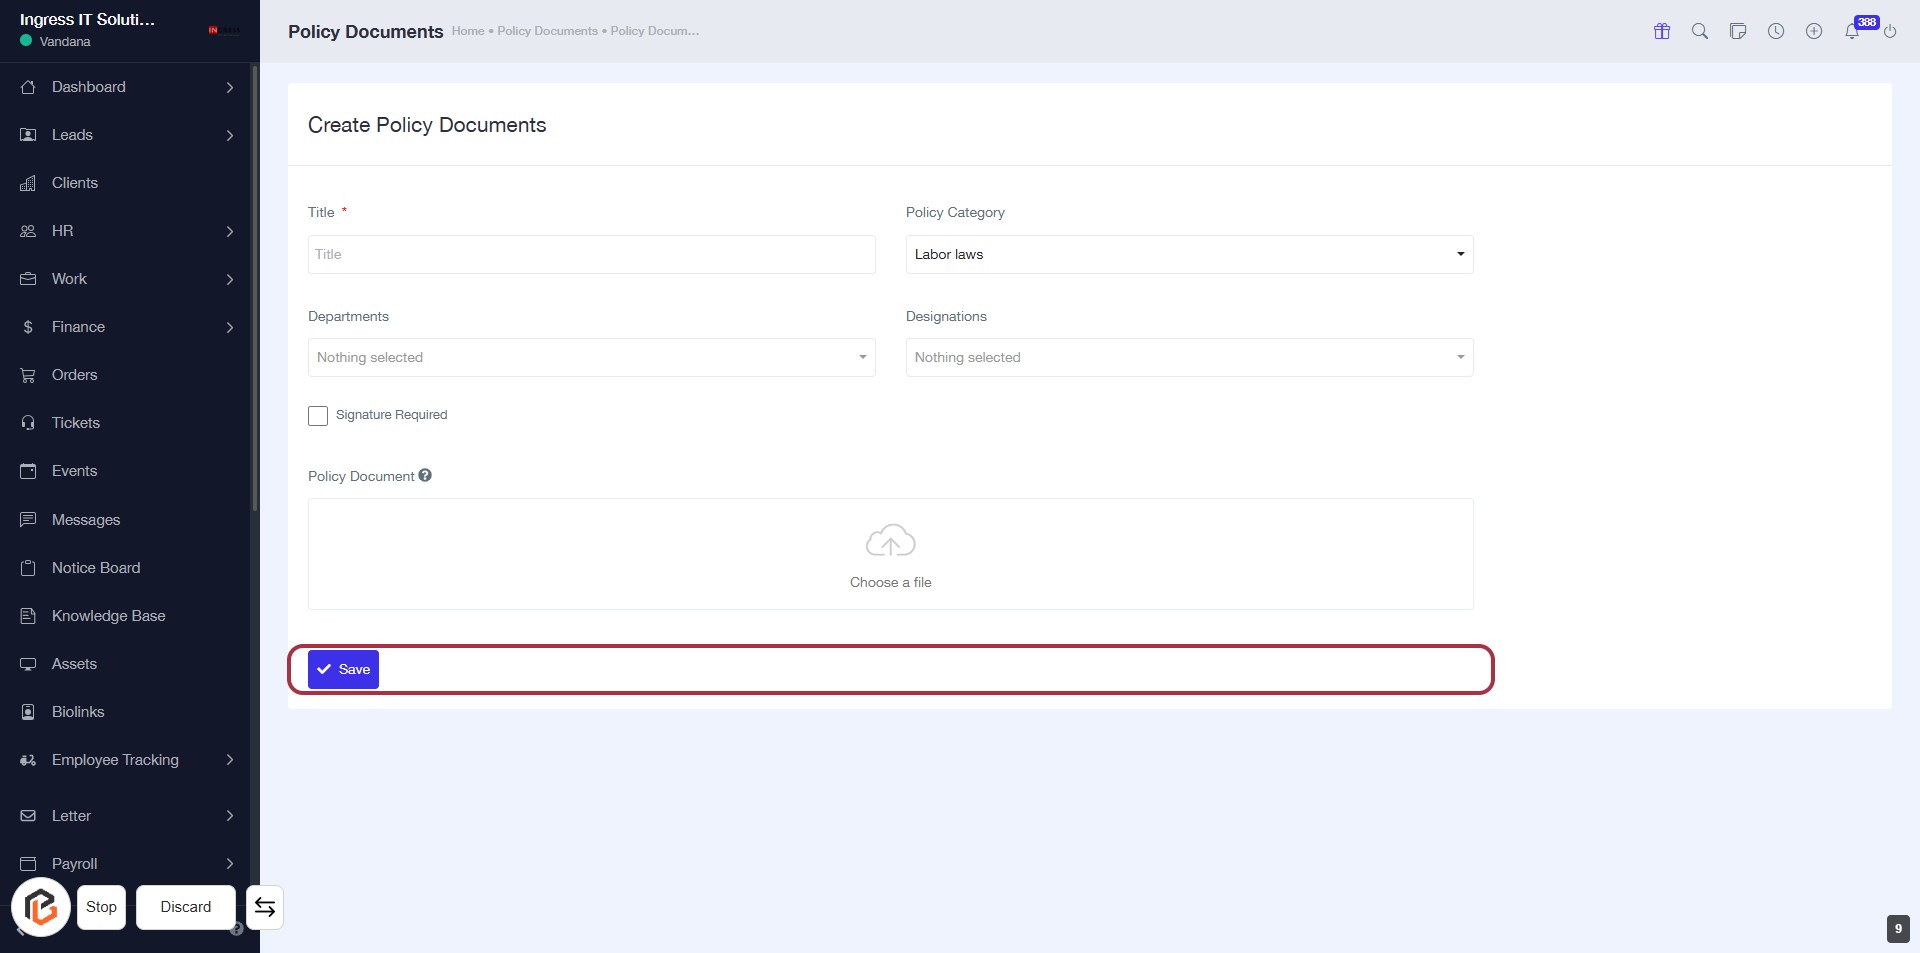
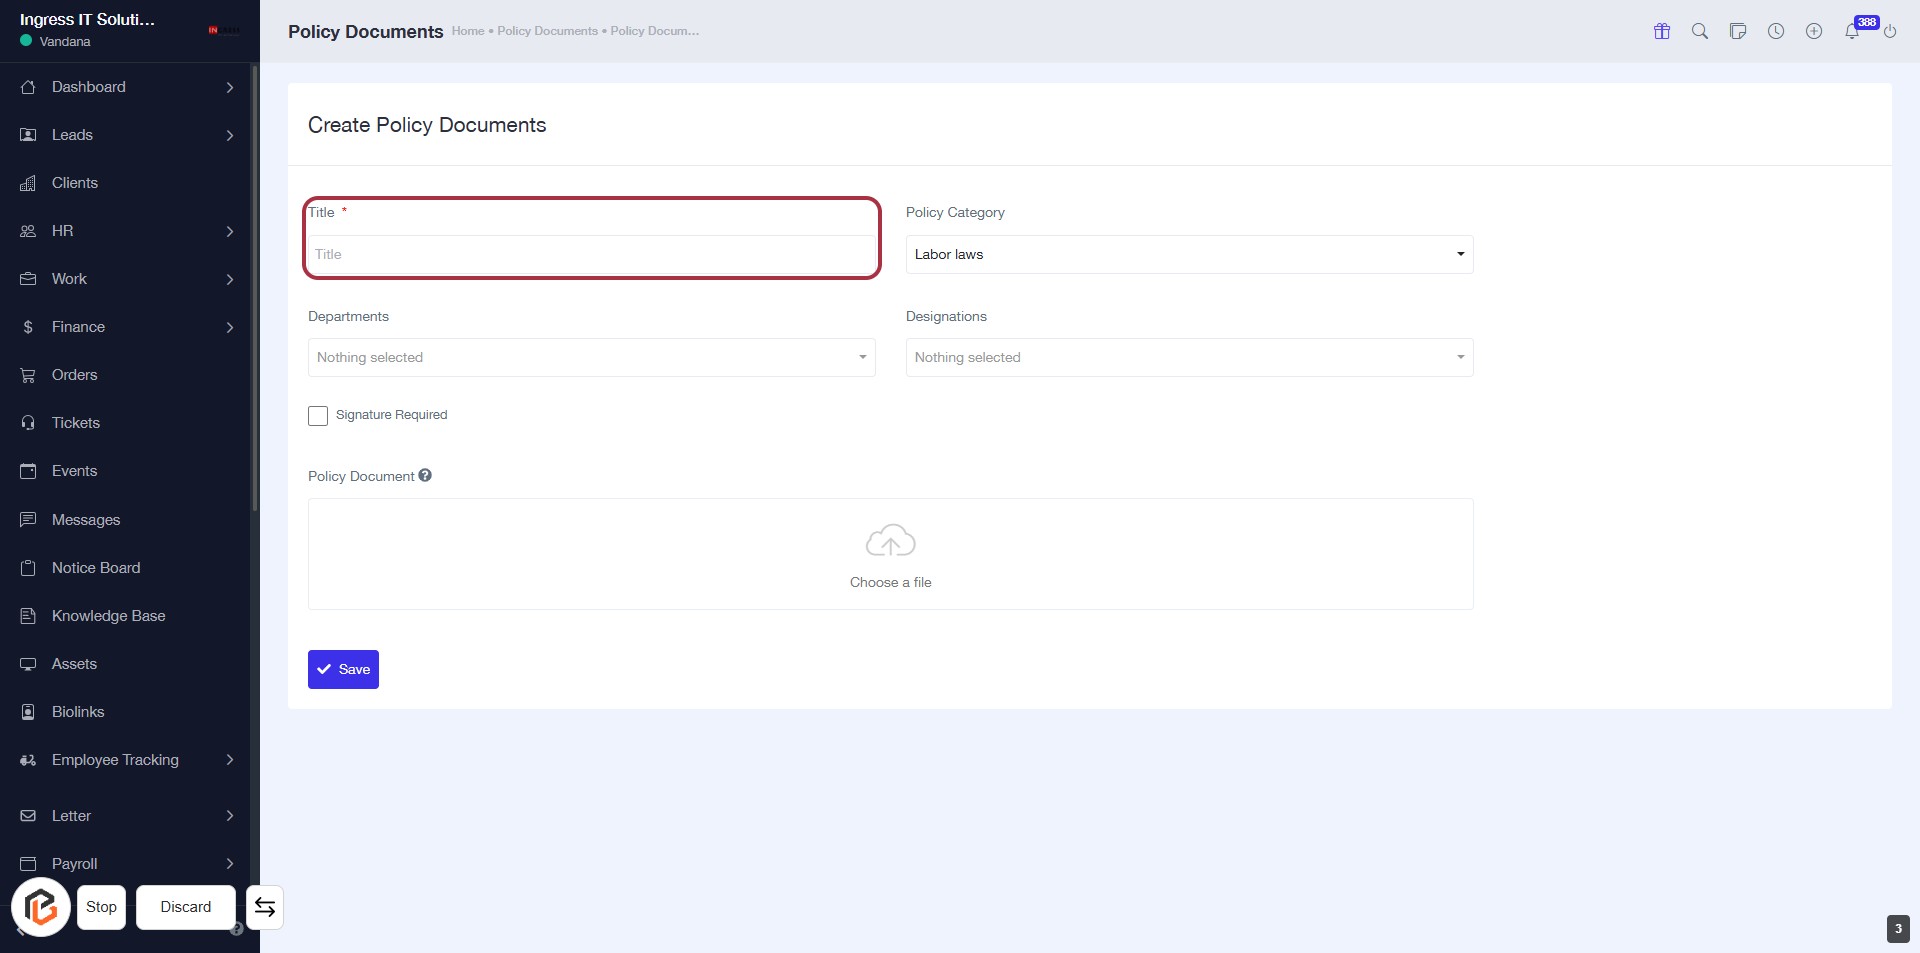
STEP 4: Enter Title for Policy Document
- Click on the highlighted area labeled "Title" (marked with a red border).
- Ensure to fill in the required field, indicated by the asterisk (*).
- This title will be used to identify the policy document you are creating.
- Proceed to the next step by selecting the "Policy Category."
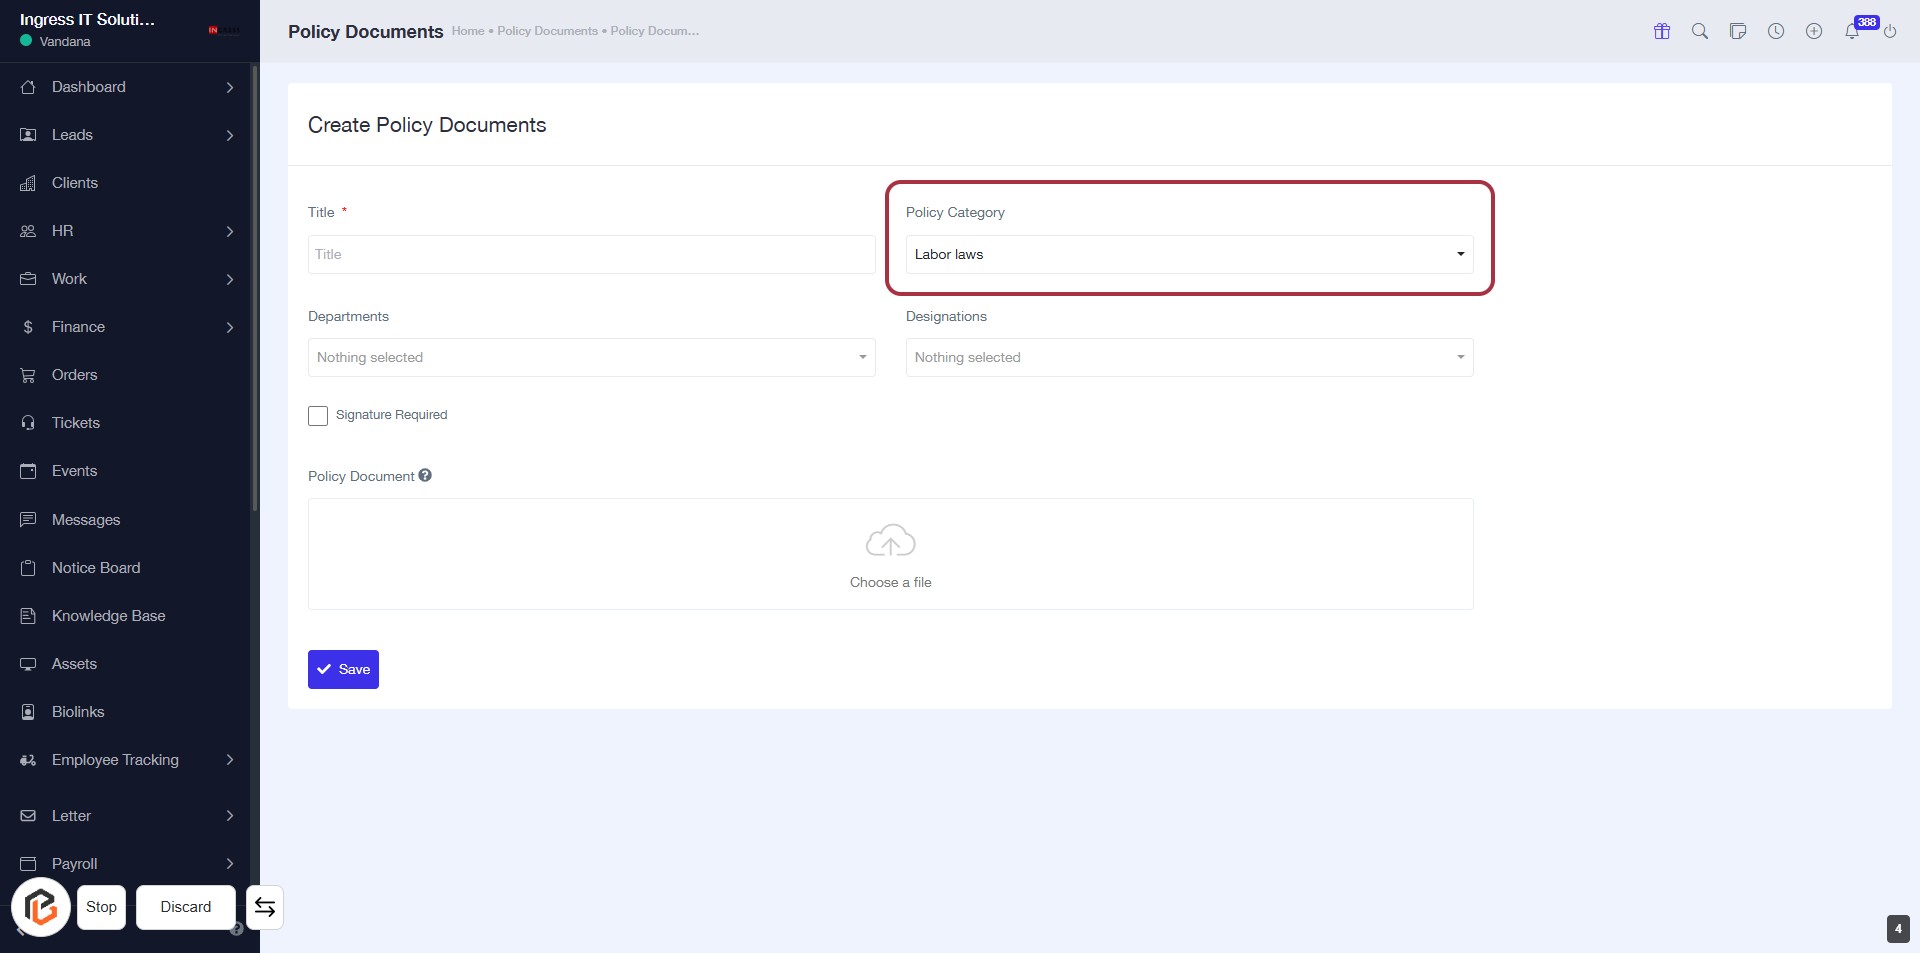
STEP 5: Select "Policy Category"
- Click on the "Policy Category" dropdown.
- Choose "Labor law" from the options.
- Ensure all required fields marked with an asterisk (*) are filled.
- Proceed to the next step by selecting "Departments".
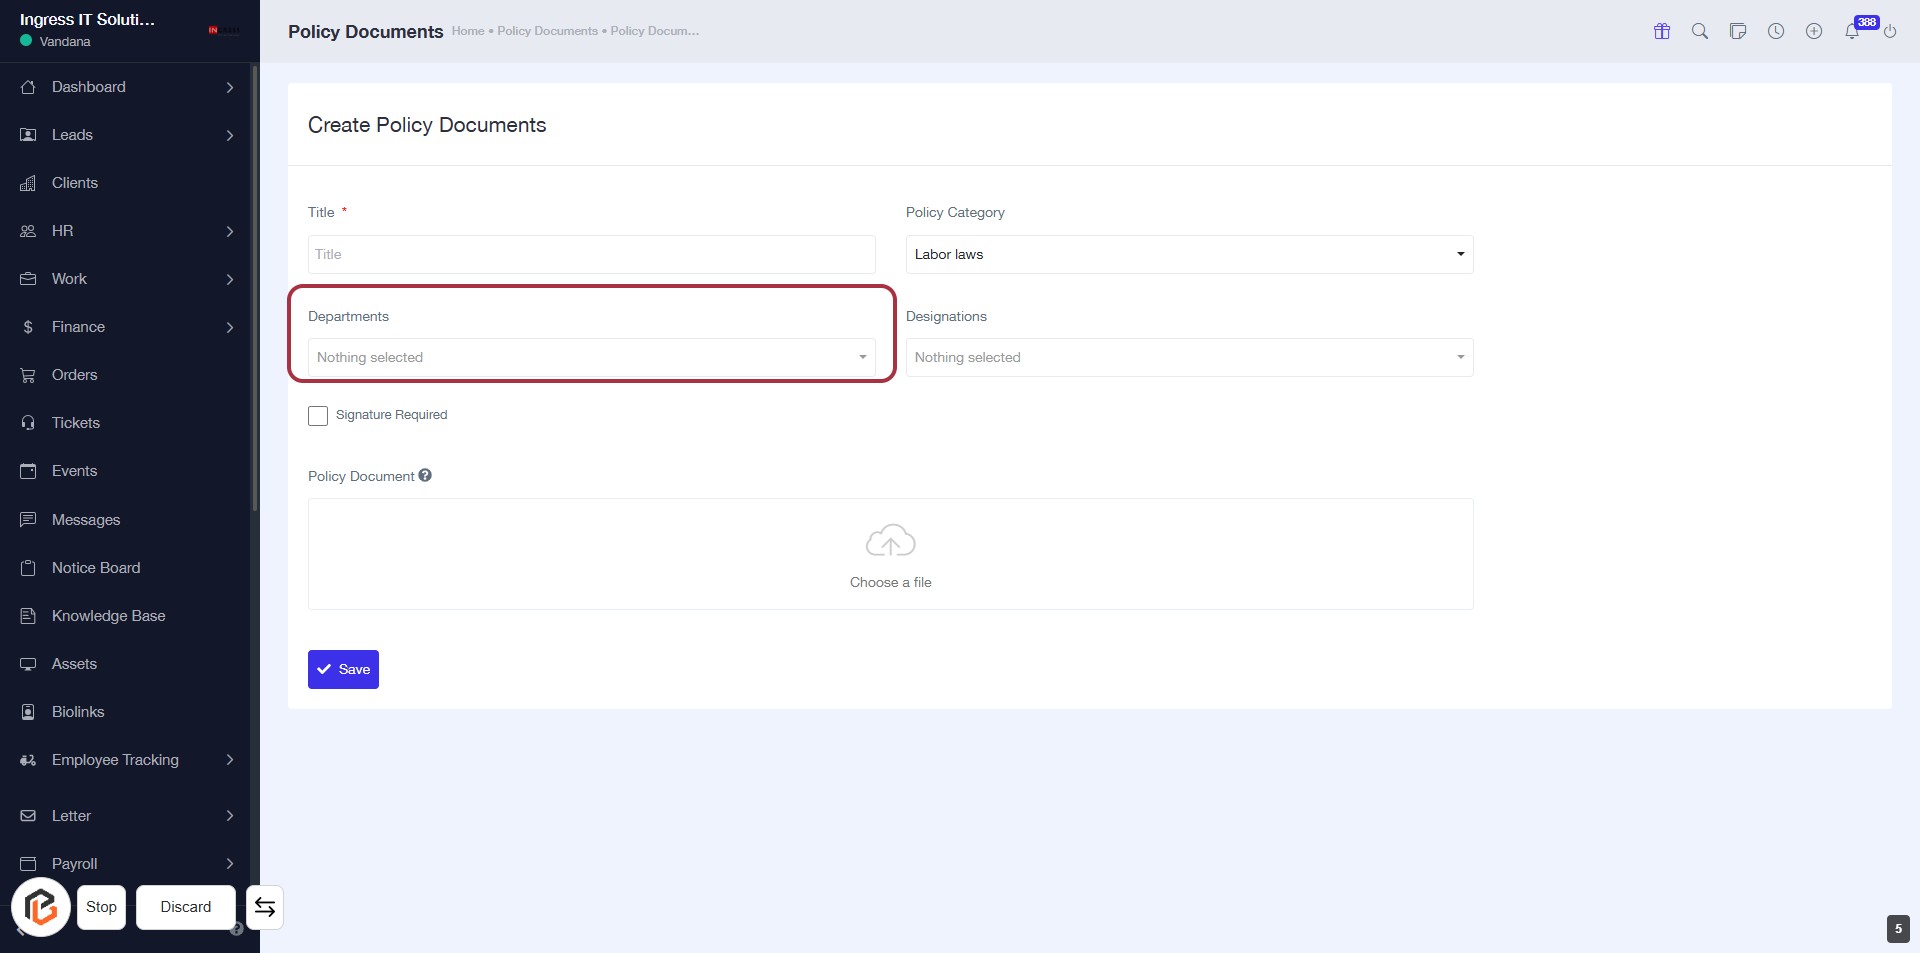
STEP 6: Select "Departments"
- Click on the "Departments" dropdown to view available options.
- Ensure to select a department from the list.
- Note that this field is required (indicated by the asterisk).
- After selection, proceed to the next step to select "Designations."
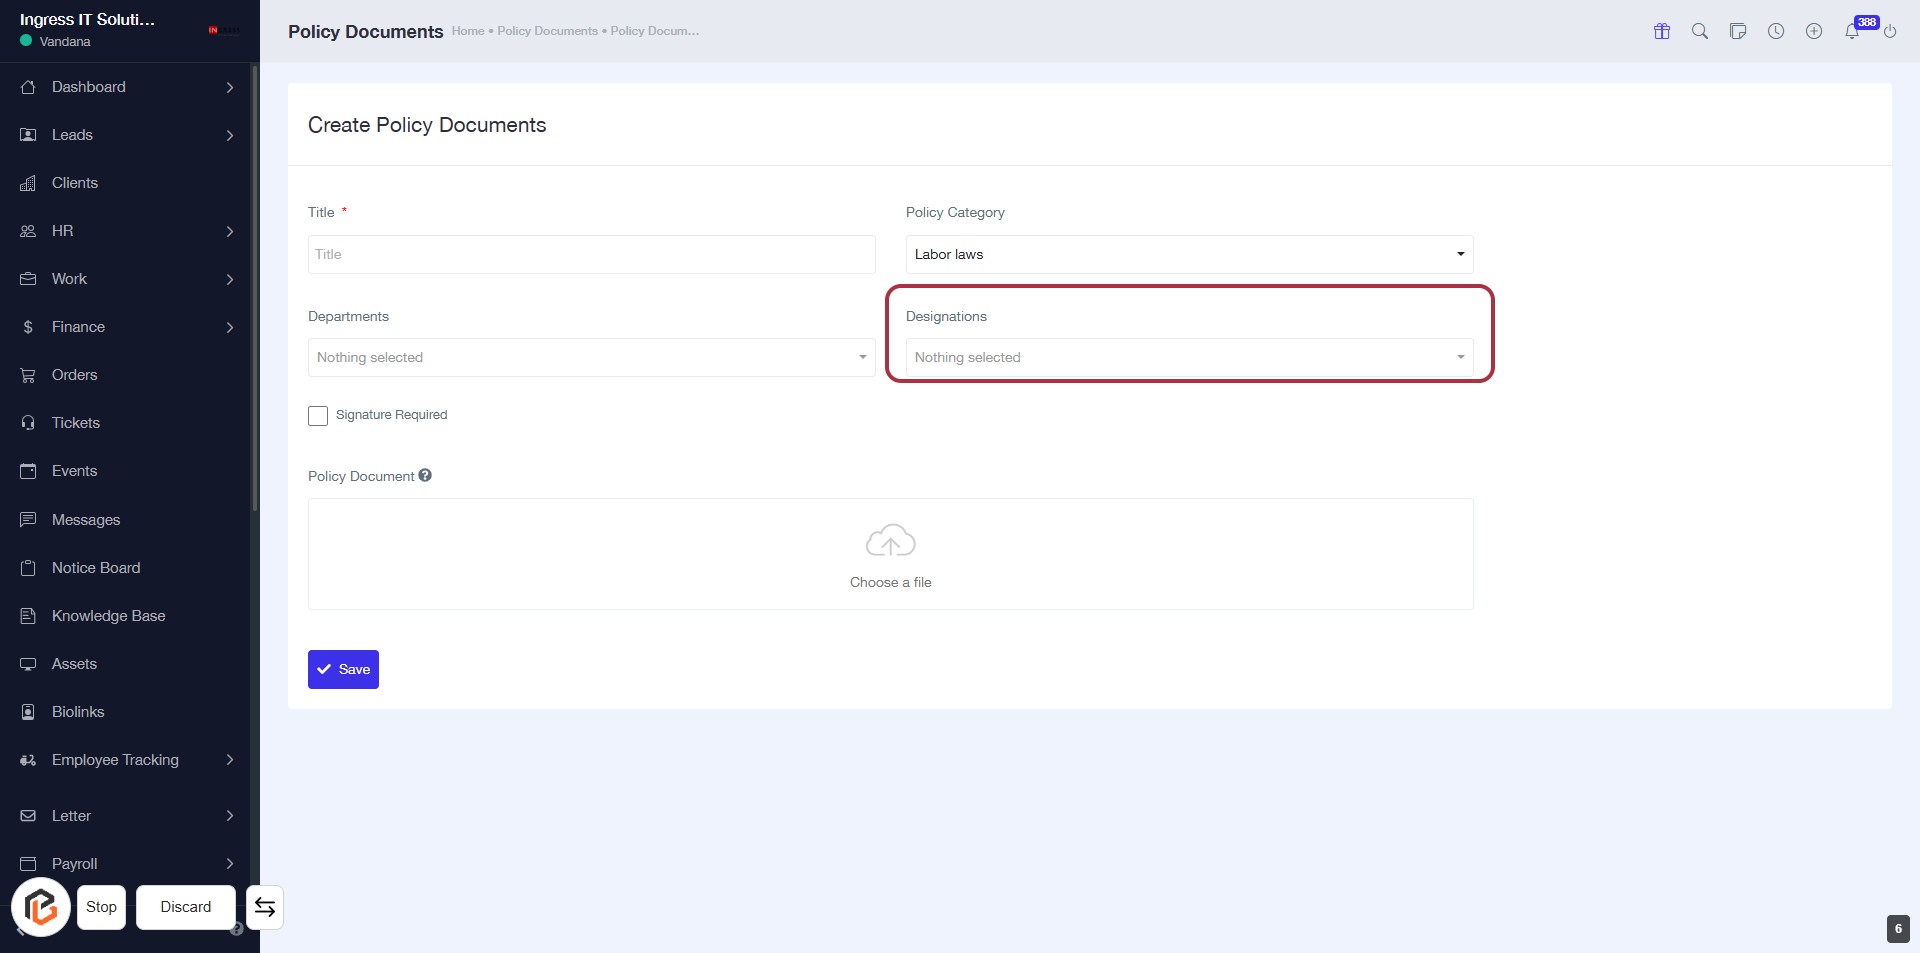
STEP 7: Select "Designations"
- Click on the "Designations" dropdown to view available options.
- Ensure that you select the appropriate designation for your policy document.
- Note: The "Departments" field should be filled out prior to this step.
- After making your selection, proceed to the next step to check "Signature Required."
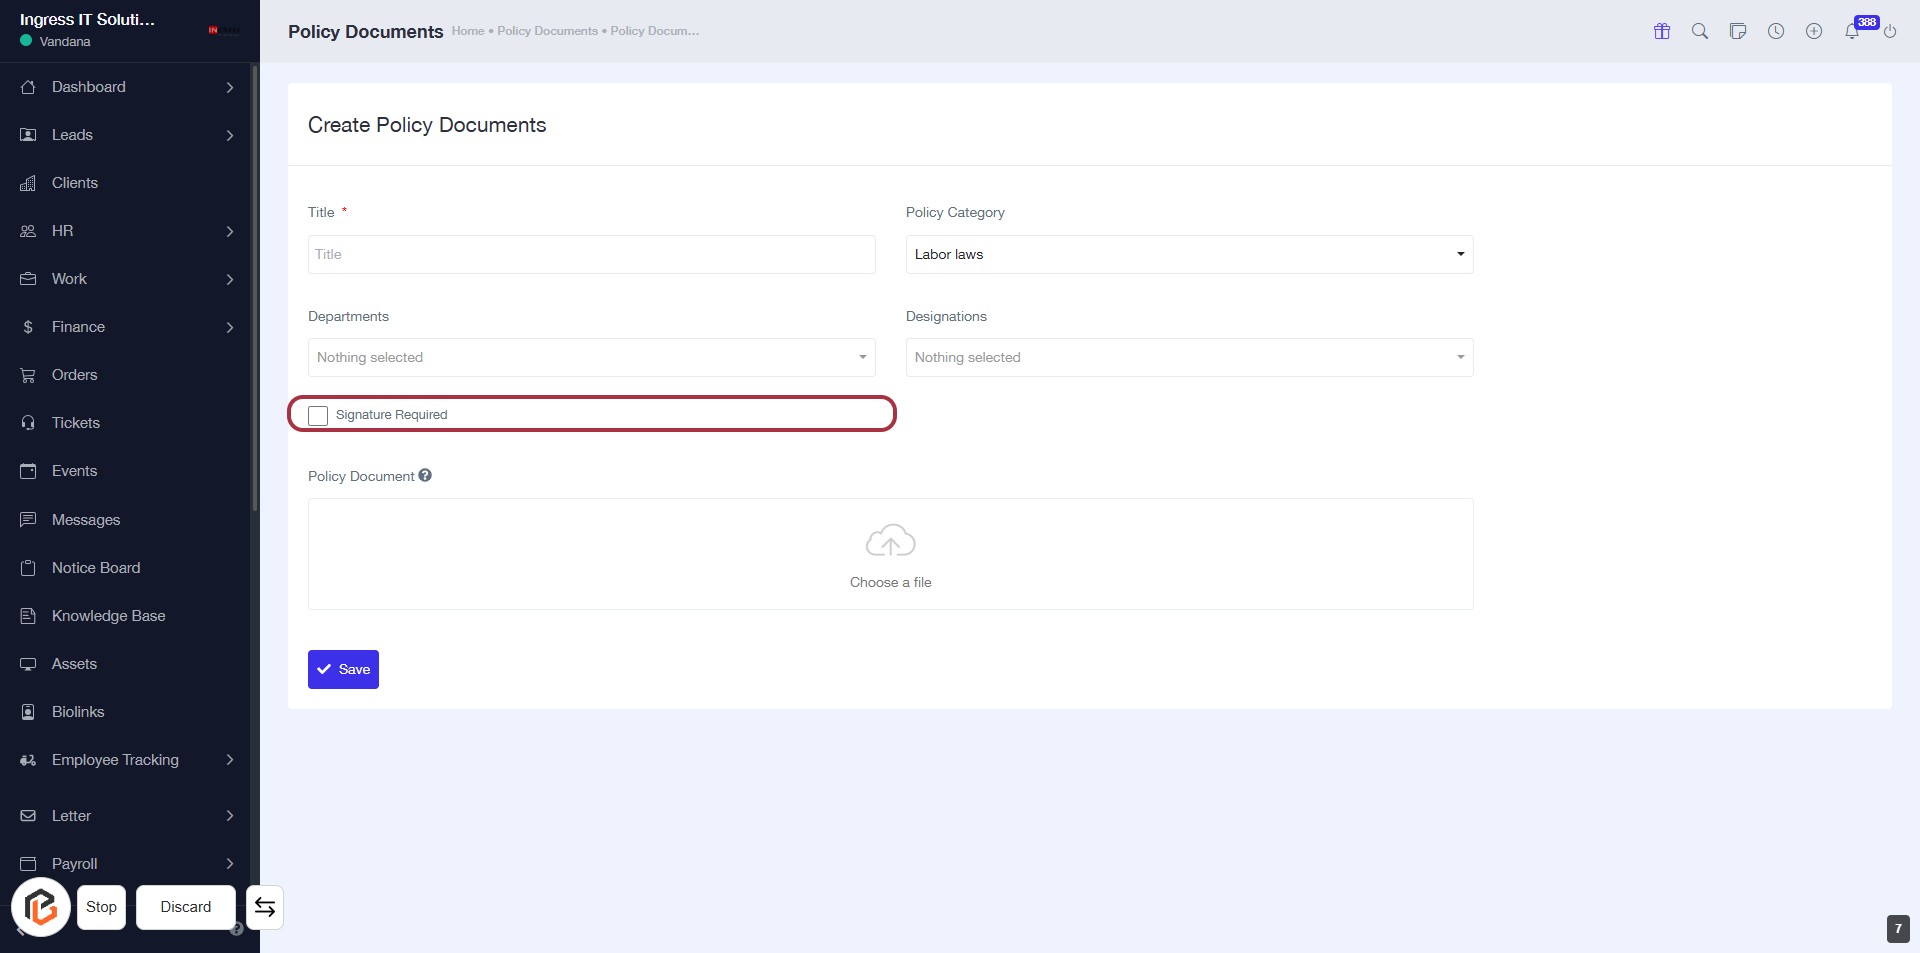
STEP 8: Click "Signature Required"
- Navigate to the "Create Policy Documents" section.
- Locate the checkbox labeled "Signature Required."
- Click on the checkbox to select it.
- Ensure that the selection is marked, indicating that a signature is required for the policy document.
- Proceed to the next step to upload the "Policy Document."
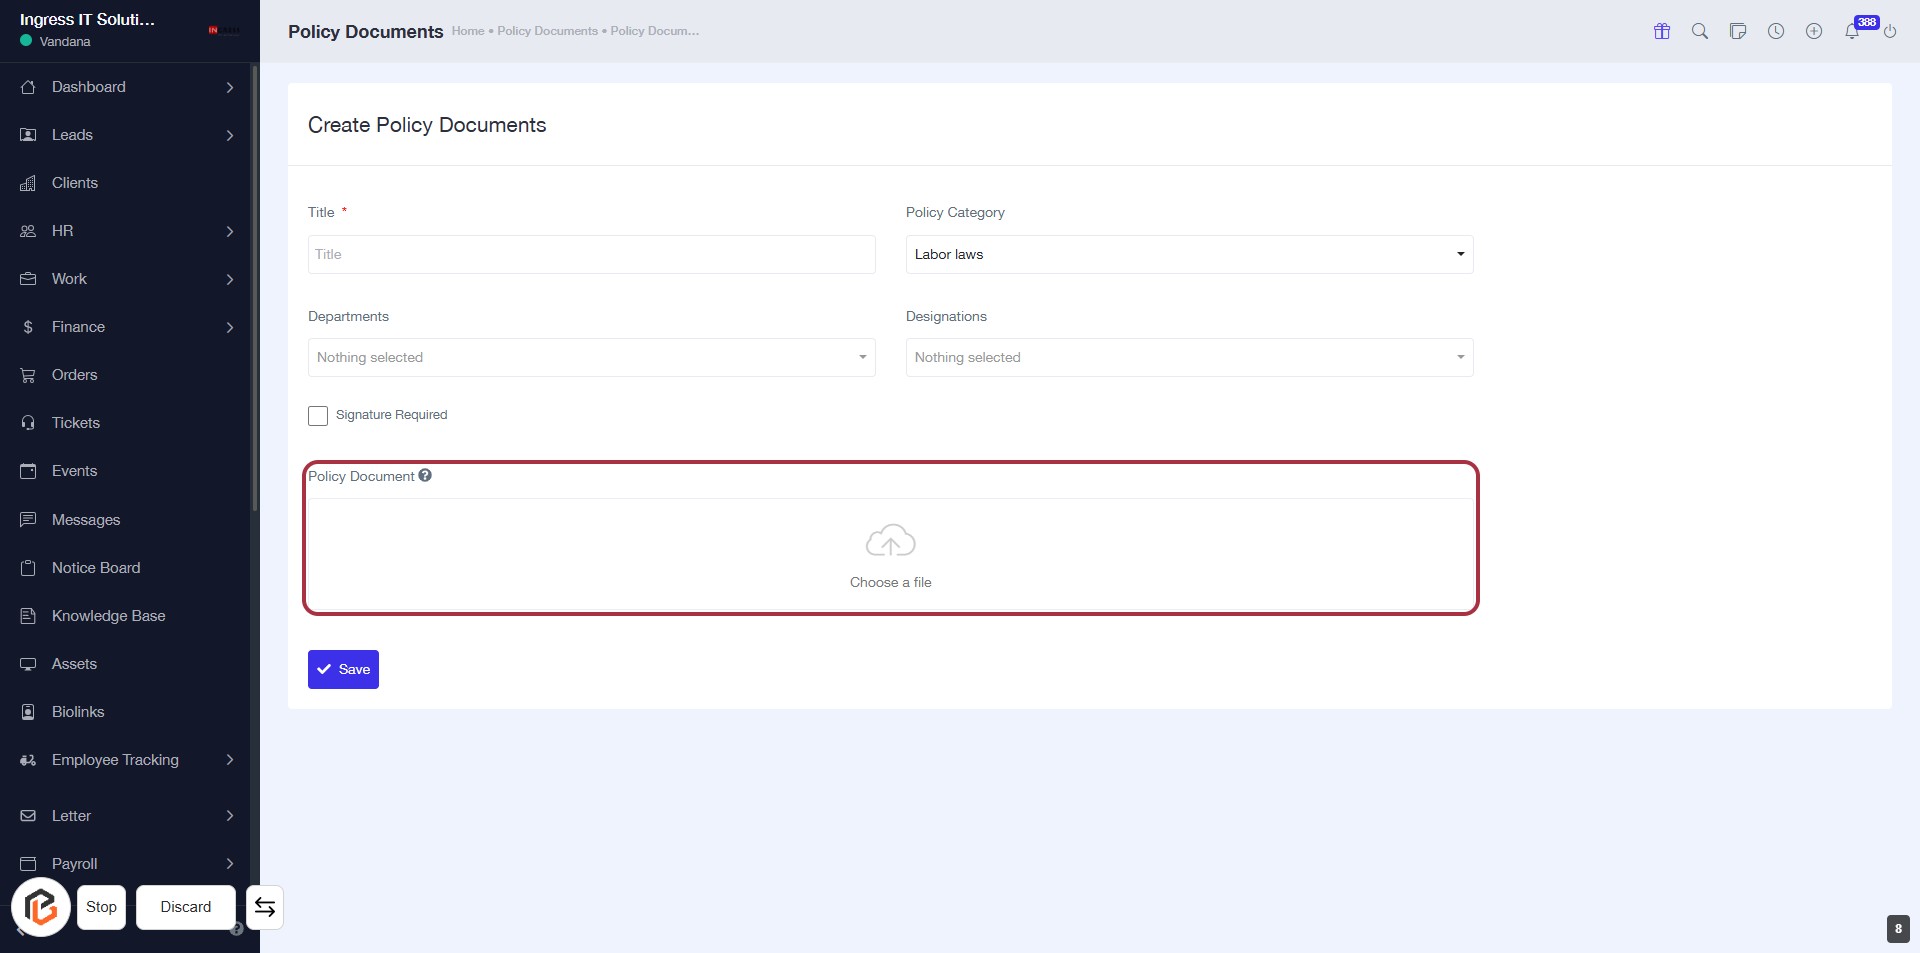
STEP 9: Click to Upload "Policy Document"
- Navigate to the "Policy Document" section.
- Click on the "Choose a file" area highlighted in red.
- Select the document you wish to upload from your device.
- Ensure all required fields marked with an asterisk (*) are filled out.
- Proceed to the next step by clicking the "Save" button.
STEP 10: Click on "Save" to Submit Policy Document
- Ensure all required fields (marked with *) are filled out.
- Review the selected departments and designations.
- Confirm the policy document is uploaded.
- Click the Save button at the bottom of the form to finalize your submission.