Comprehensive Guide to Managing Policy Documents: Viewing, Versioning, Adding Departments, and Deleting
9 mins read · Updated 29 Sep, 2025
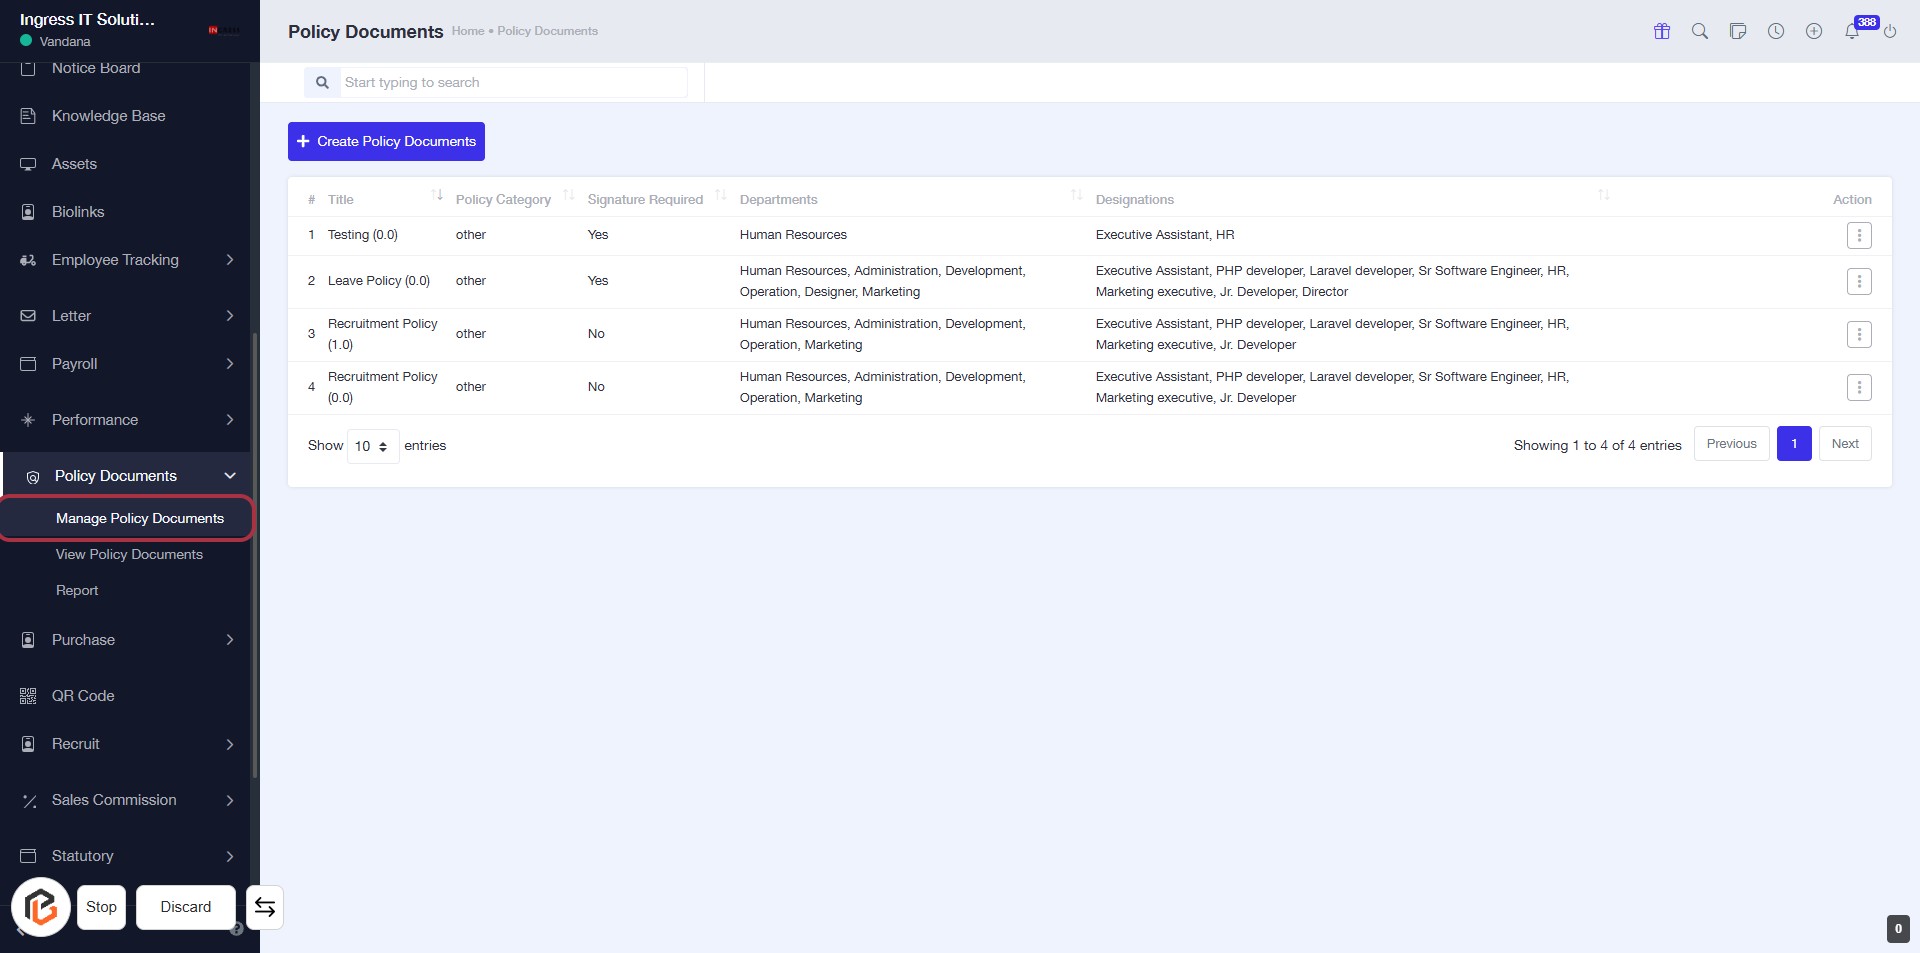
STEP 1: Click on "Manage Policy Documents"
- Navigate to the Policy Documents section on the left sidebar.
- Click on the Manage Policy Documents link highlighted in red.
- This will take you to the main page where you can view and manage policy documents.
- Ensure to check the table for existing documents and their details, such as Title, Policy Category, and Departments.
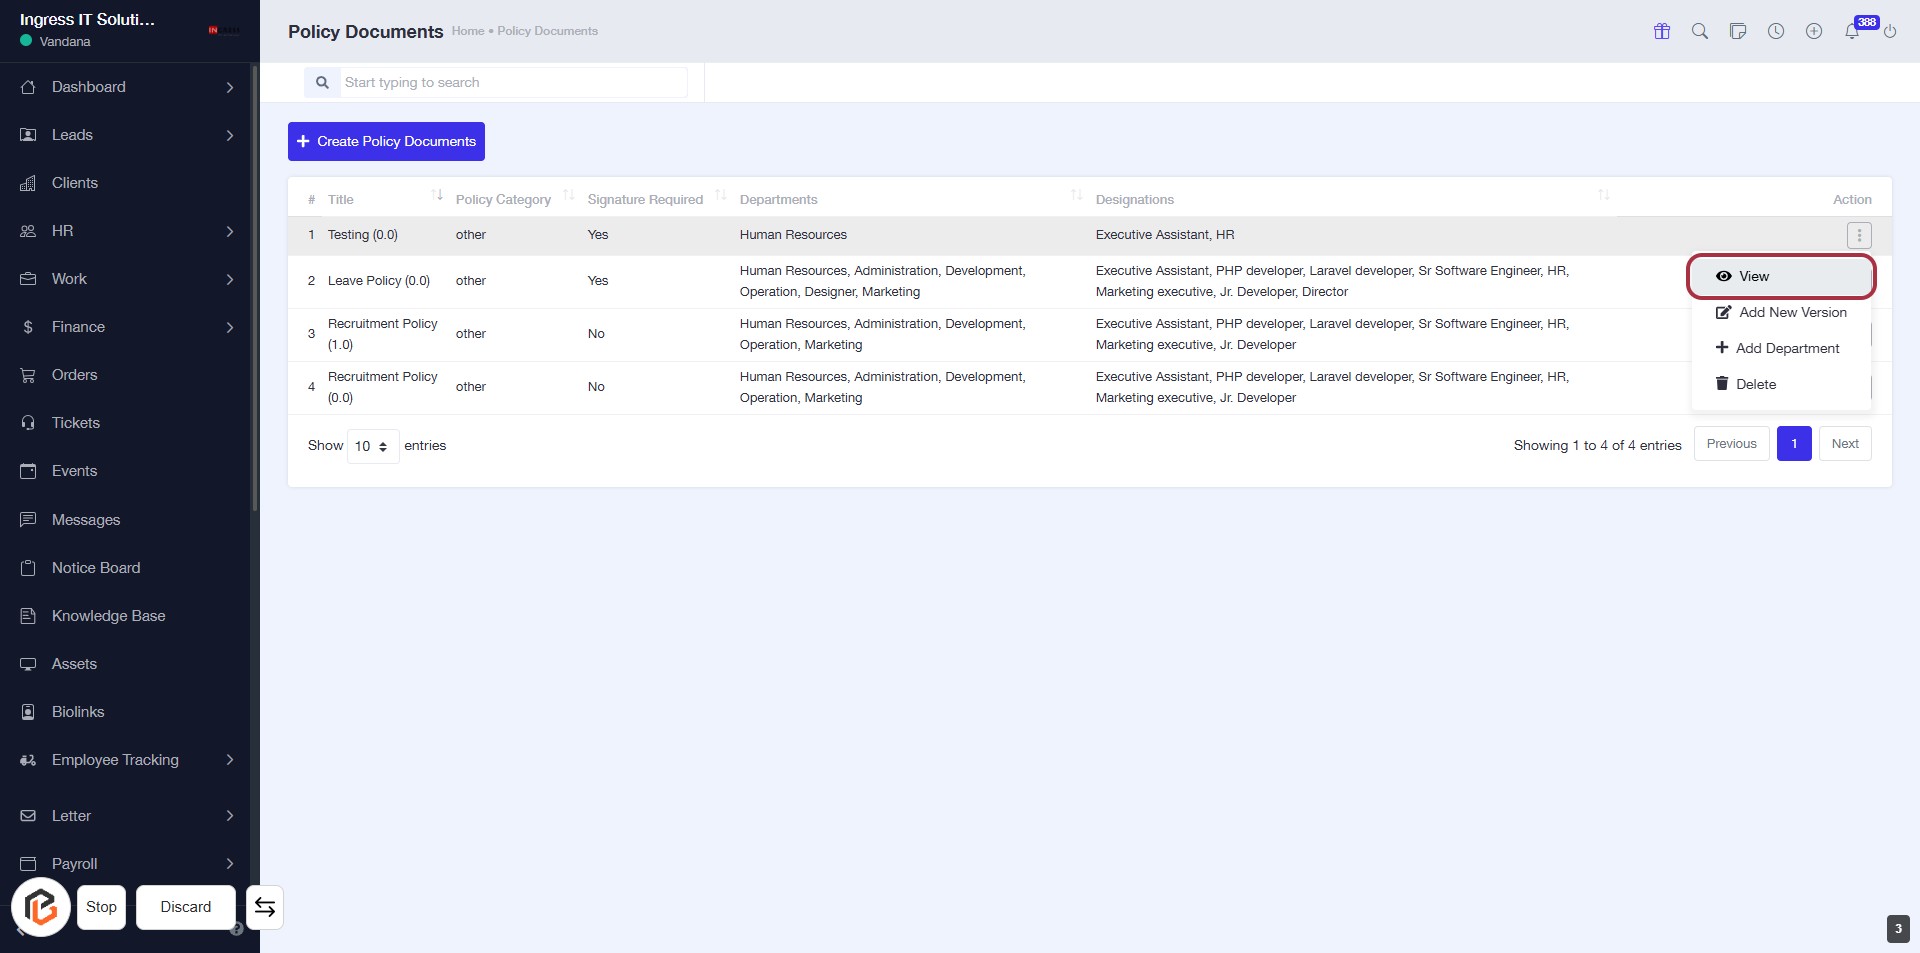
STEP 2: Click on "View" to Access Policy Document
- Navigate to the "Policy Documents" section.
- Locate the document you wish to view in the table.
- Click on the "View" option in the Action column for the selected document.
- Ensure to check any required fields marked with an asterisk (*) if applicable.

STEP 3: Click on "View" to Access Policy Document
- Locate the "View" link in the Actions column of the policy documents table.
- Click on the "View" link to open the selected policy document.
- Ensure you have the necessary permissions to view the document.
- Review the document details that appear after clicking.
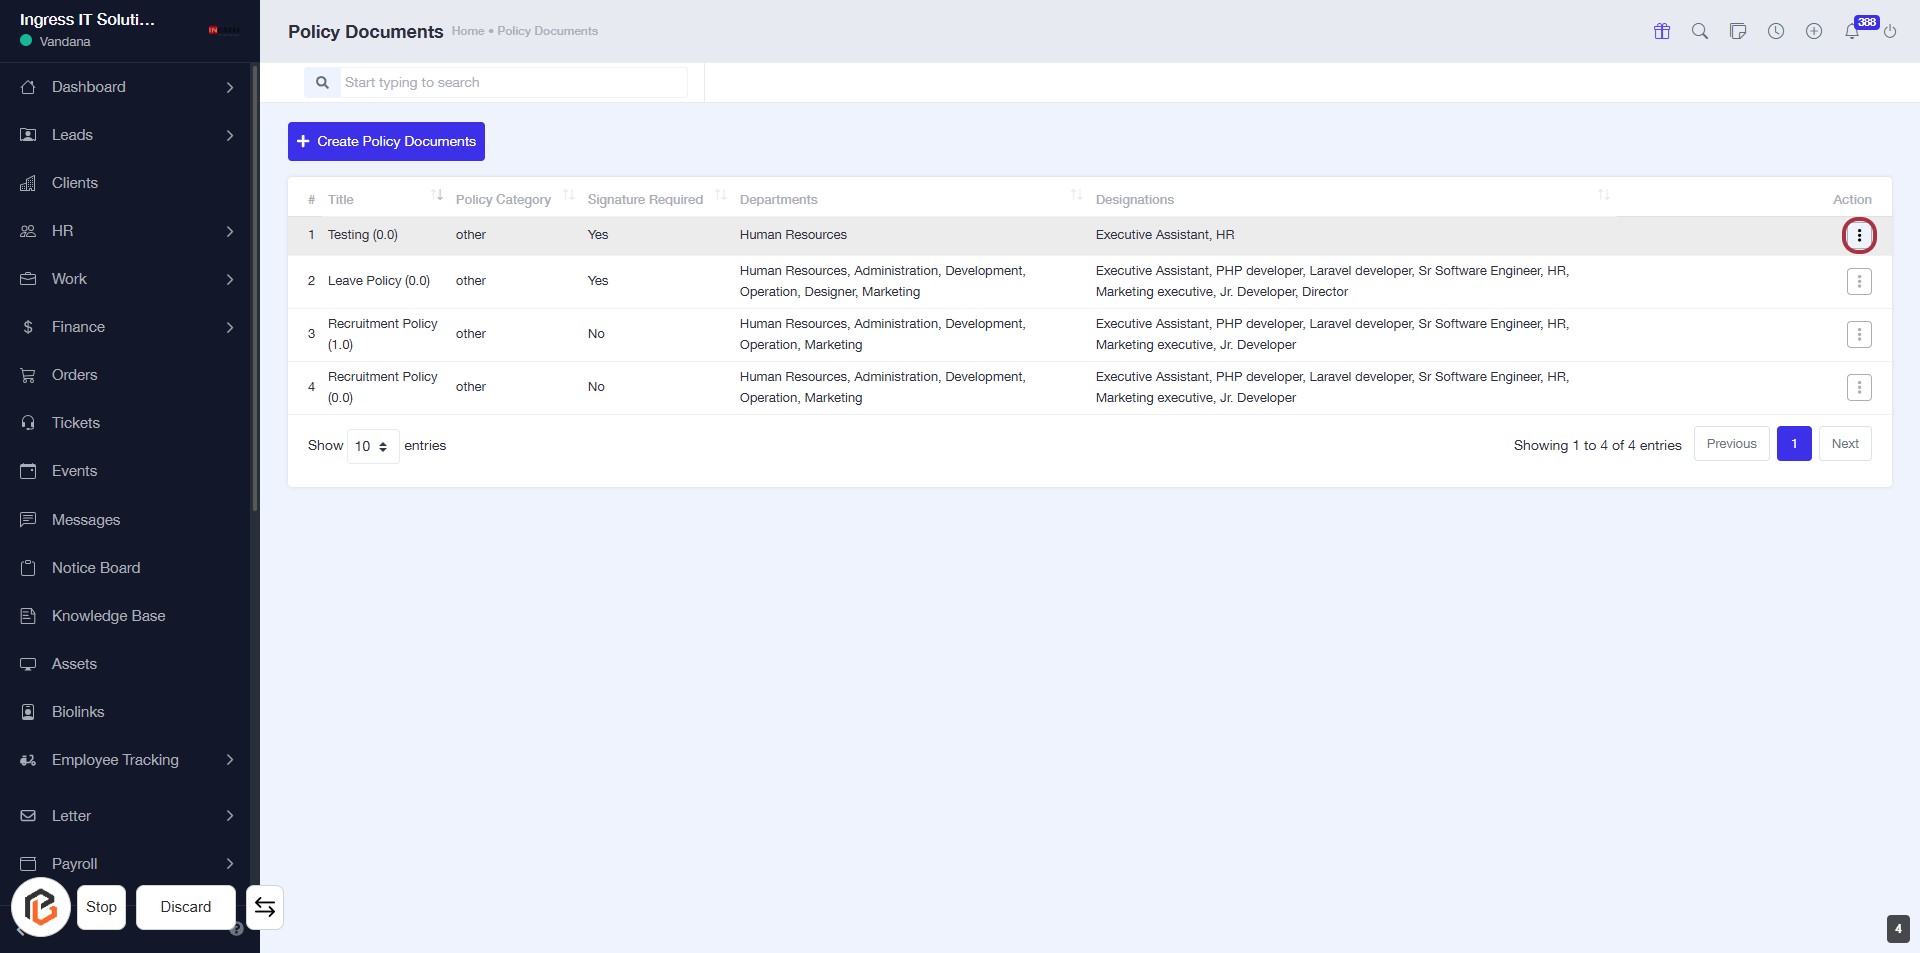
STEP 4: Click on "Option Menu" to Access Additional Actions
- Locate the highlighted area in the table under the "Action" column.
- Click on the three-dot menu icon to reveal more options related to the selected policy document.
- Ensure you have the necessary permissions to access these options.
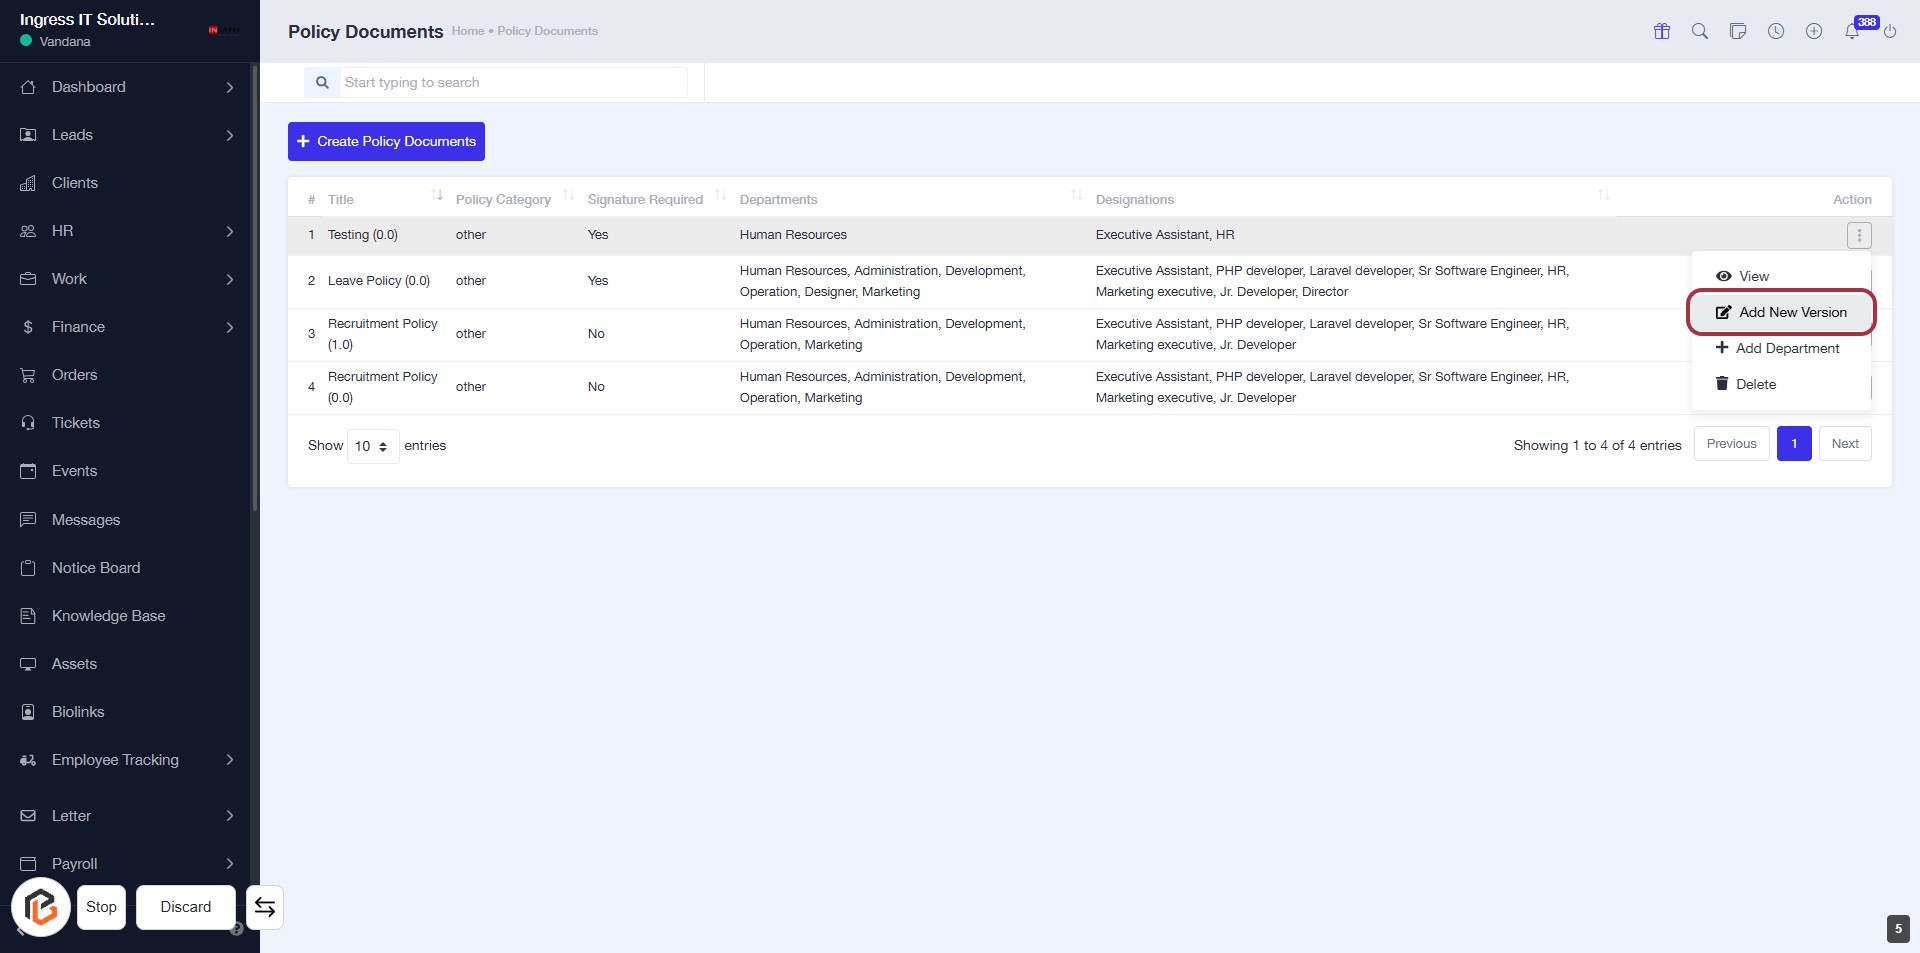
- Proceed to the next step by clicking on "Add New Version" after selecting the desired action.
STEP 5: Click on "Add New Version"
- Navigate to the "Policy Documents" section.
- Locate the "Add New Version" link in the Actions column.
- Click on the "Add New Version" link to proceed with adding a new version of the policy document.
- Ensure all required fields are filled out in the subsequent form that appears.
STEP 6: Click on "Option Menu" to Access Additional Actions
- Locate the highlighted area in the "Action" column of the policy documents table.
- Click on the three-dot menu icon to reveal additional options.
- Review the available actions for the selected policy document.
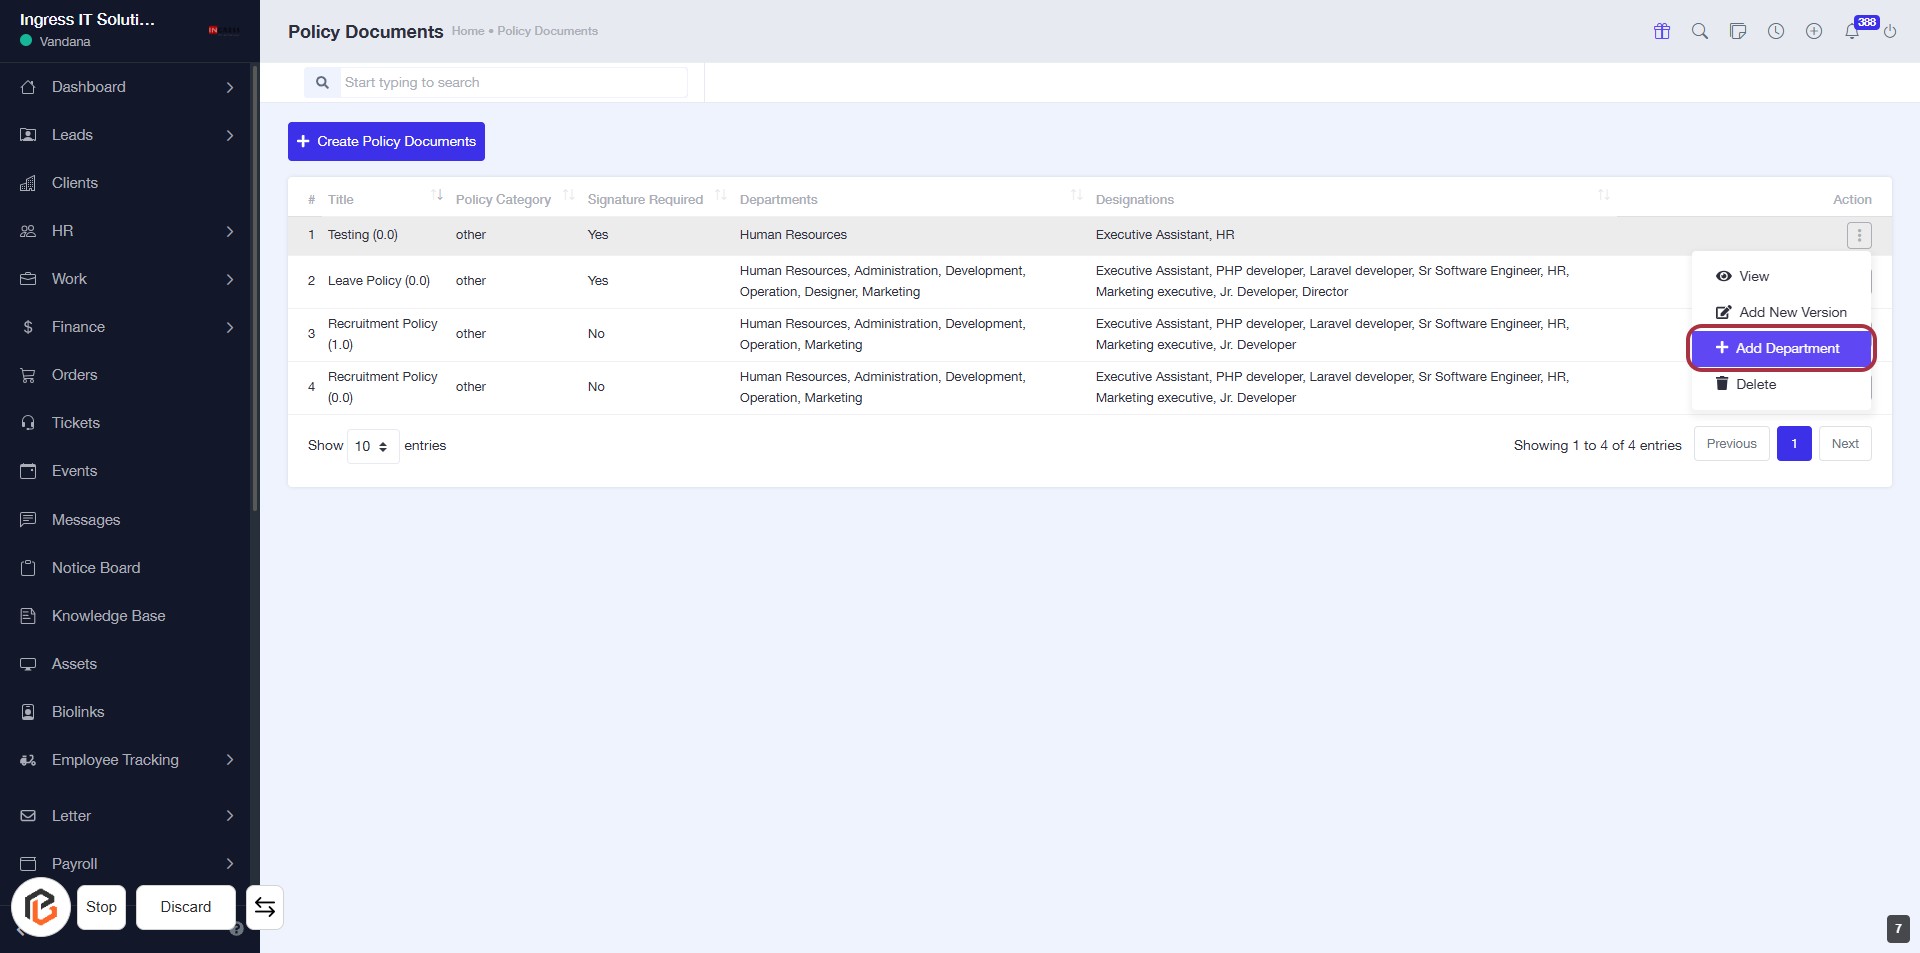
- Proceed to the next step by clicking on "Add Department" to include a new department in the policy document.

STEP 7: CLICK on "Add Department" to Add a New Department in Policy Document
- Navigate to the "Policy Documents" section.
- Locate the "Add Department" button highlighted in red.
- Click on "Add Department" to open the modal for adding a new department.
- Ensure all required fields are filled in the modal before submission.
STEP 8: Click on "Option Menu" to Access Additional Actions
- Locate the "Action" column in the Policy Documents table.
- Click on the highlighted area (indicated by the red border) to open the options menu.
- Review the available actions, including "Delete" for managing policy documents.
- Ensure you have selected the correct document before proceeding with any action.

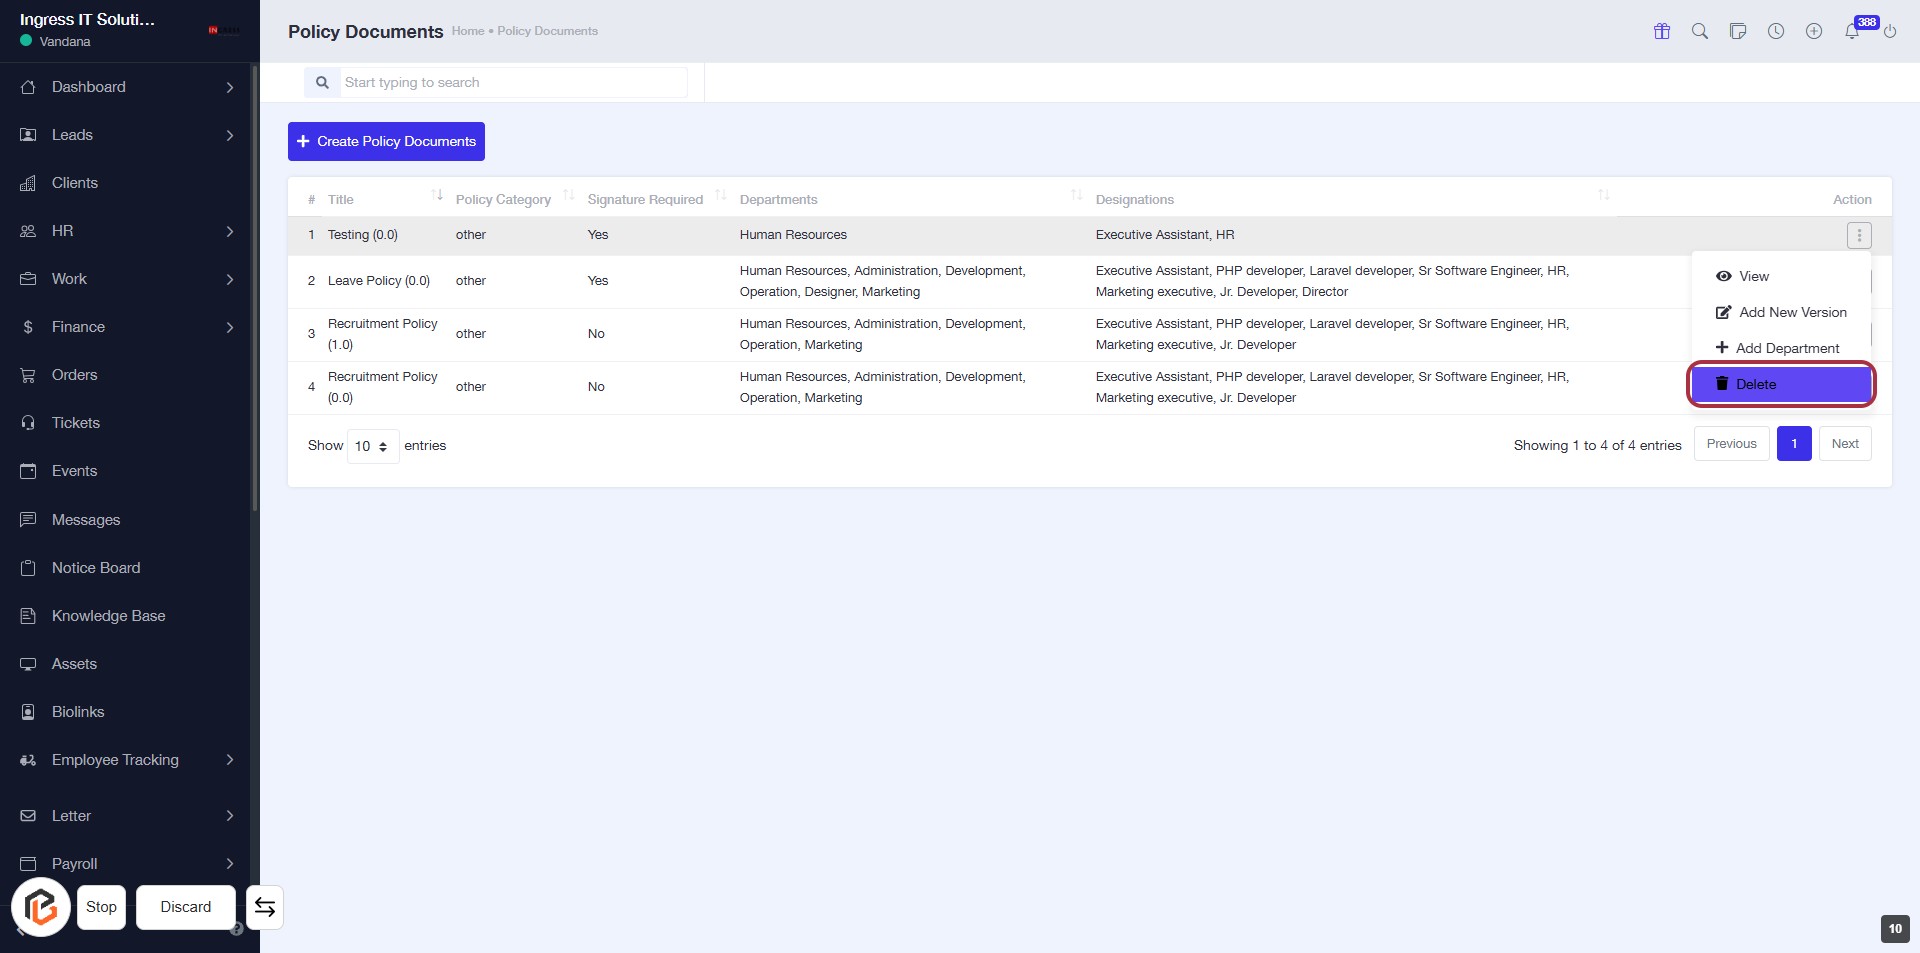
STEP 9: CLICK on "Delete" to Remove Policy Document
- Navigate to the "Policy Documents" section.
- Locate the document you wish to delete.
- Click on the "Delete" link in the Actions column.
- Confirm the deletion if prompted to ensure the document is permanently removed.