Step-by-Step Guide to Creating and Managing Objectives in Your Dashboard
16 mins read · Updated 29 Sep, 2025
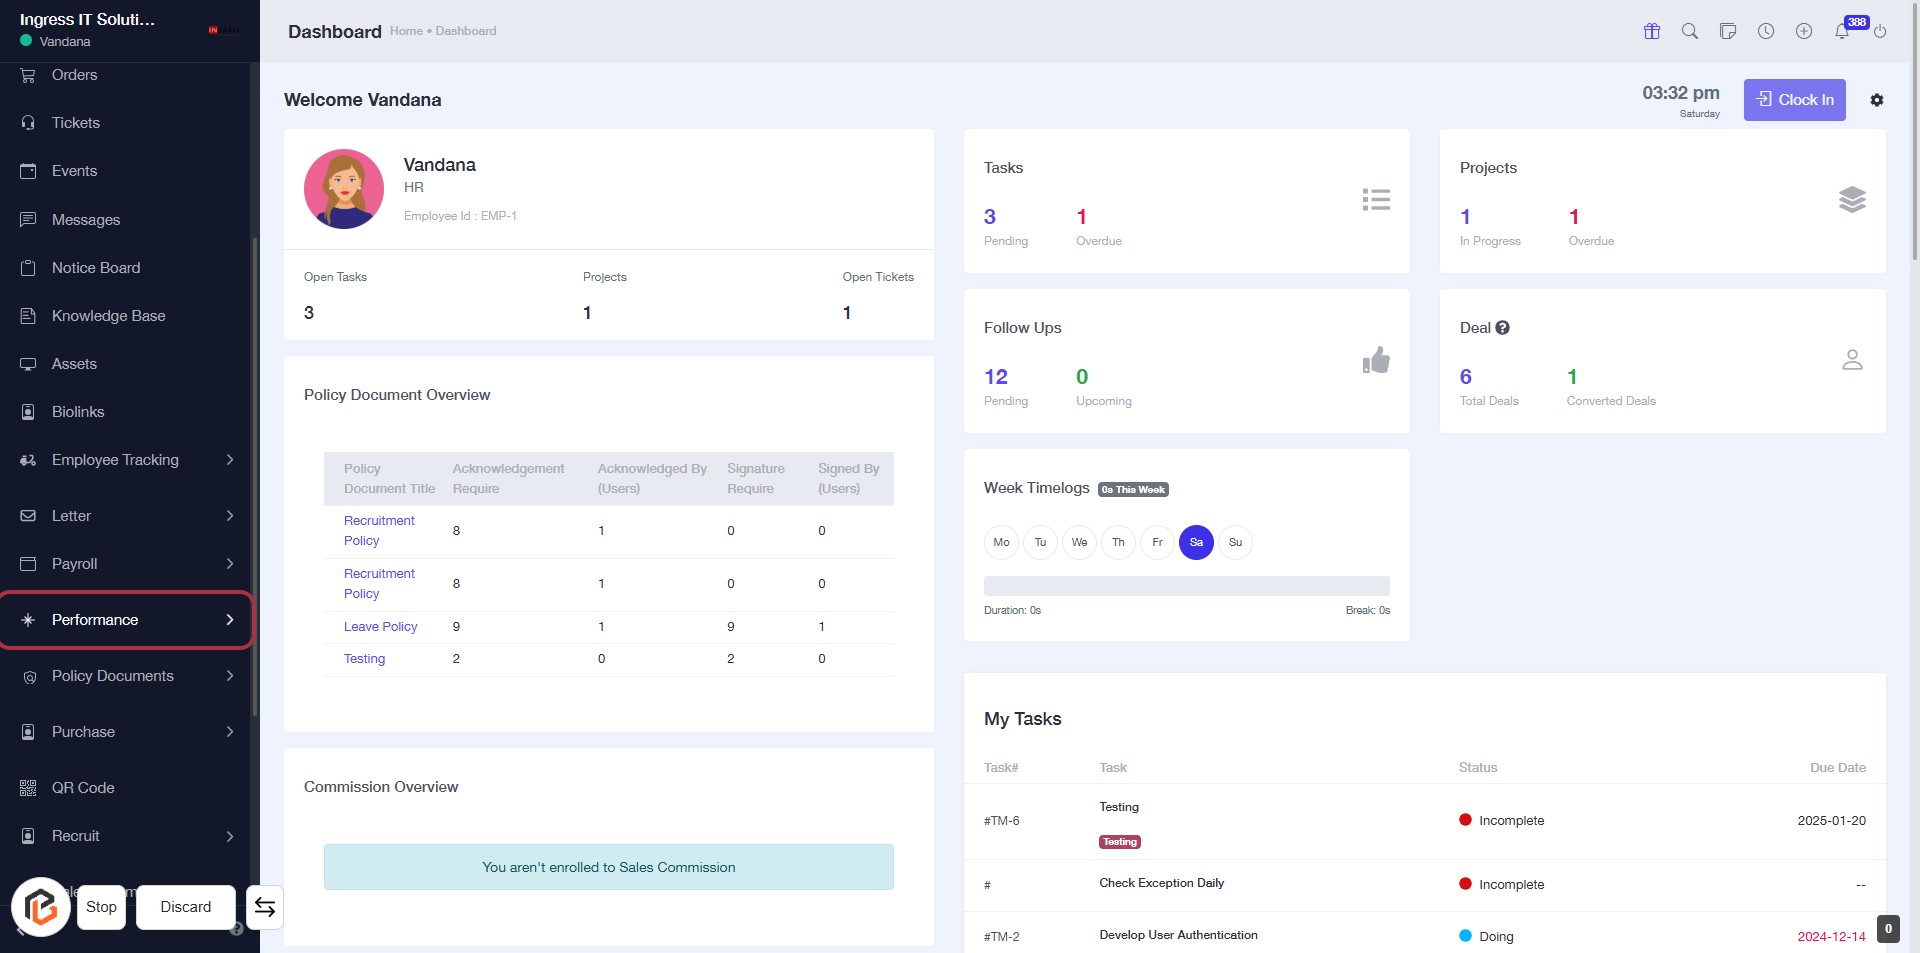
STEP 1: Click on "Performance" in the Dashboard
- Navigate to the left sidebar of the dashboard.
- Click on the Performance link to access performance-related information.
- Ensure you are on the Dashboard page before clicking.
- This action will lead you to the next step, where you will explore Objectives.
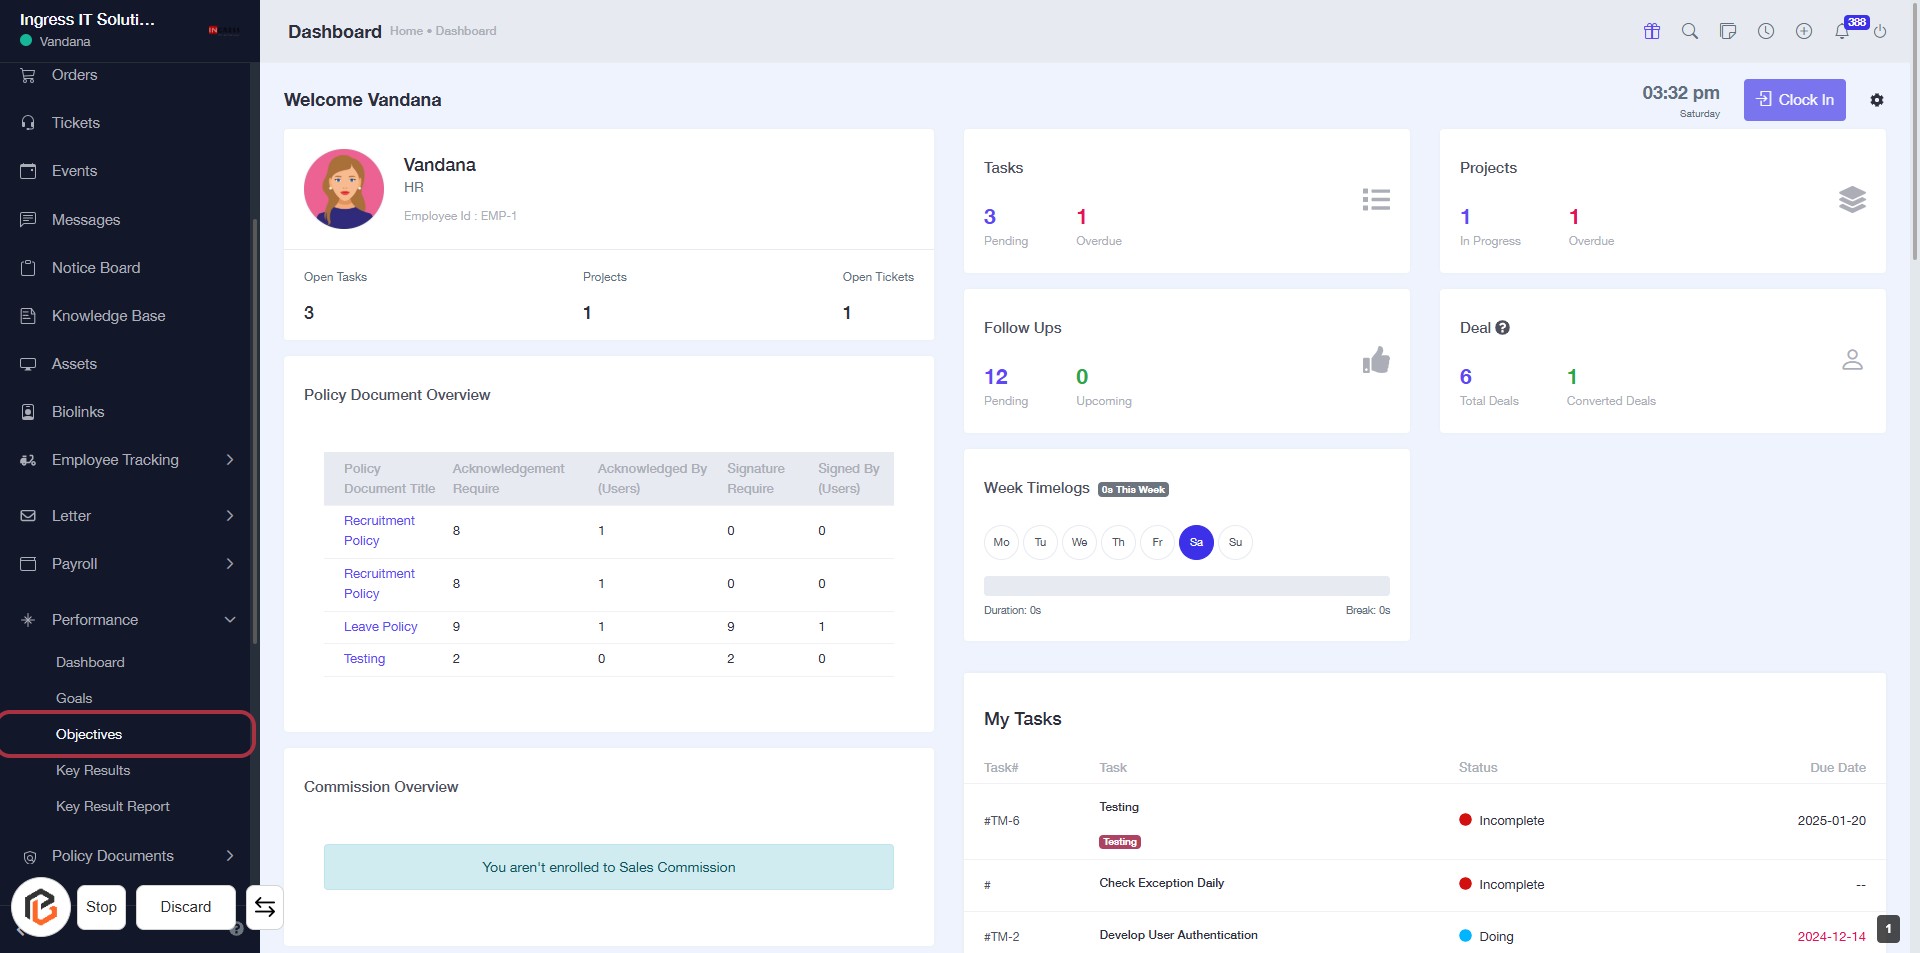
STEP 2: Click on "Objectives" in the Dashboard
- Navigate to the left sidebar and locate the "Objectives" option.
- Click on the "Objectives" link to access the objectives section.
- Ensure you are on the correct page by checking the breadcrumb trail at the top.
- After clicking, you will be directed to the objectives overview where you can manage your objectives.
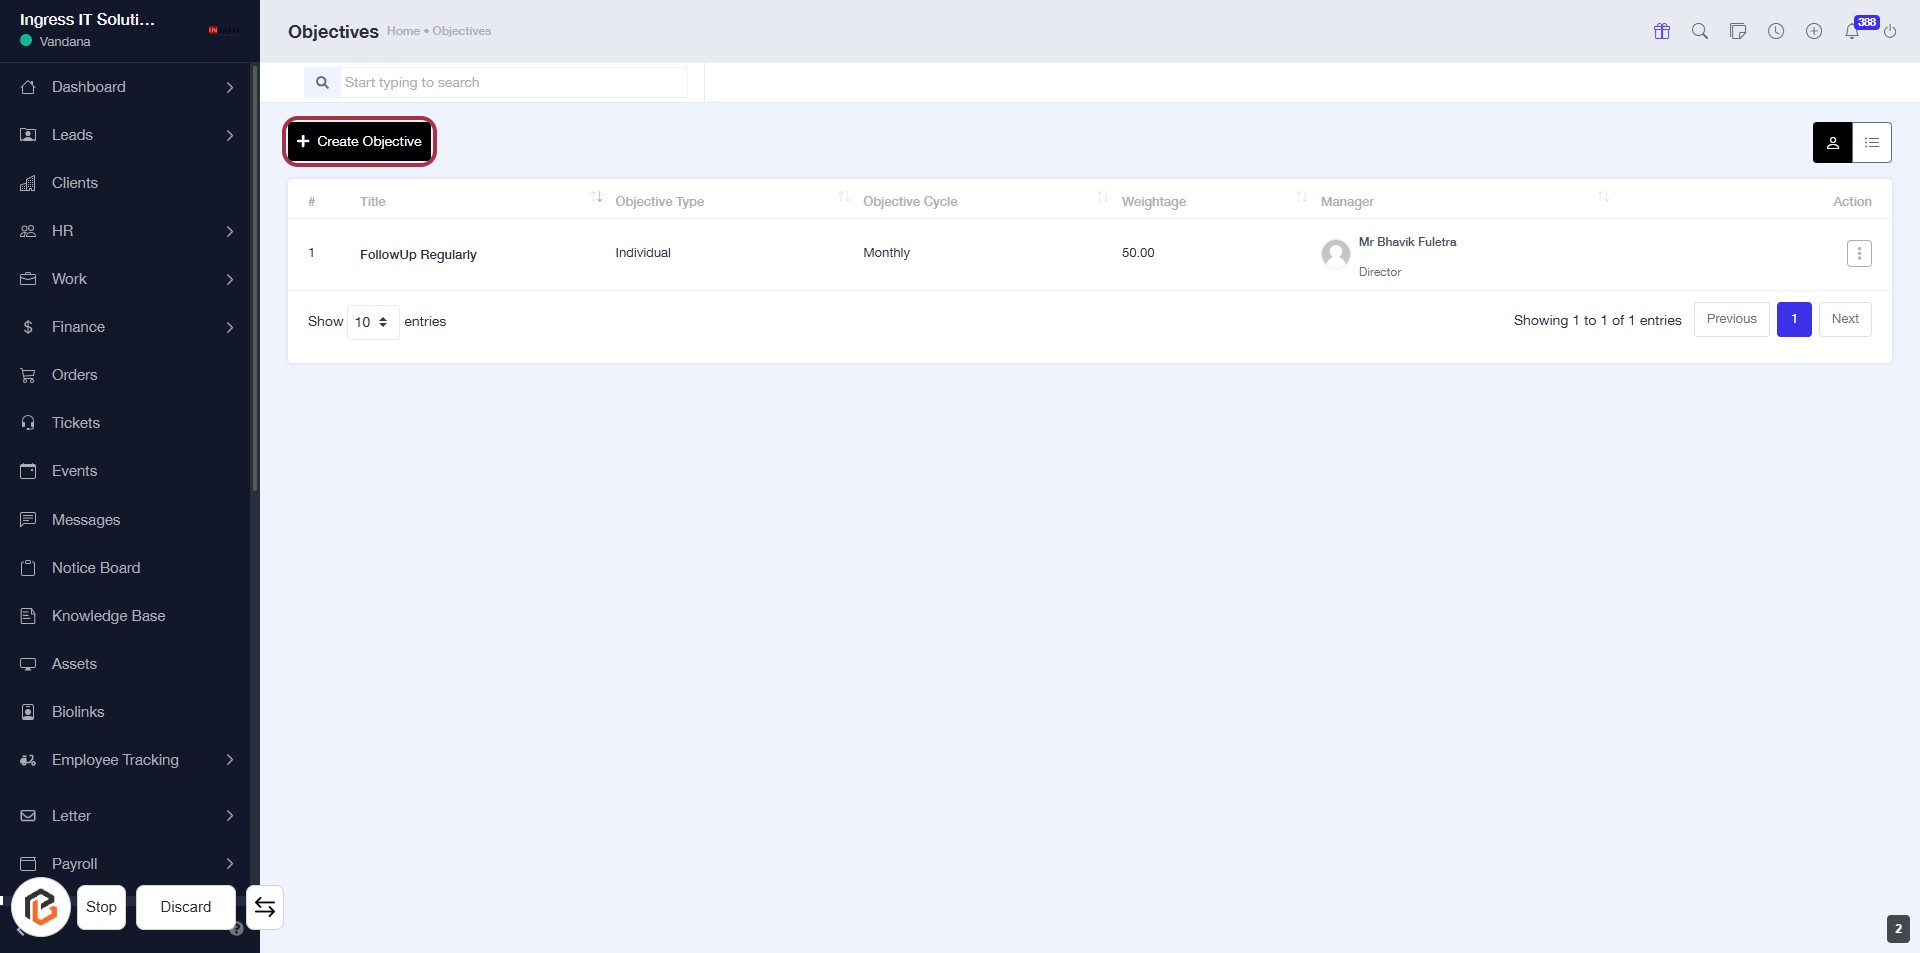
STEP 3: Click on "Create Objective"
- Navigate to the "Objectives" page.
- Locate the Create Objective button highlighted in red.
- Click on the Create Objective button to proceed to the next step.
- Ensure all required fields are filled out in the upcoming form.
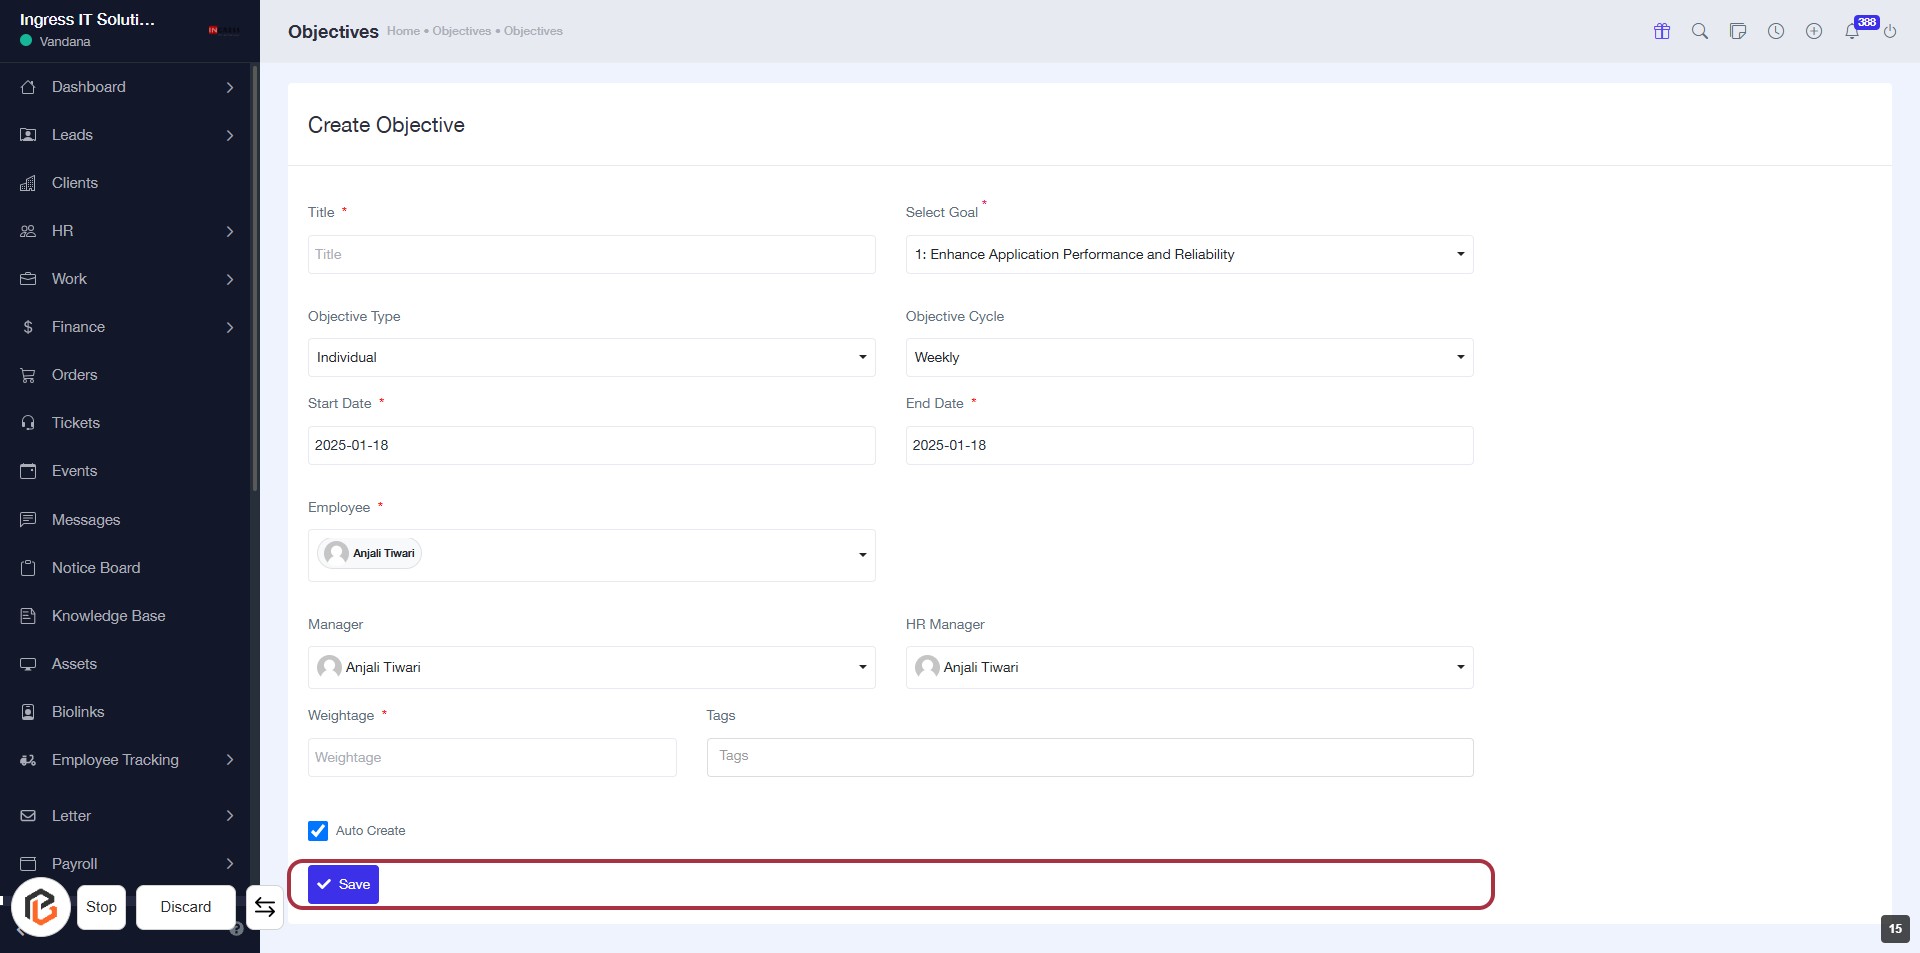
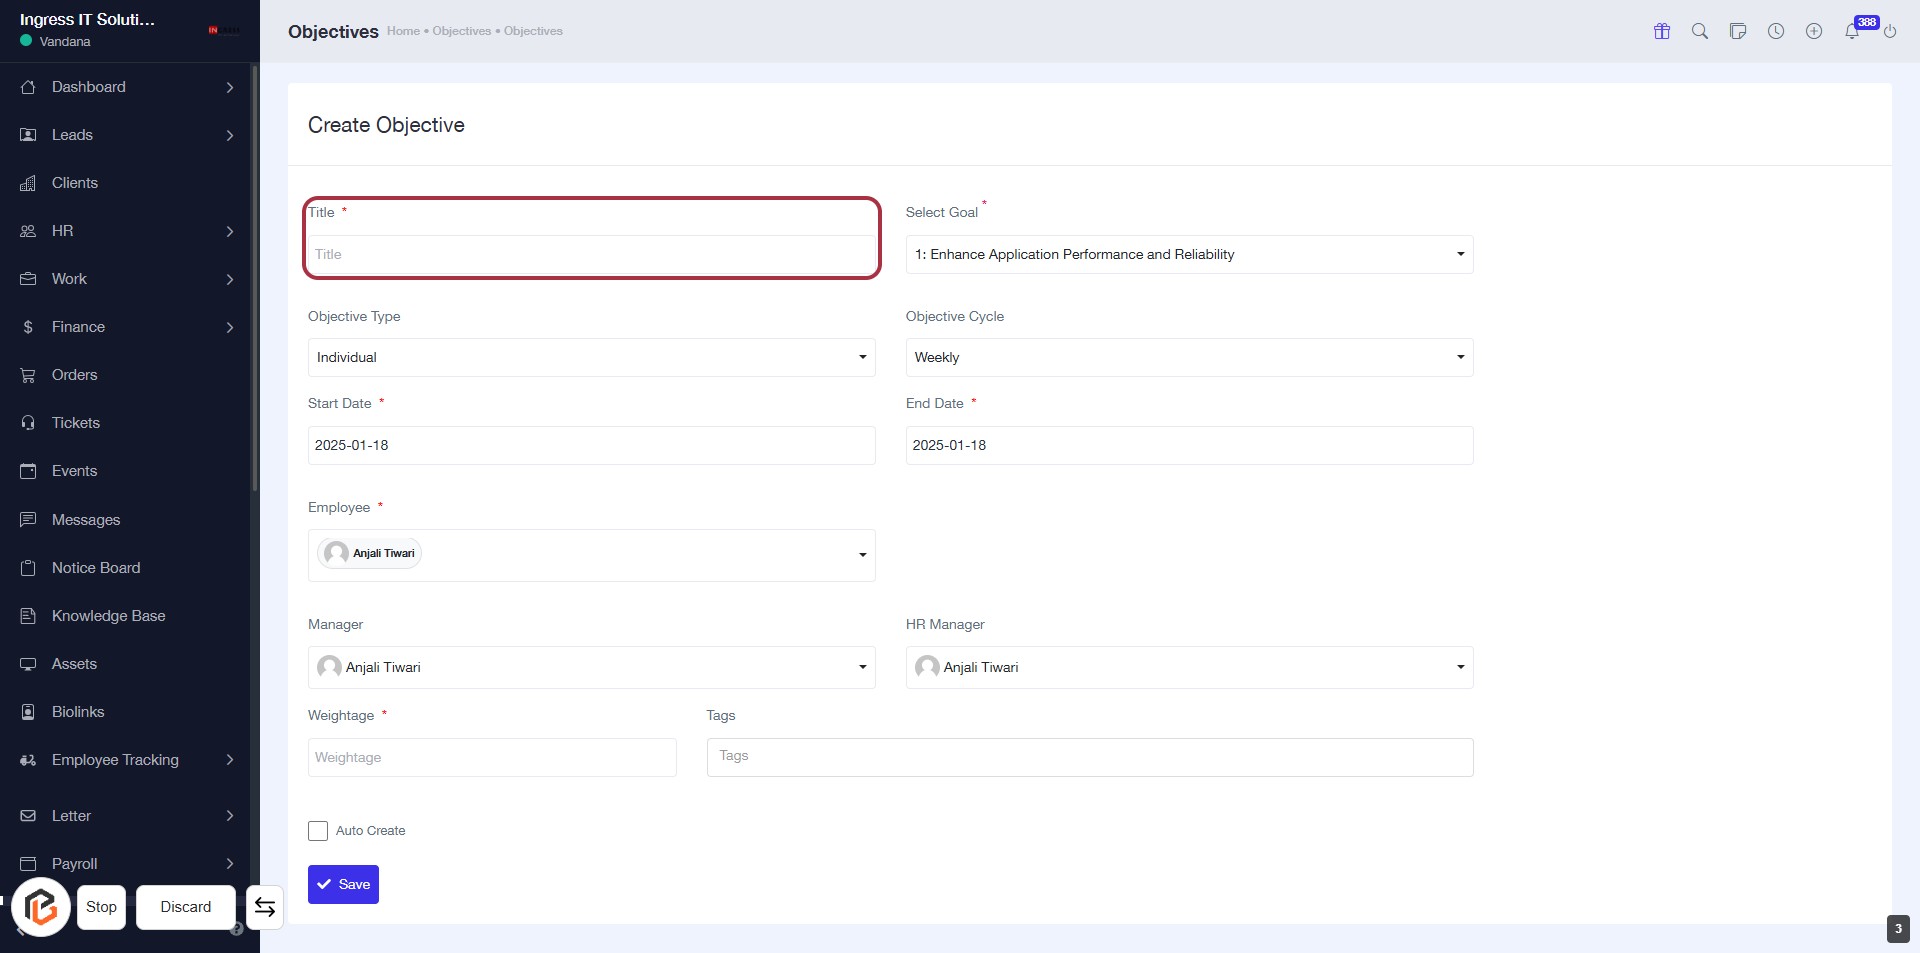
STEP 4: Enter Title for Objective
- Click on the "Title" field (marked with a red border).
- Enter a descriptive title for your objective (required field).
- Ensure the title accurately reflects the goal of the objective.
- Proceed to the next step by clicking on "Select Goal".
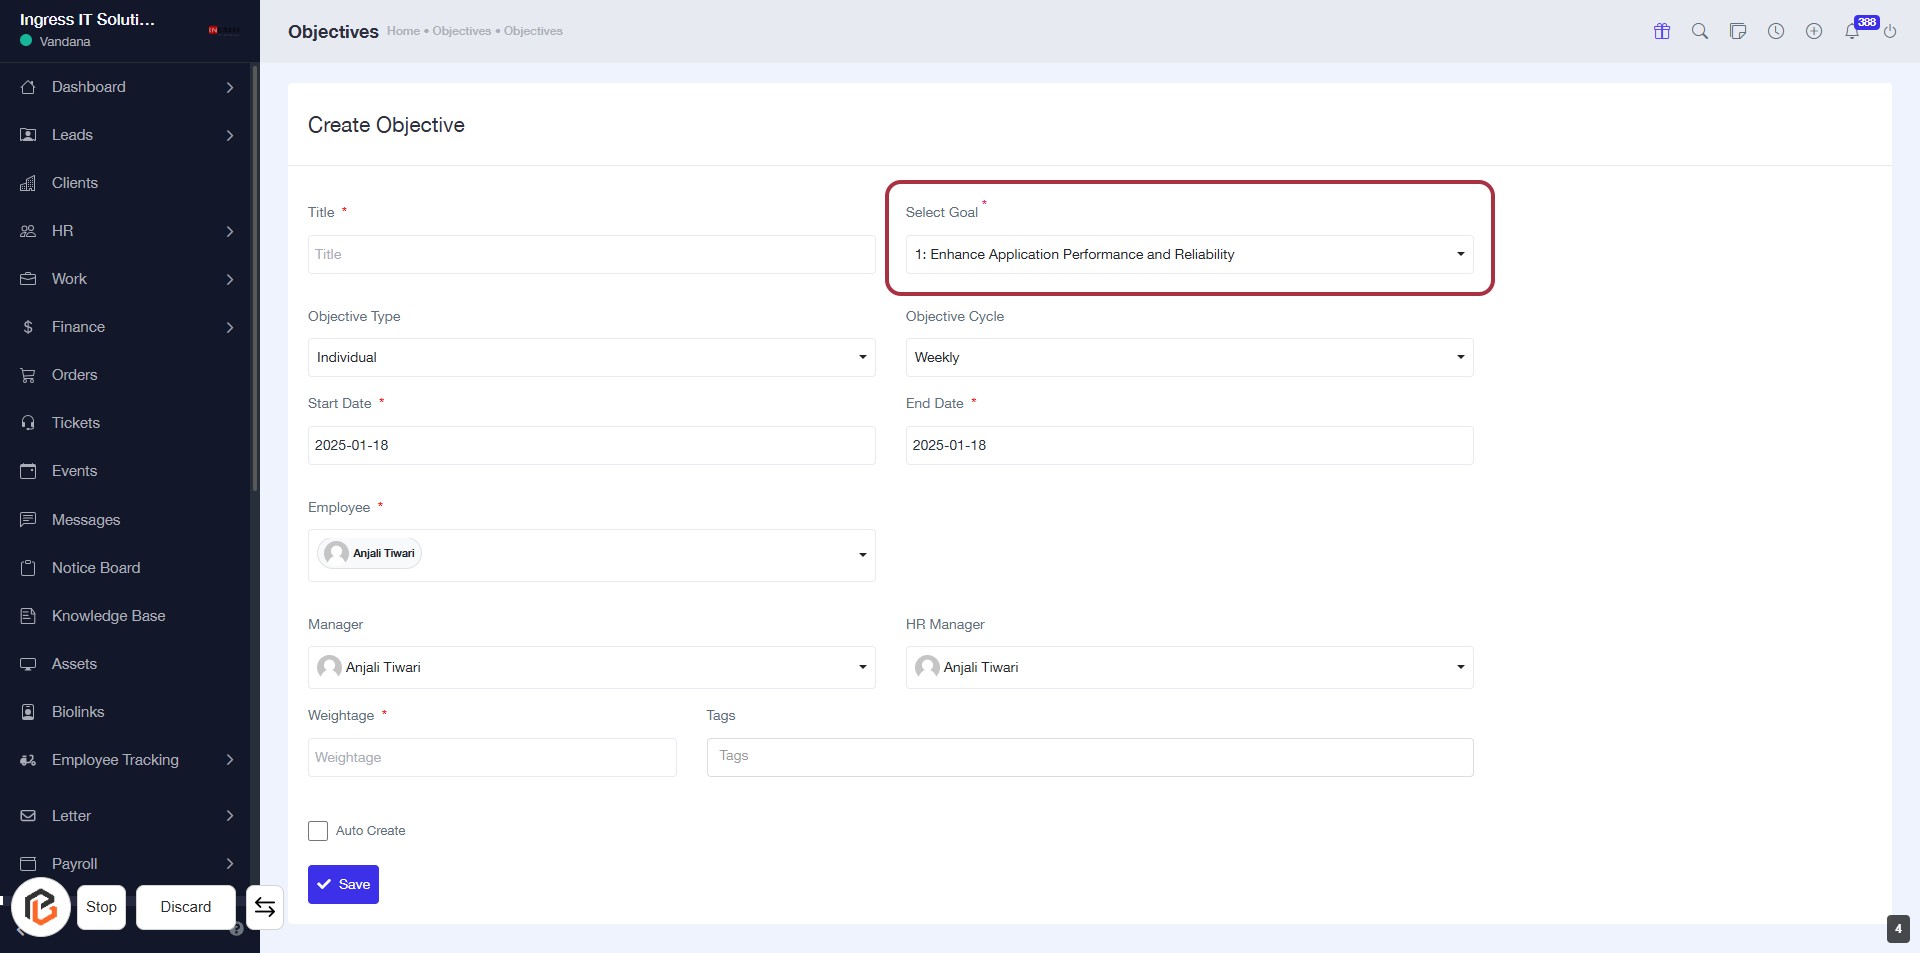
STEP 5: Click on "Select Goal"
- Locate the "Select Goal" field in the form.
- Click on the dropdown to view available goals.
- Choose the appropriate goal from the list.
- Ensure the selected goal is marked with an asterisk (*) indicating it's a required field.
- Proceed to the next step by selecting "Objective Type."
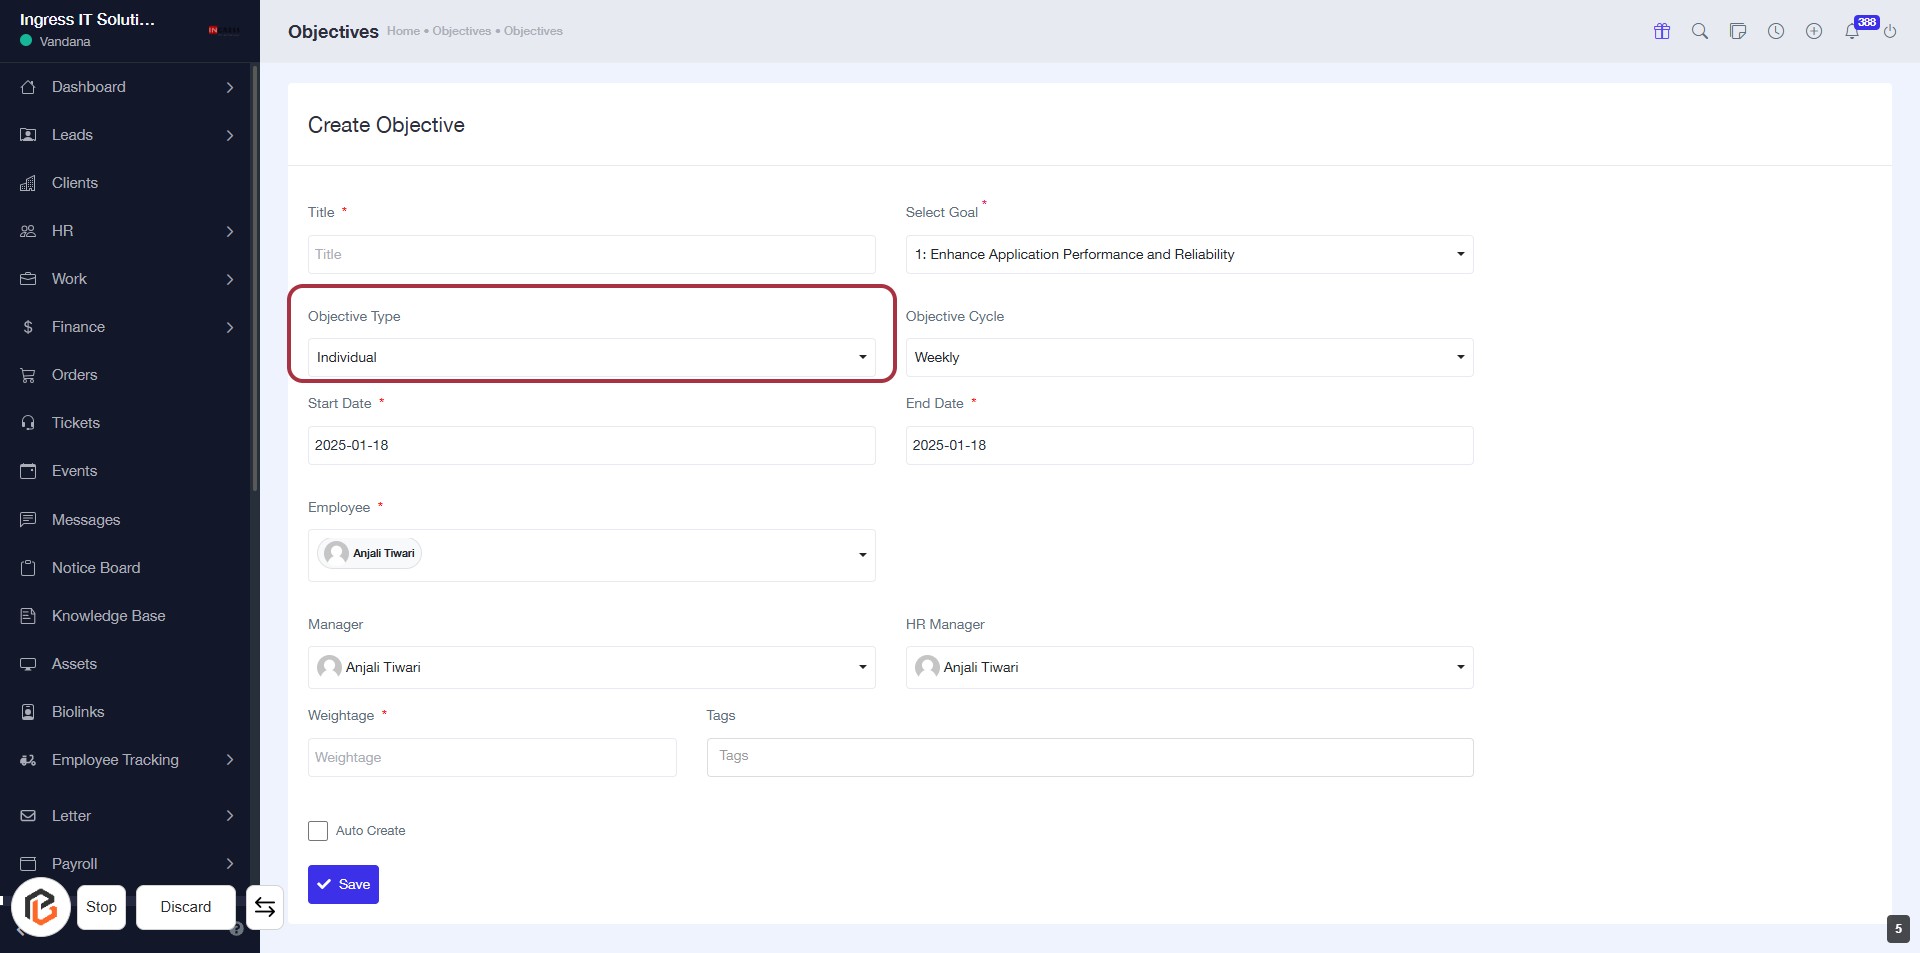
STEP 6: Select "Objective Type"
- Click on the "Objective Type" field highlighted in red.
- Choose the appropriate option (e.g., "Individual") from the dropdown menu.
- Ensure all required fields marked with an asterisk (*) are filled out.
- Proceed to the next step by selecting "Objective Cycle."
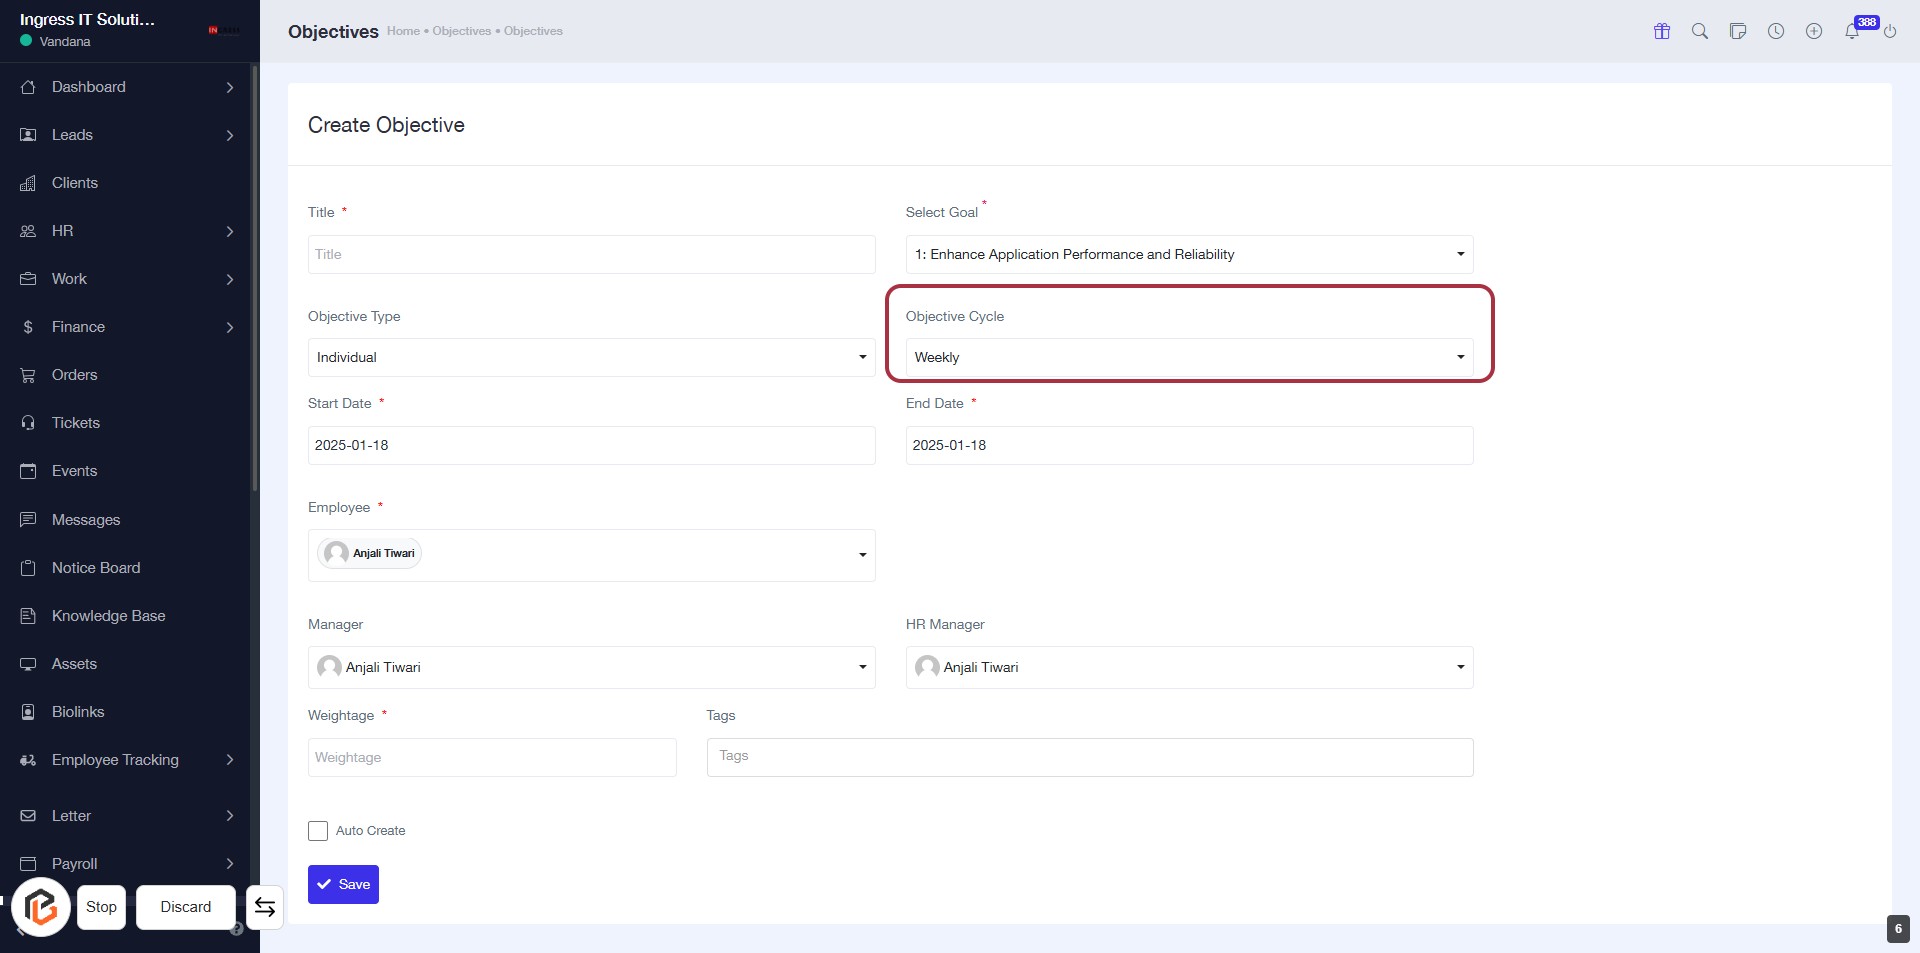
STEP 7: Select "Objective Cycle"
- Click on the "Objective Cycle" dropdown.
- Choose "Weekly" from the options available.
- Ensure all required fields marked with an asterisk (*) are filled out.
- Proceed to the next step by selecting "Start Date."
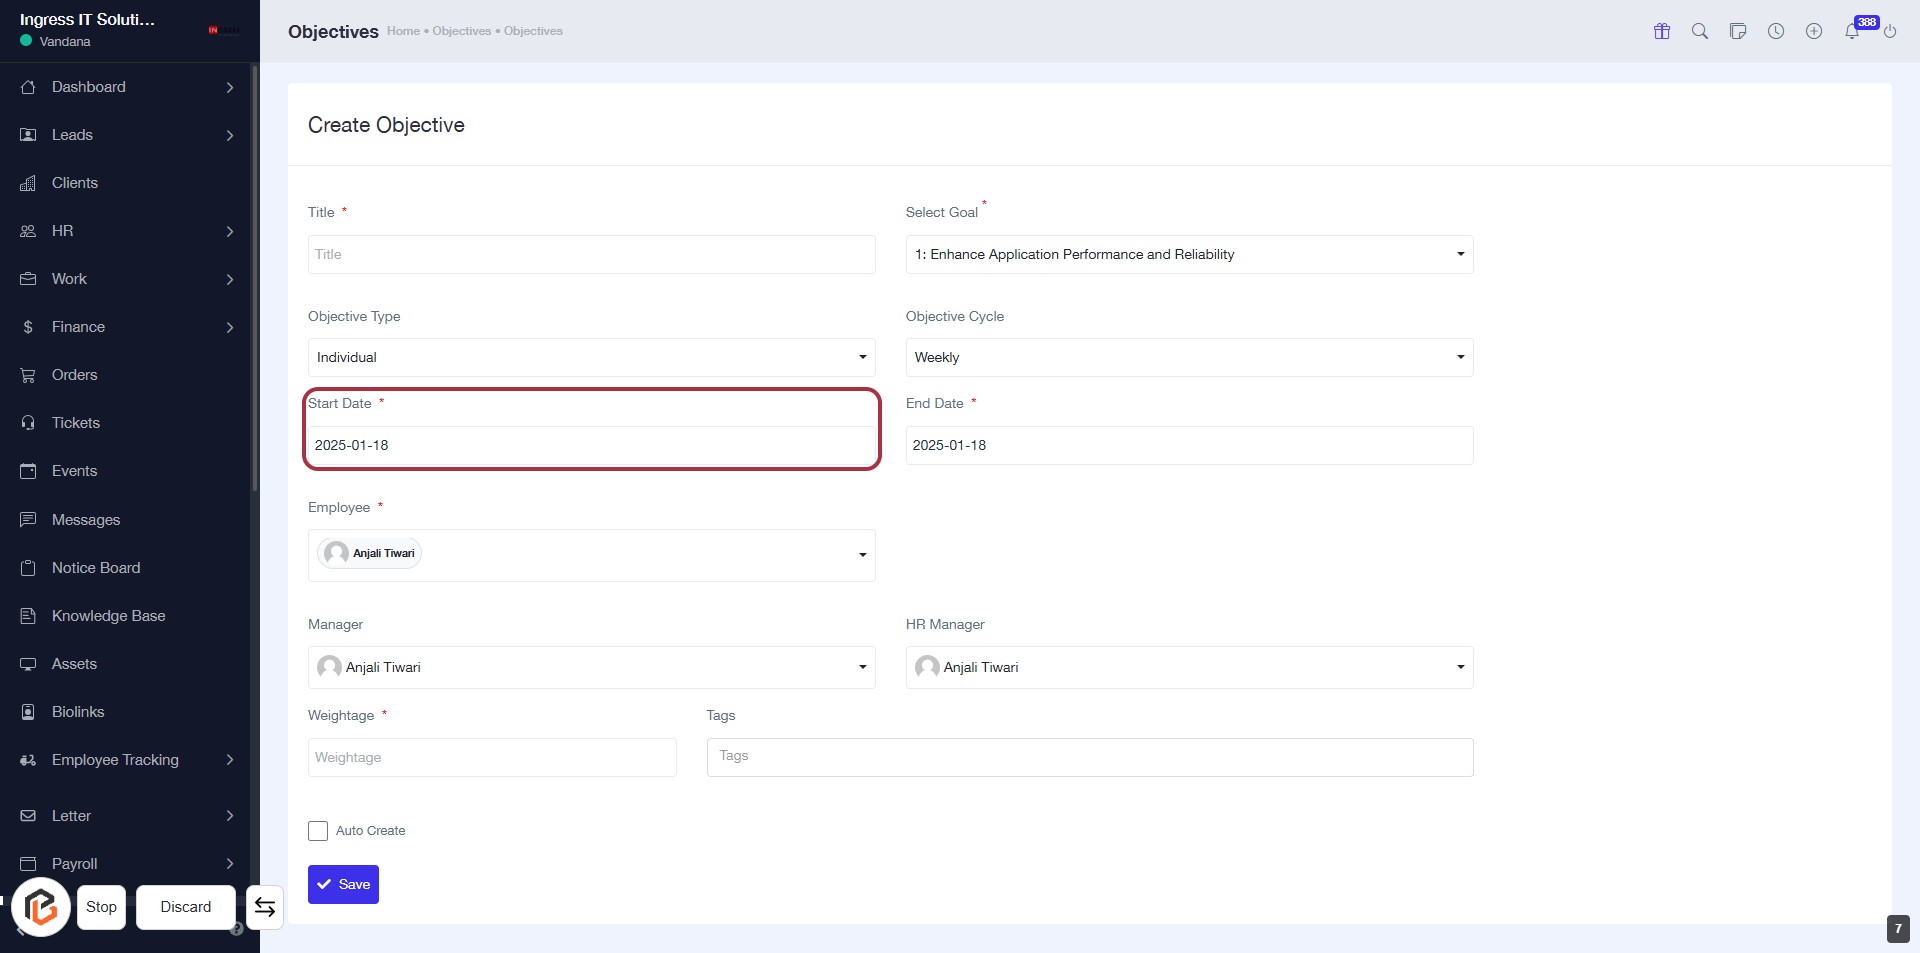
STEP 8: Select "Start Date"
- Click on the "Start Date" field (marked with an asterisk * for required input).
- A date picker will appear; choose the desired start date.
- Ensure the selected date aligns with your project timeline.
- Proceed to the next step by selecting "End Date."
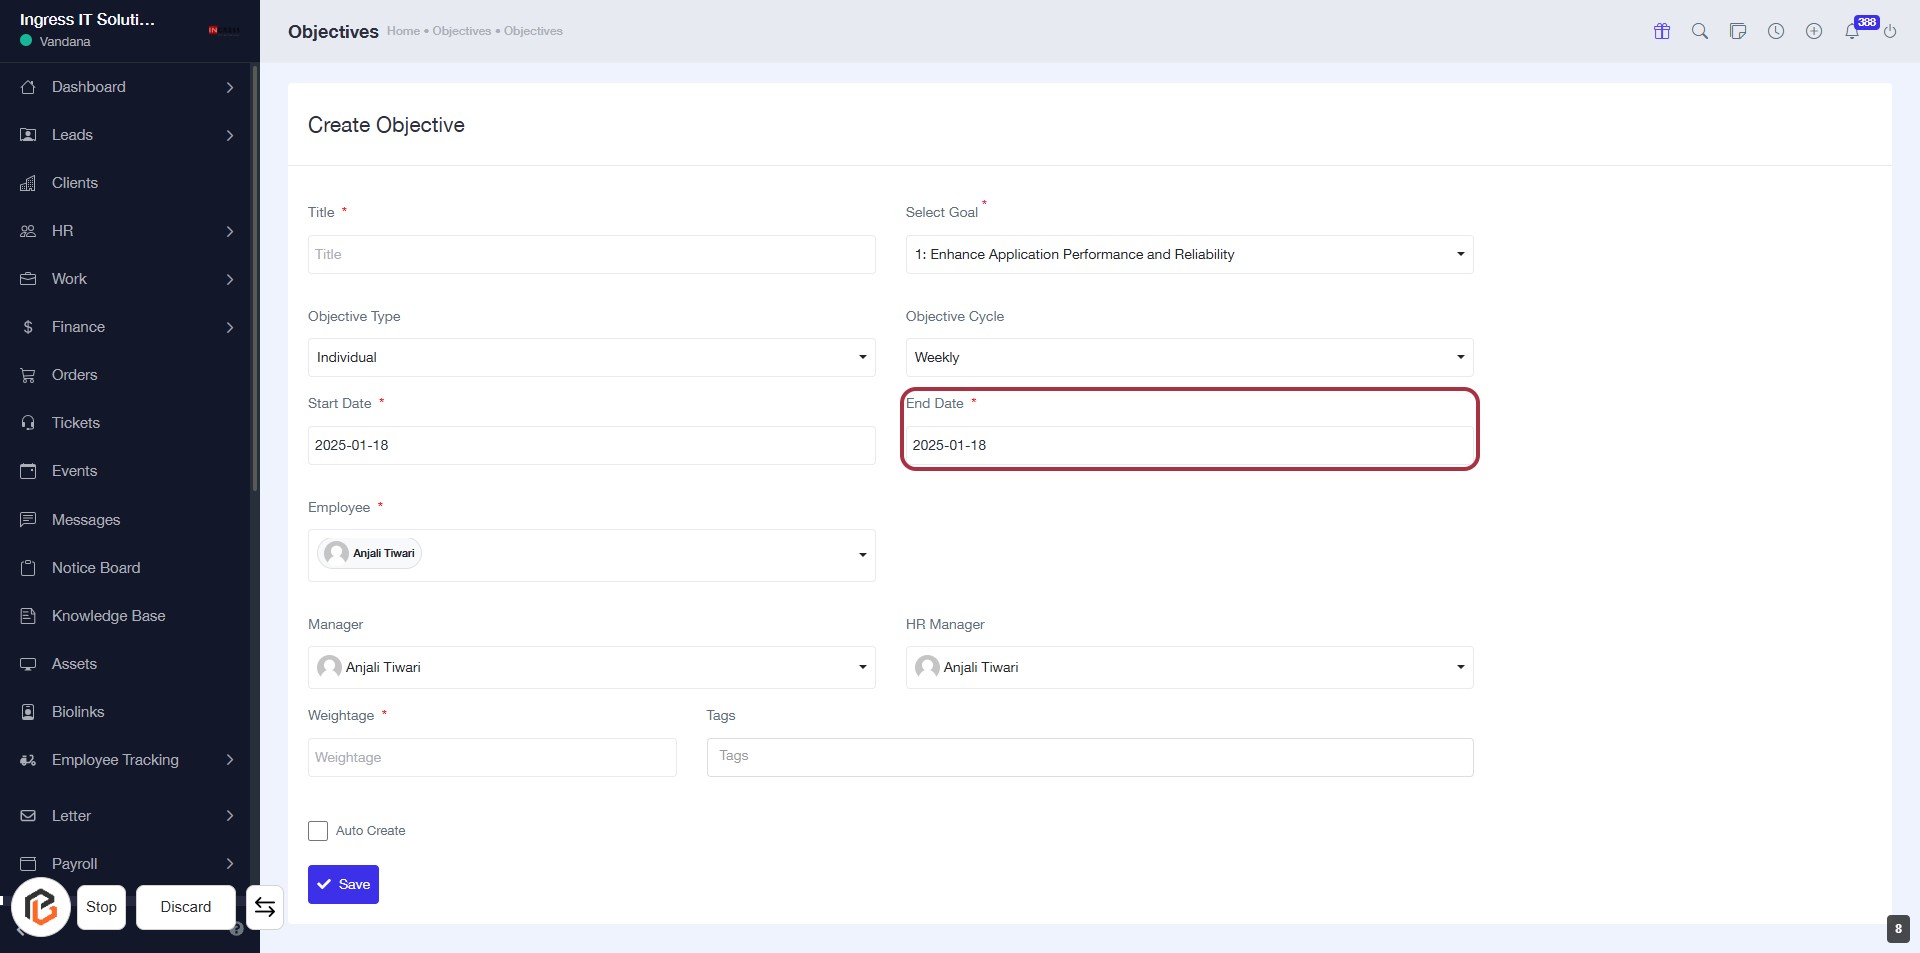
STEP 9: Select "End Date"
- Click on the "End Date" field to open the date picker.
- Ensure to fill in the required date format.
- Look for the asterisk (*) indicating that this field is mandatory.
- After selecting the date, proceed to the next step by selecting "Employee."
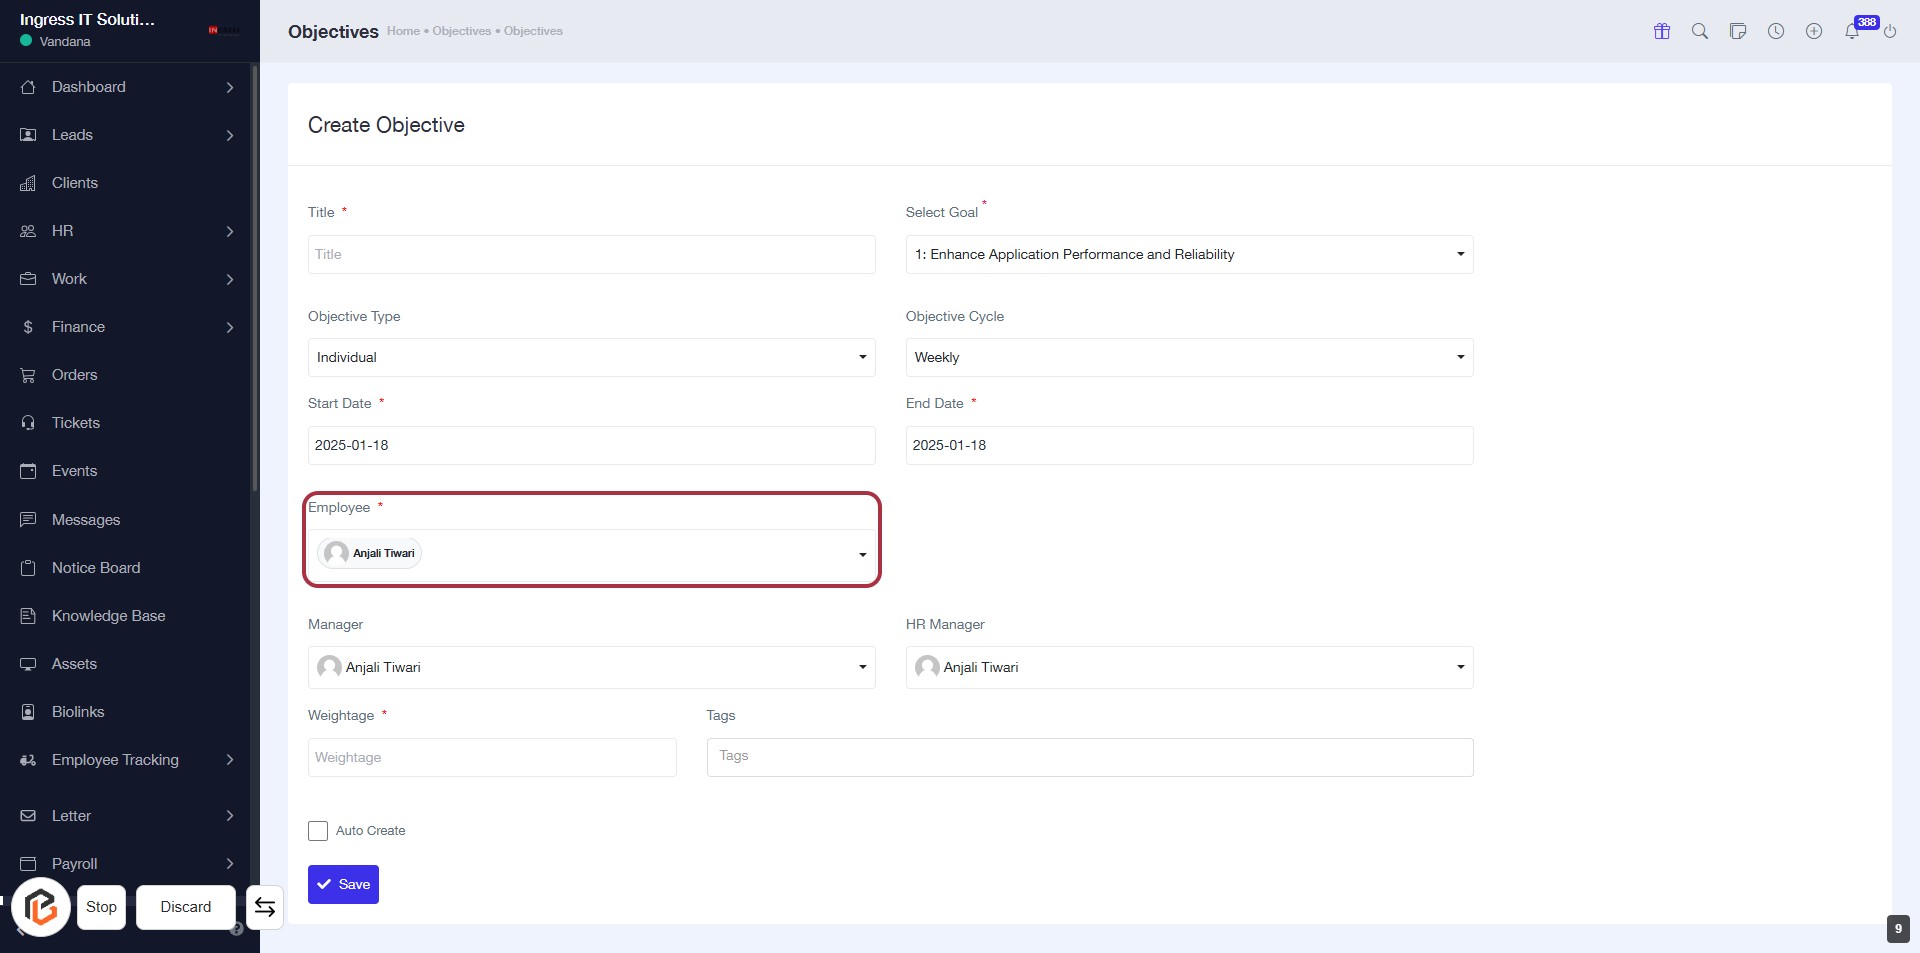
STEP 10: Click "Employee" to Select
- Navigate to the "Employee" field in the form.
- Click on the highlighted area to open the selection menu.
- Choose the desired employee from the dropdown list.
- Ensure that the field marked with an asterisk (*) is filled, as it is required.
- Proceed to the next step by selecting "Manager."
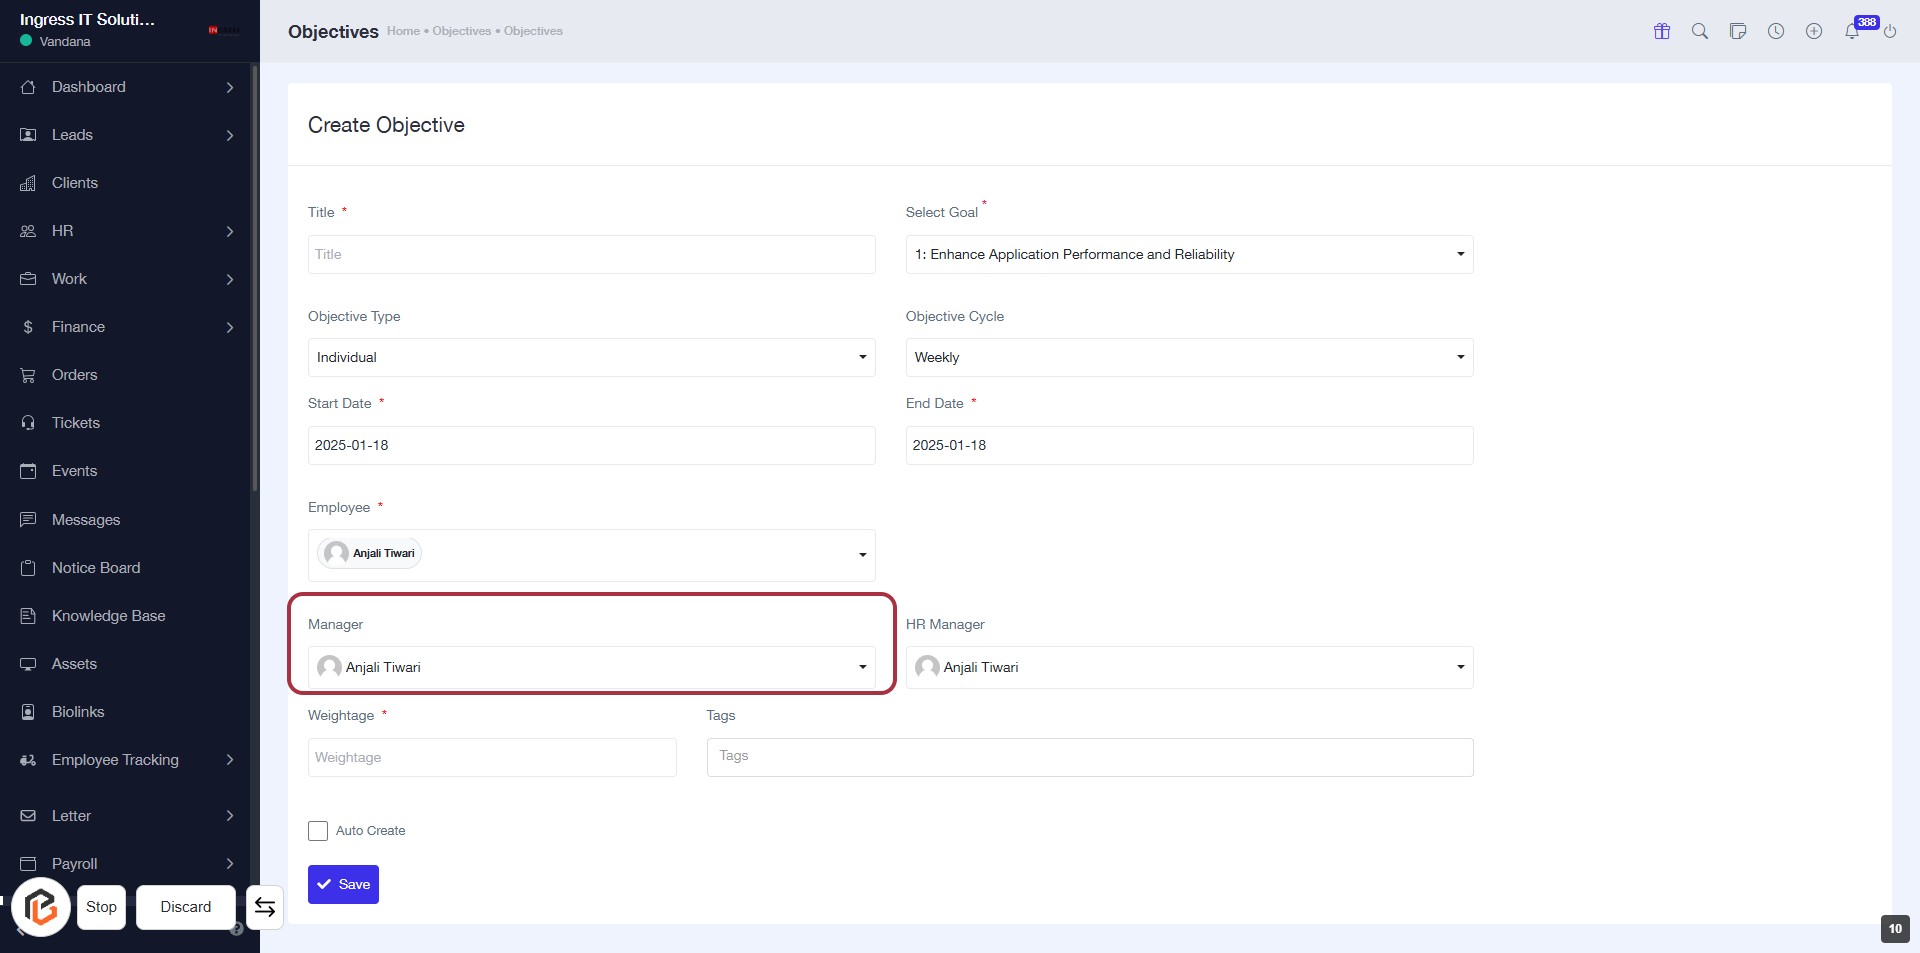
STEP 11: Select "Manager"
- Click on the "Manager" field to choose the appropriate manager for the objective.
- Ensure that the selected manager's name appears correctly (e.g., Anjali T).
- Review other required fields marked with an asterisk (*) to complete the form.
- Proceed to the next step by selecting "HR Manager."
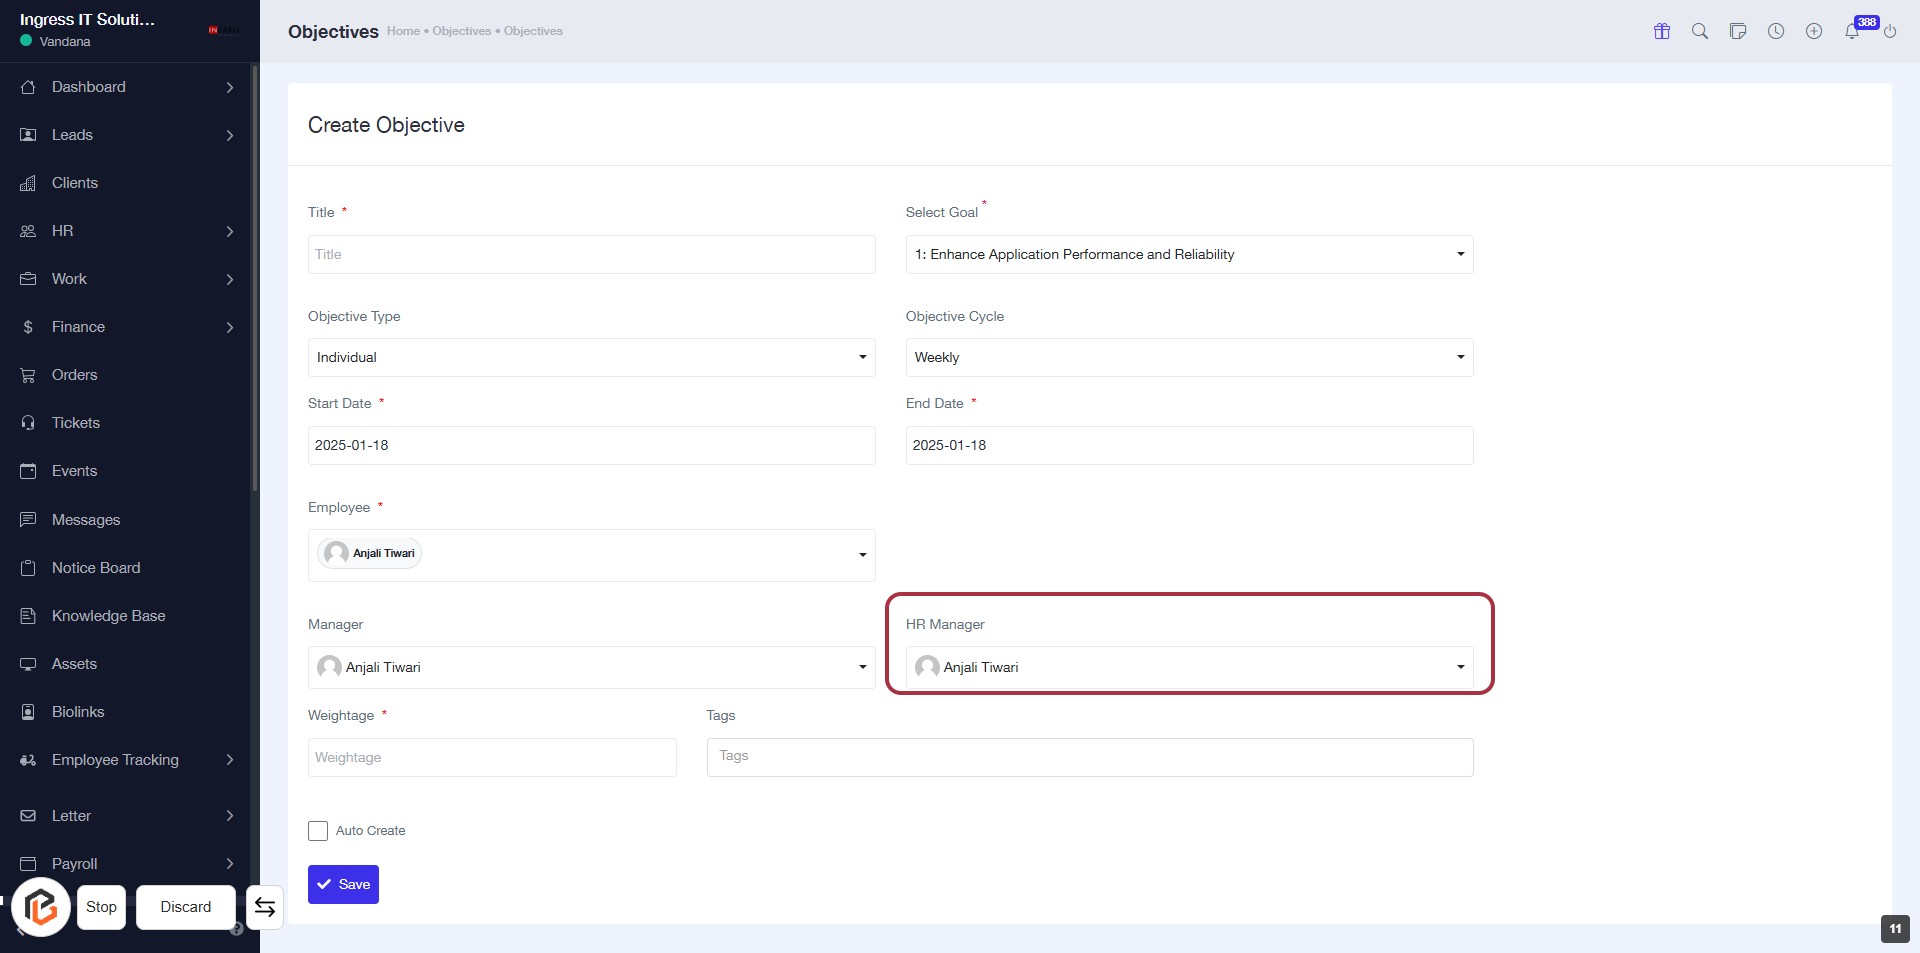
STEP 12: Select "HR Manager"
- Click on the "HR Manager" field in the form.
- Ensure the correct manager is displayed.
- If needed, select from the dropdown list of available managers.
- Confirm the selection before proceeding to the next step.
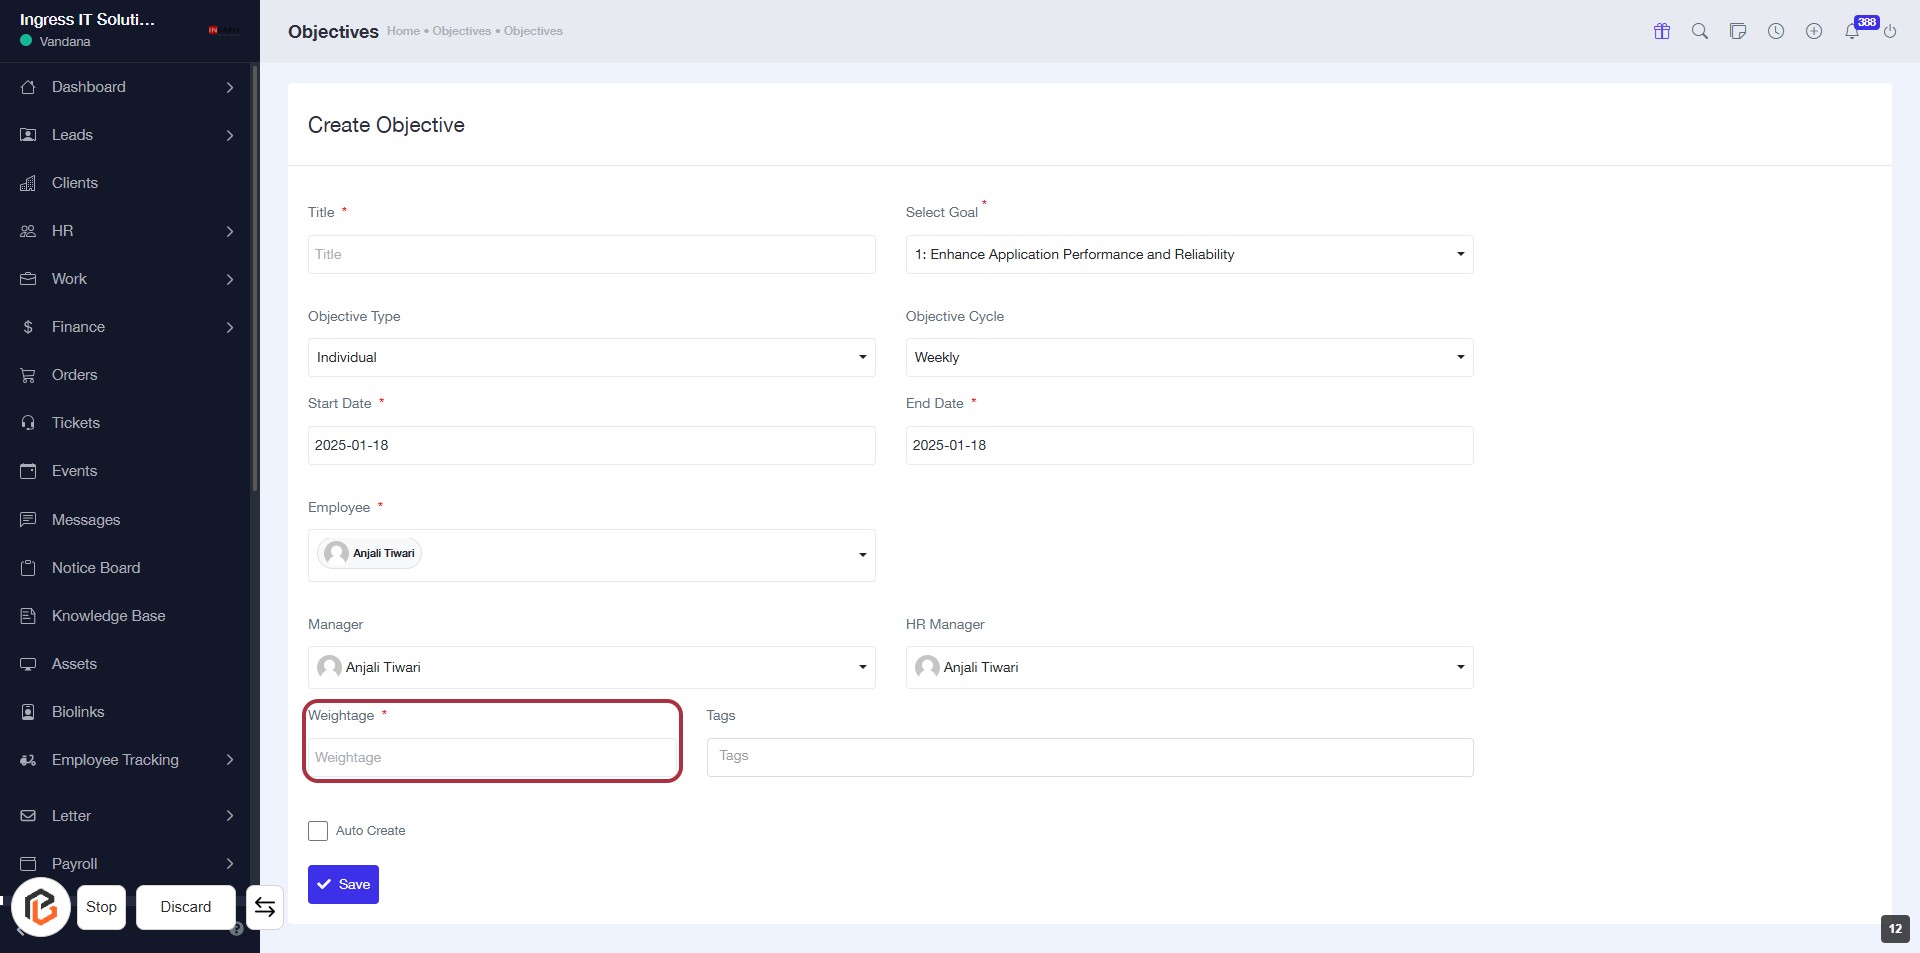
STEP 13: Enter Weightage for the Objective
- Click on the "Weightage" field highlighted in red.
- Input the required weightage value (indicated by the asterisk *).
- Ensure all other mandatory fields are filled before proceeding.
- After entering the weightage, you can move to the next step to add "Tags".
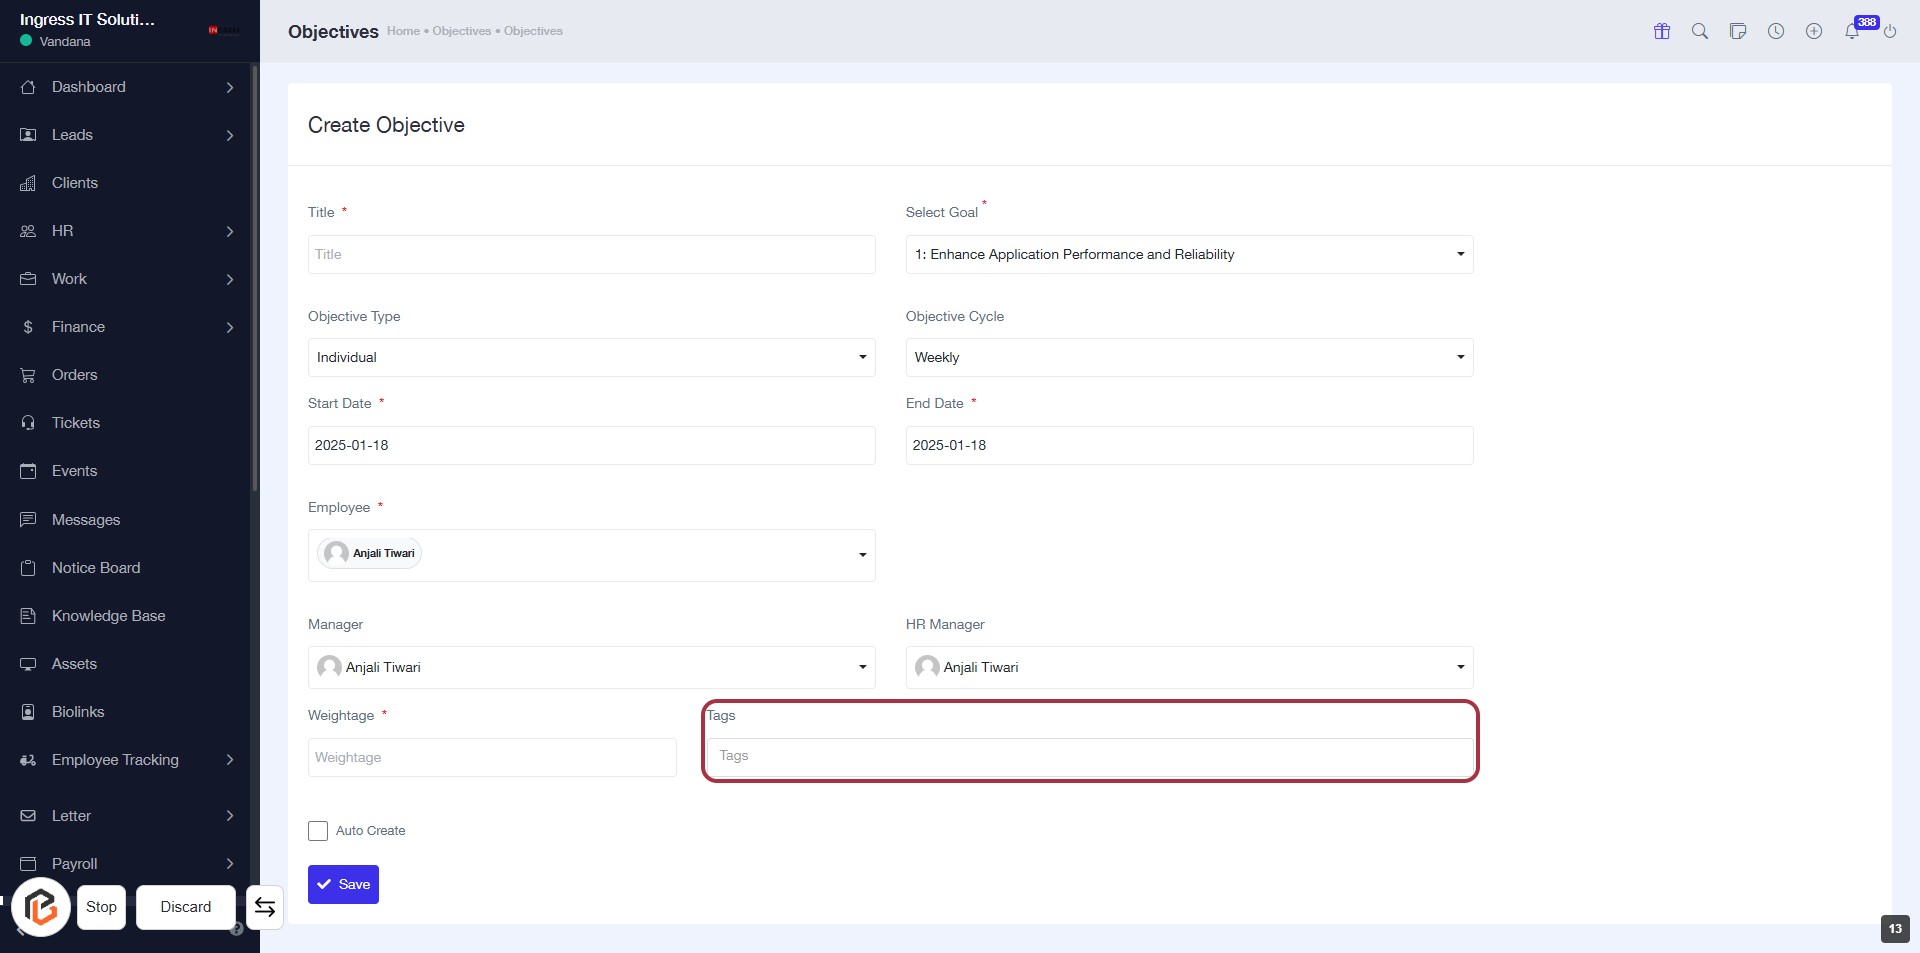
STEP 14: Add "Tags" for Context
- Click on the "Tags" field to enter relevant tags for your objective.
- Tags help in categorizing and providing context to the objective.
- Ensure to fill in any required fields marked with an asterisk (*).
- Proceed to the next step by checking the "Auto Create" option.
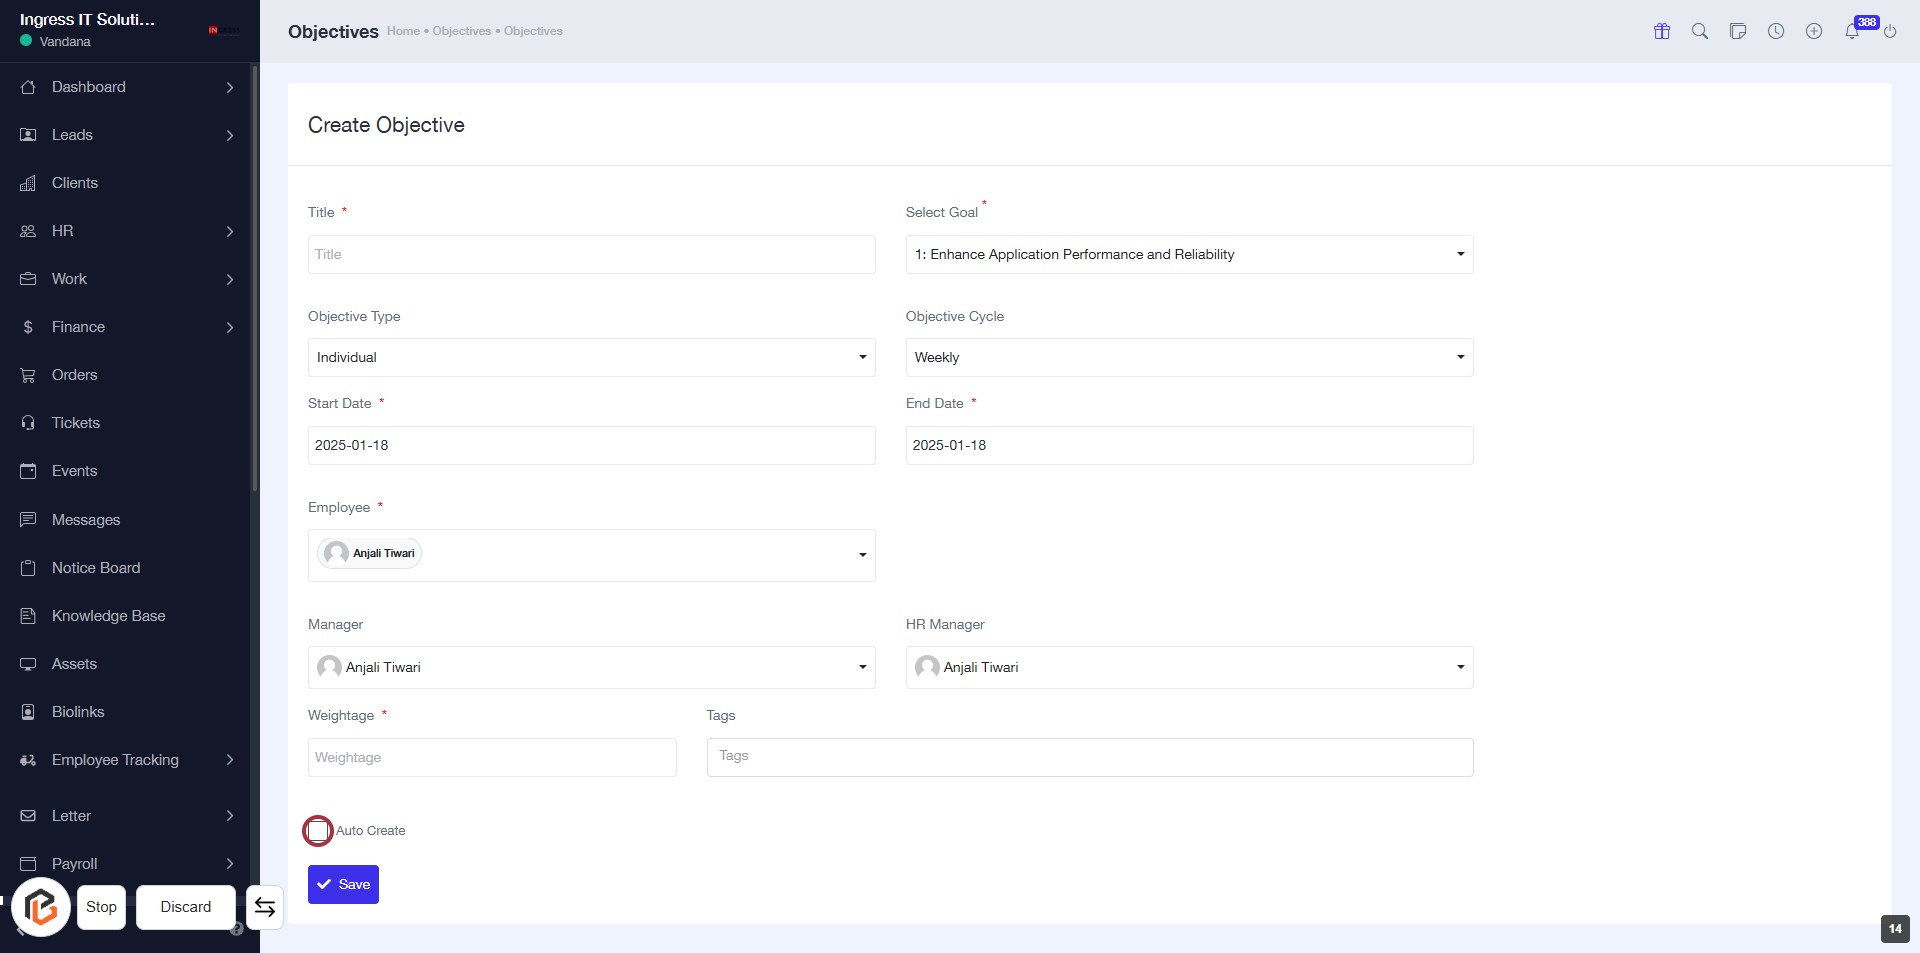
STEP 15: Click "Auto Create" Checkbox
- Navigate to the "Auto Create" checkbox in the form.
- Click on the checkbox to enable or disable the auto-creation feature.
- Ensure that all required fields marked with an asterisk (*) are filled out before proceeding.
- After making your selection, continue to the next step by clicking the "Save" button.
STEP 16: Click "Save" to Finalize Your Objective
- Ensure all required fields marked with an asterisk (*) are filled out.
- Review the information entered for accuracy.
- Click the Save button located at the bottom of the form to save your objective.
- Confirm that a success message appears to indicate the objective has been saved.