Step-by-Step Guide to Creating and Managing Goals in Your Dashboard
7 mins read · Updated 29 Sep, 2025
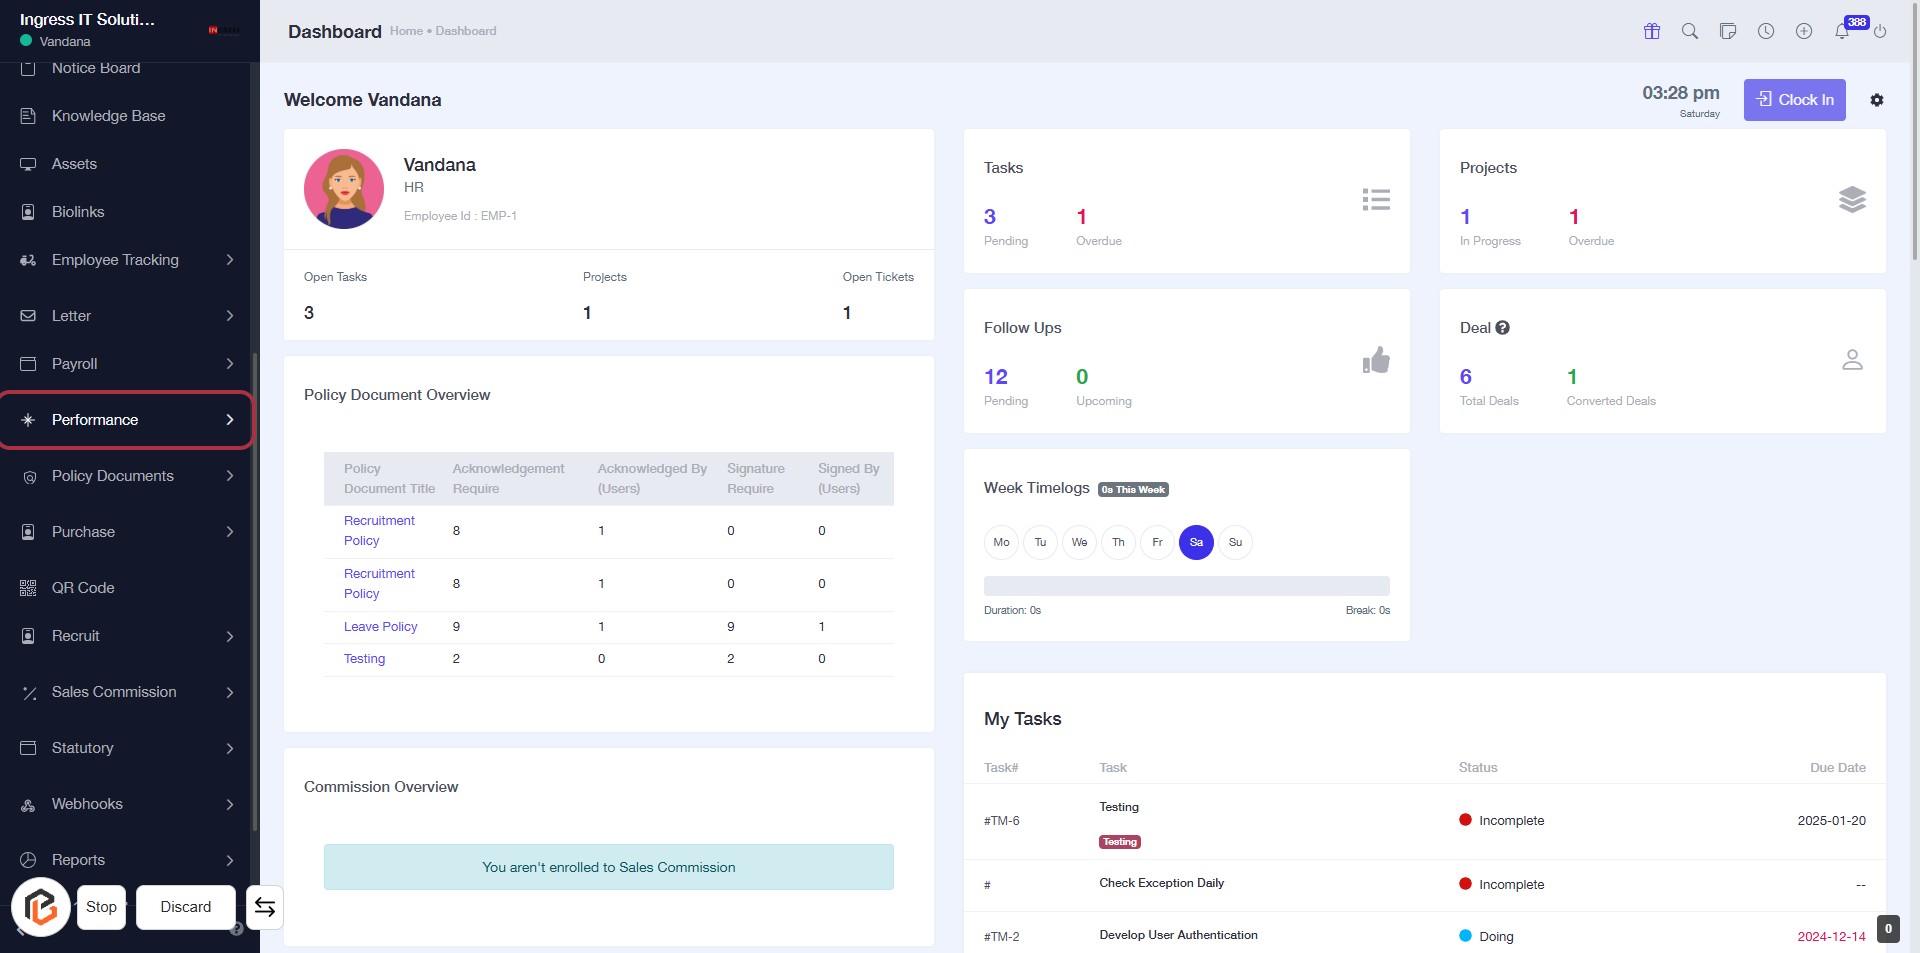
STEP 1: Click on "Performance" in the Dashboard
- Navigate to the left sidebar of the dashboard.
- Click on the Performance link highlighted in red.
- This will direct you to the Performance overview section.
- Ensure you are logged in to access this feature.
Proceed to the next step by clicking on "Goals" after reviewing the Performance section.
STEP 2: Click on "Goals" in the Dashboard
- Navigate to the left sidebar and locate the "Goals" option.
- Click on the "Goals" link to access the Goals section.
- Ensure you have the necessary permissions to view and create goals.
- After clicking, you will be directed to the Goals overview page for further actions.

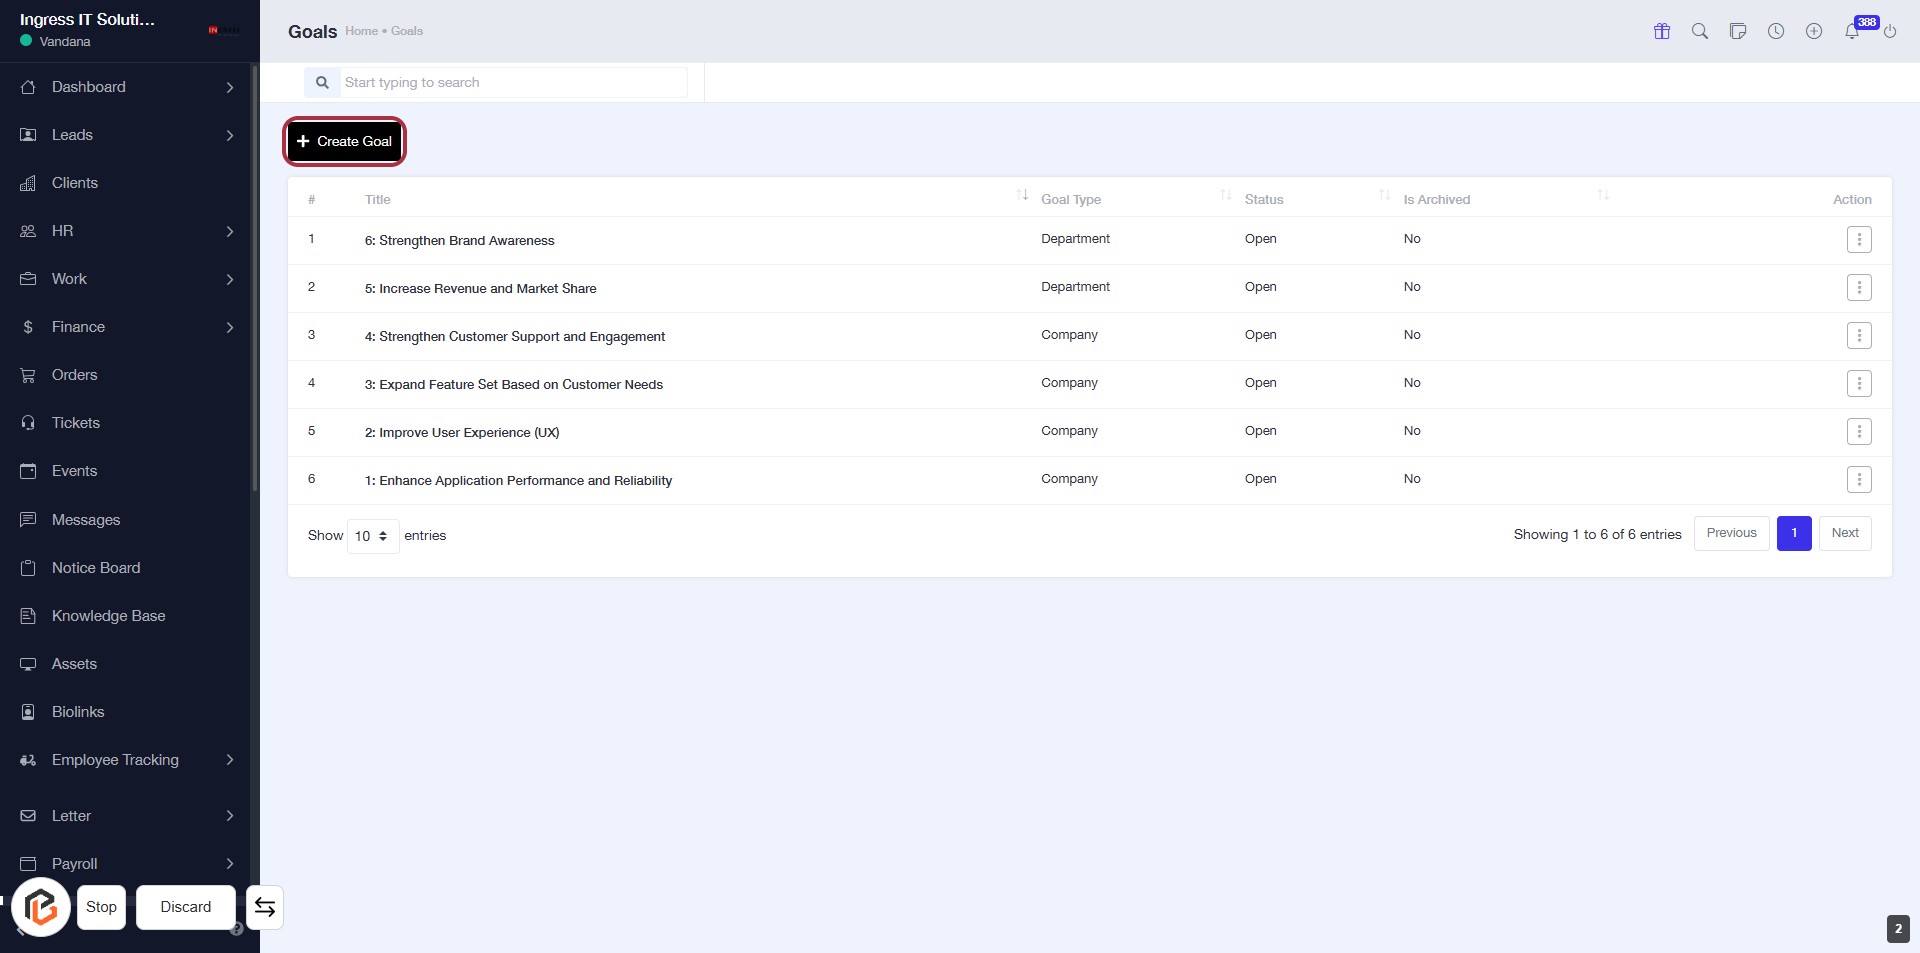
STEP 3: Click on "Create Goal"
- Navigate to the "Goals" section in the dashboard.
- Click on the Create Goal button, located prominently at the top of the goals list.
- Ensure you are ready to proceed to the next step, where you will enter the goal title.
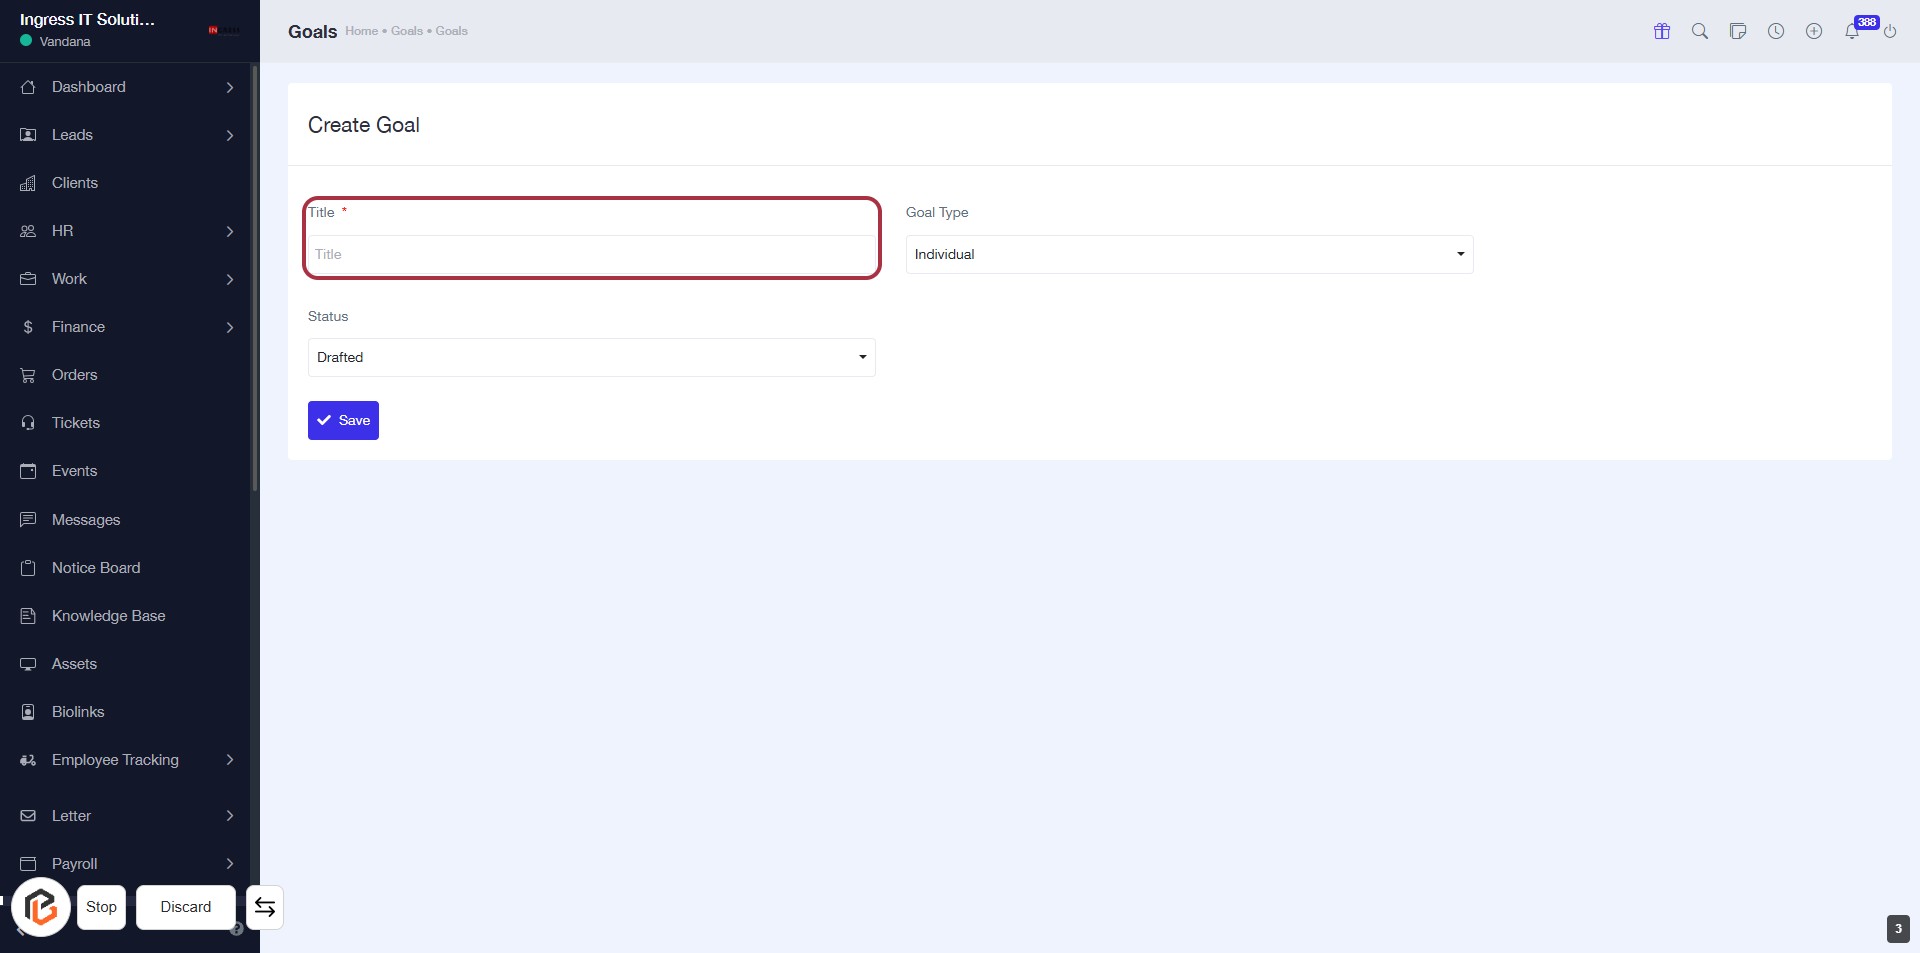
STEP 4: Enter Title for Your Goal
- Click on the highlighted area labeled "Title" (marked with an asterisk).
- This field is mandatory; ensure you provide a relevant title for your goal.
- After entering the title, proceed to the next step to select the "Goal Type."
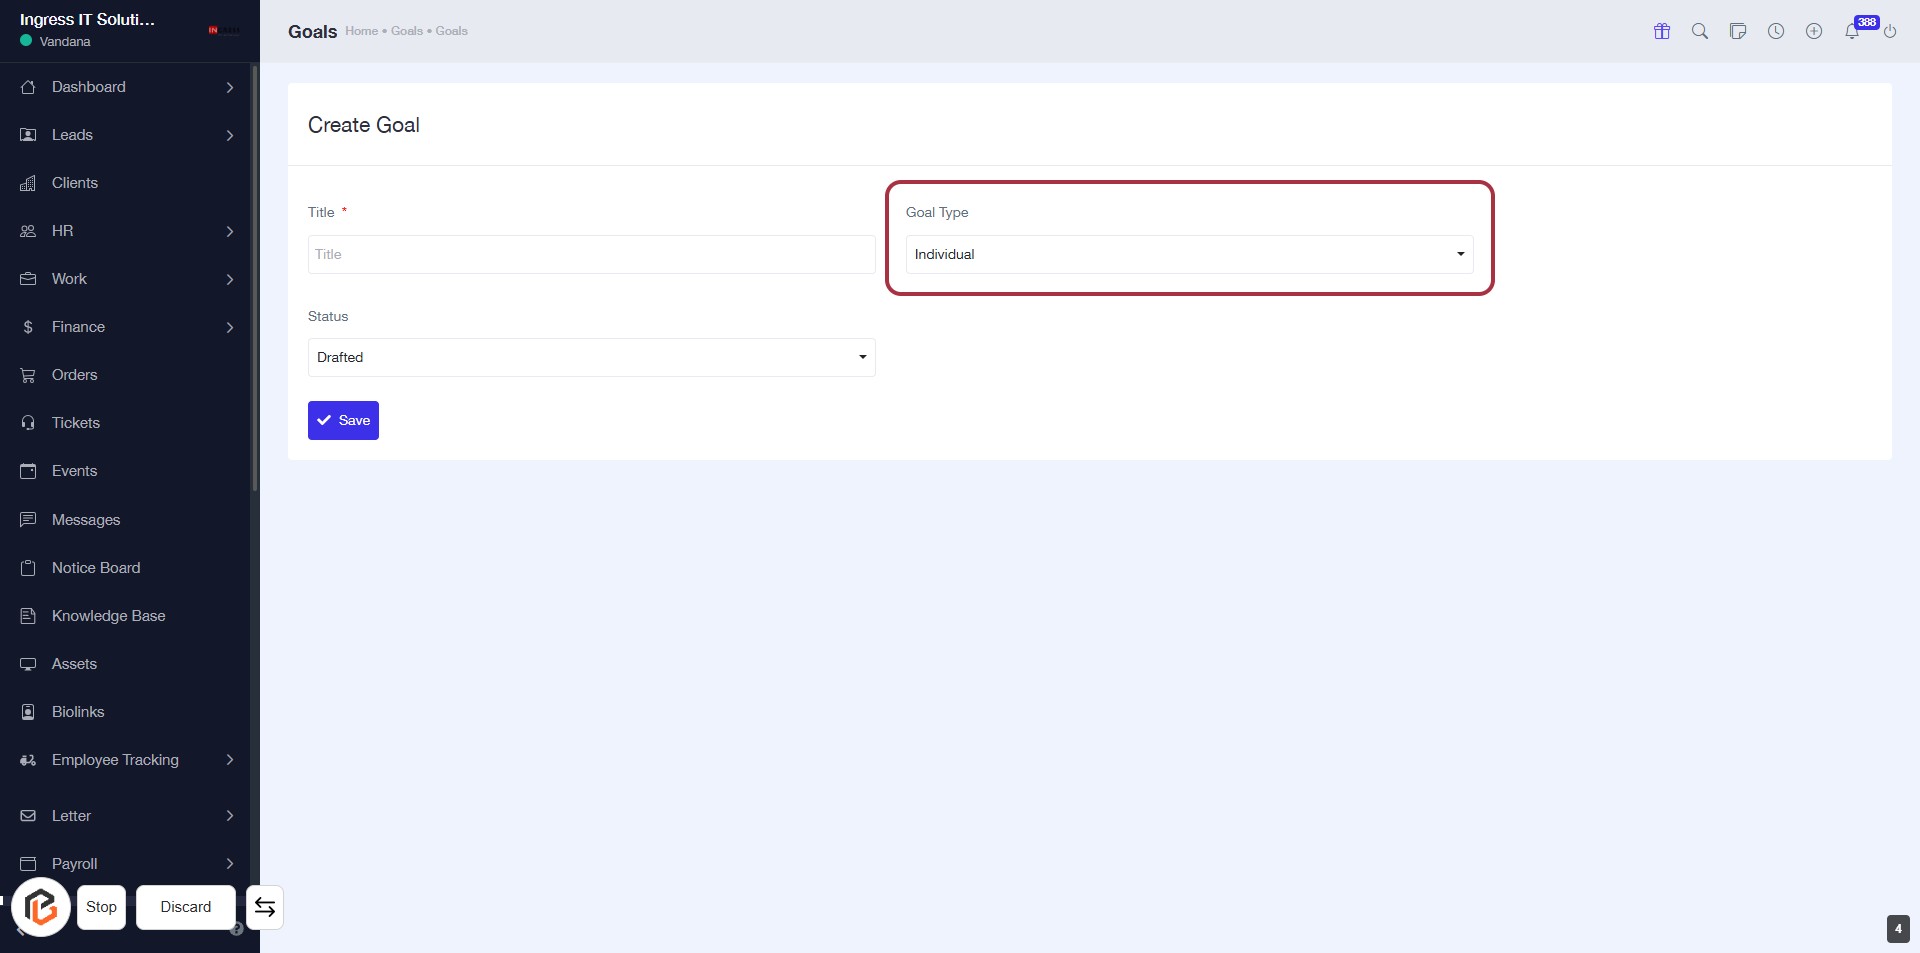
STEP 5: Select "Goal Type"
- Click on the "Goal Type" dropdown menu.
- Choose the desired option (e.g., "Individual").
- Ensure all required fields marked with an asterisk (*) are filled out.
- Proceed to the next step by selecting "Status."
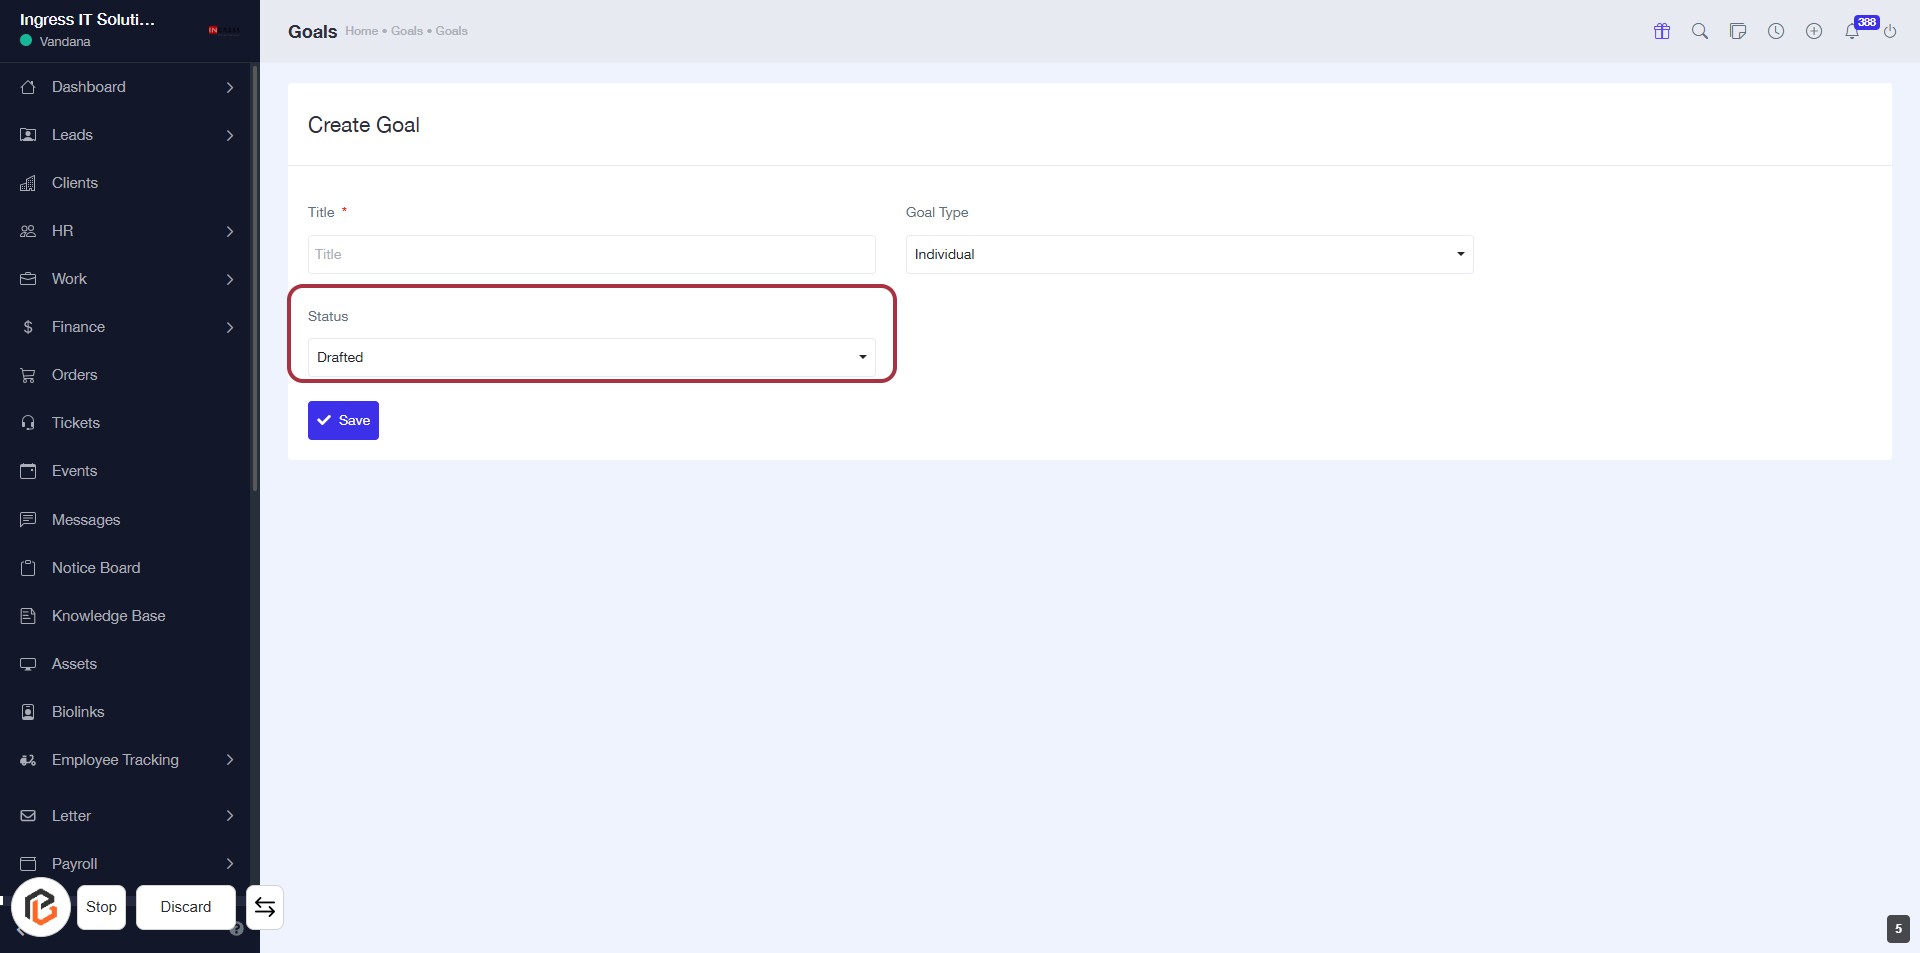
STEP 6: Select "Status"
- Click on the "Status" dropdown menu.
- Choose the appropriate status from the options available (e.g., Drafted).
- Ensure all required fields marked with an asterisk (*) are filled out before proceeding.
- After selecting the status, continue to the next step by clicking the "Save" button.
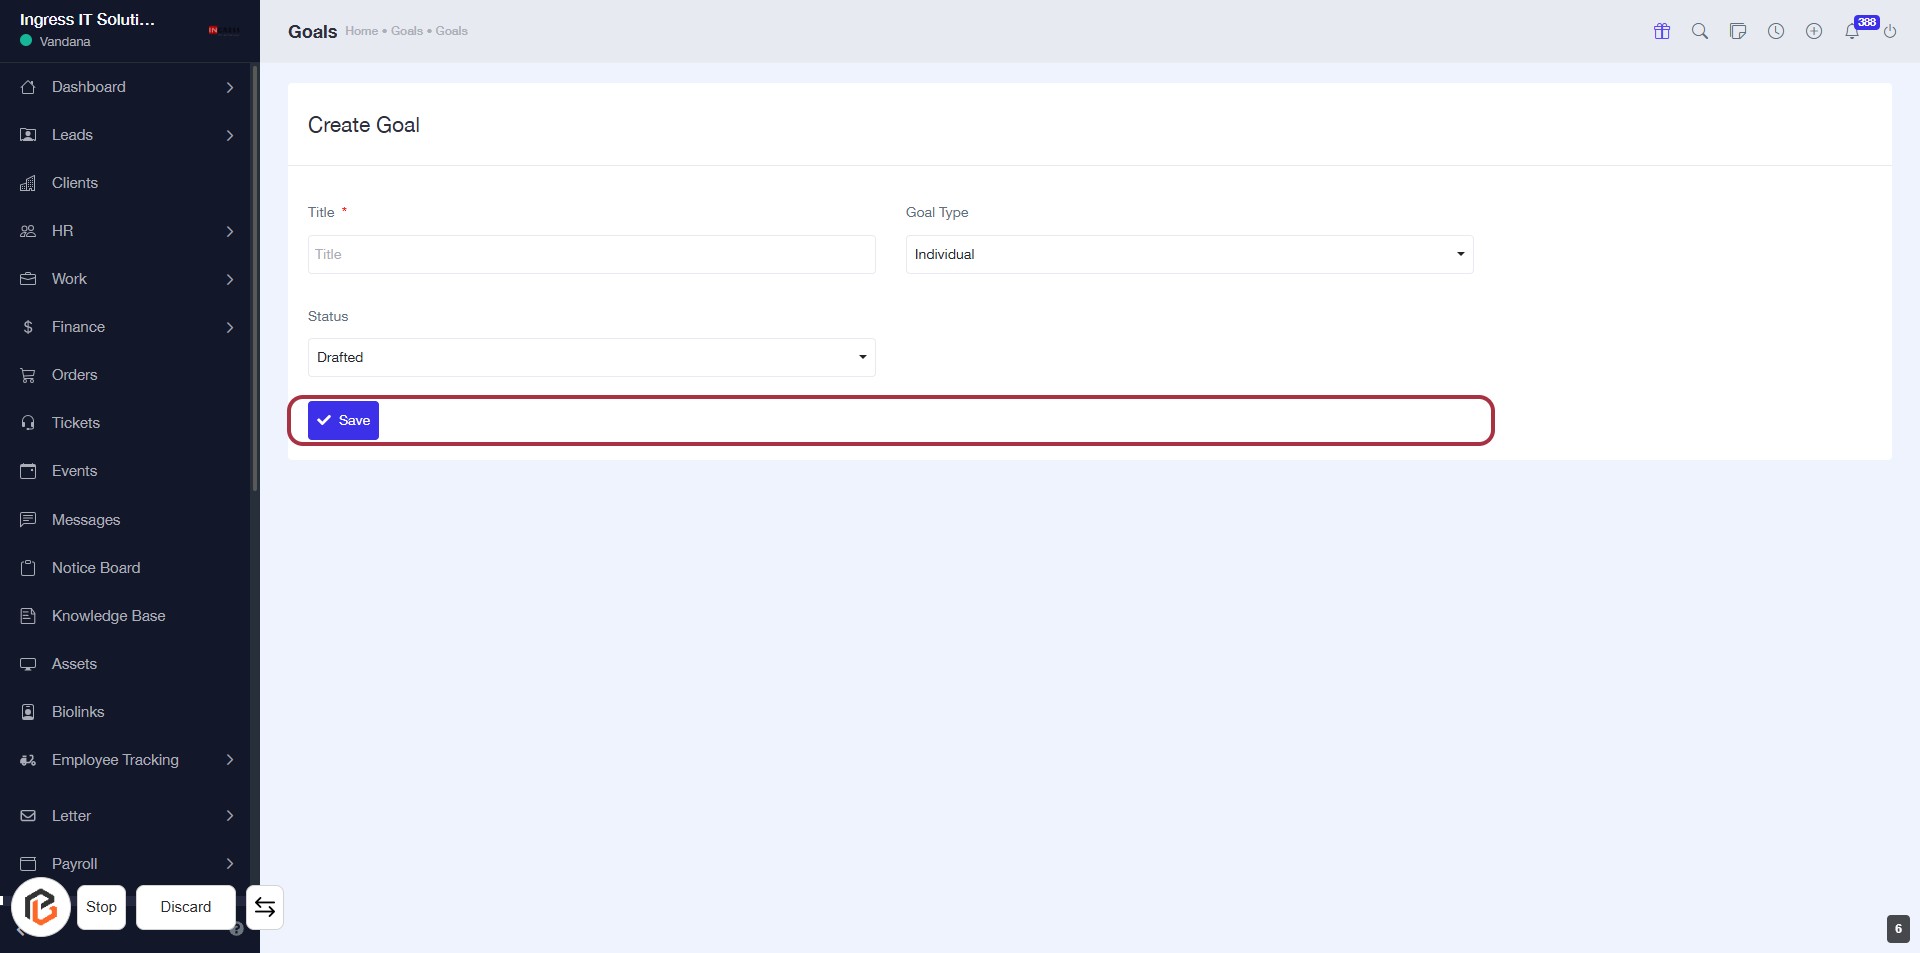
STEP 7: Click on "Save" to Finalize Goal Creation
- Ensure all required fields (e.g., Title, Status) are filled out.
- Locate the "Save" button highlighted in red.
- Click on the "Save" button to submit your goal.
- Confirm that your goal has been successfully created.