Step-by-Step Guide to Create and Manage Objectives on BizCRM App
11 mins read · Updated 29 Sep, 2025
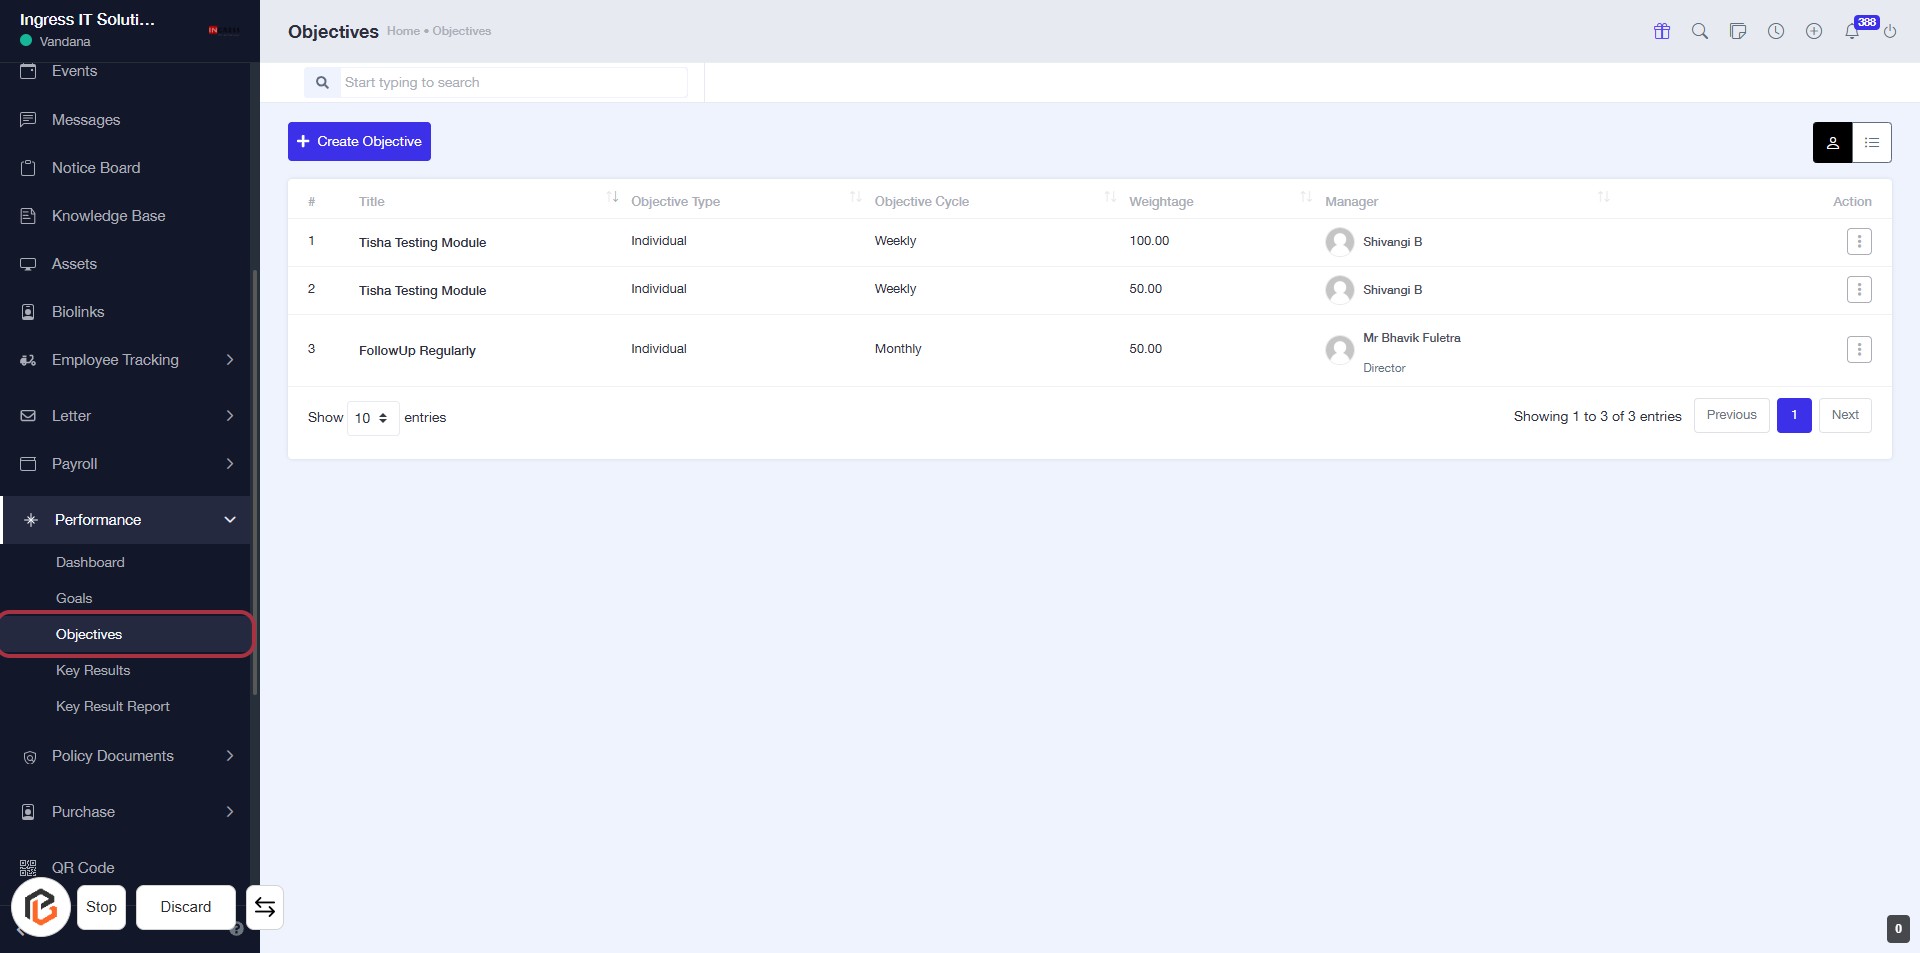
STEP 1: Click on "Objectives" to Access the Objectives Page
- Navigate to bizcrmapp.com.
- Click on the Objectives link in the sidebar.
- This will take you to the Objectives page where you can view and manage objectives.
- Look for the Create Objective button to add new objectives.
- Review the existing objectives listed in the table for details like Title, Objective Type, Objective Cycle, Weightage, and Manager.
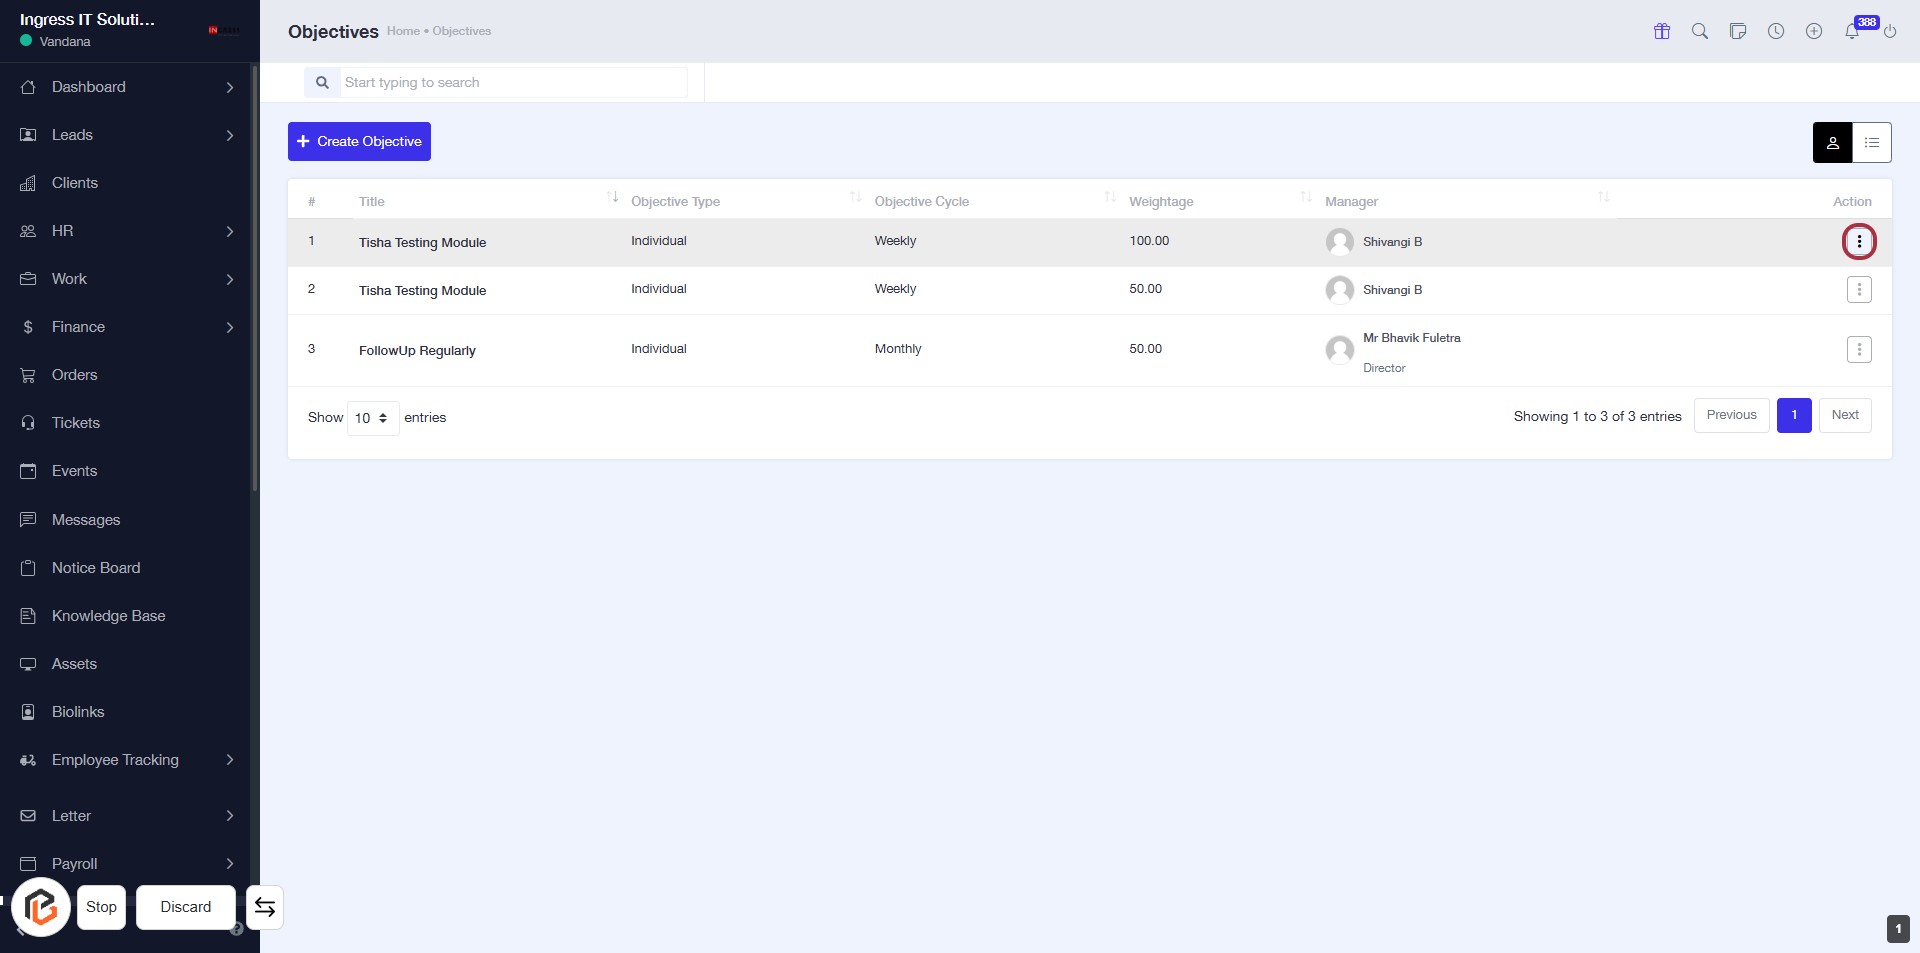
STEP 2: Click on "Option Menu"
- Click on the highlighted "Option Menu" link to access additional options.
- Ensure you are on the Objectives page for context.
- Look for the action menu in the last column of the objectives table.
- This action allows you to manage or edit objectives as needed.
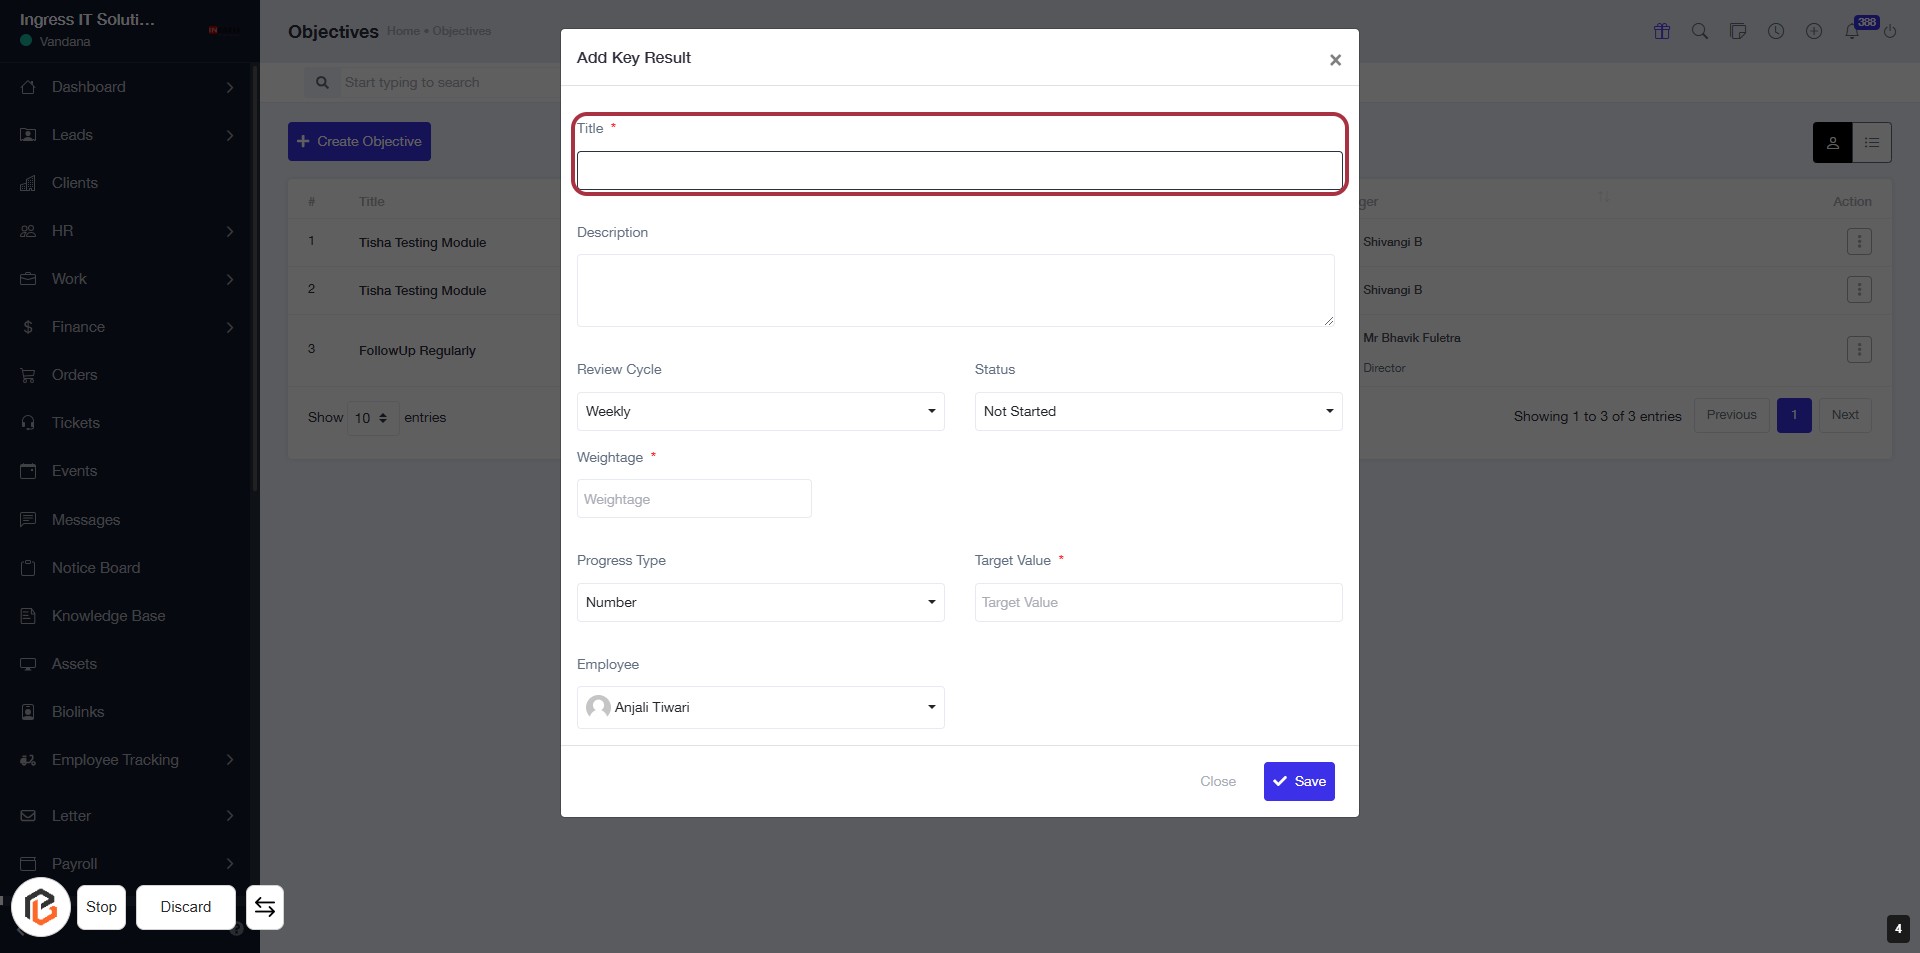
STEP 3: Enter Title for Key Result
- Click on the highlighted "Title" field (marked with a red border).
- This field is mandatory (indicated by the asterisk '*').
- Ensure to provide a clear and concise title for the key result.
- After entering the title, proceed to the next step to write the "Description."
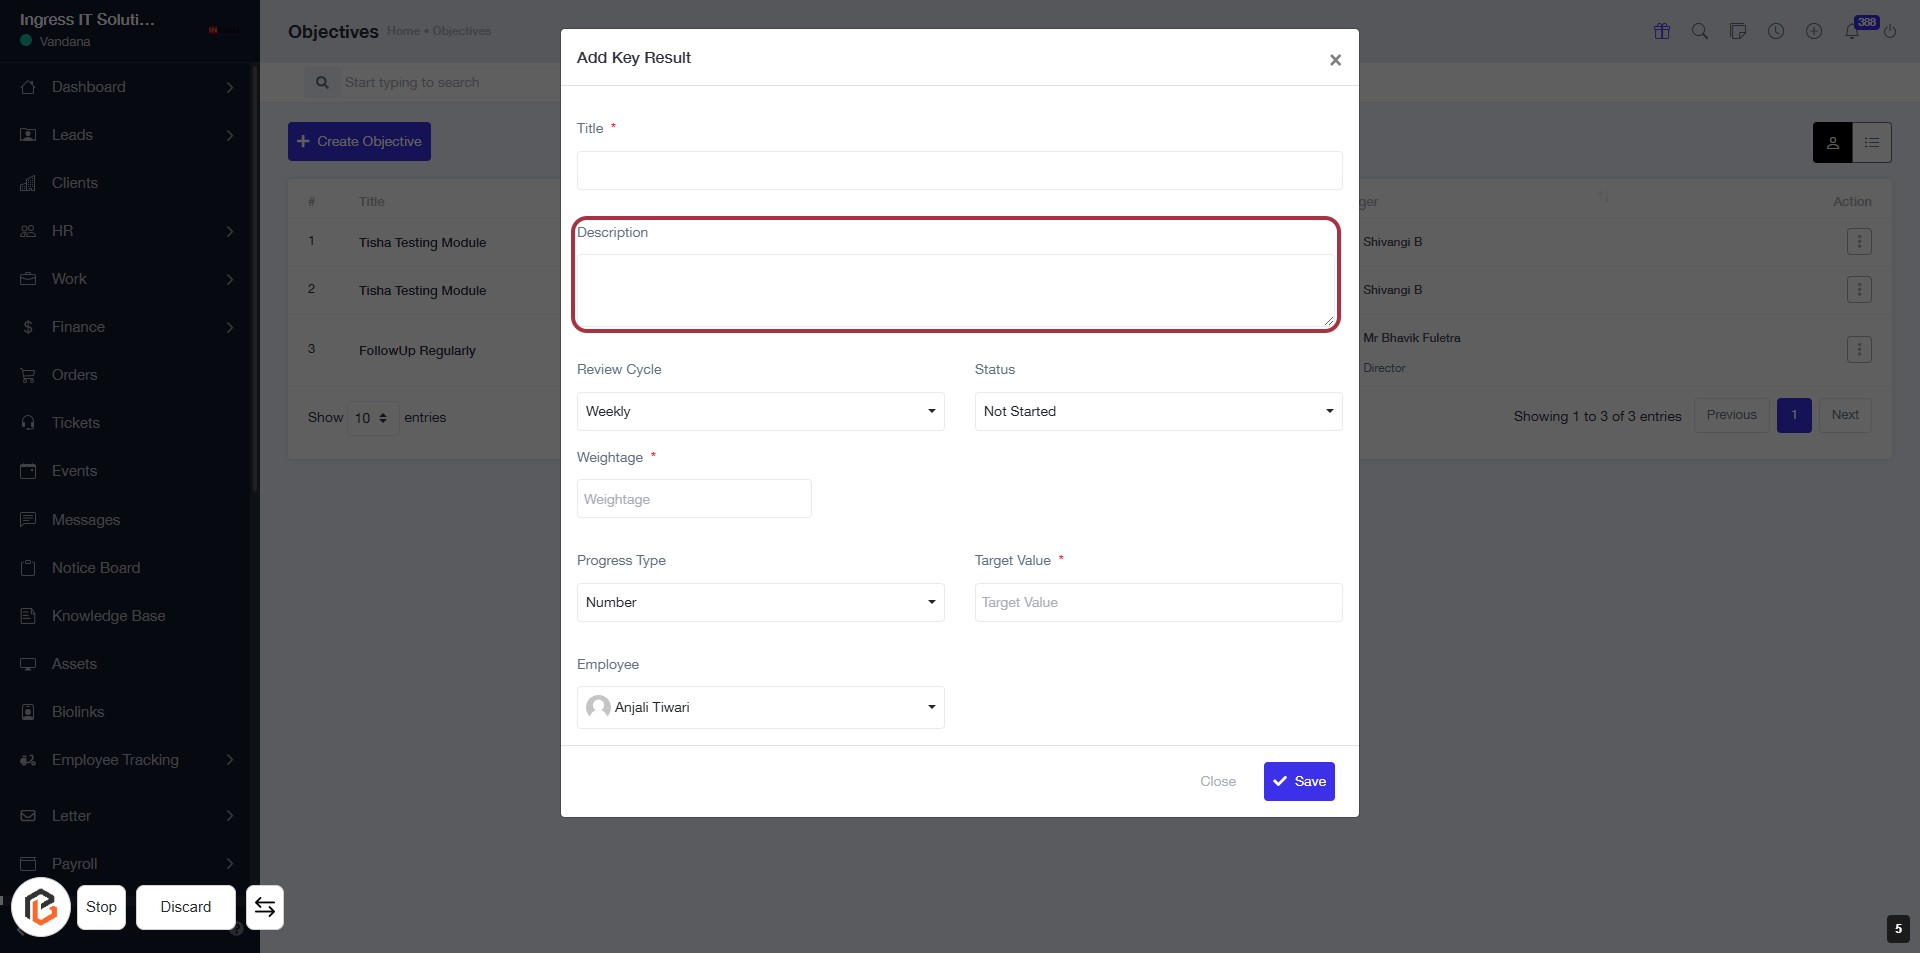
STEP 4: Click "Description" to Add Context
- Click on the "Description" field to provide additional context for your key result.
- Ensure to fill in any required fields marked with an asterisk (*).
- Review other fields like "Review Cycle," "Weightage," and "Target Value" for completeness.
- After entering the description, proceed to the next step by selecting "Review Cycle."
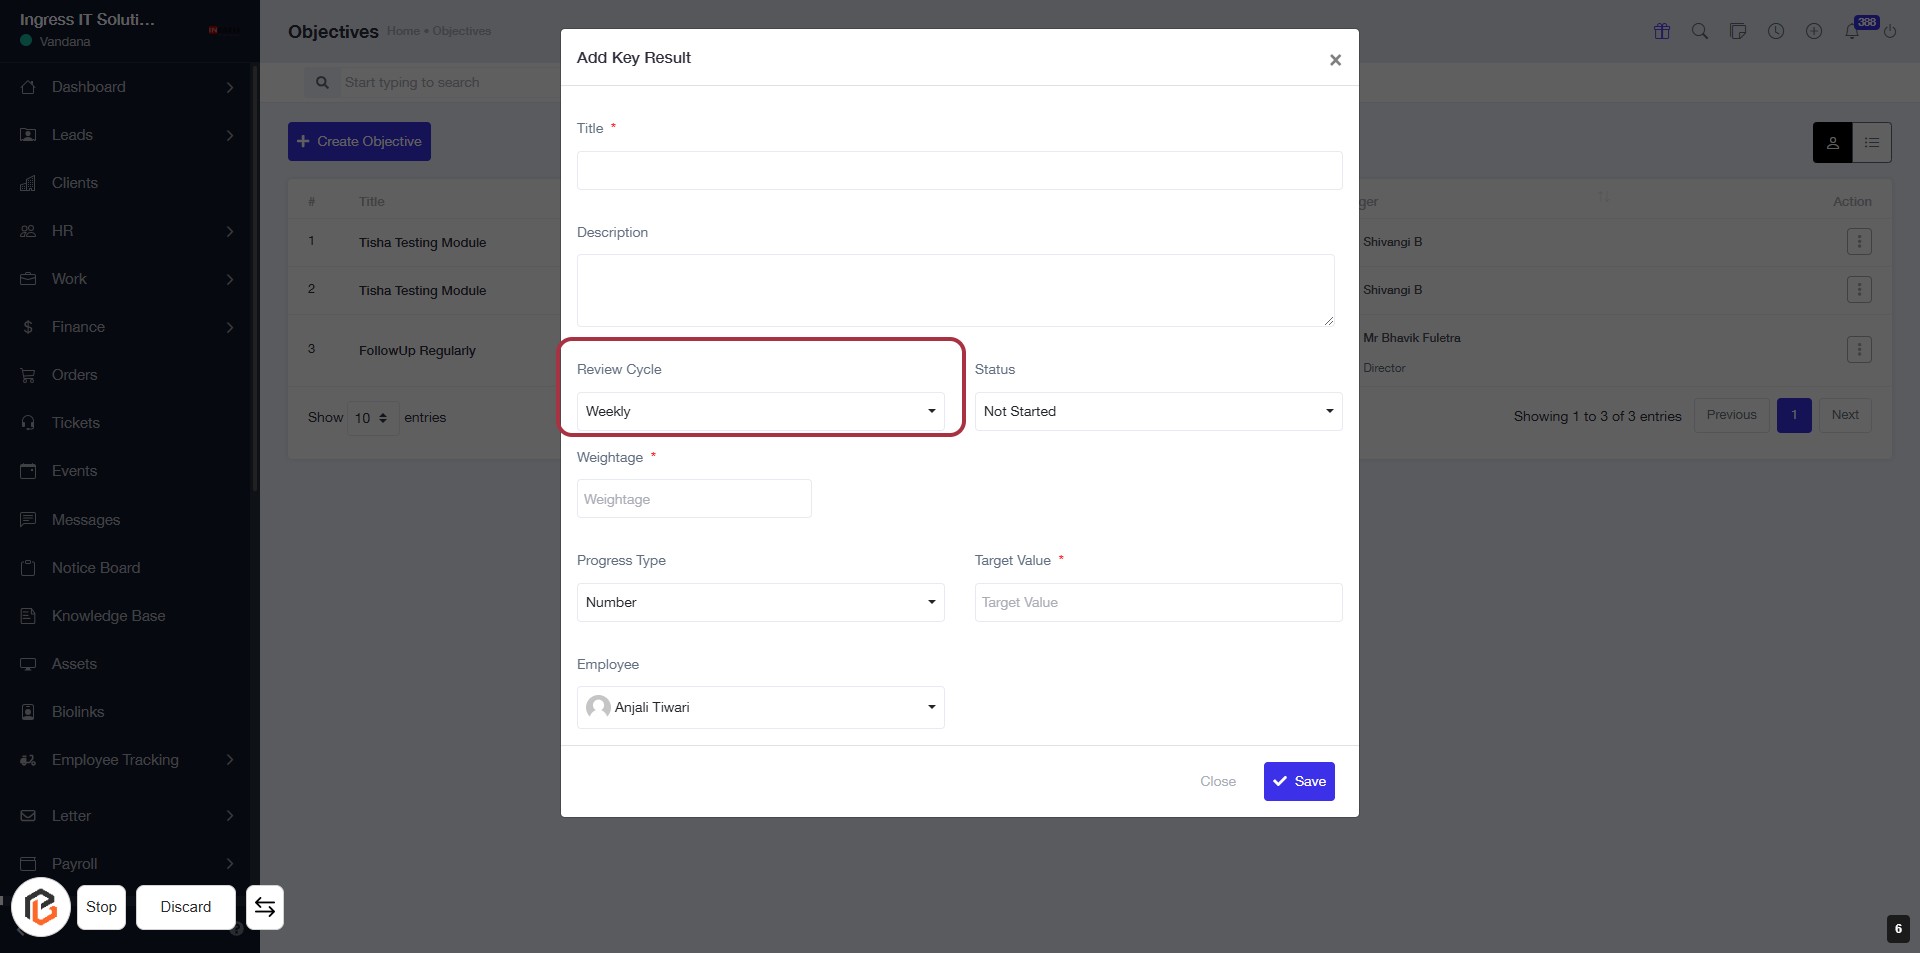
STEP 5: Select "Review Cycle"
- Click on the "Review Cycle" field in the form.
- Choose the desired frequency from the dropdown (e.g., Weekly).
- Ensure all required fields marked with an asterisk (*) are filled out.
- Proceed to the next step by selecting "Status" after completing this section.
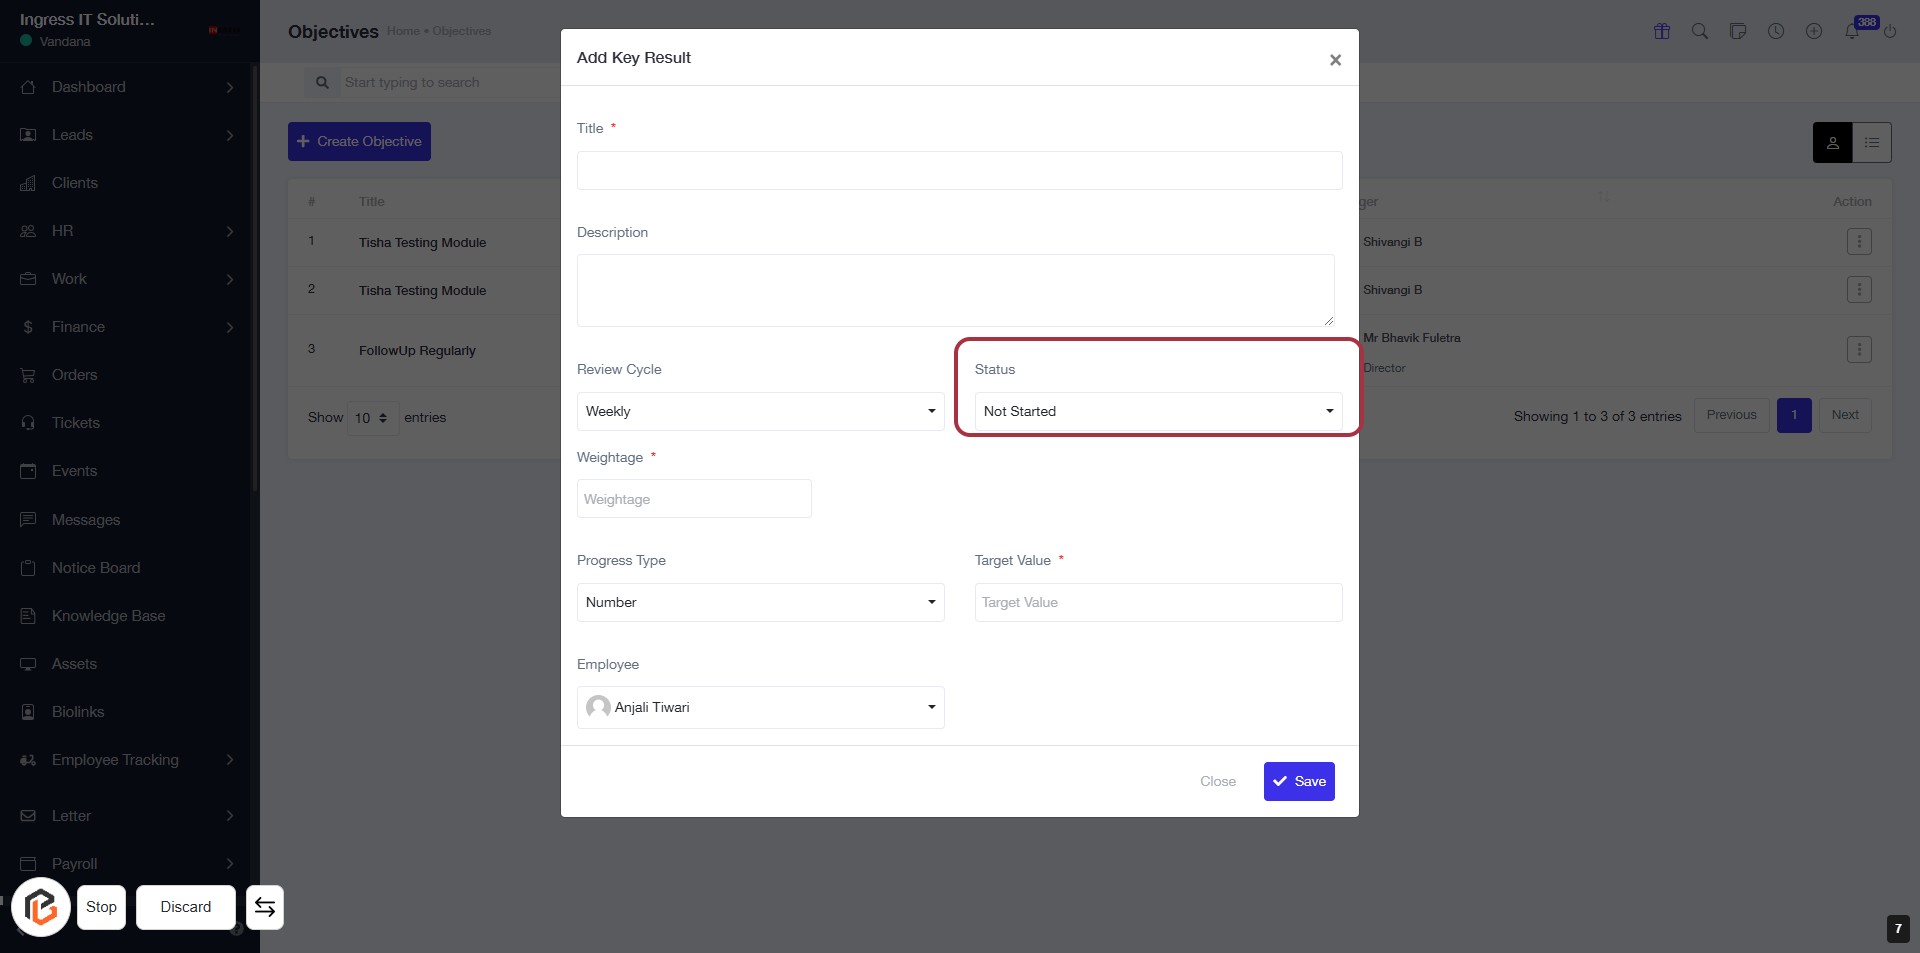
STEP 6: Select "Status"
- Click on the "Status" dropdown in the form.
- Choose the appropriate status from the options available (e.g., "Not Started").
- Ensure that the selection aligns with your project requirements.
- Proceed to the next step by entering the "Weightage."
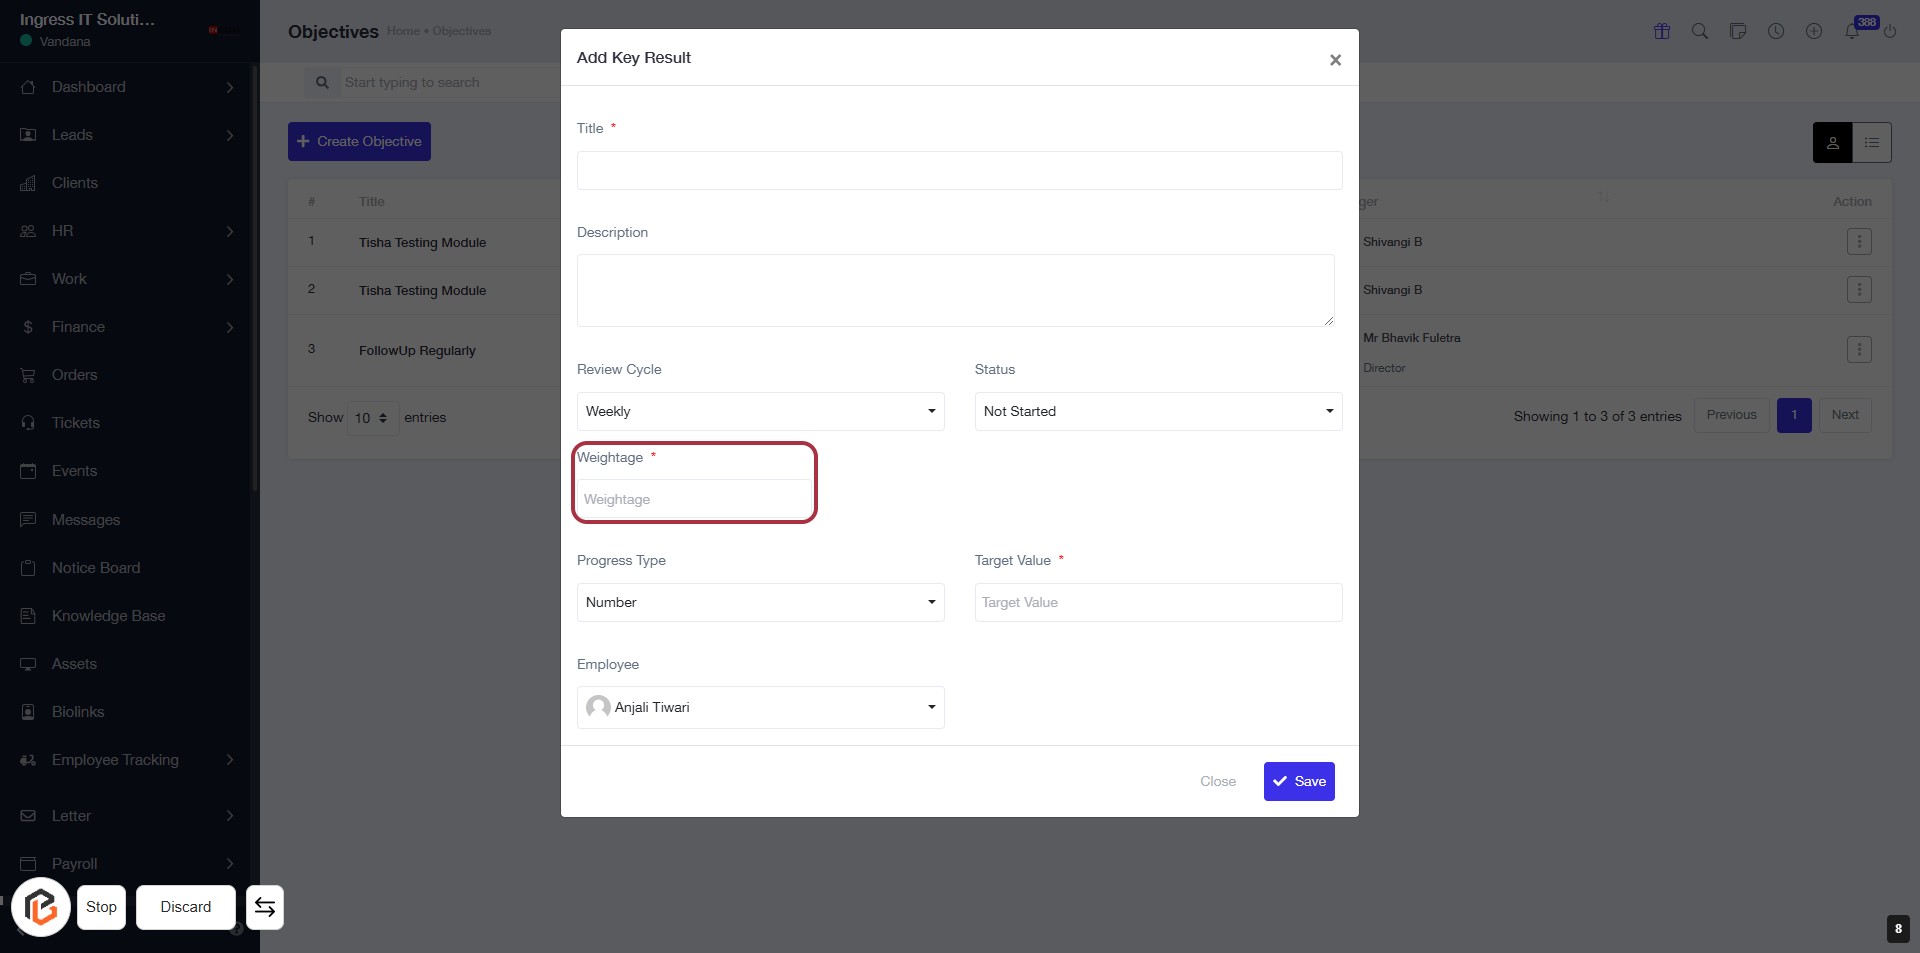
STEP 7: Enter "Weightage"
- Click on the "Weightage" field (marked with an asterisk * indicating it's required).
- Ensure to provide a value as this is mandatory.
- Review other fields like "Review Cycle," "Status," "Target Value," and "Employee" for completeness.
- After entering the necessary information, proceed to the next step by selecting "Progress Type."
STEP 8: Select "Progress Type"
- Click on the "Progress Type" dropdown.
- Choose the appropriate option (e.g., "Number").
- Ensure all required fields marked with an asterisk (*) are filled out.
- Review your selections before proceeding to the next step.

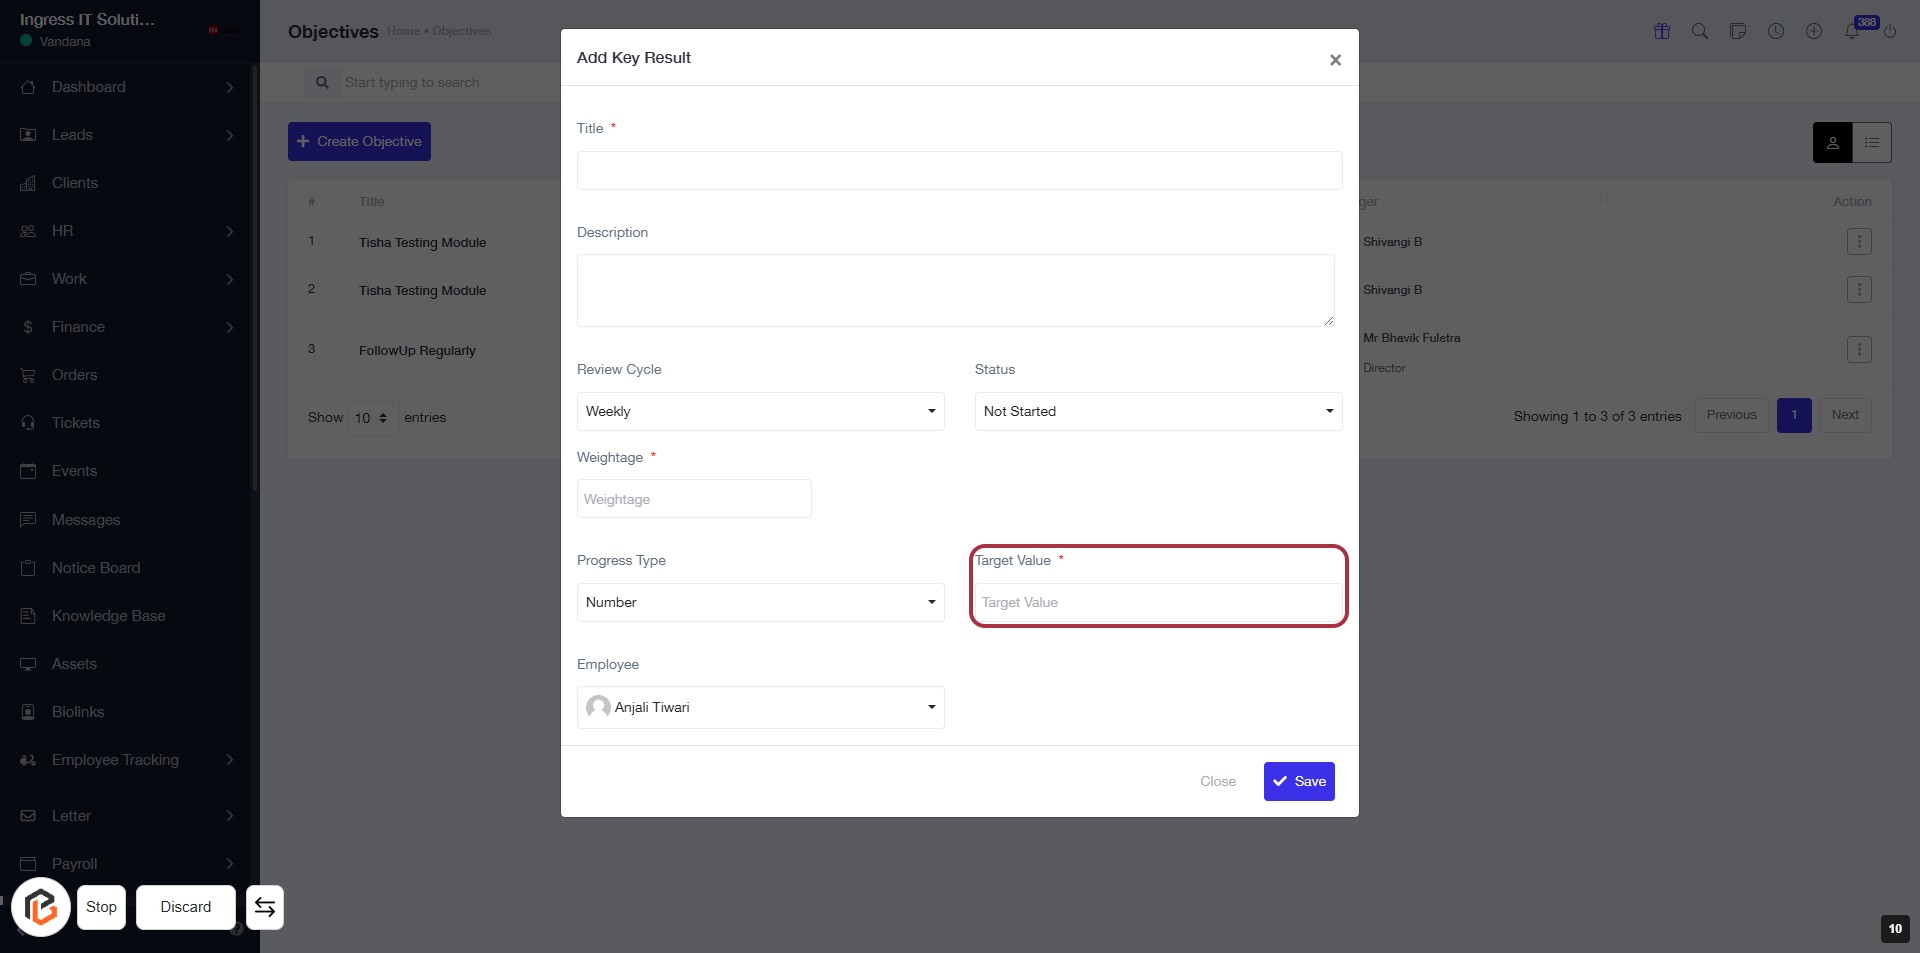
STEP 9: Enter "Target Value"
- Click on the "Target Value" field to input your desired target.
- Ensure that you fill in this field as it is marked with an asterisk (*), indicating it is required.
- Review other fields such as "Review Cycle," "Status," and "Weightage" for completeness.
- After entering the target value, proceed to the next step by selecting "Employee."
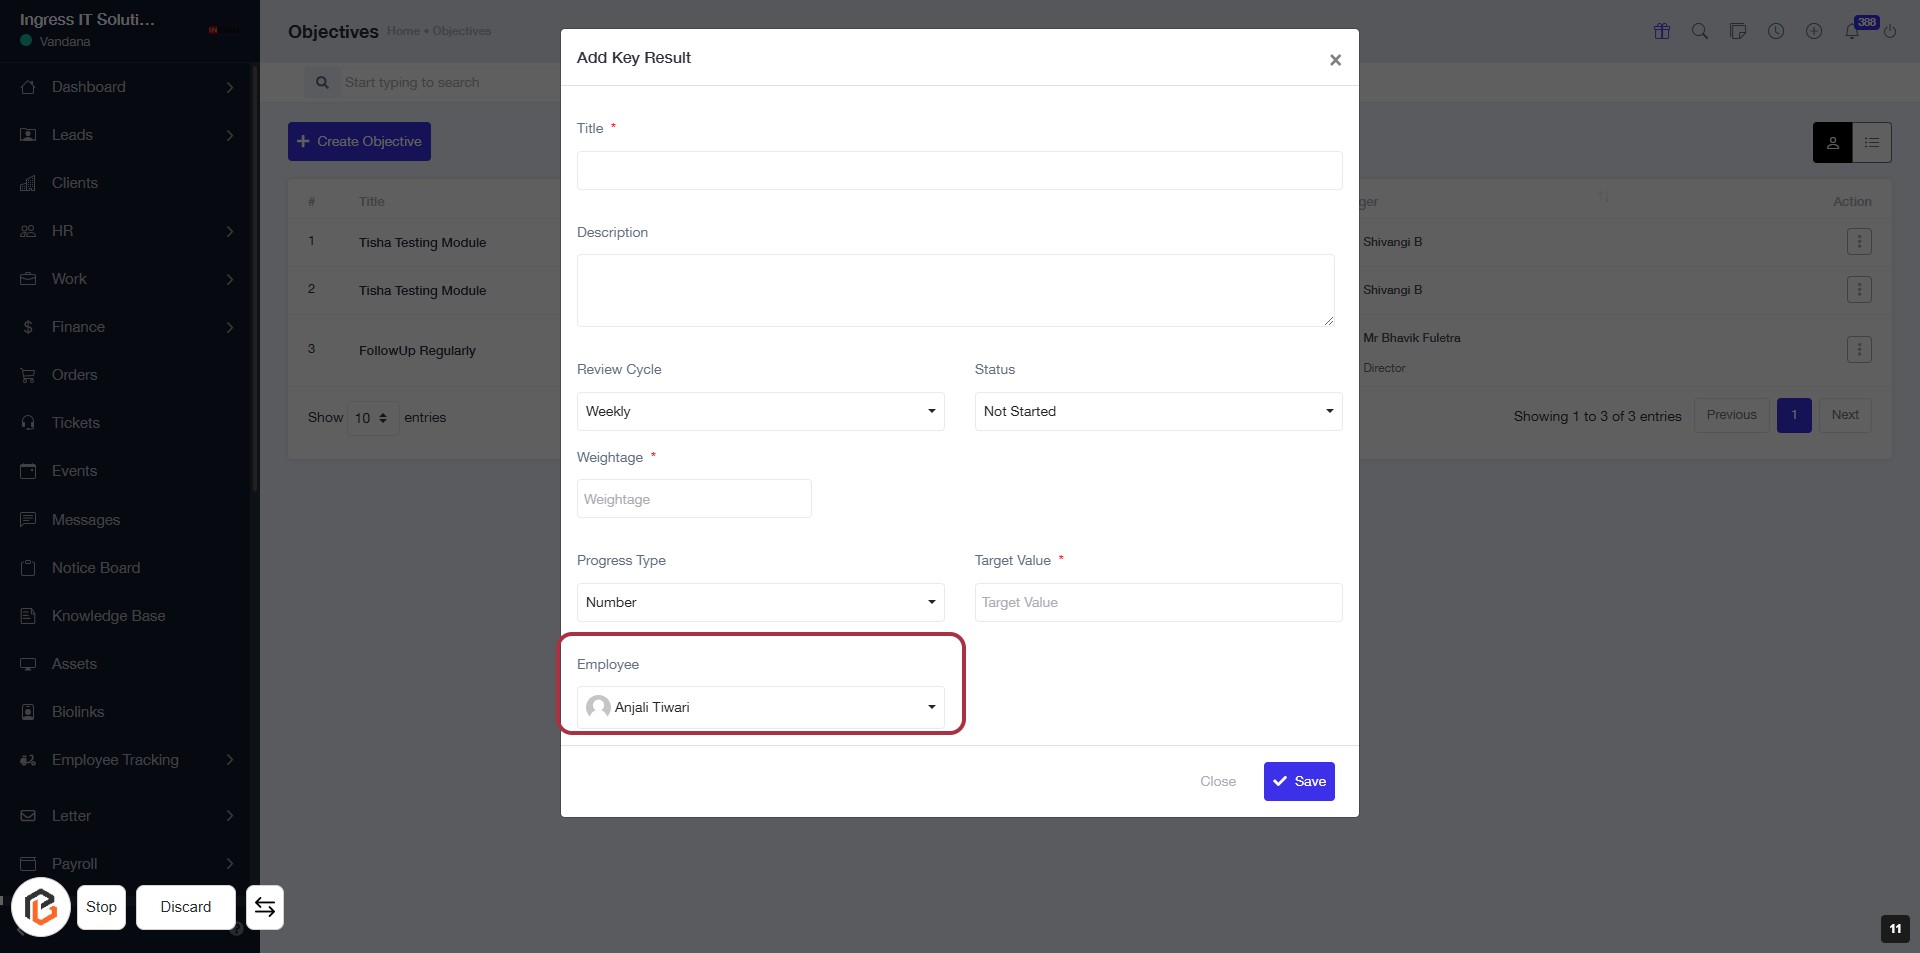
STEP 10: Select "Employee"
- Click on the "Employee" dropdown to choose an employee from the list.
- Ensure to select the appropriate employee for the task.
- The highlighted area allows you to view and select from available employees, such as "Anjali Tiwari."
- After selection, proceed to the next step by clicking the "Save" button.
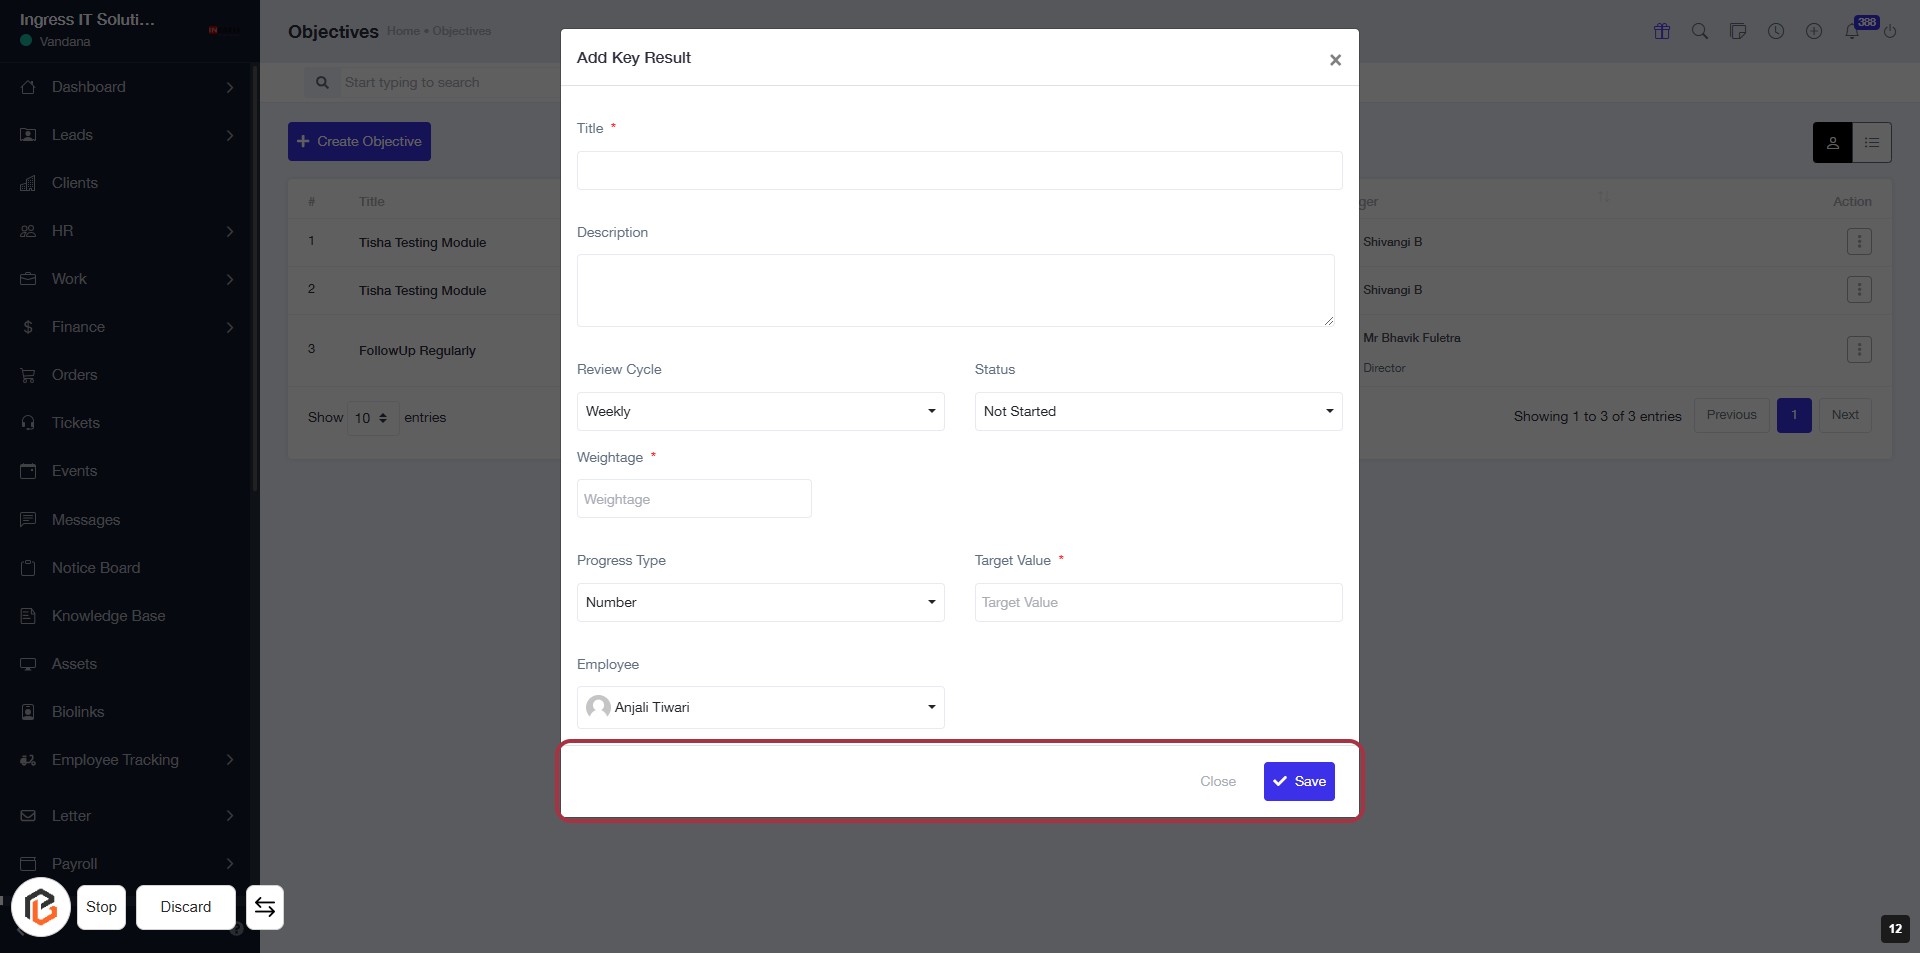
STEP 11: Click on "Save" to Finalize Your Input
- Ensure all required fields marked with '*' are filled out.
- Review the information entered in the form.
- Click the "Save" button located at the bottom right to save your changes.
- If you need to exit without saving, click "Close."