Step-by-Step Guide to Managing Employee Salary Increments in Payroll Dashboard
9 mins read · Updated 29 Sep, 2025
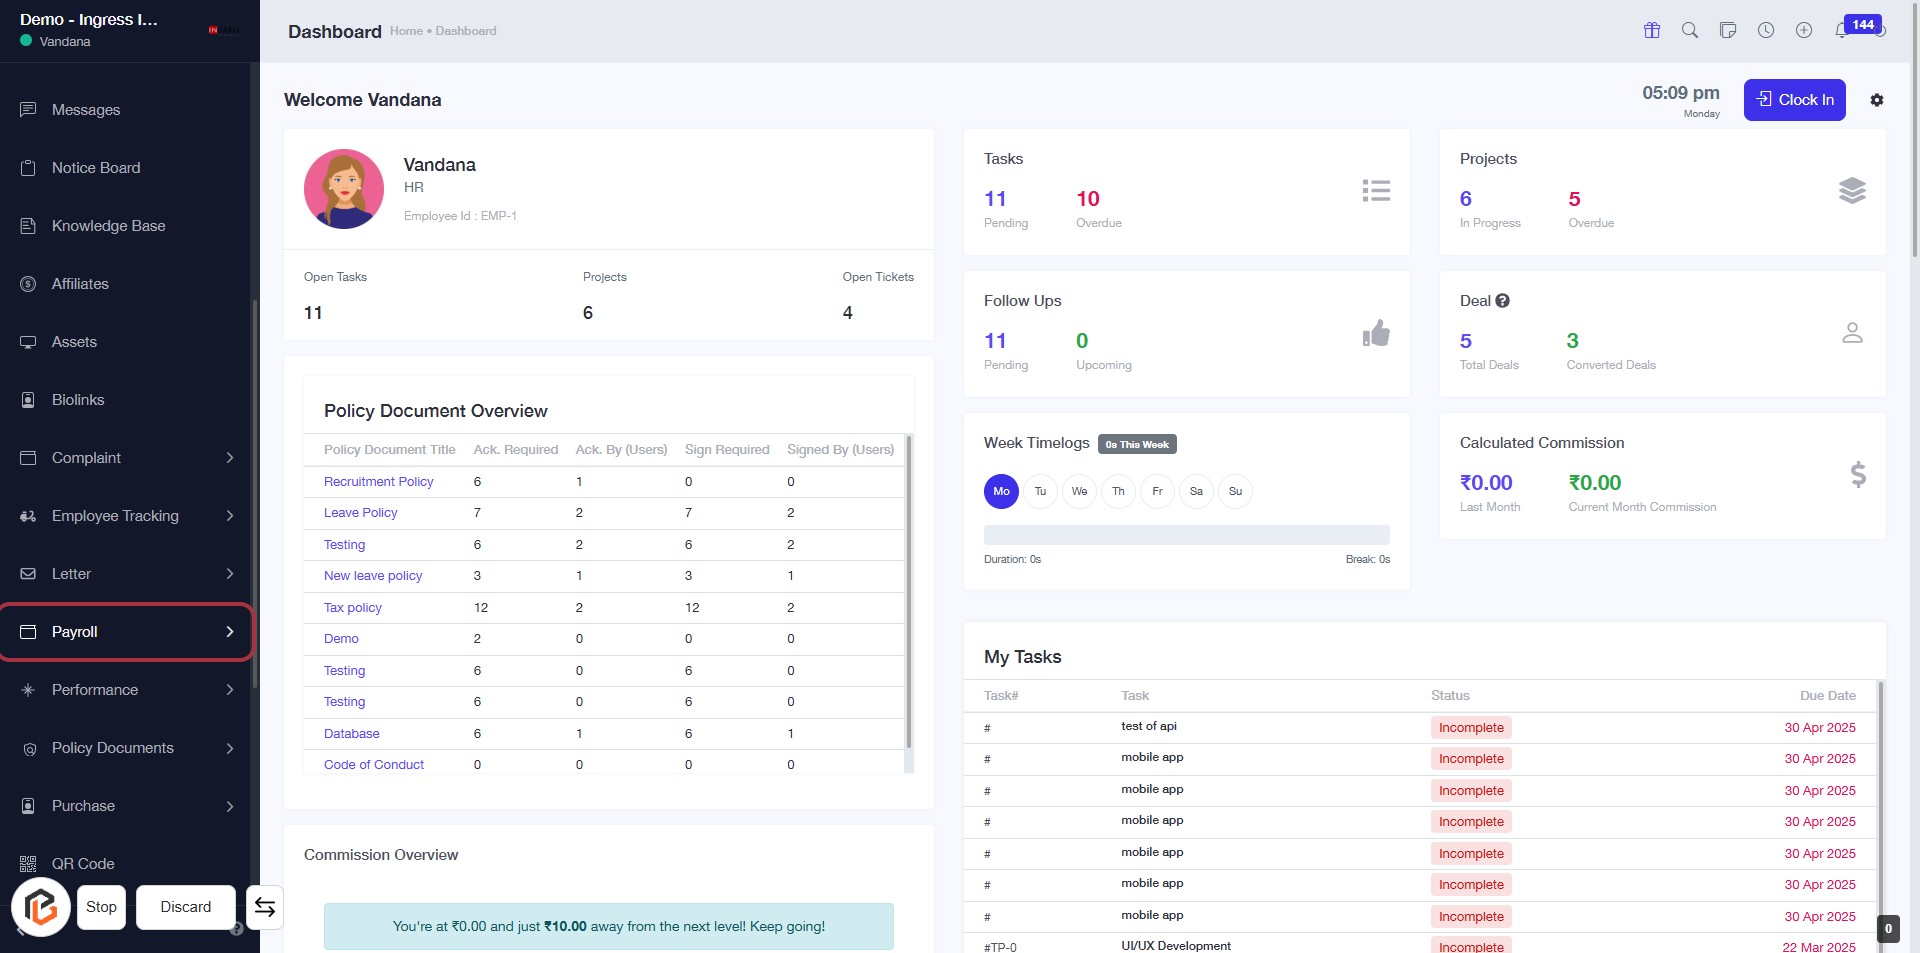
STEP 1: Click on "Payroll" in the Dashboard
- Navigate to the left sidebar of the dashboard.
- Click on the "Payroll" link to access payroll-related features.
- Ensure you are on the correct page before proceeding to the next step.
This action will lead you to the Employee Salary section for further management.
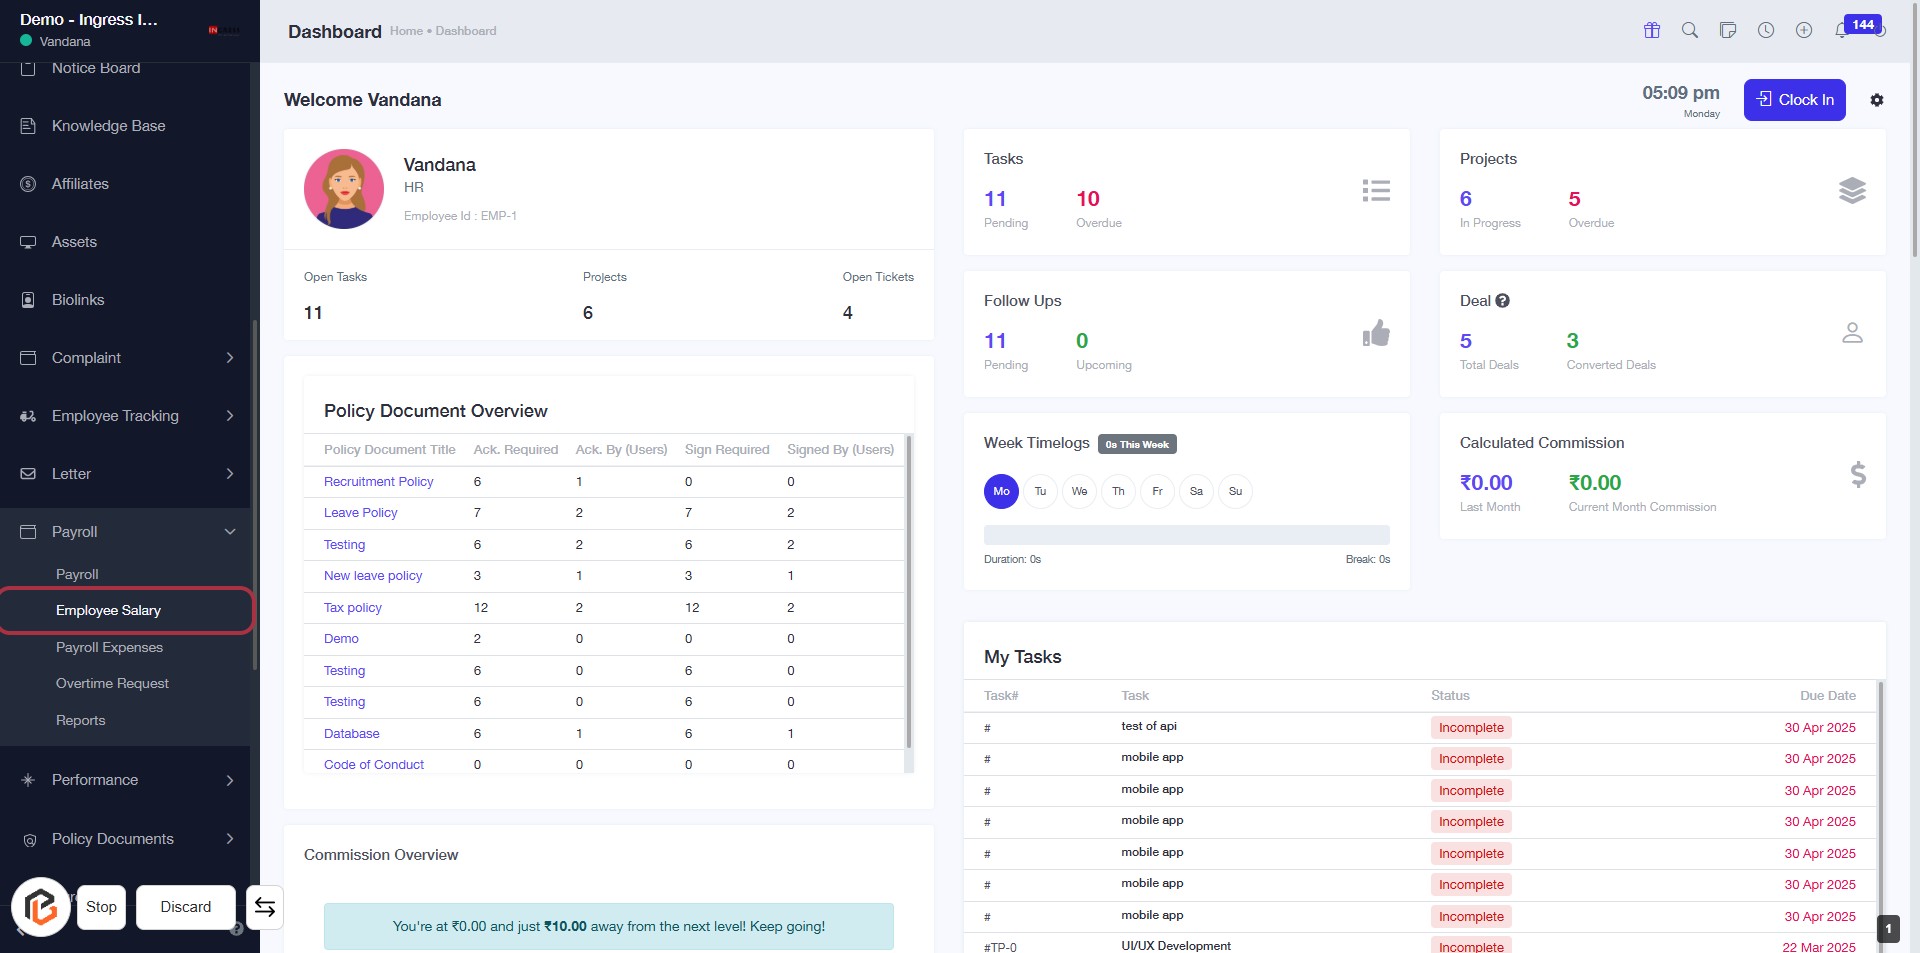
STEP 2: CLICK on "Employee Salary"
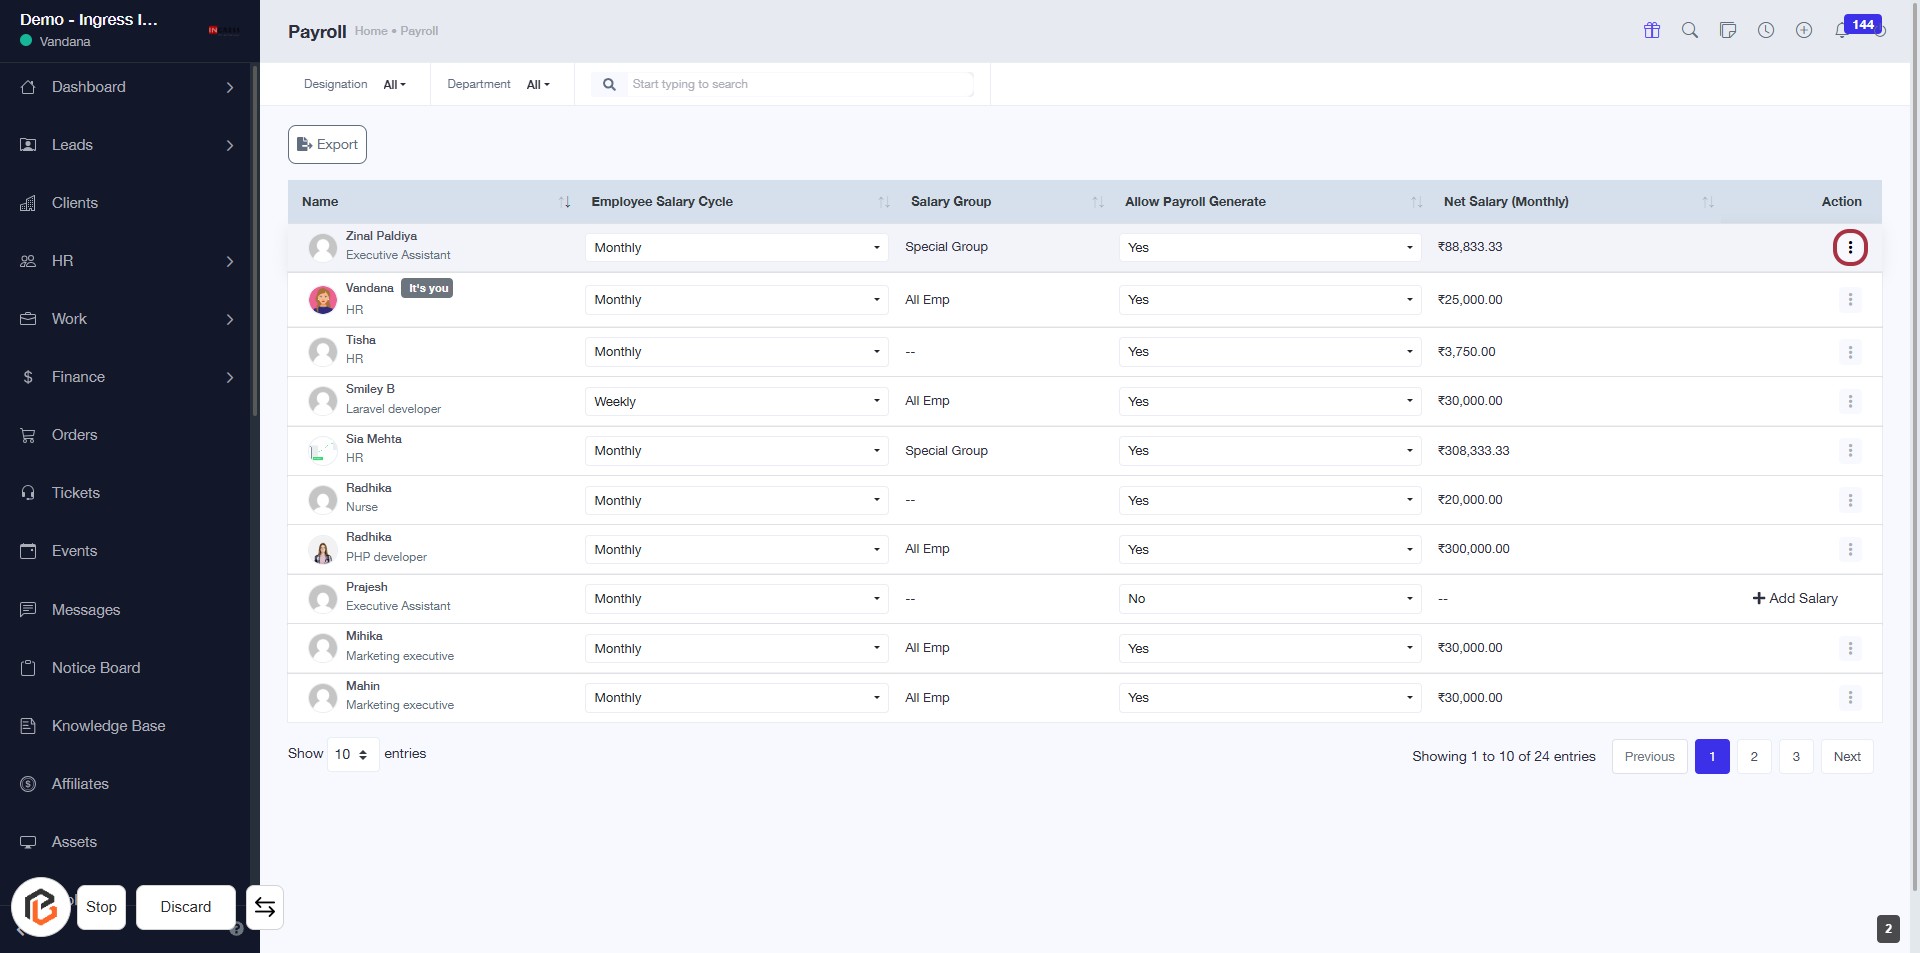
STEP 3: Click on "Action Button"
- Navigate to the "Payroll" section.
- Locate the "Action" column in the employee salary table.
- Click on the action button (three dots) for the desired employee.
- This will open a dropdown menu with further options, including "Increment."
- Ensure to review any additional prompts that may appear after clicking.
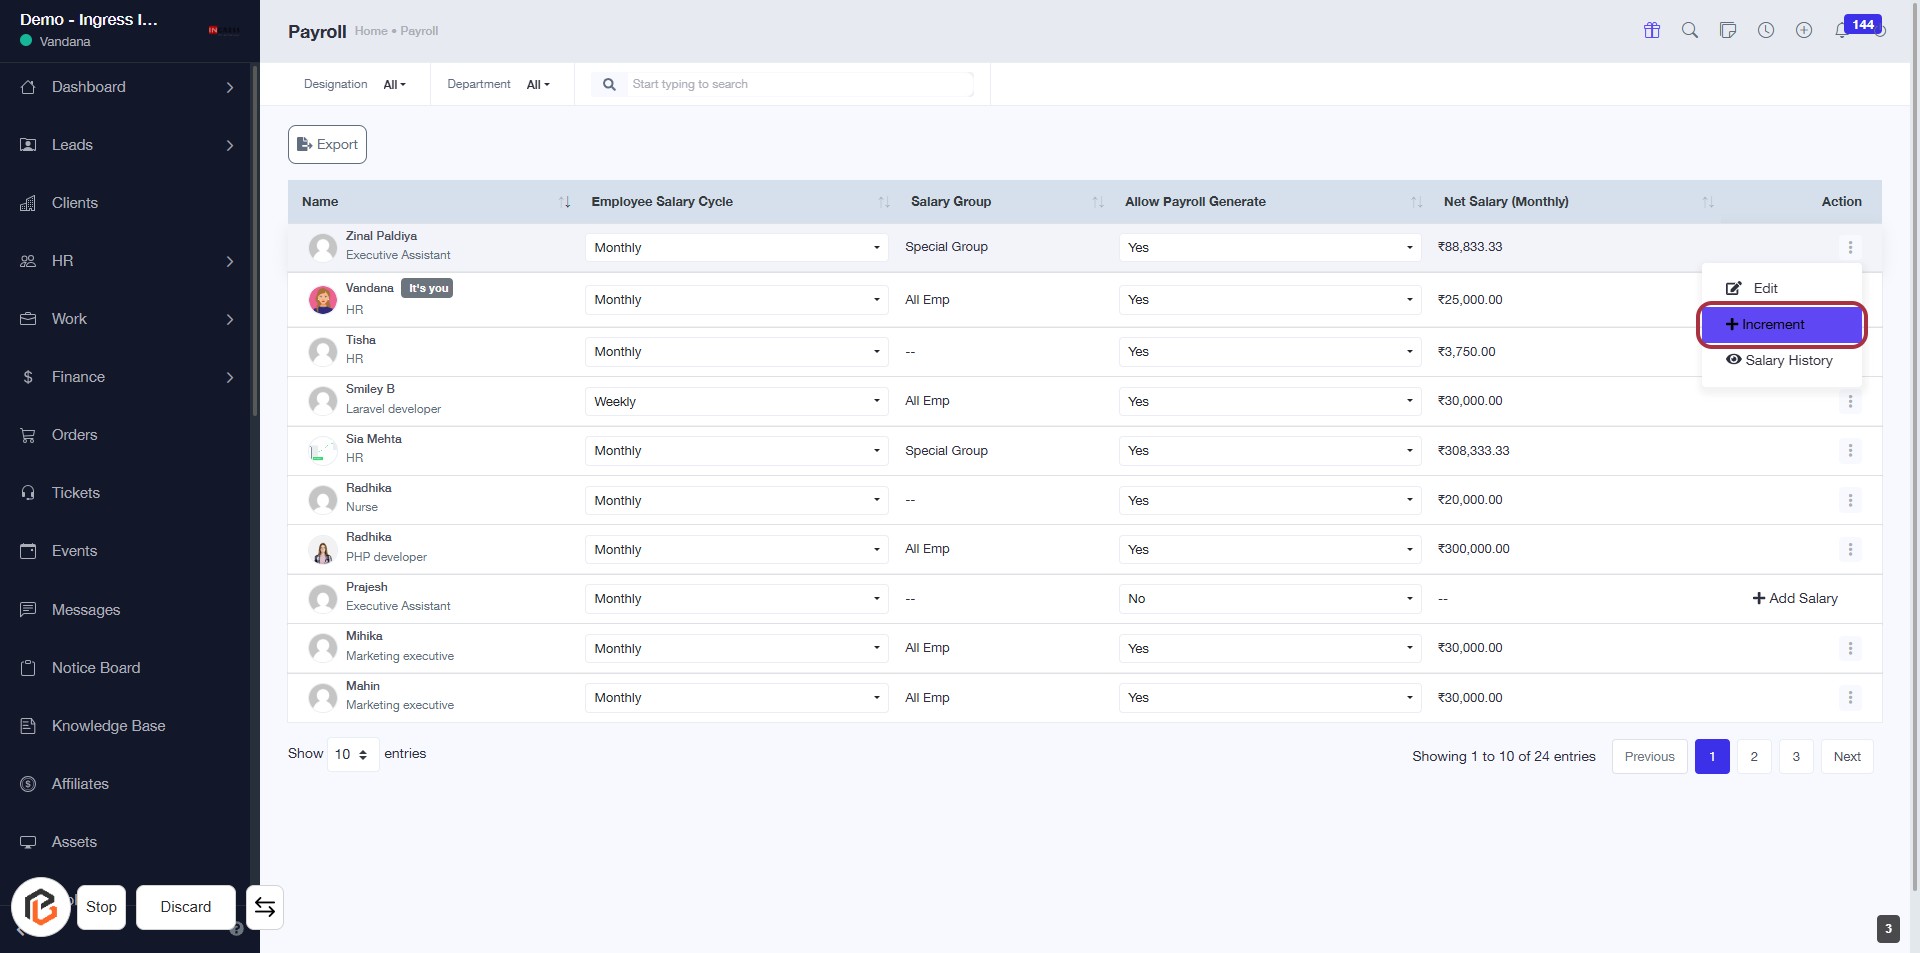
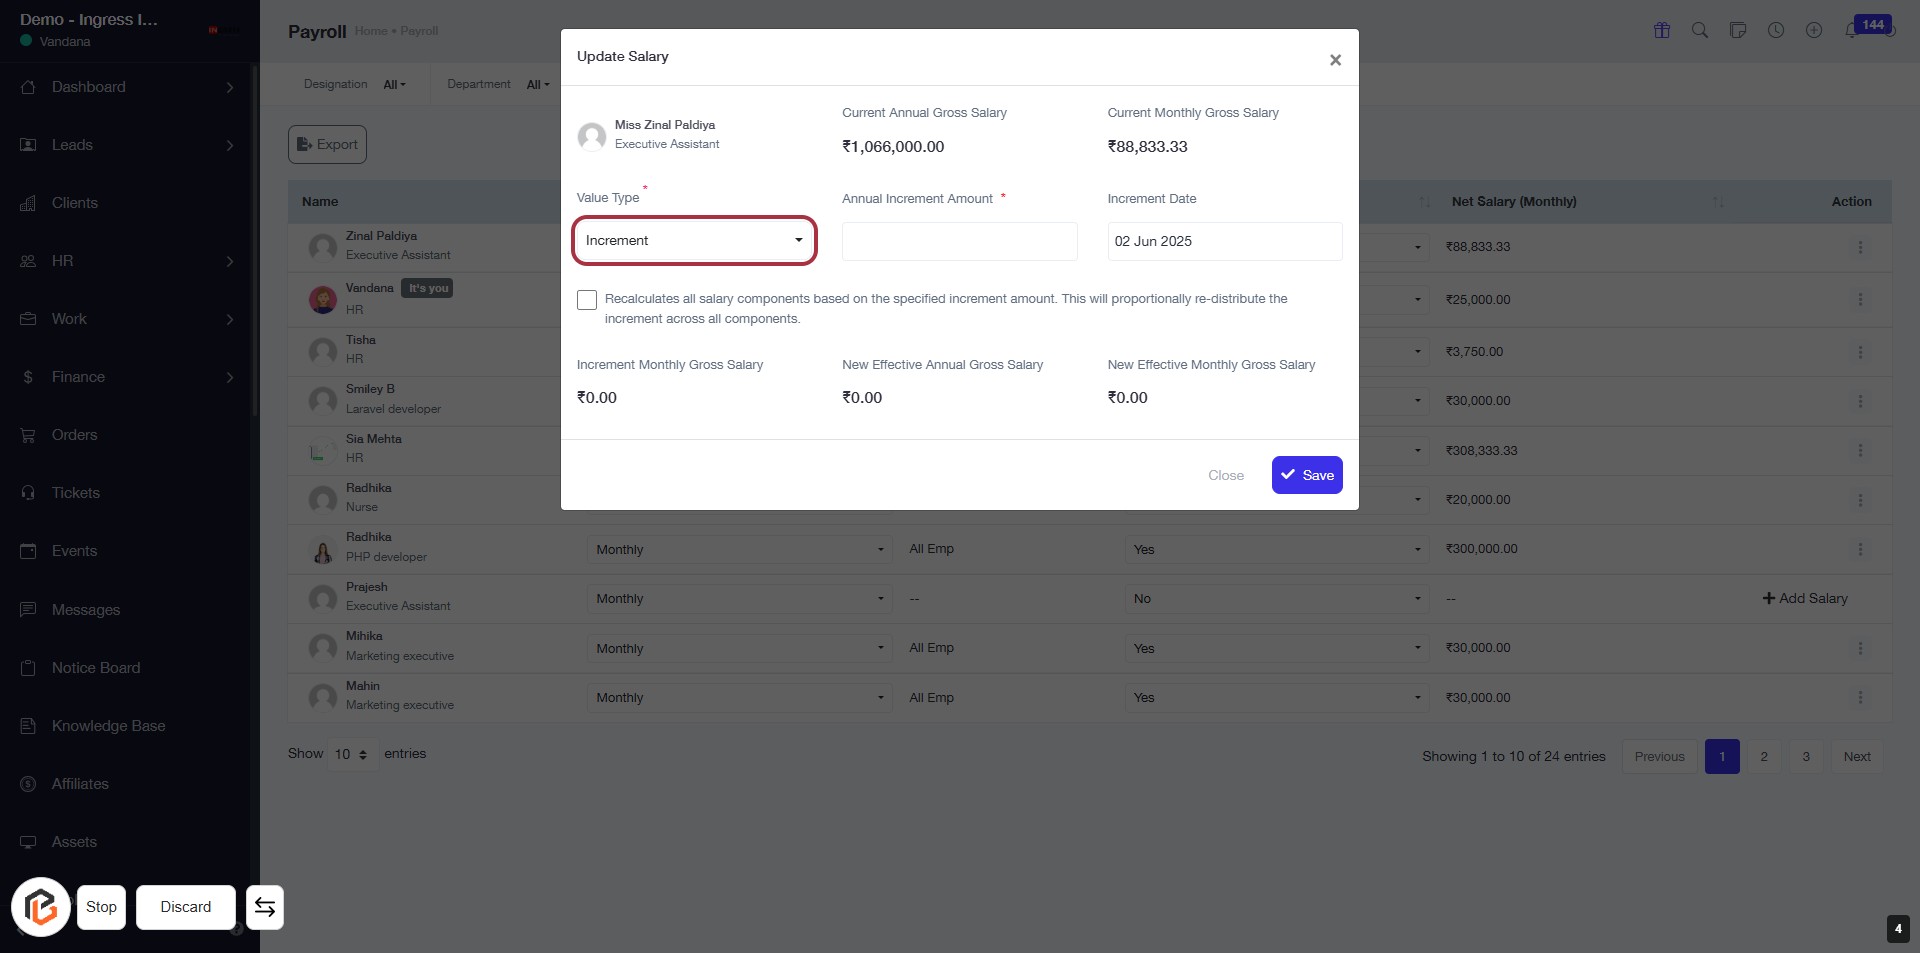
STEP 4: CLICK on "Increment"
STEP 5: Select "Value Type"
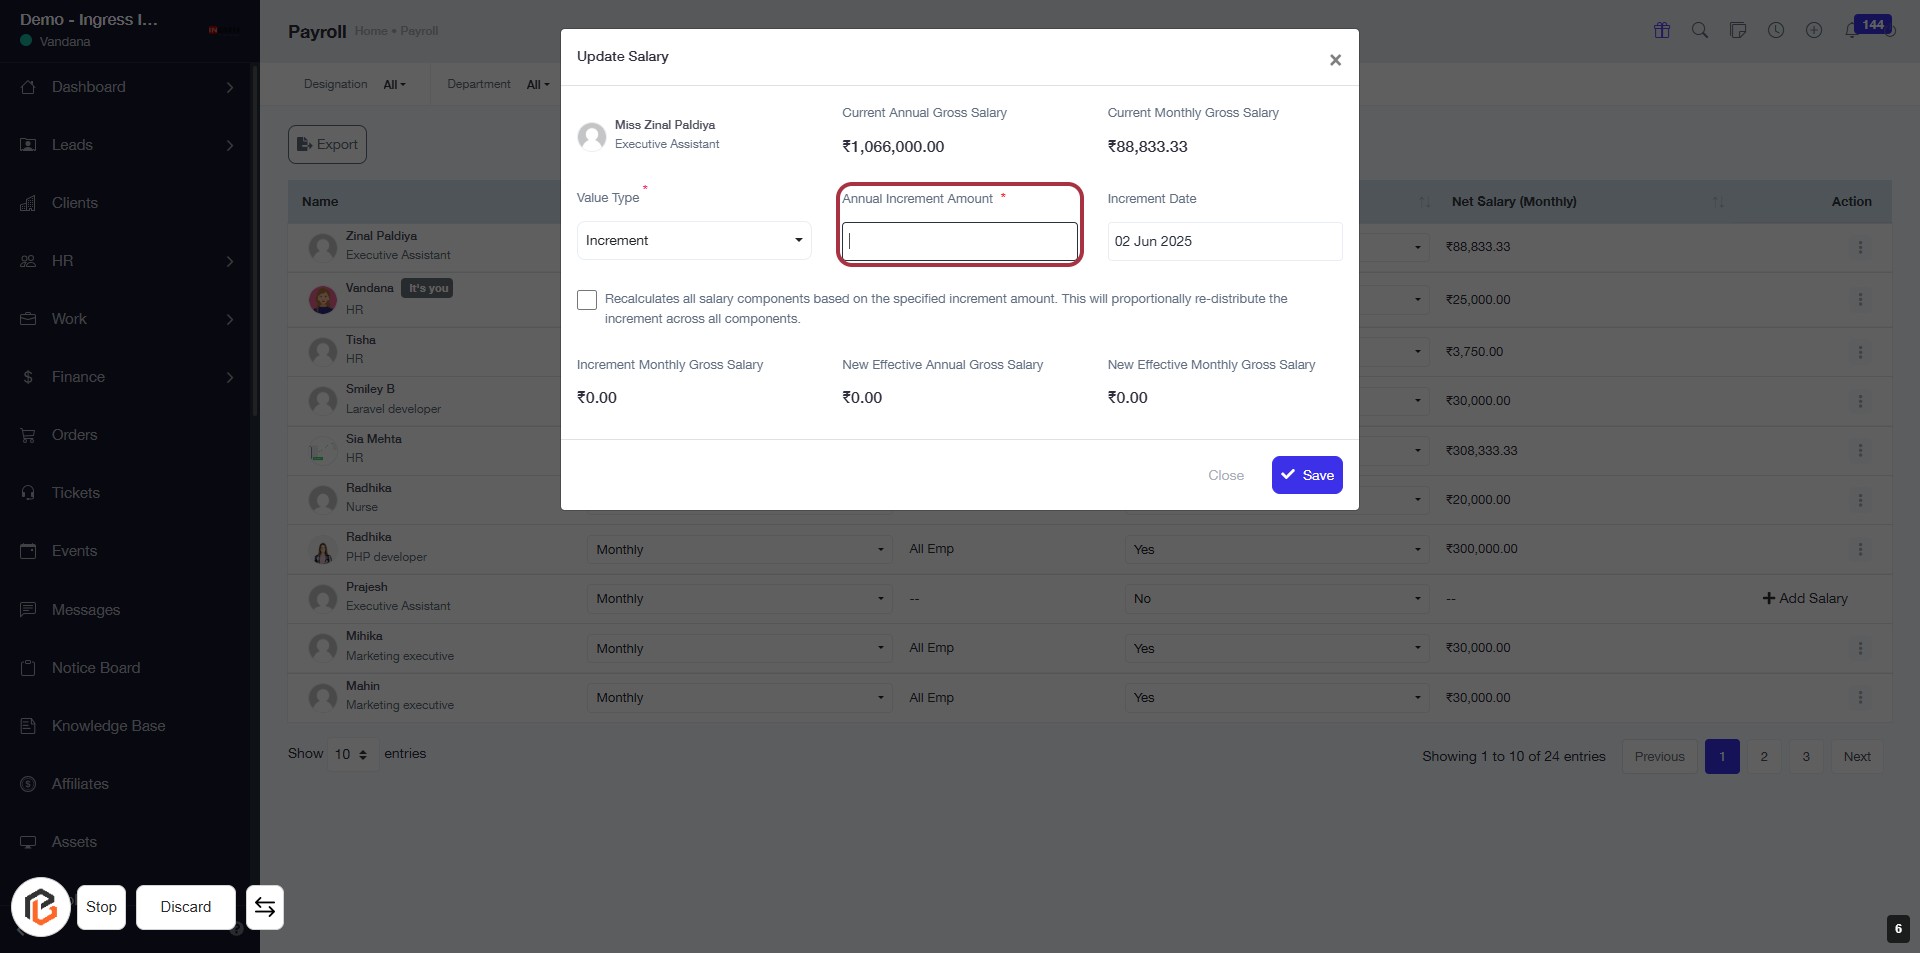
STEP 6: CLICK on "Annual Increment Amount *"
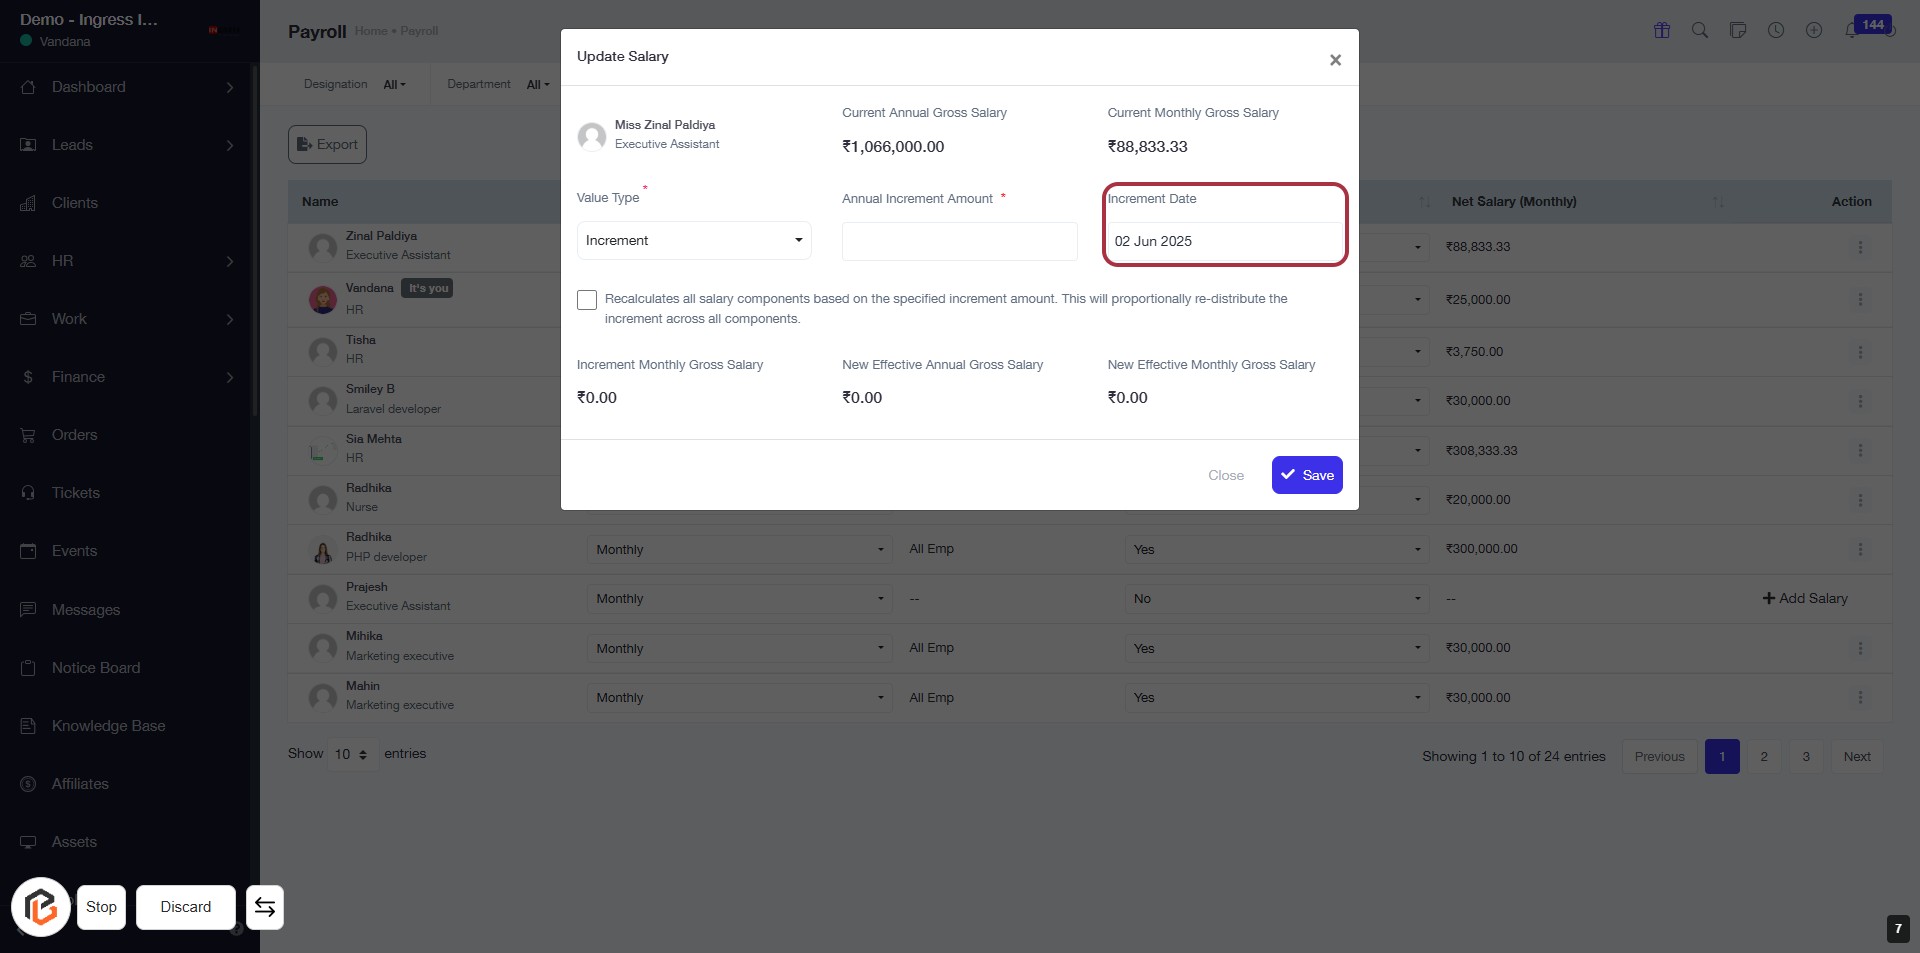
STEP 7: Select Increment Date
- Click on the "Increment Date" field highlighted in red.
- Choose the desired date from the calendar that appears.
- Ensure the date is correctly set for the salary increment.
- Review other fields for accuracy before proceeding.
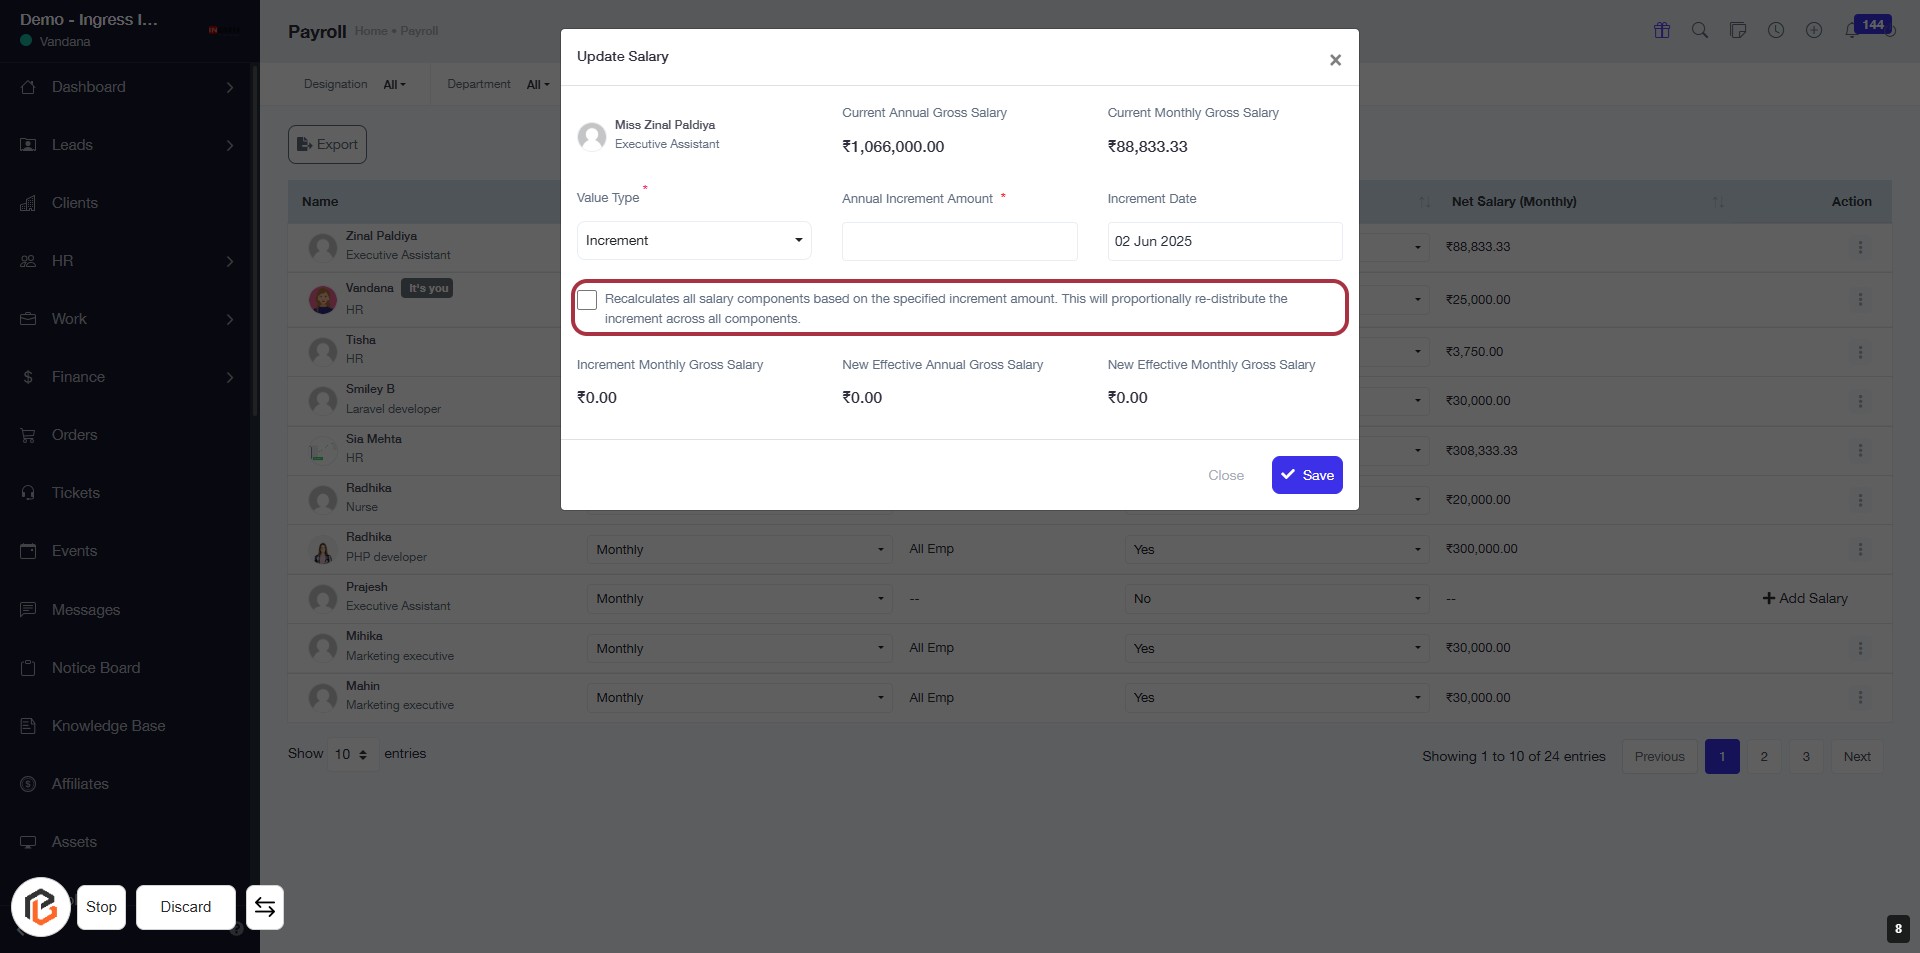
STEP 8: Click "Recalculates all salary components"
- Locate the checkbox labeled "Recalculates all salary components based on the specified increment amount."
- Click on the checkbox to enable it.
- This option ensures that the increment is proportionally distributed across all salary components.
- Proceed to the next step by clicking on "Save."
STEP 9: Click "Save" to Update Salary Information
- Ensure all required fields are filled:
- Value Type (marked with *),
- Annual Increment Amount (marked with *),
- Increment Date (marked with *).
- Review the displayed salary details before proceeding.
- Click the Save button to confirm the updates.
