Step-by-Step Guide to Generating Payroll: Complete Instructions for Selecting Year, Salary Cycle, and Employees
10 mins read · Updated 29 Sep, 2025
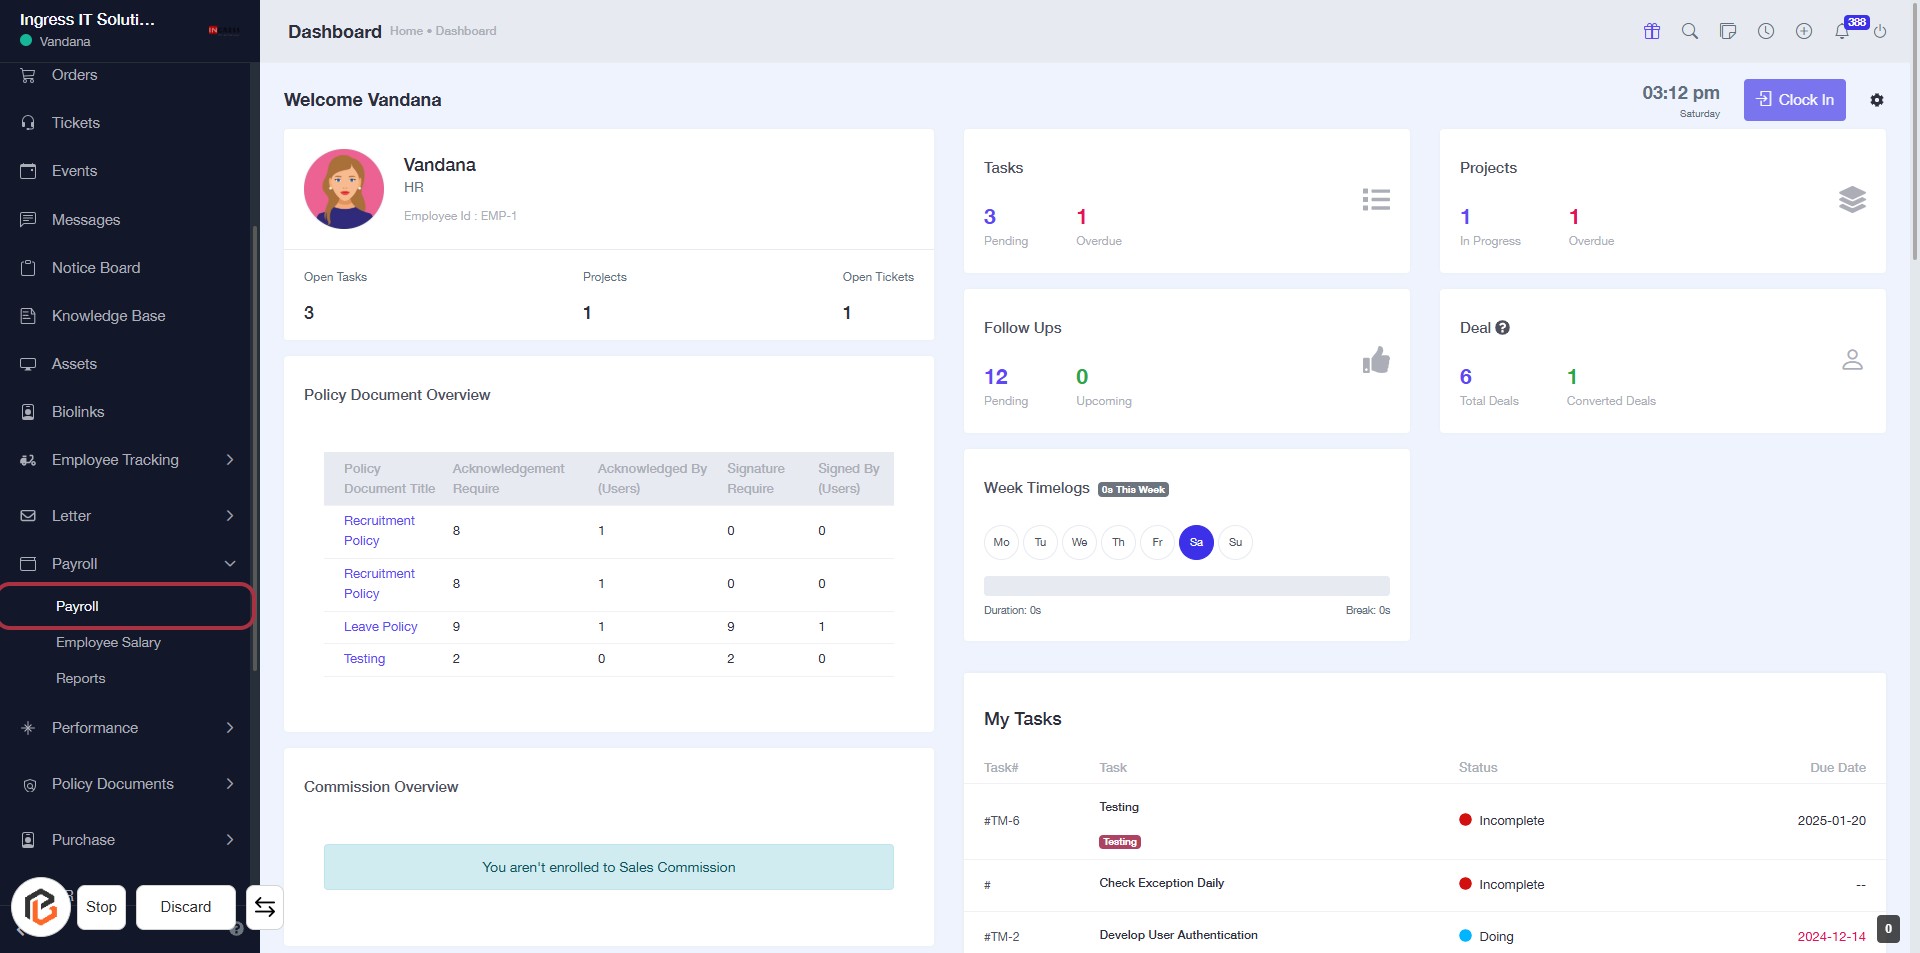
STEP 1: Click on "Payroll" to Access Payroll Dashboard
- Navigate to the left sidebar of the dashboard.
- Click on the "Payroll" link to open the Payroll section.
- Ensure you are on the correct page by checking the highlighted area for relevant payroll information.
- Proceed to the next step by clicking on "Select Year" for further actions.
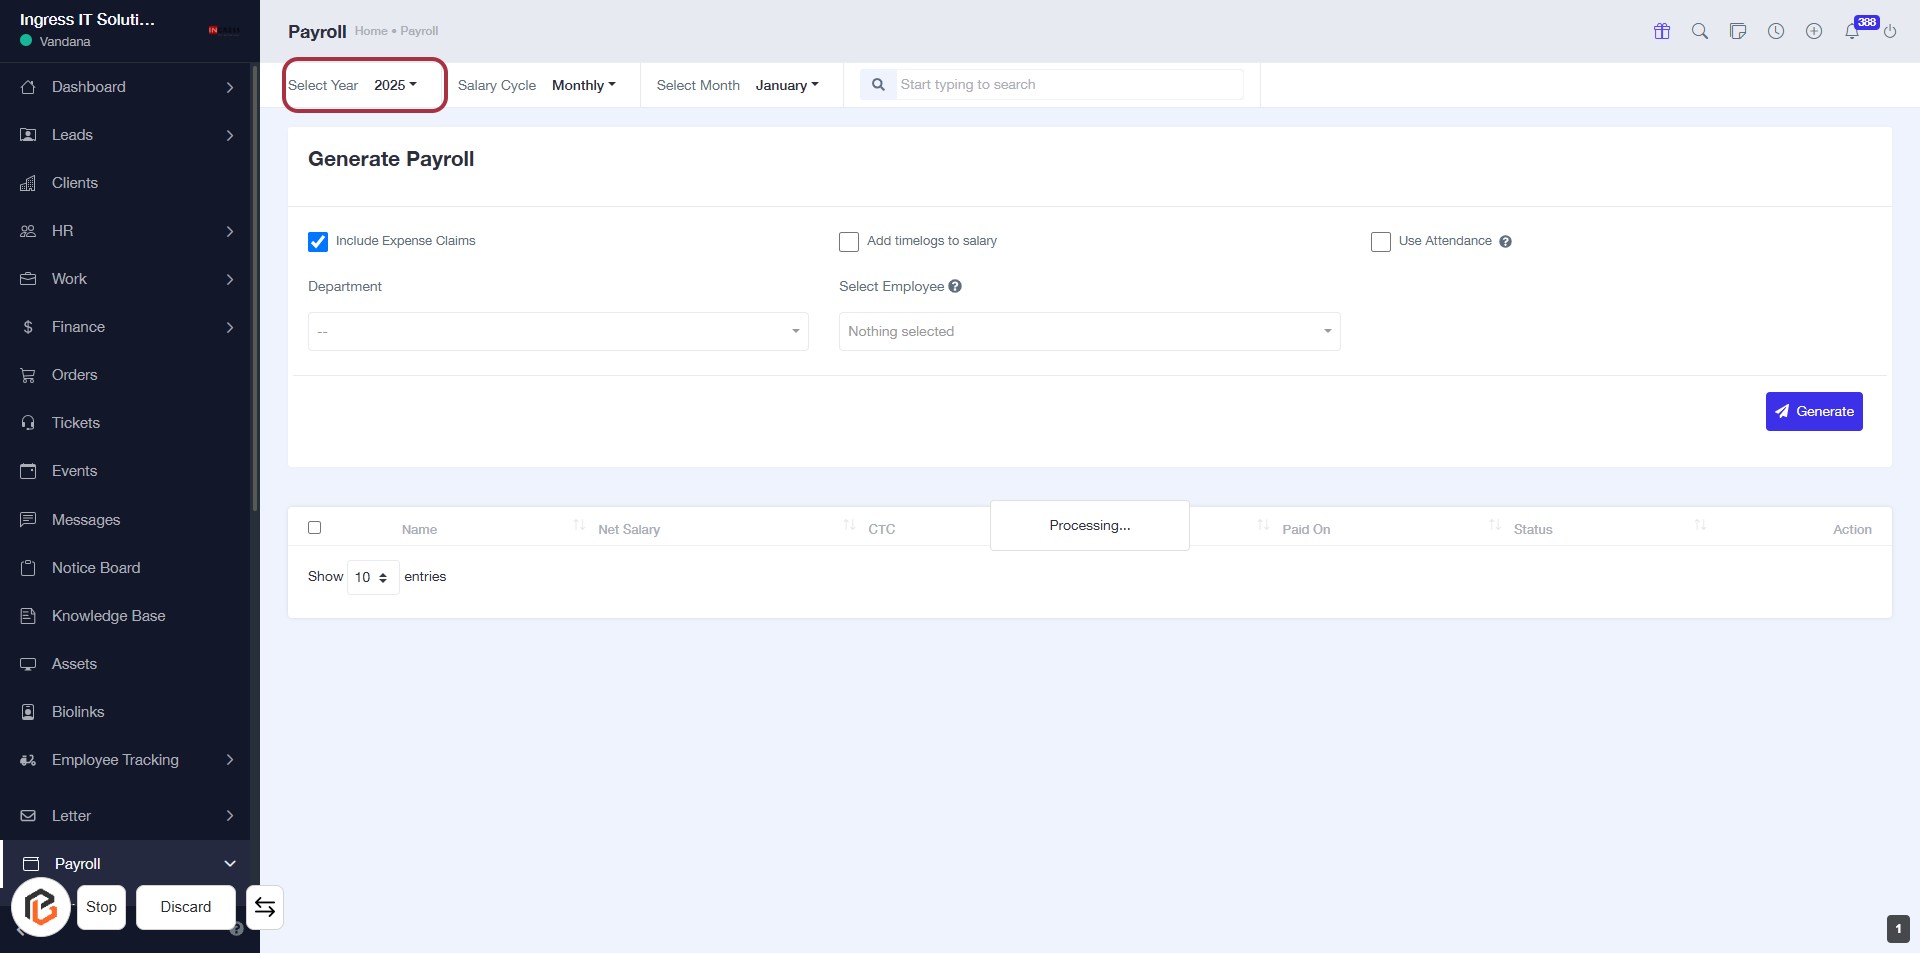
STEP 2: Click on "Select Year"
- Navigate to the "Select Year" dropdown in the Payroll dashboard.
- Click on the dropdown to view available years.
- Choose the desired year from the list.
- Ensure all required fields marked with '*' are filled before proceeding.
- After selection, continue to the next step by clicking on "Salary Cycle".
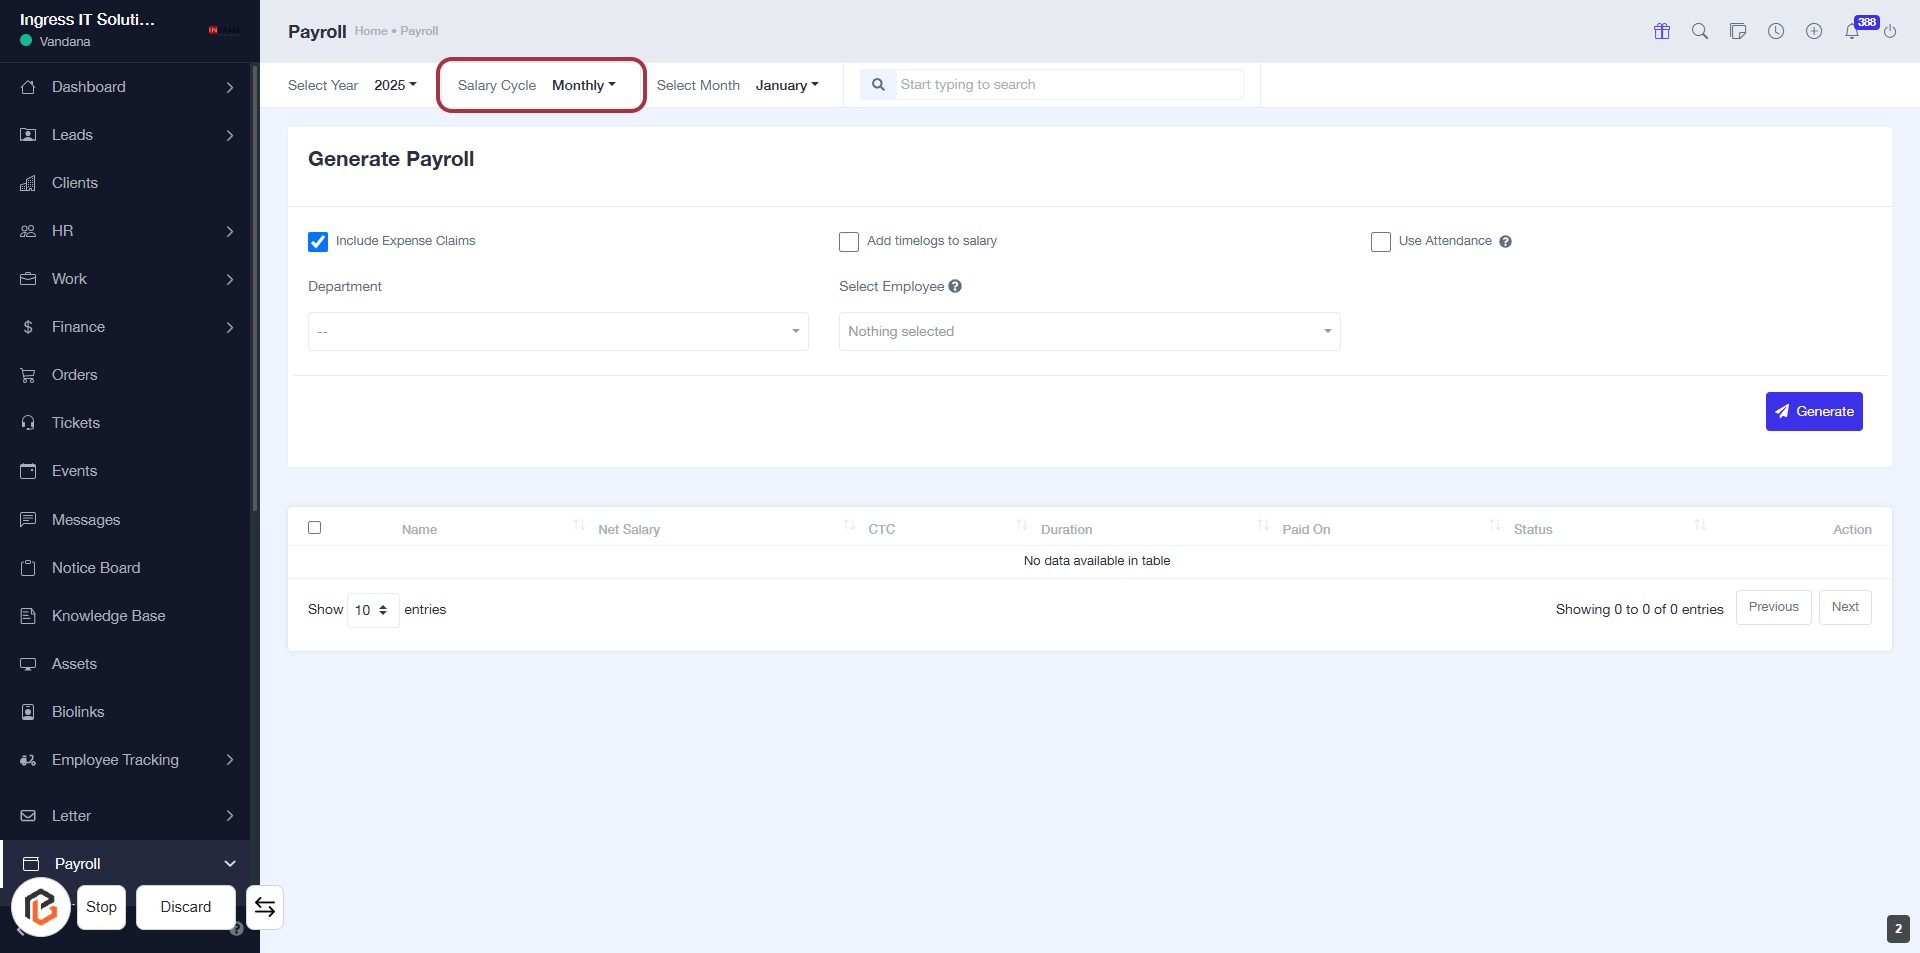
STEP 3: Click on "Salary Cycle" to Set Payroll Frequency
- Navigate to the "Salary Cycle" section in the form.
- Click on the "Salary Cycle" option to select the desired frequency (e.g., Monthly).
- Ensure all required fields marked with '*' are filled out.
- Proceed to the next step by clicking on "Select Month" after setting the salary cycle.
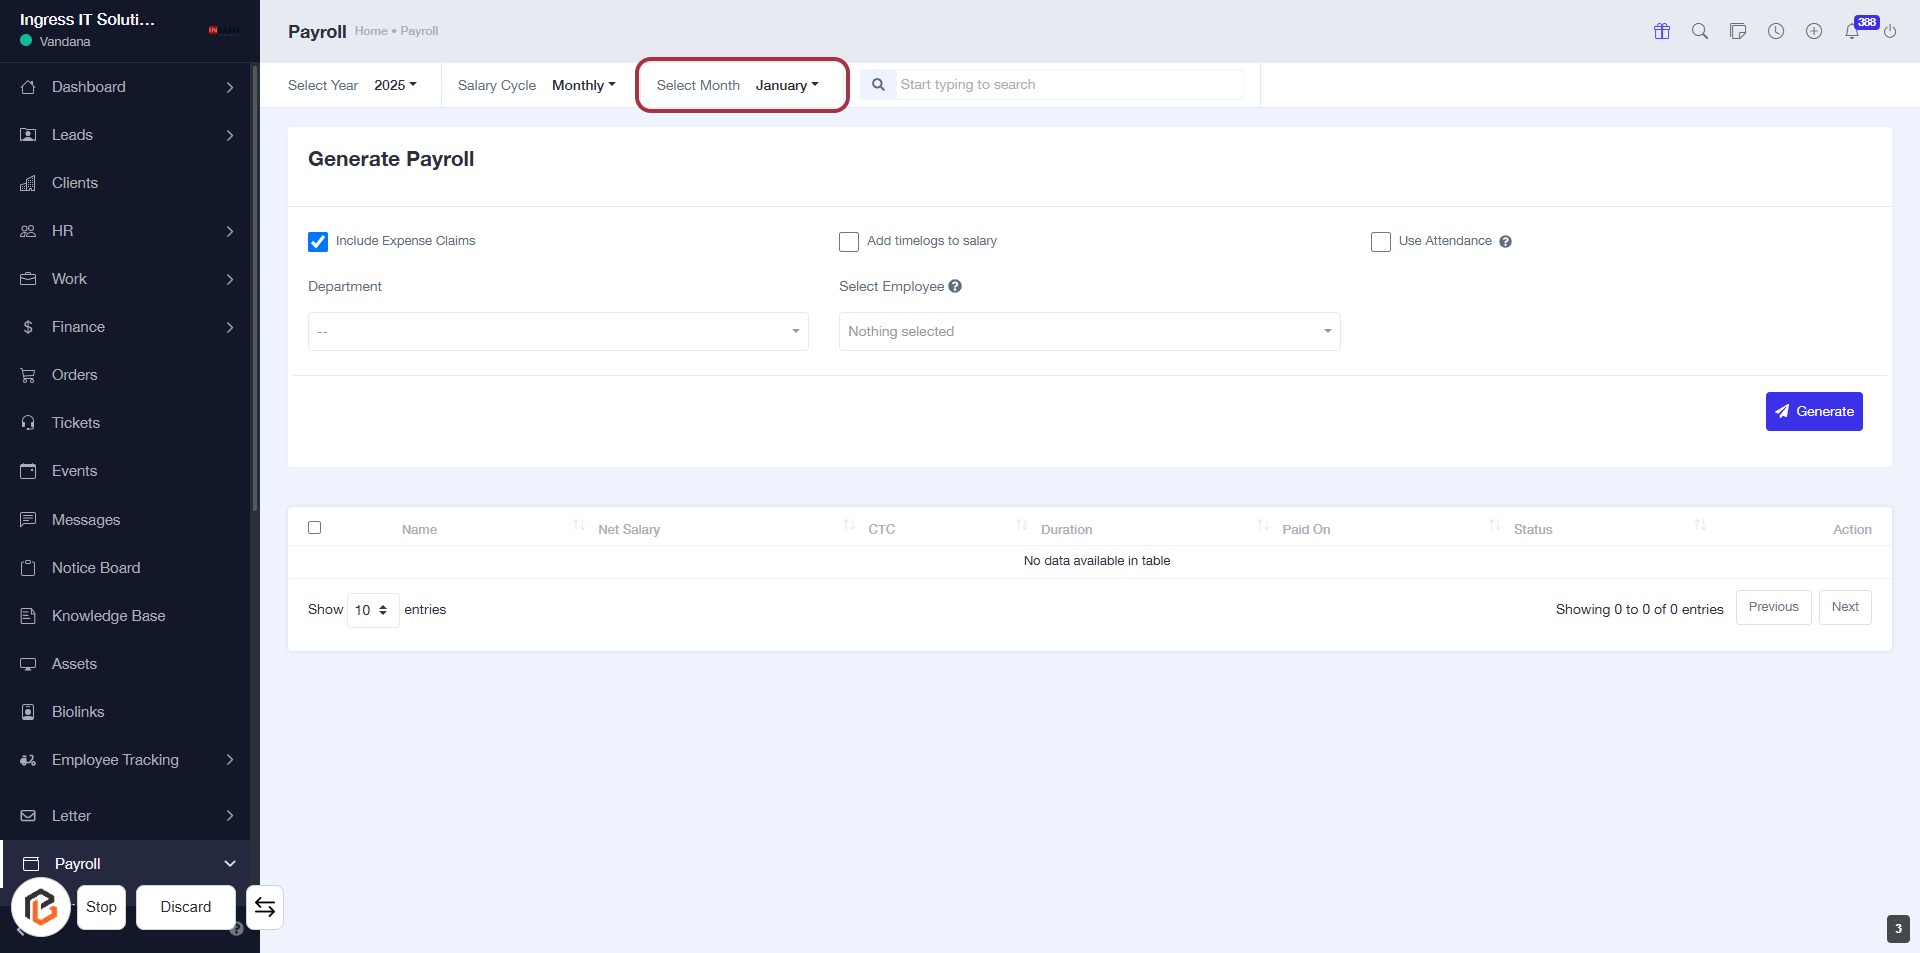
STEP 4: Click on "Select Month" to Choose Payroll Month
- Click on the "Select Month" dropdown.
- Choose the desired month from the list (e.g., January).
- Ensure to check any required fields marked with an asterisk (*).
- Proceed to the next step by checking "Include Expense Claims".
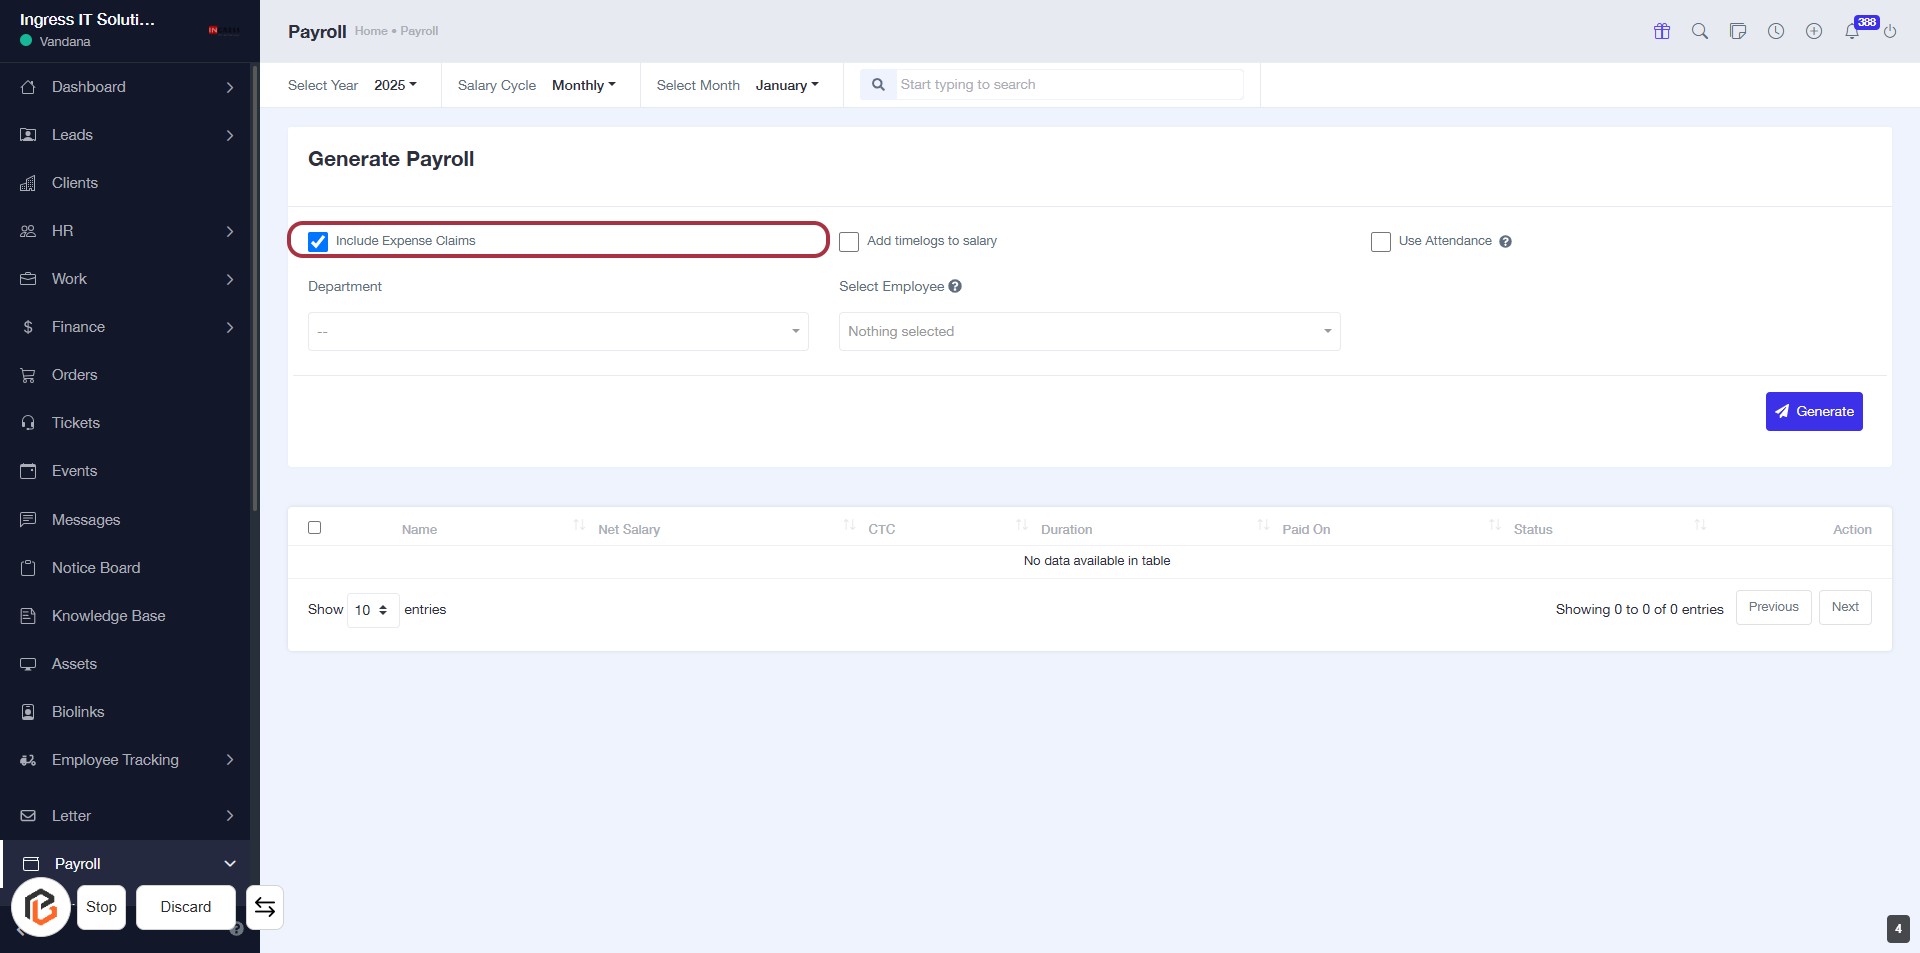
STEP 5: Click "Include Expense Claims" to Include in Payroll
- Navigate to the "Generate Payroll" section.
- Locate the checkbox labeled Include Expense Claims.
- Click on the checkbox to select it.
- Ensure that the selection is reflected visually (checkmark appears).
- Proceed to the next step by checking "Add timelogs to salary".
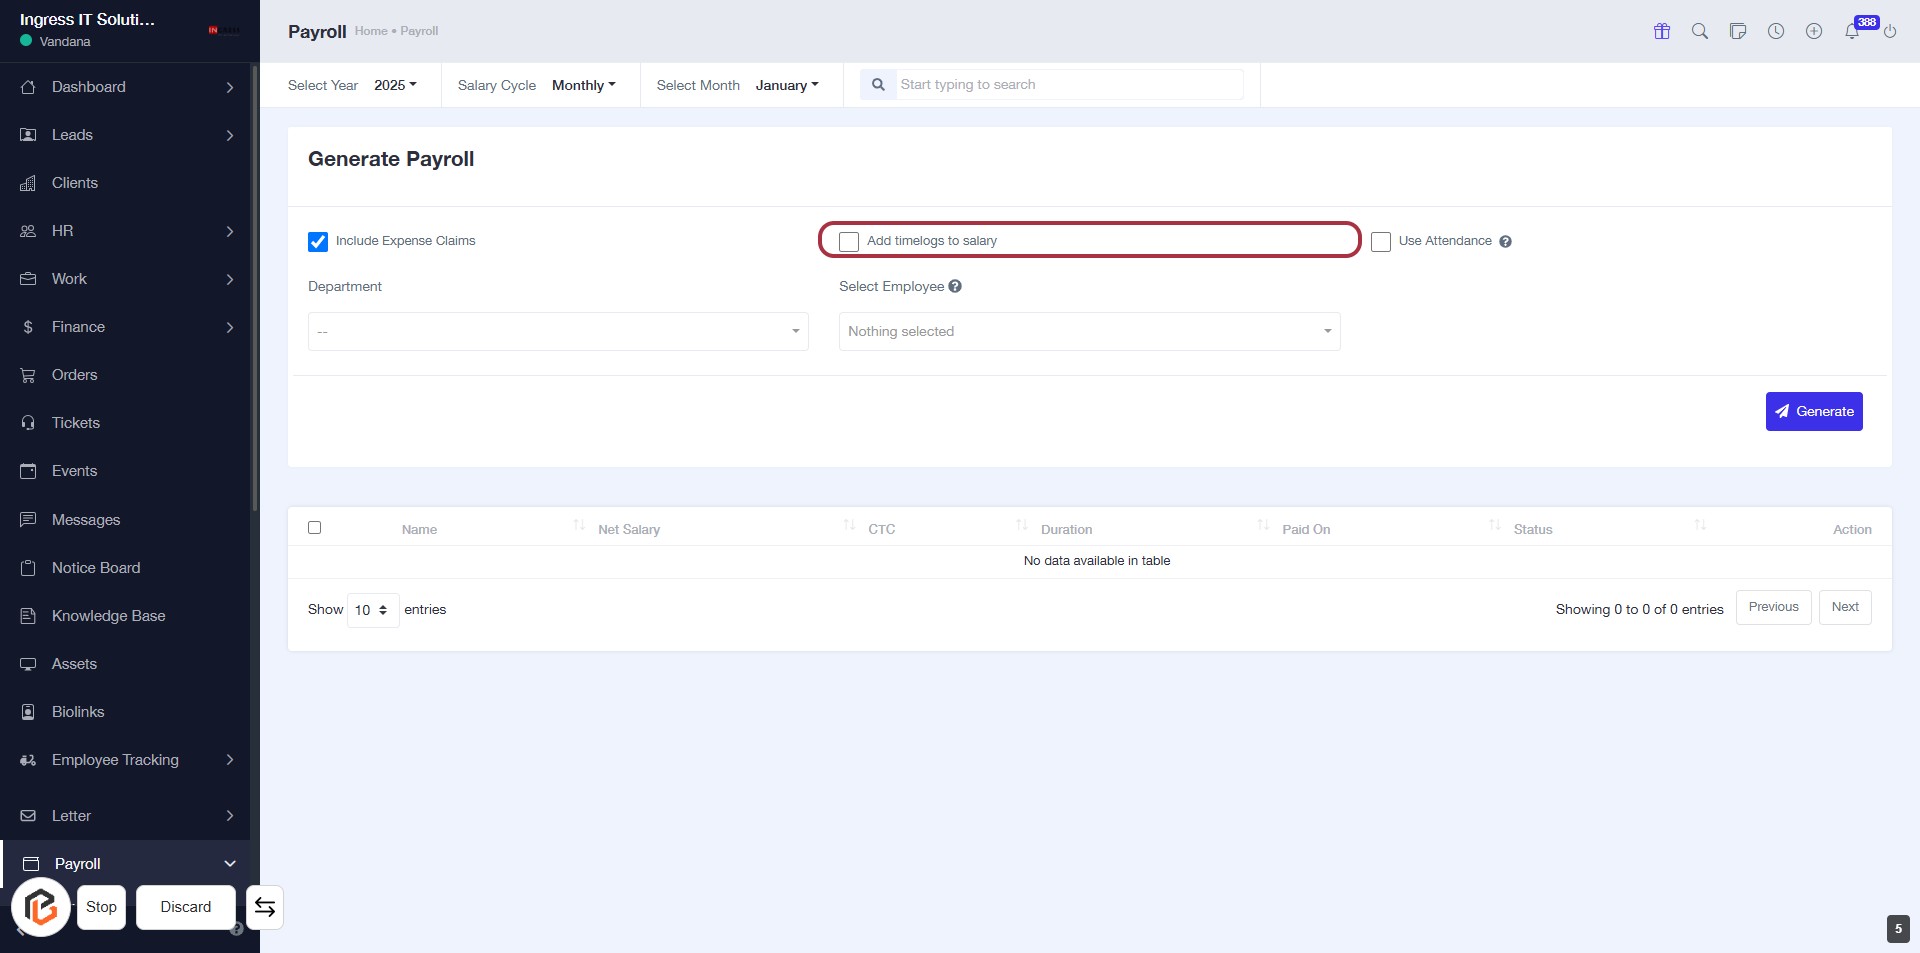
STEP 6: Click "Add timelogs to salary"
- Locate the checkbox labeled "Add timelogs to salary."
- Click on the checkbox to enable it.
- Ensure that the checkbox is marked, indicating that timelogs will be included in the salary calculation.
- Proceed to the next step by checking "Use Attendance" if needed.
STEP 7: Click "Use Attendance"
- Navigate to the "Generate Payroll" section.
- Locate the "Use Attendance" checkbox highlighted in red.
- Click on the checkbox to enable attendance tracking for payroll.
- Ensure other required fields are filled out before proceeding to the next step.

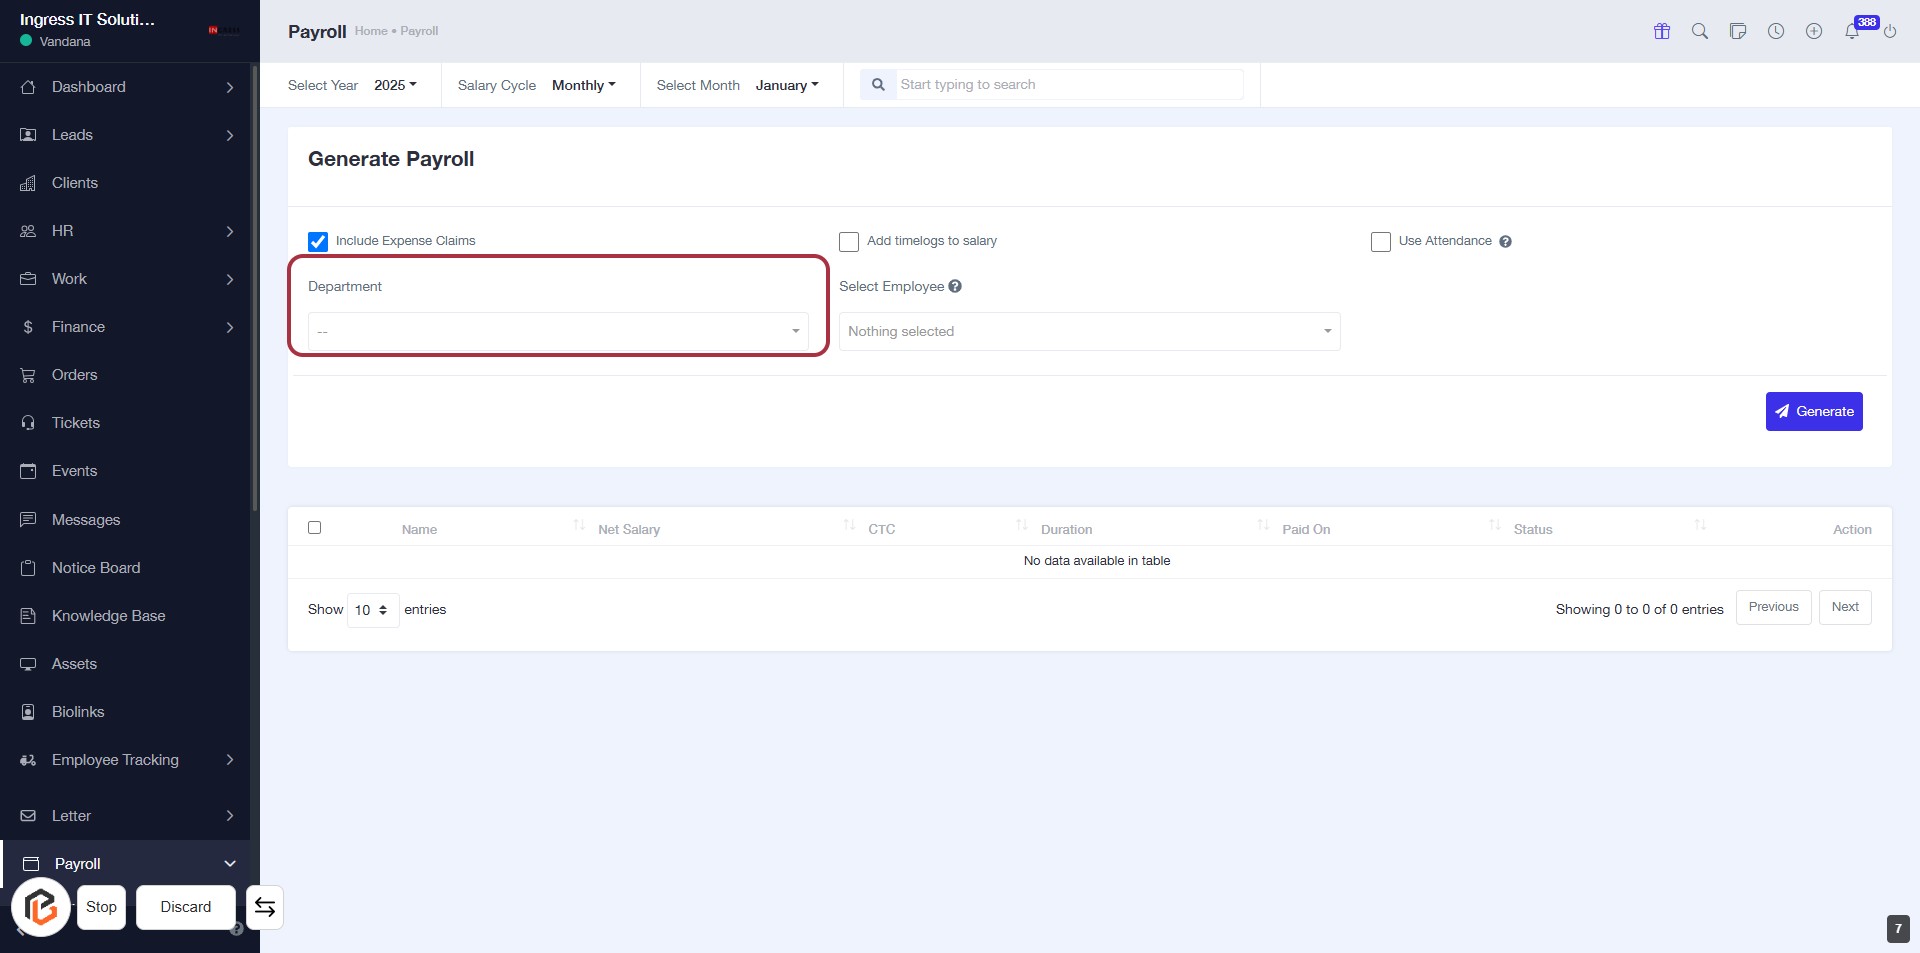
STEP 8: Select "Department"
- Click on the "Department" field highlighted in red.
- A dropdown will appear; select the appropriate department from the list.
- Ensure that the selection is made before proceeding to the next step.
- After selecting, you can continue by clicking on "Select Employee."
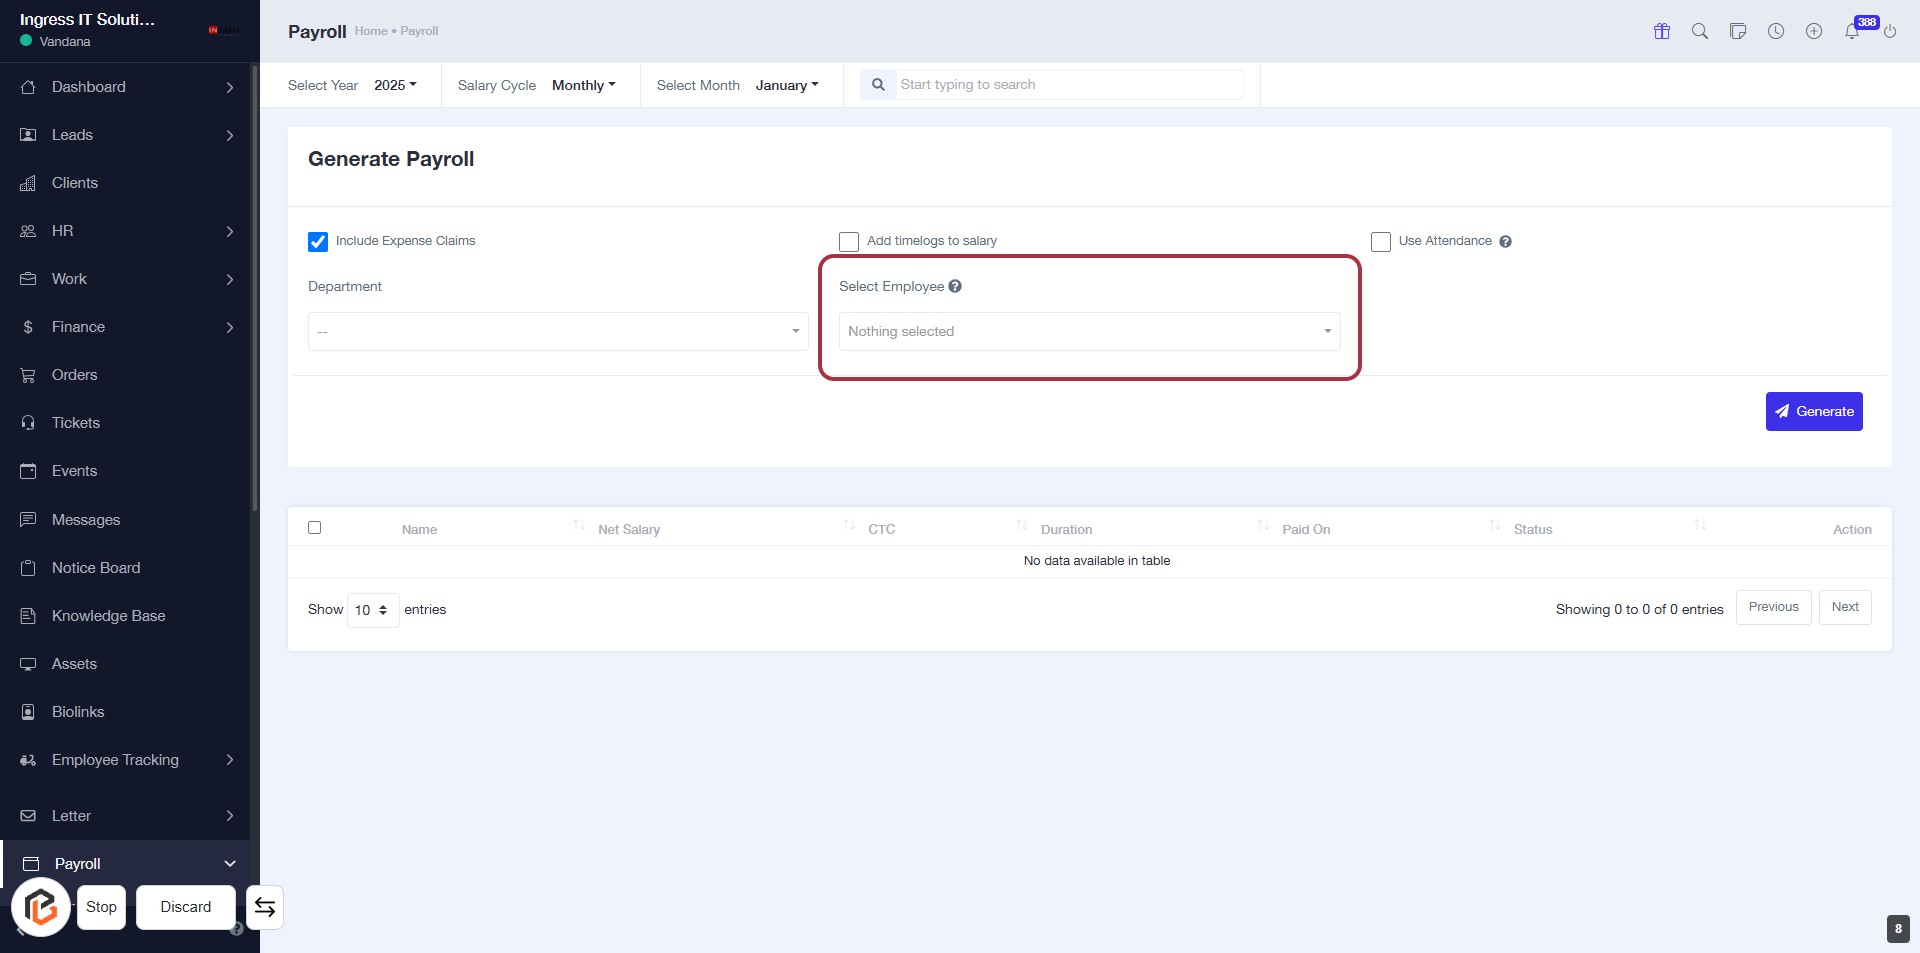
STEP 9: Click on "Select Employee"
- Navigate to the "Select Employee" dropdown in the highlighted area.
- Click on the dropdown to view available employee options.
- Choose an employee from the list to proceed.
- Ensure that the selection is made before moving to the next step.
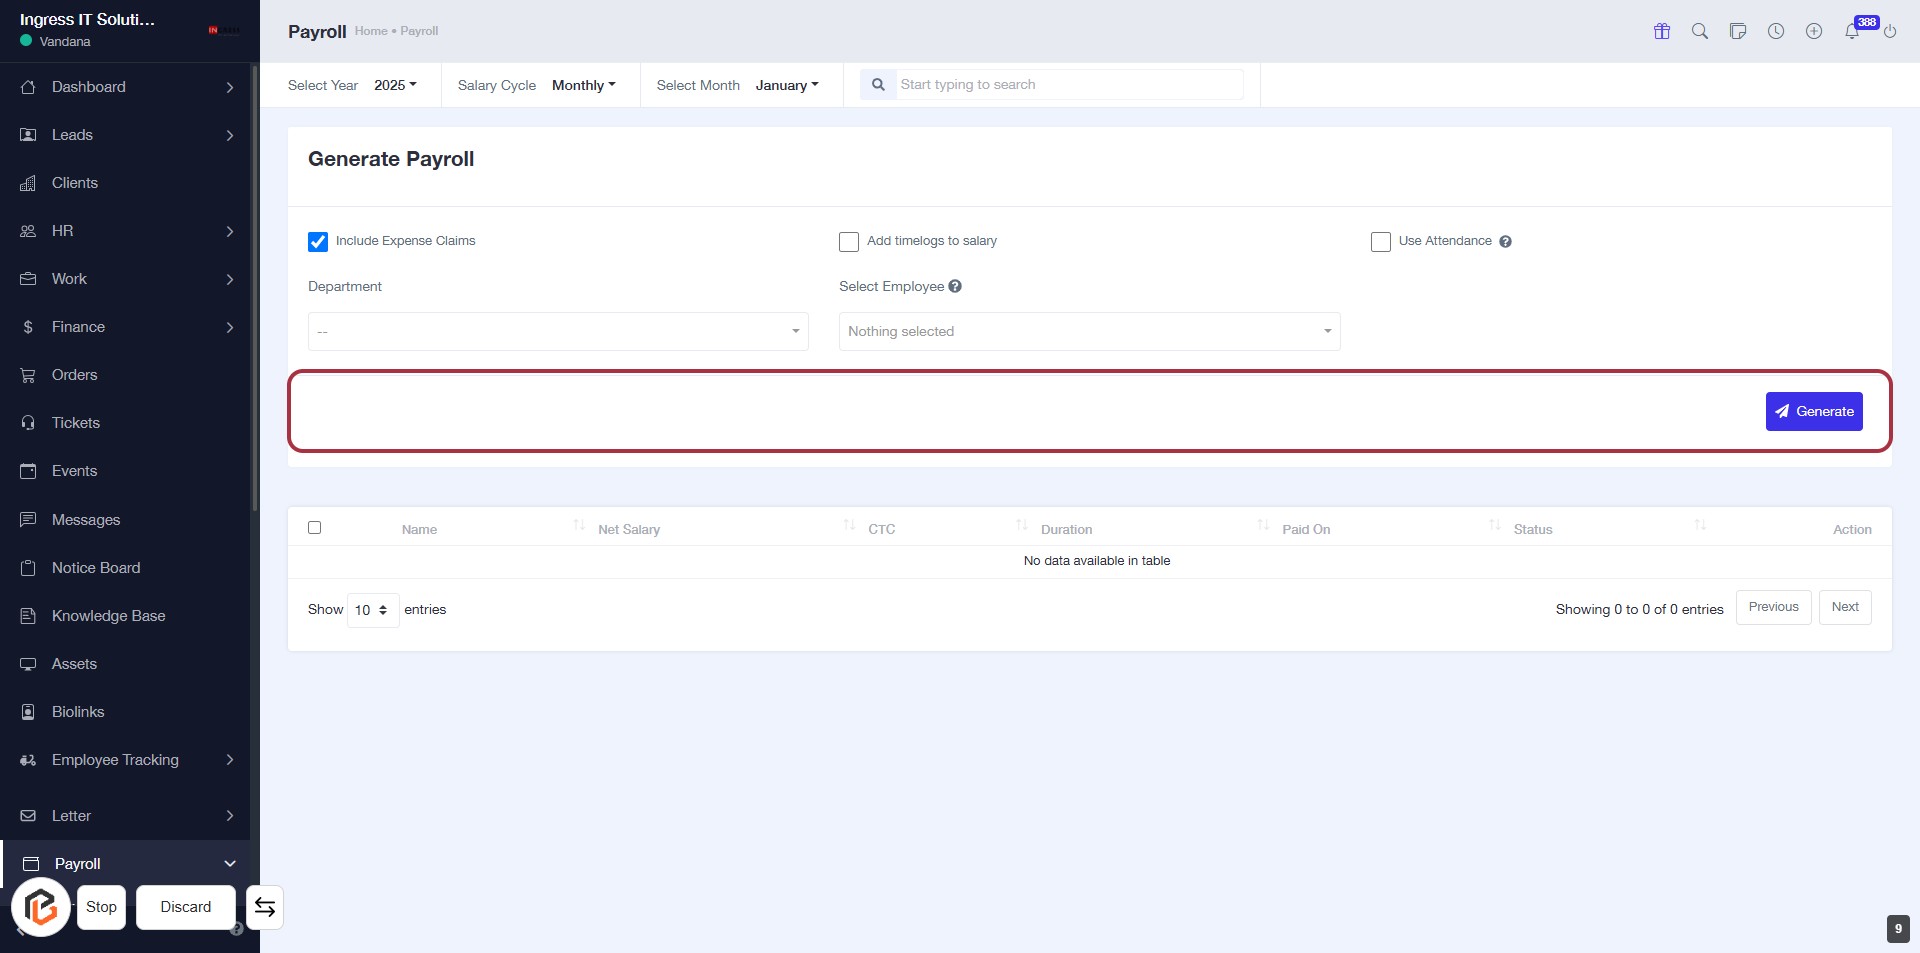
STEP 10: Click on "Generate" Button
- Ensure all required fields are filled, including "Include Expense Claims" and "Select Employee."
- Locate the highlighted area with the "Generate" button.
- Click on the "Generate" button to proceed with payroll generation.
- Review any confirmation messages or results displayed after clicking.