Step-by-Step Guide to Efficient Payroll Management: From Accessing Payroll to Finalizing Employee Payments
12 mins read · Updated 29 Sep, 2025
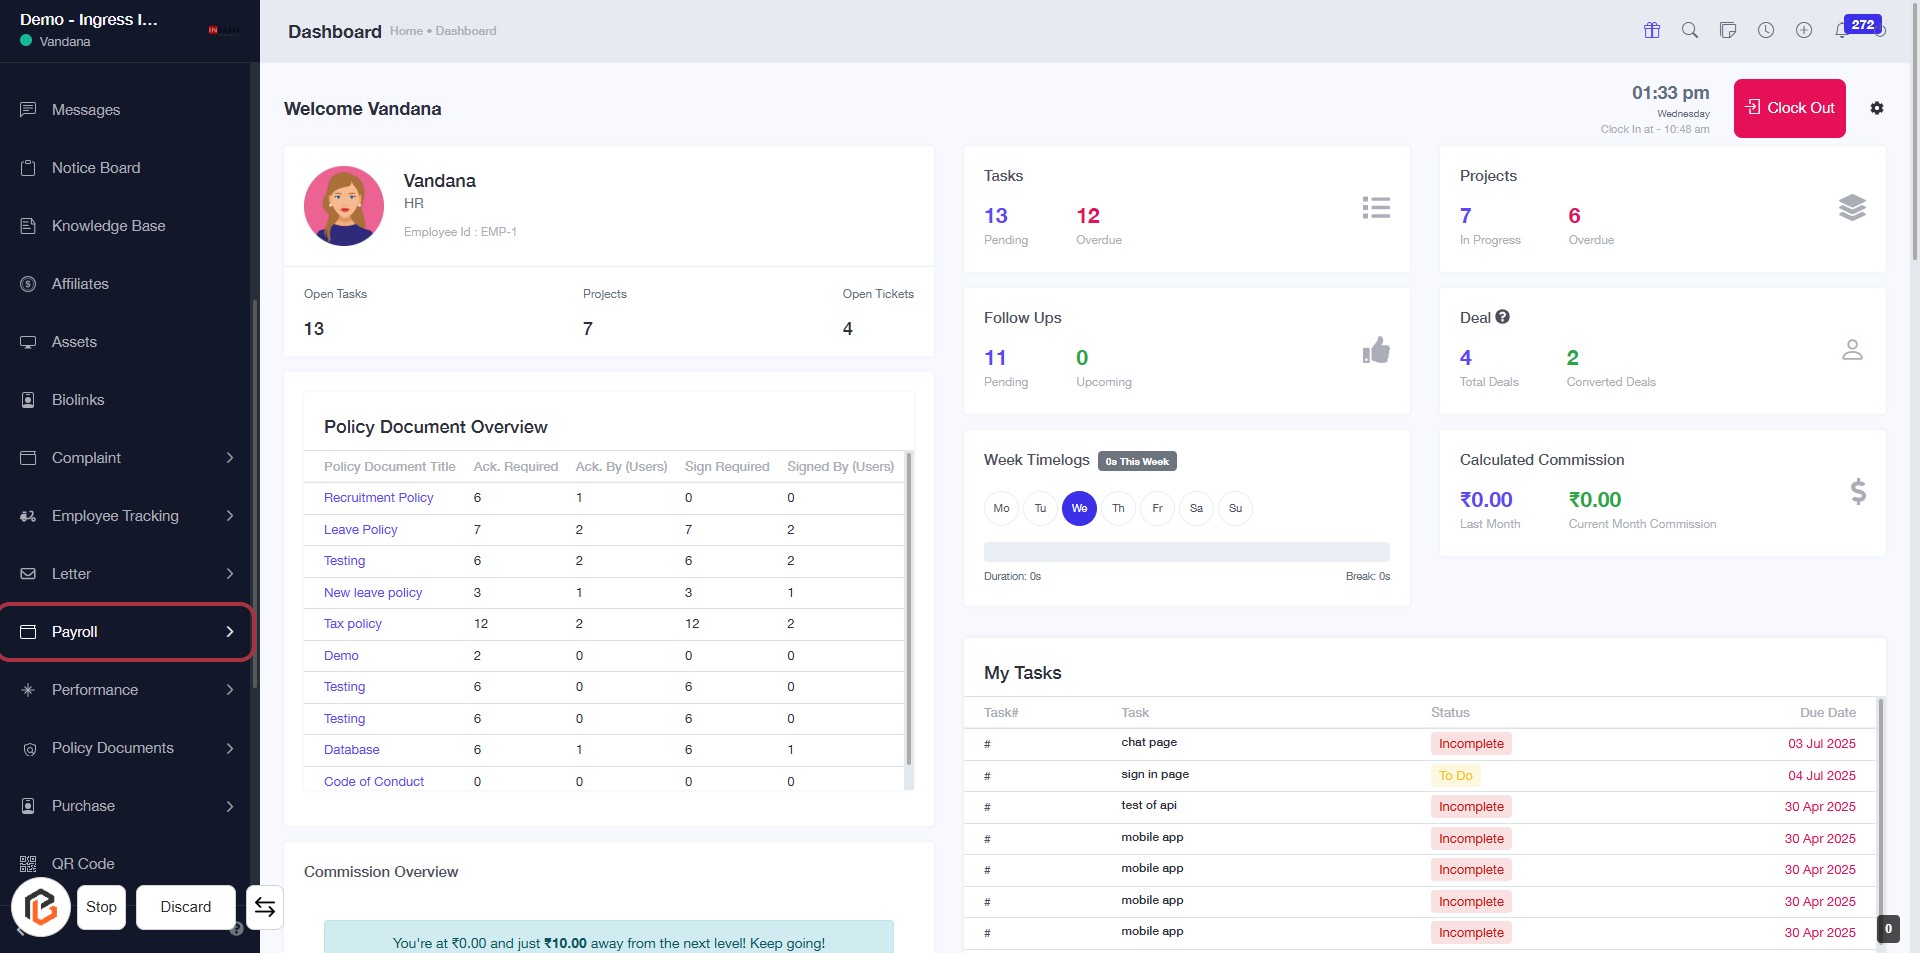
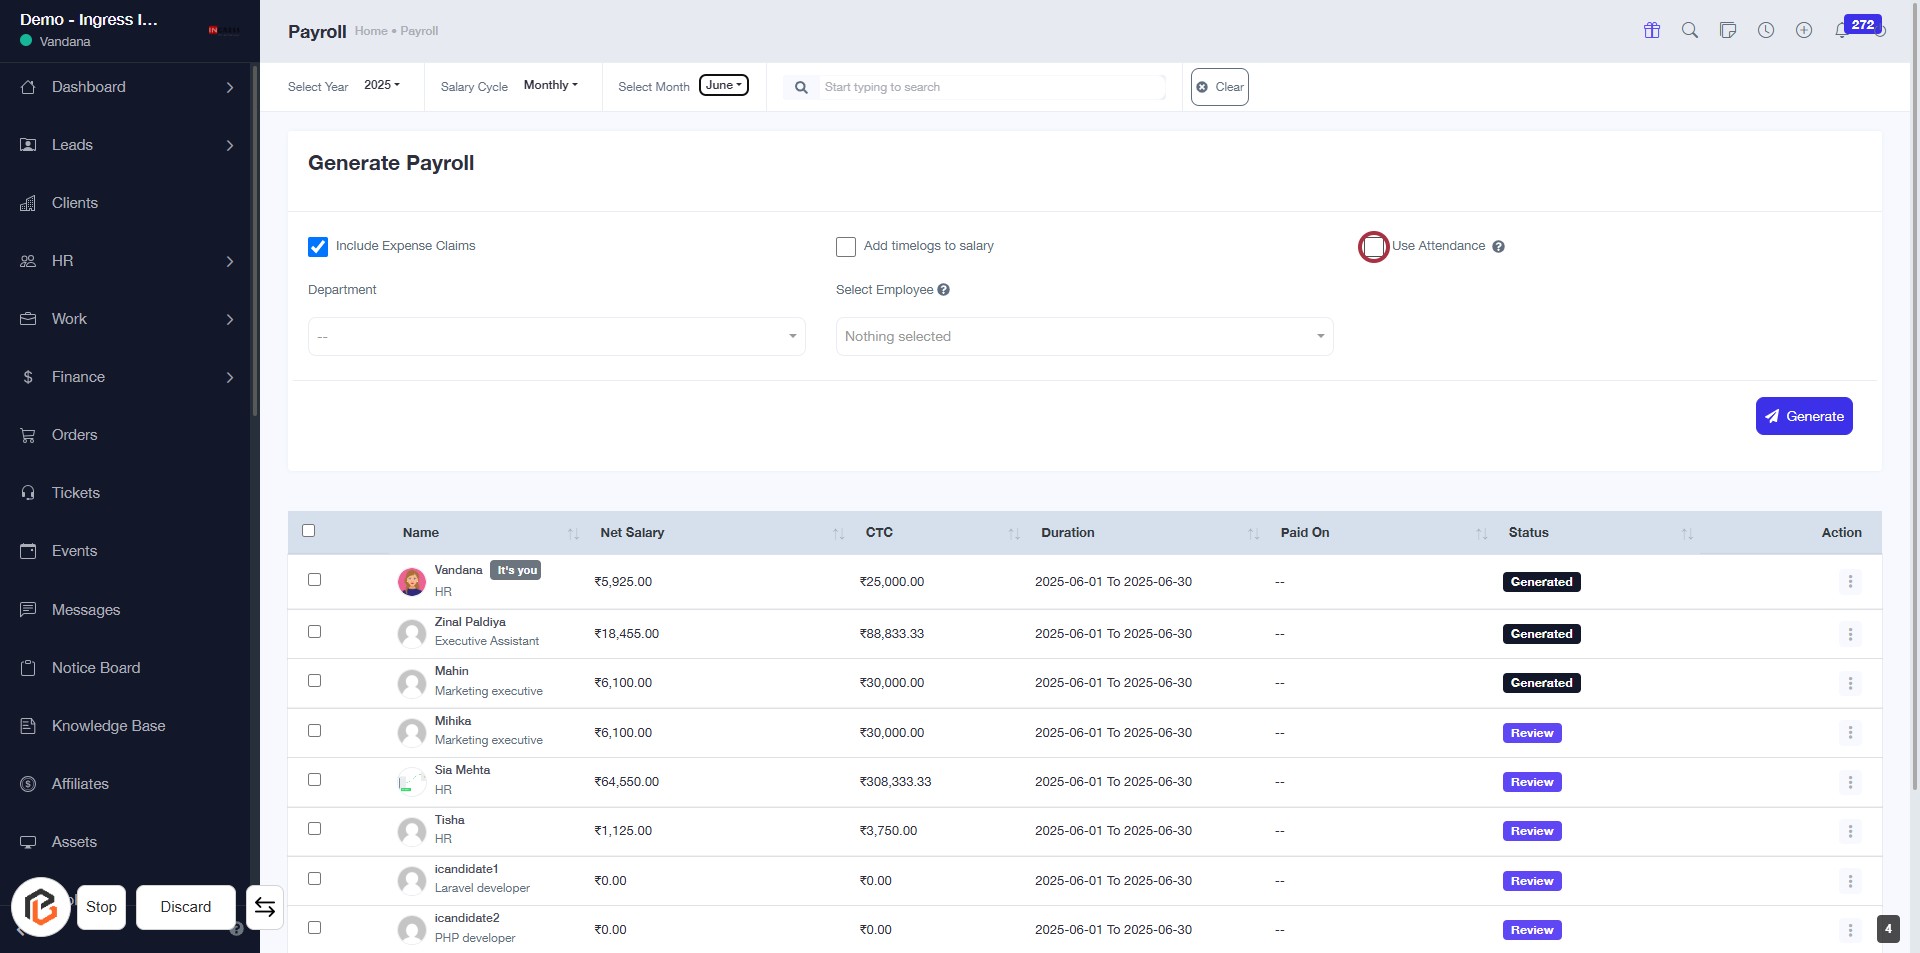
STEP 1: Click on "Payroll" to Access Payroll Features
- Navigate to the left sidebar of the dashboard.
- Locate the "Payroll" option highlighted in red.
- Click on the "Payroll" link to access payroll-related functionalities.
- Ensure you are on the correct page for managing payroll tasks and documents.
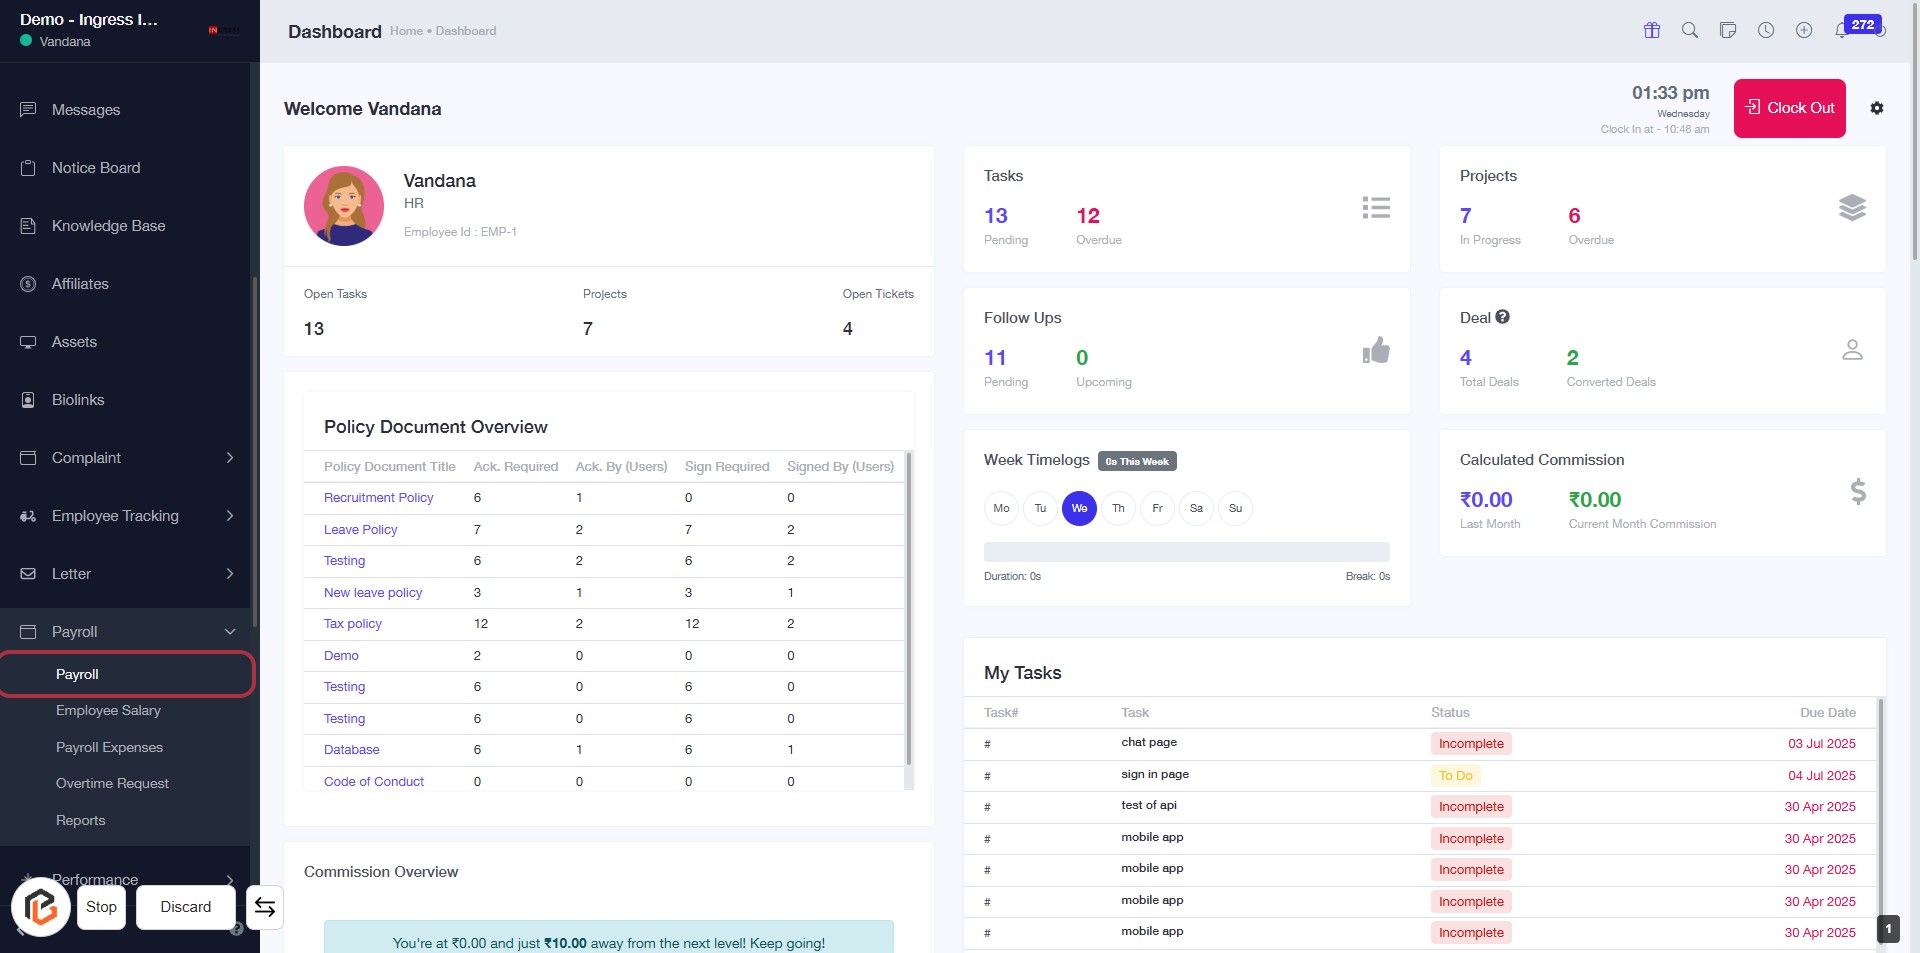
STEP 2: Click on "Payroll" to Access Payroll Features
- Navigate to the Payroll section in the sidebar.
- Click on the Payroll link to access payroll-related features.
- Ensure to check for any required fields marked with an asterisk (*) in the upcoming forms.
- Follow the breadcrumb trail for easy navigation back to the dashboard.
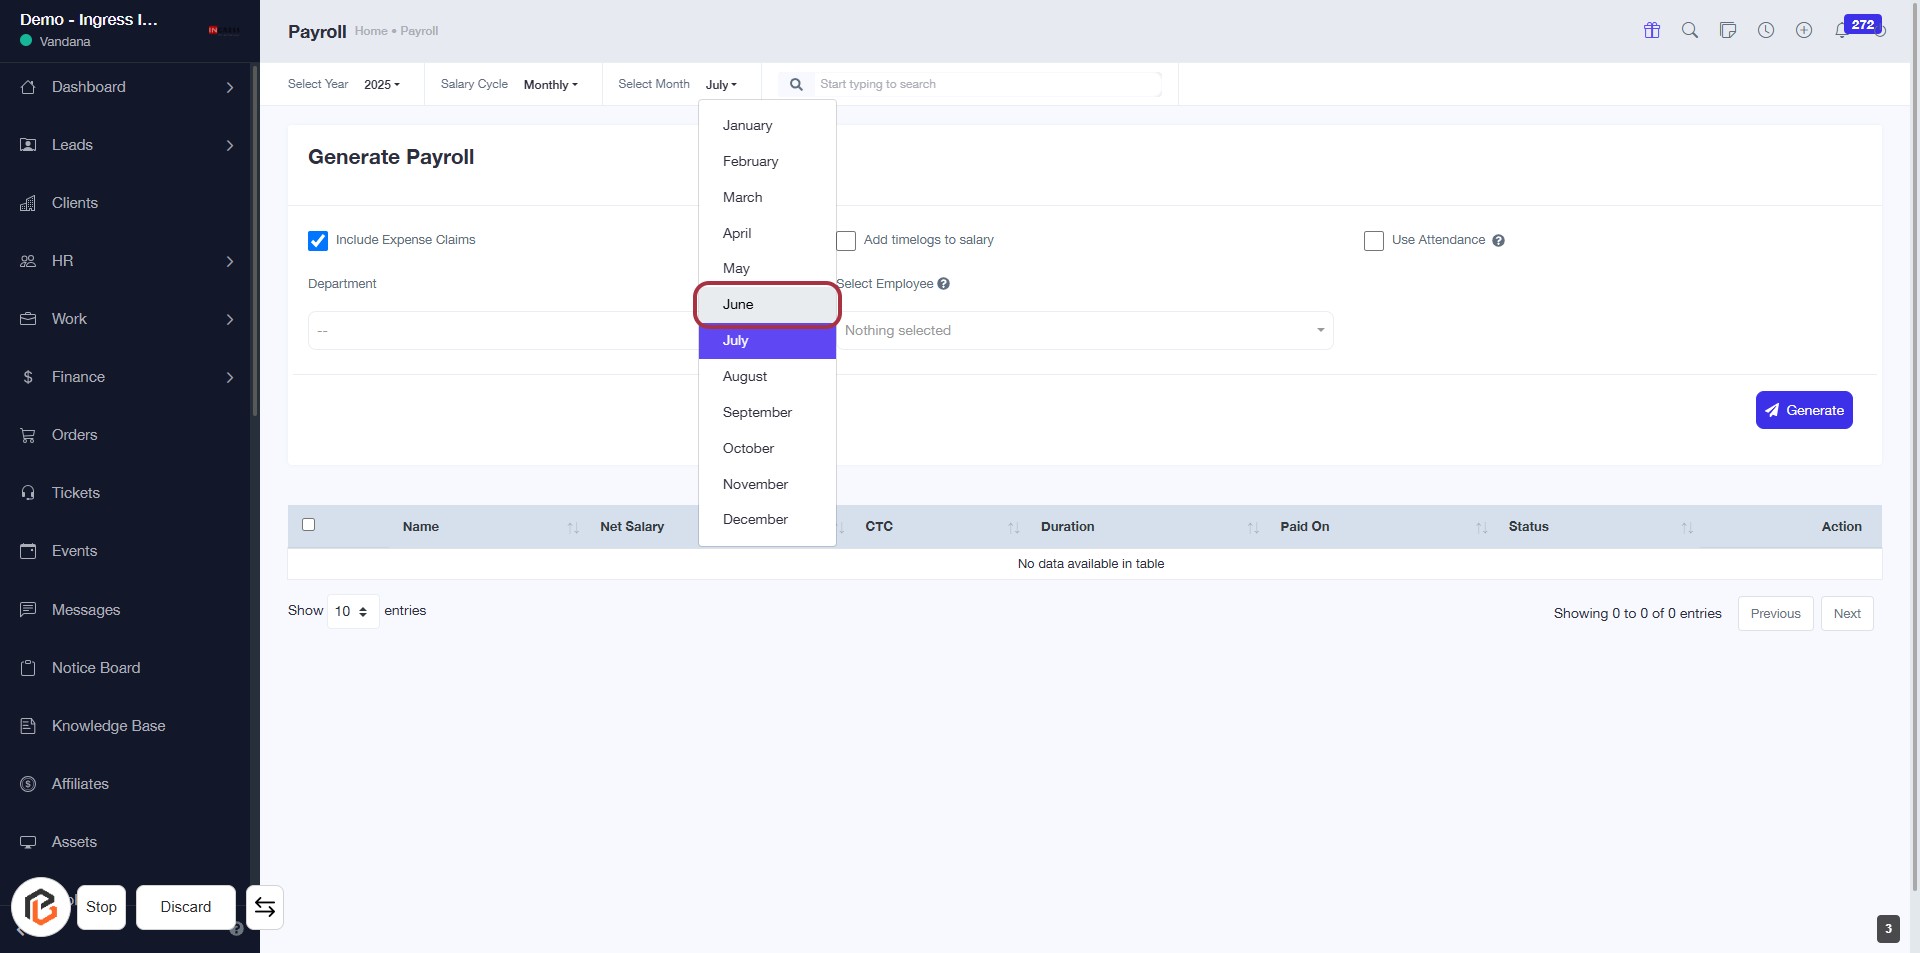
STEP 3: Select "June" from the Month Dropdown
- Click on the dropdown menu labeled "Select Month."
- Choose "June" from the list of available months.
- Ensure that the selection is highlighted after clicking.
- Proceed to the next step by checking the "Use Attendance" checkbox.
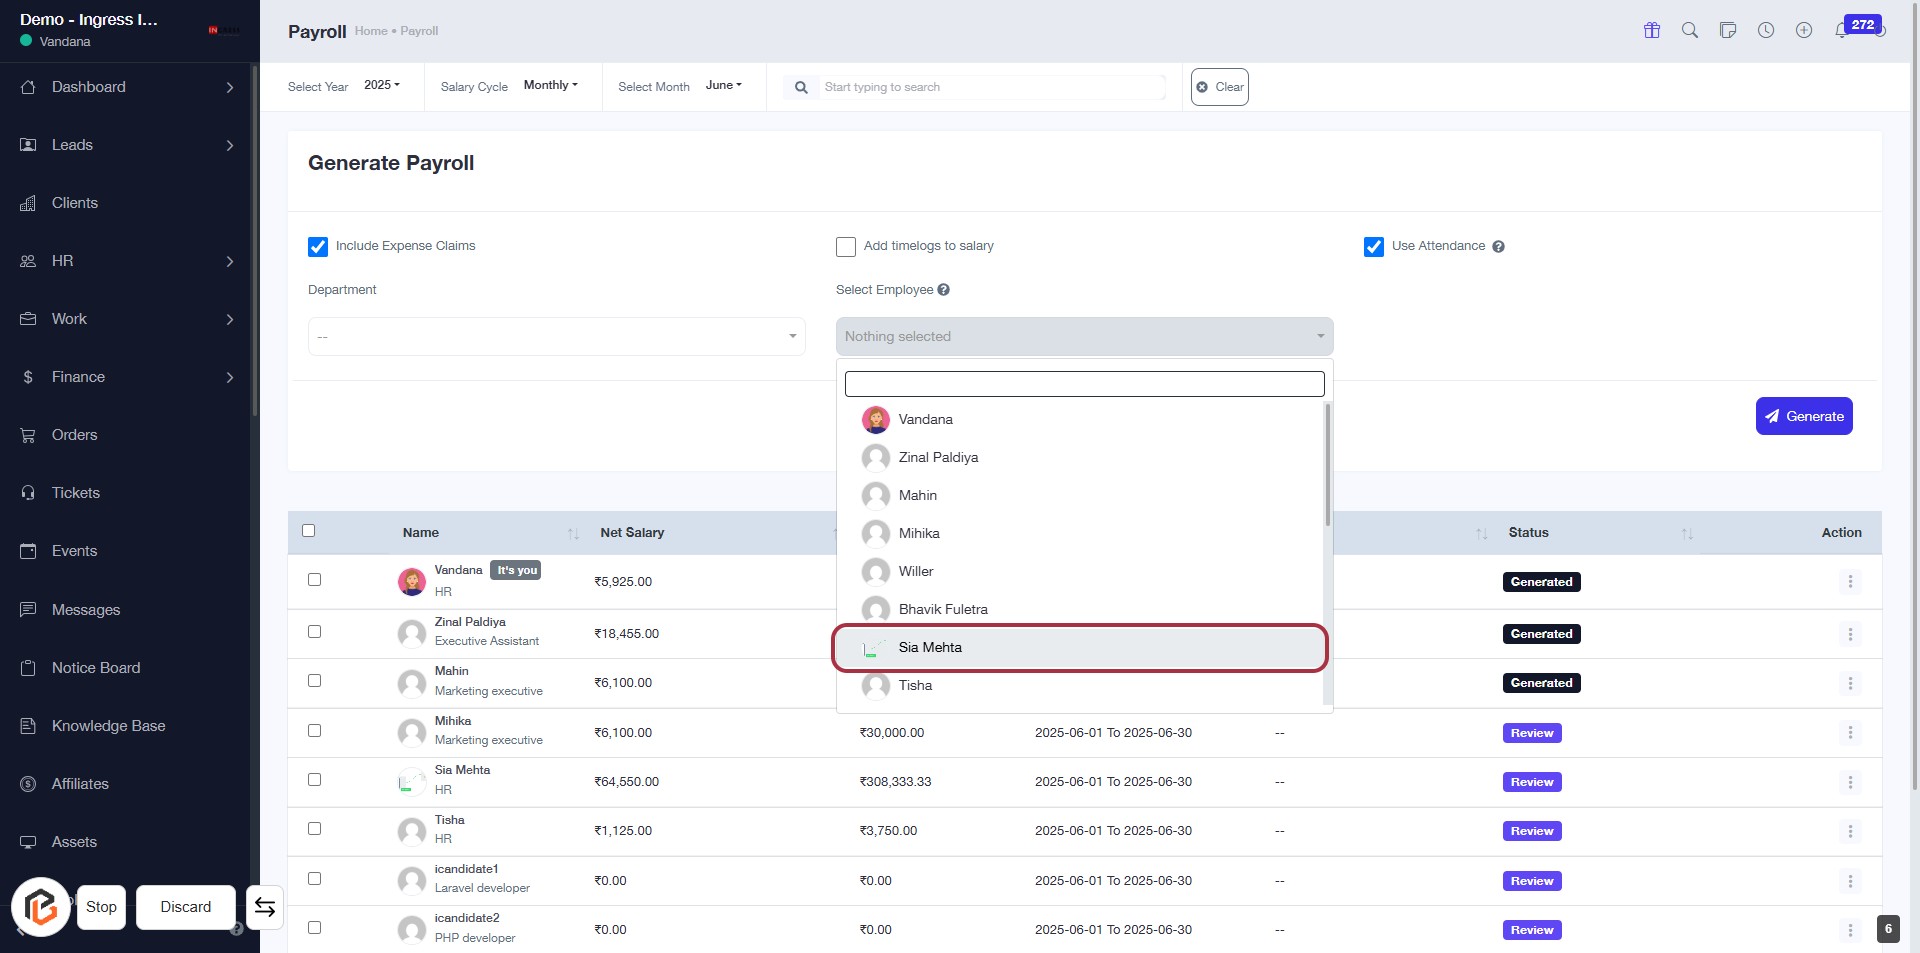
STEP 4: Check "Use Attendance" Checkbox
- Locate the "Use Attendance" checkbox in the "Generate Payroll" section.
- Click on the checkbox to enable attendance tracking for payroll.
- Ensure the checkbox is marked with a checkmark indicating it is selected.
- Proceed to the next step by selecting "Employees" from the dropdown.
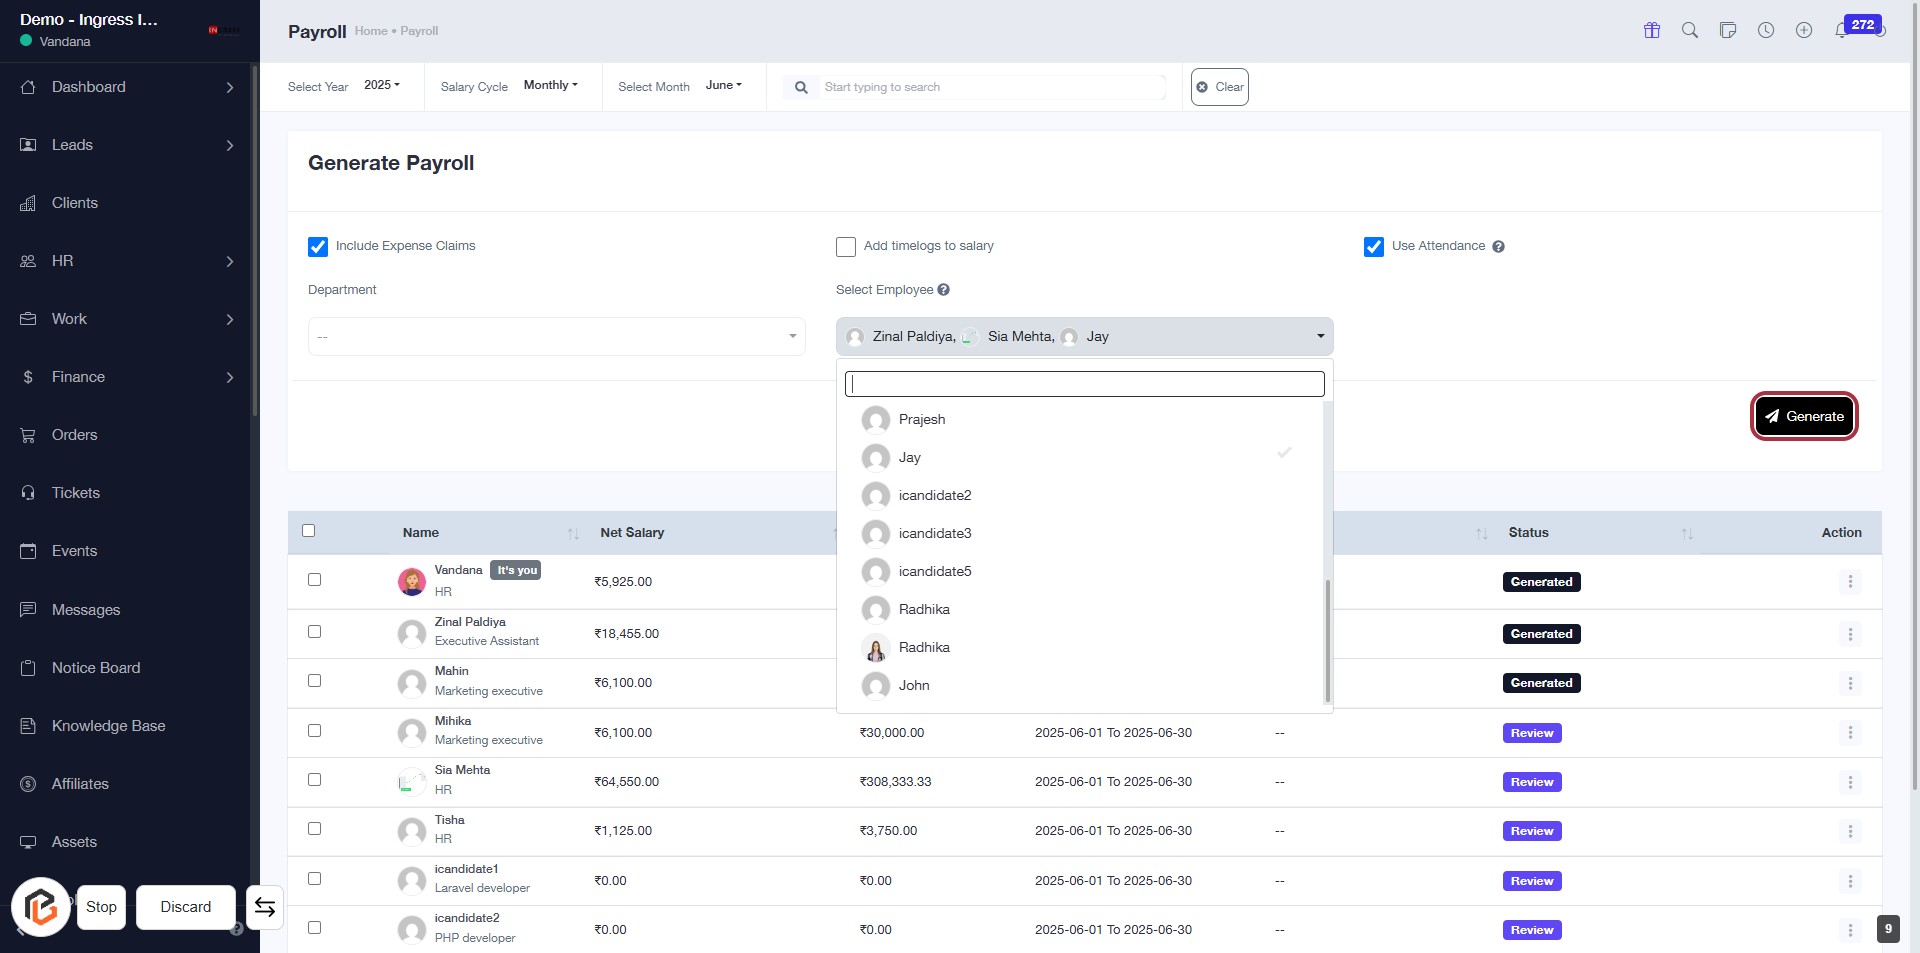
STEP 5: Select "Sia Mehta" from Employee List
- Click on the dropdown labeled Select Employee.
- Type to search or scroll through the list to find Sia Mehta.
- Click on Sia Mehta to select her for payroll processing.
- Ensure all required fields are filled before proceeding to the next step.
STEP 6: Click on "Generate" to Create Payroll
- Ensure all required fields are filled, including selecting the employee.
- Confirm the option "Include Expense Claims" is checked if applicable.
- Click the Generate button to initiate payroll processing.
- Review the generated payroll details in the table below for accuracy.
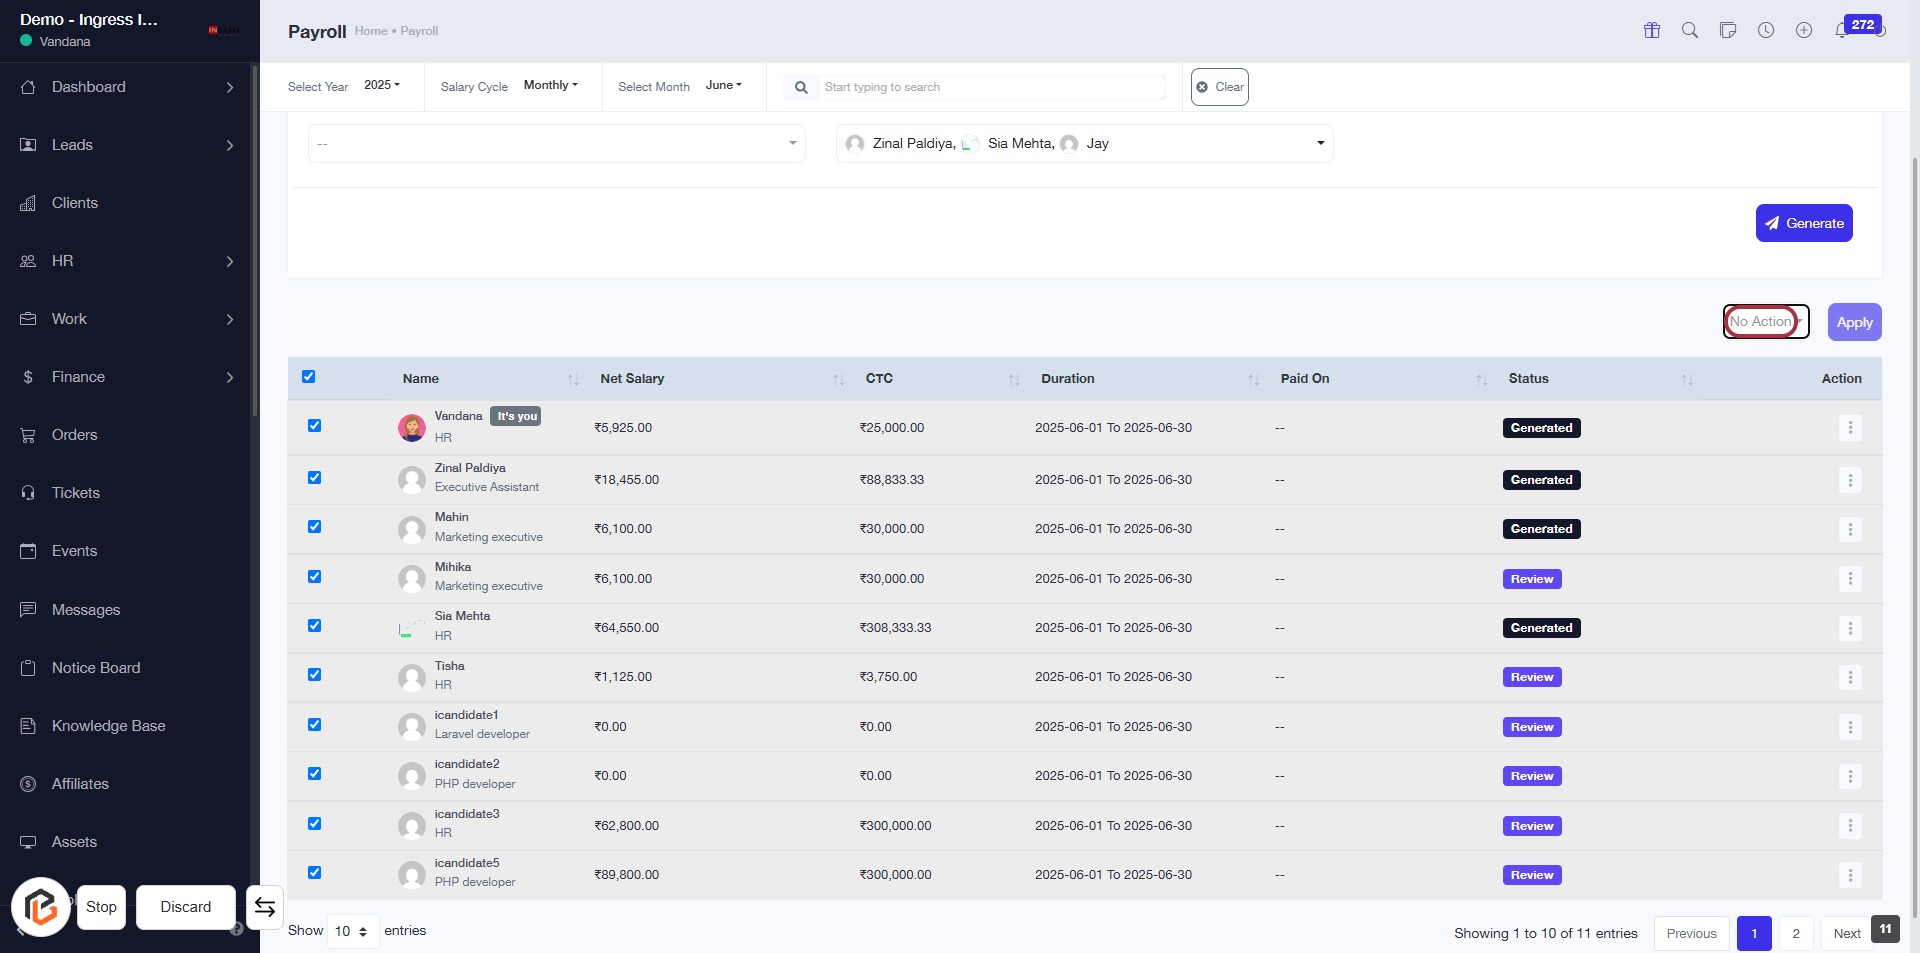
STEP 7: Click on "Bulk Approve Checkbox"
- Navigate to the Payroll section.
- Locate the checkbox at the top of the table (highlighted area).
- Click on the checkbox to select all entries for bulk approval.
- Ensure that the checkbox is checked, indicating selection of all payroll items.
- Proceed to the next step by clicking on the "No Action" button.

STEP 8: Click on "No Action" Button
- Navigate to the highlighted area on the Payroll page.
- Click on the "No Action" button to proceed.
- Ensure that you have selected the relevant entries before clicking.
- Review any changes or actions that may be applicable after this step.
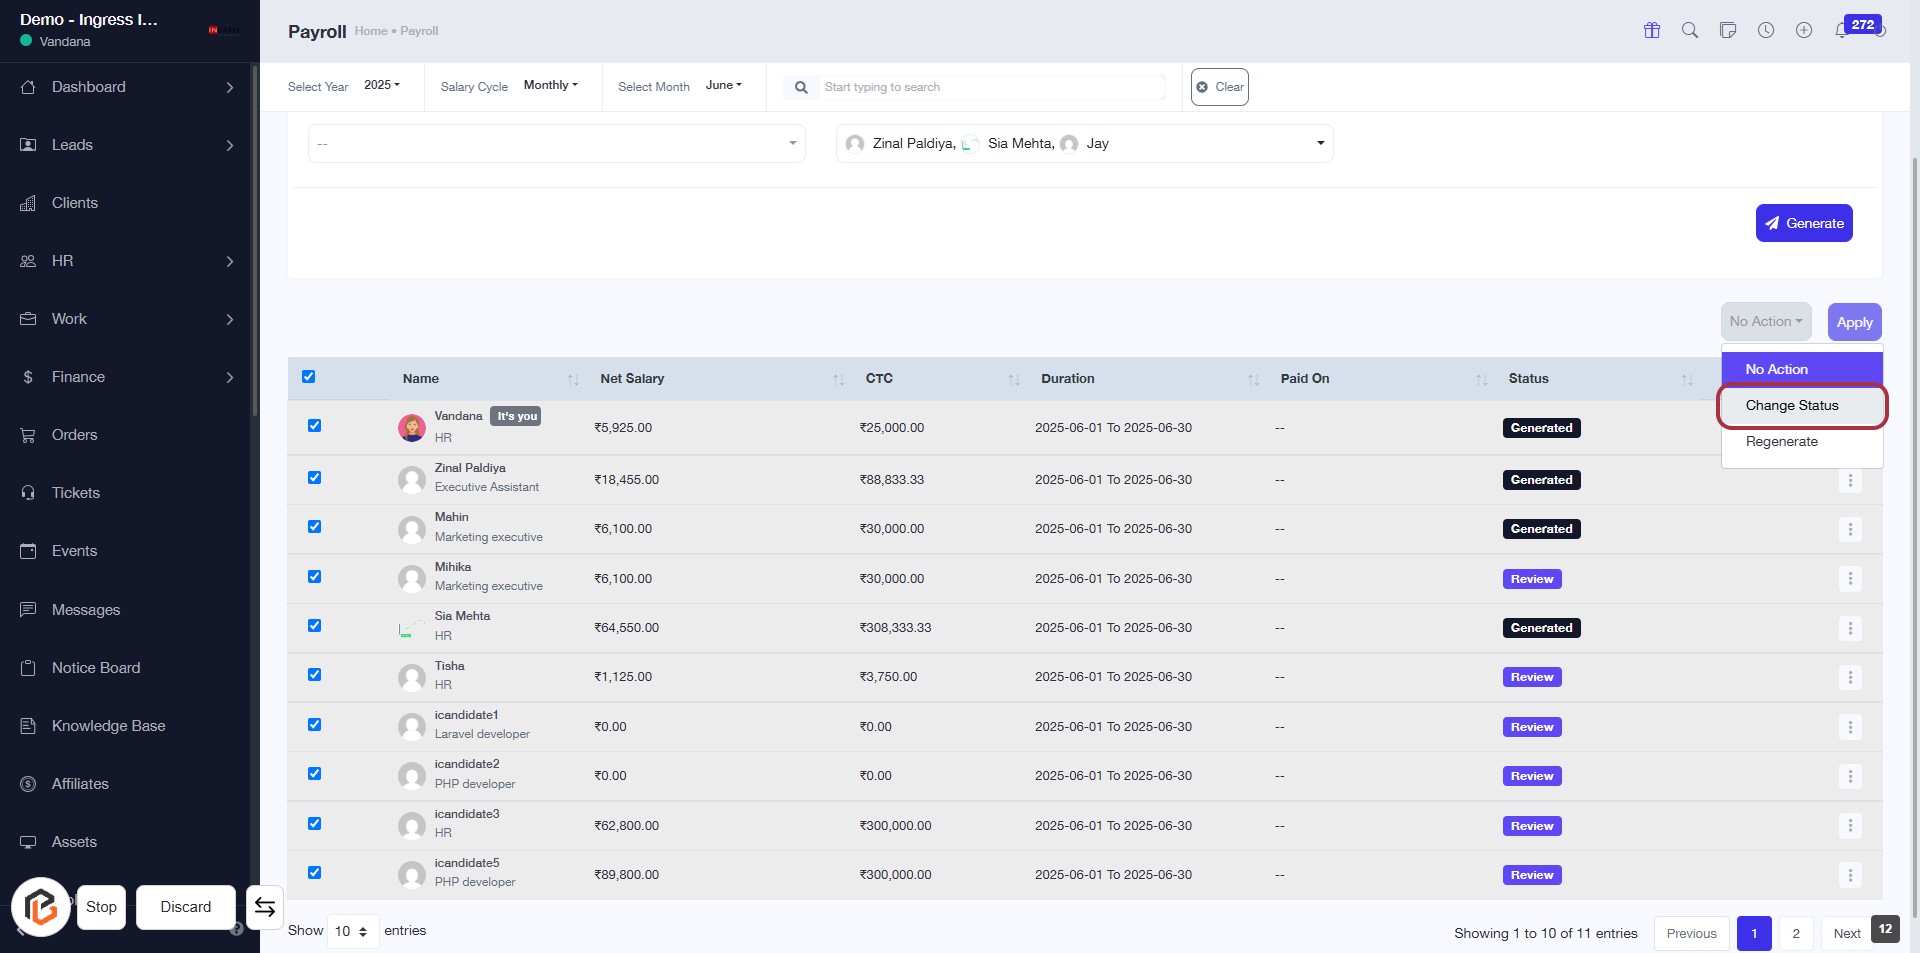
STEP 9: Click on "Change Status"
- Navigate to the "No Action" dropdown menu.
- Click on the "Change Status" option highlighted in red.
- Ensure you have selected the appropriate entries before proceeding.
- After making your selection, click on "Apply" to confirm the changes.
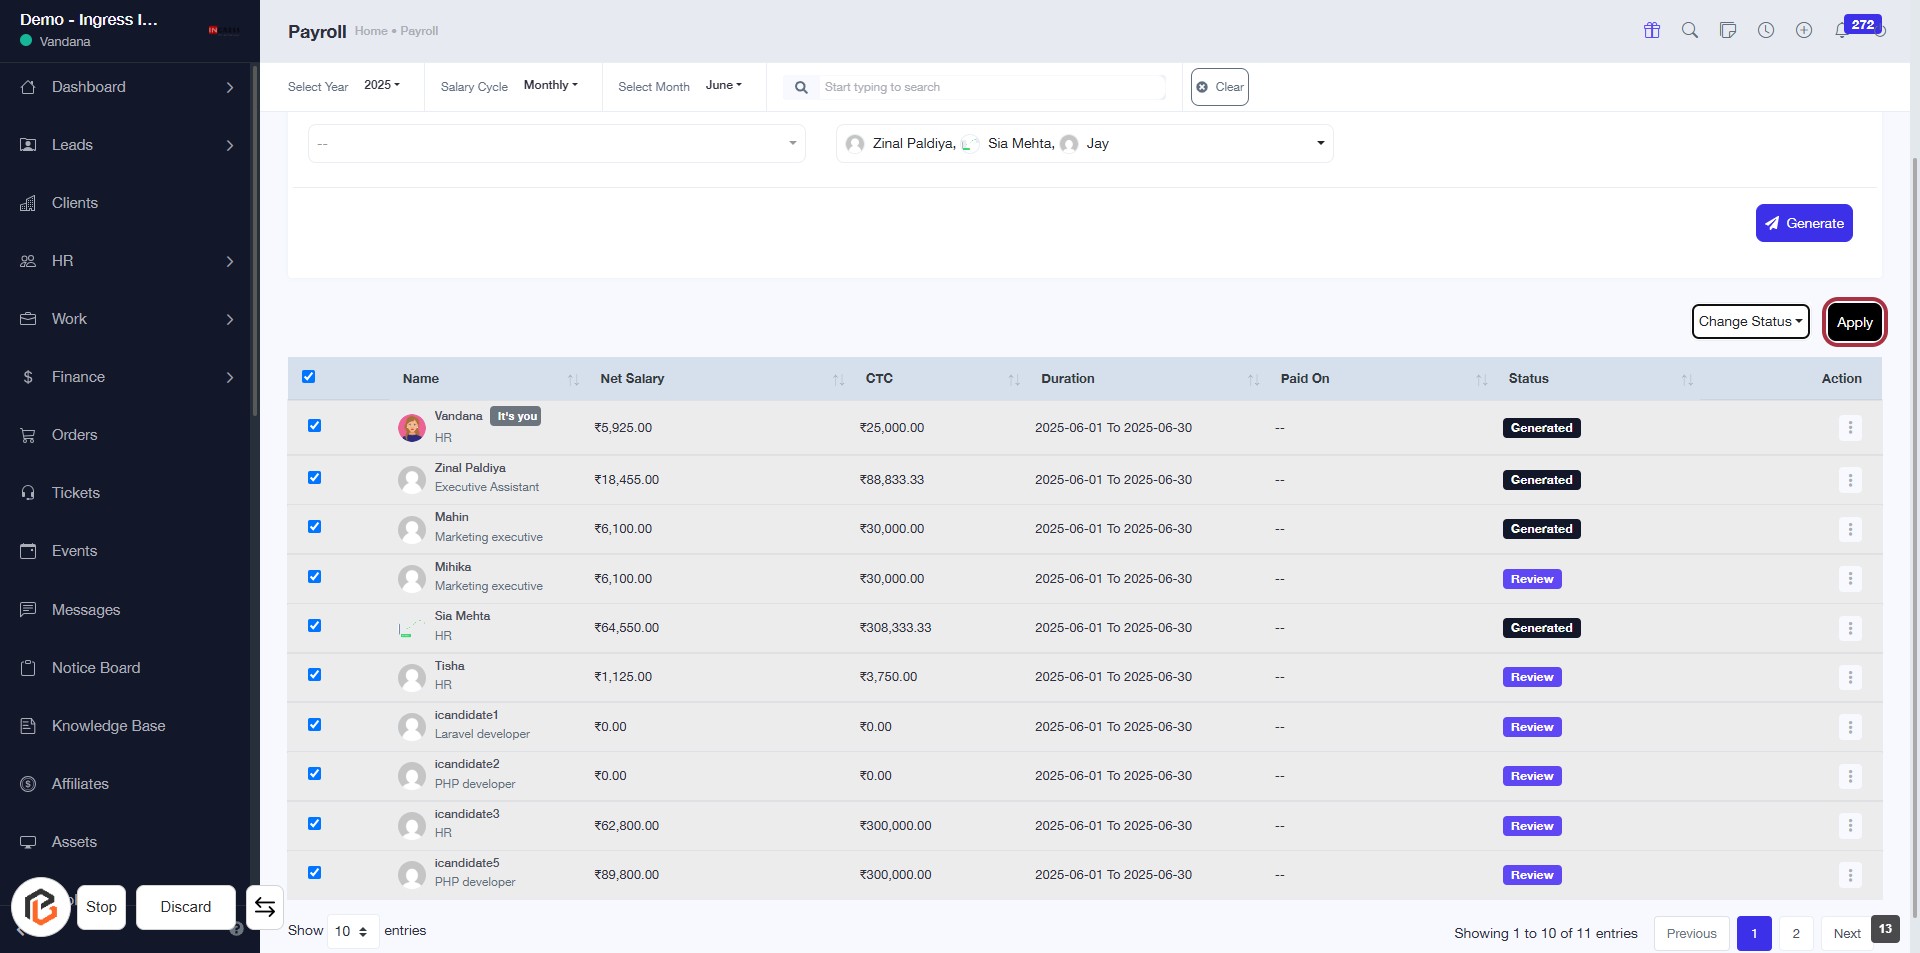
STEP 10: Click on "Apply"
- Ensure all necessary fields are filled out in the form.
- Locate the "Apply" button highlighted in red.
- Click on the "Apply" button to submit your changes.
- Review any confirmation messages or prompts that appear after clicking.
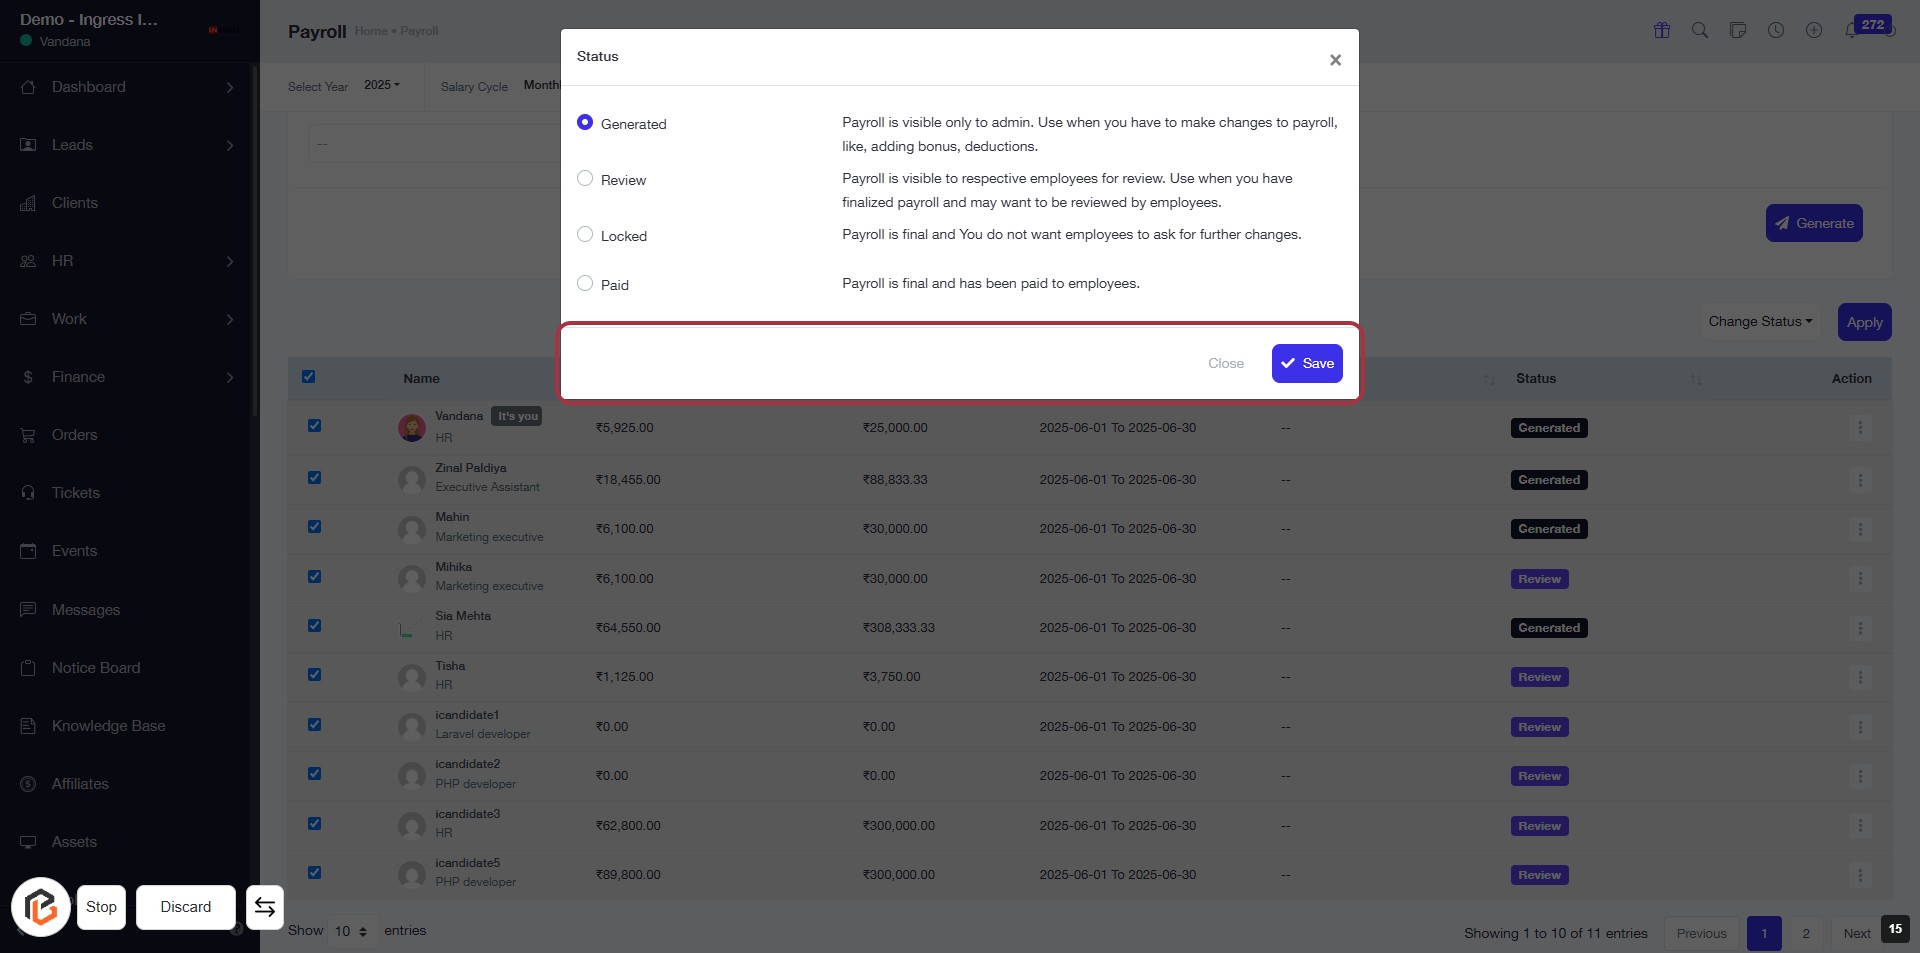
STEP 11: Select "Status" for Payroll
- Click on the "Status" dropdown in the dialog.
- Choose one of the following options:
- Generated: Payroll is visible only to admin for changes.
- Review: Visible to employees for review.
- Locked: Finalized payroll, no further changes allowed.
- Paid: Payroll has been paid to employees.
- After selection, click "Save" to confirm your choice.

STEP 12: Click "Save" to Confirm Payroll Status
- Ensure all necessary payroll status options are selected.
- Click the "Save" button located at the bottom right of the dialog box.
- Review the confirmation message to ensure changes are saved successfully.
- If needed, click "Close" to exit the dialog without saving changes.