Comprehensive Guide to Managing Payroll: Step-by-Step Instructions for Payroll Processing and Adjustments
16 mins read · Updated 01 Oct, 2025
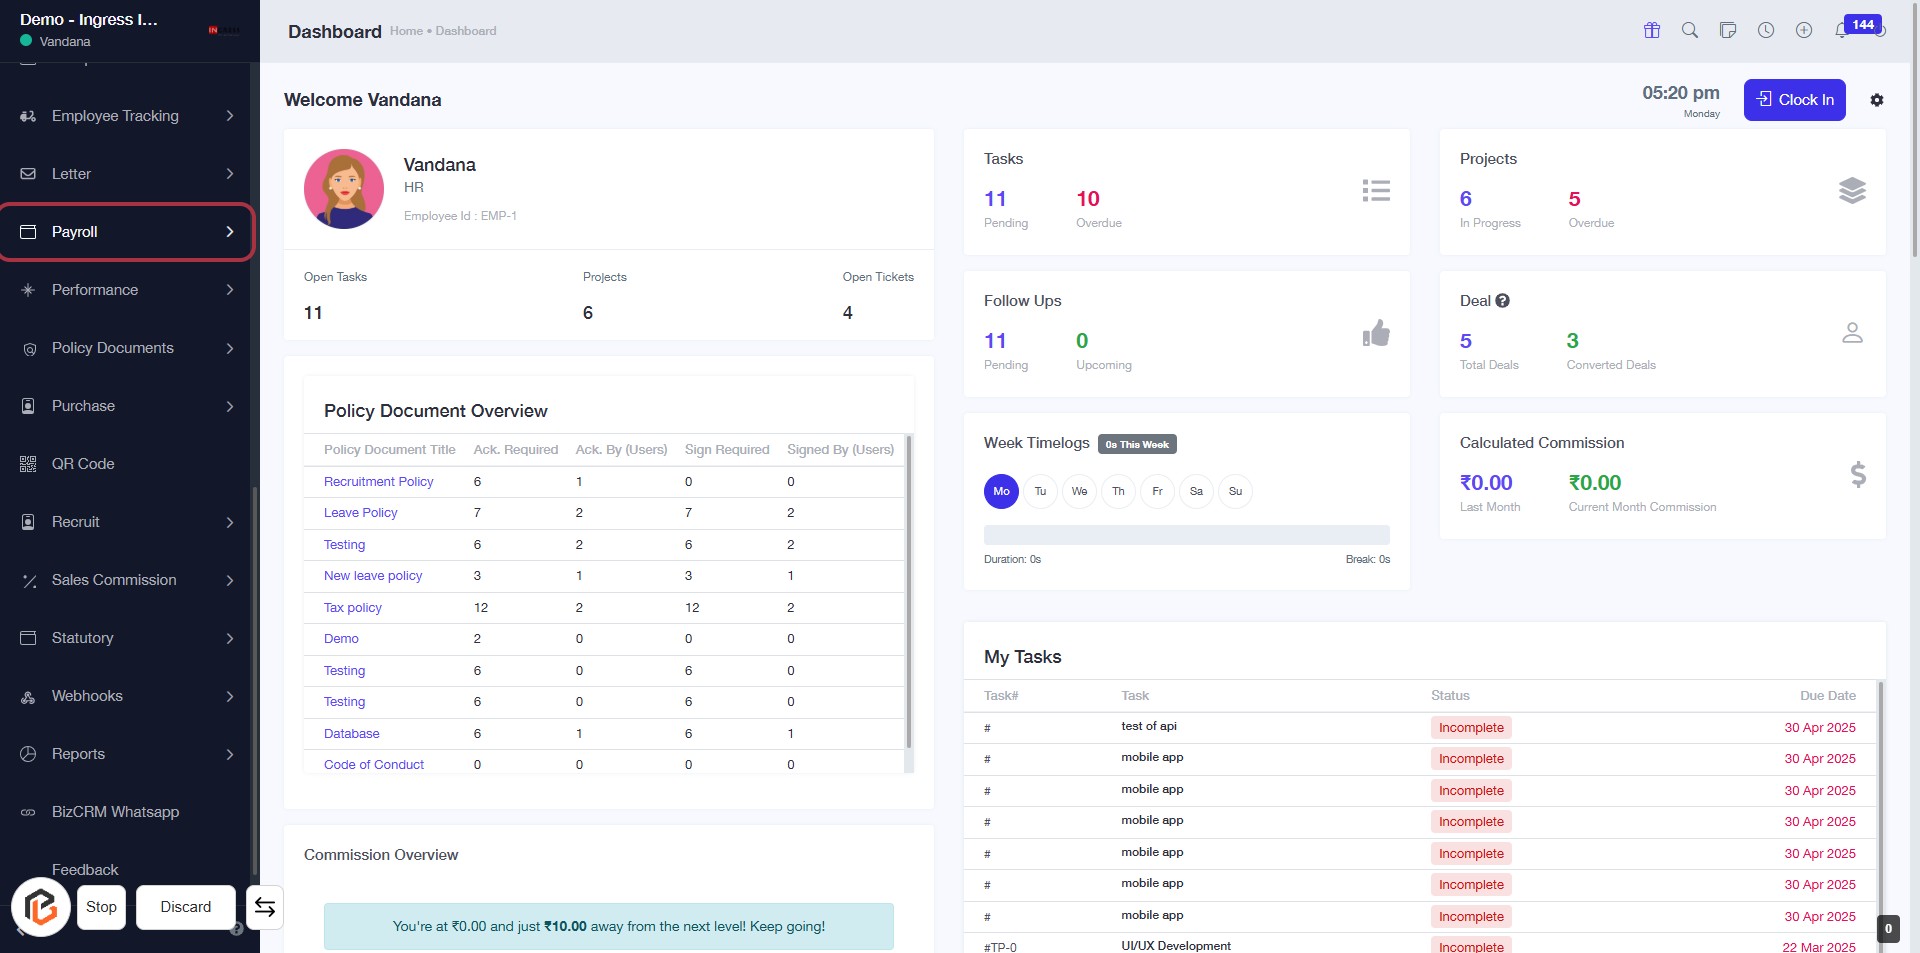
STEP 1: Click on "Payroll" to Access Payroll Features
- Navigate to the left sidebar menu.
- Locate and click on the "Payroll" link.
- This will direct you to the Payroll section where you can manage payroll-related tasks and documents.
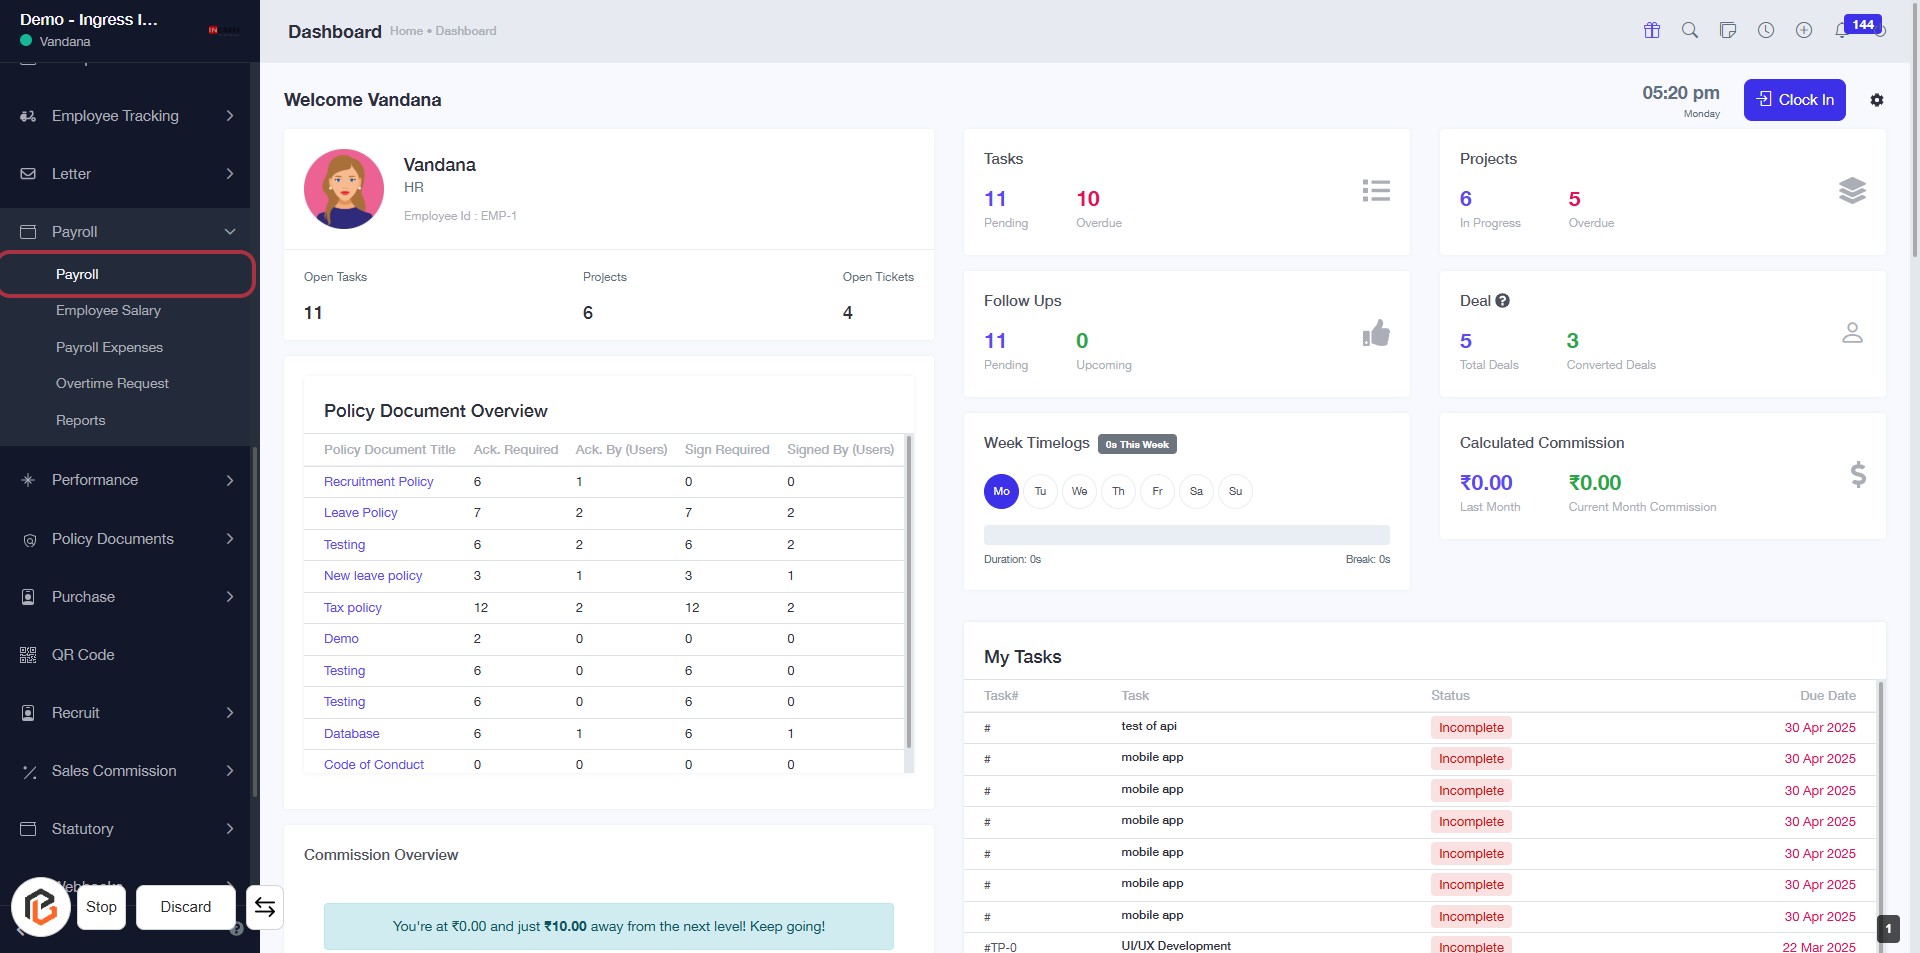
STEP 2: Click on "Payroll" to Access Payroll Features
- Navigate to the sidebar menu and click on the "Payroll" link.
- This will direct you to the Payroll features page.
- Ensure you have the necessary permissions to access payroll functionalities.
- Look for any highlighted areas or prompts for further actions after accessing the page.
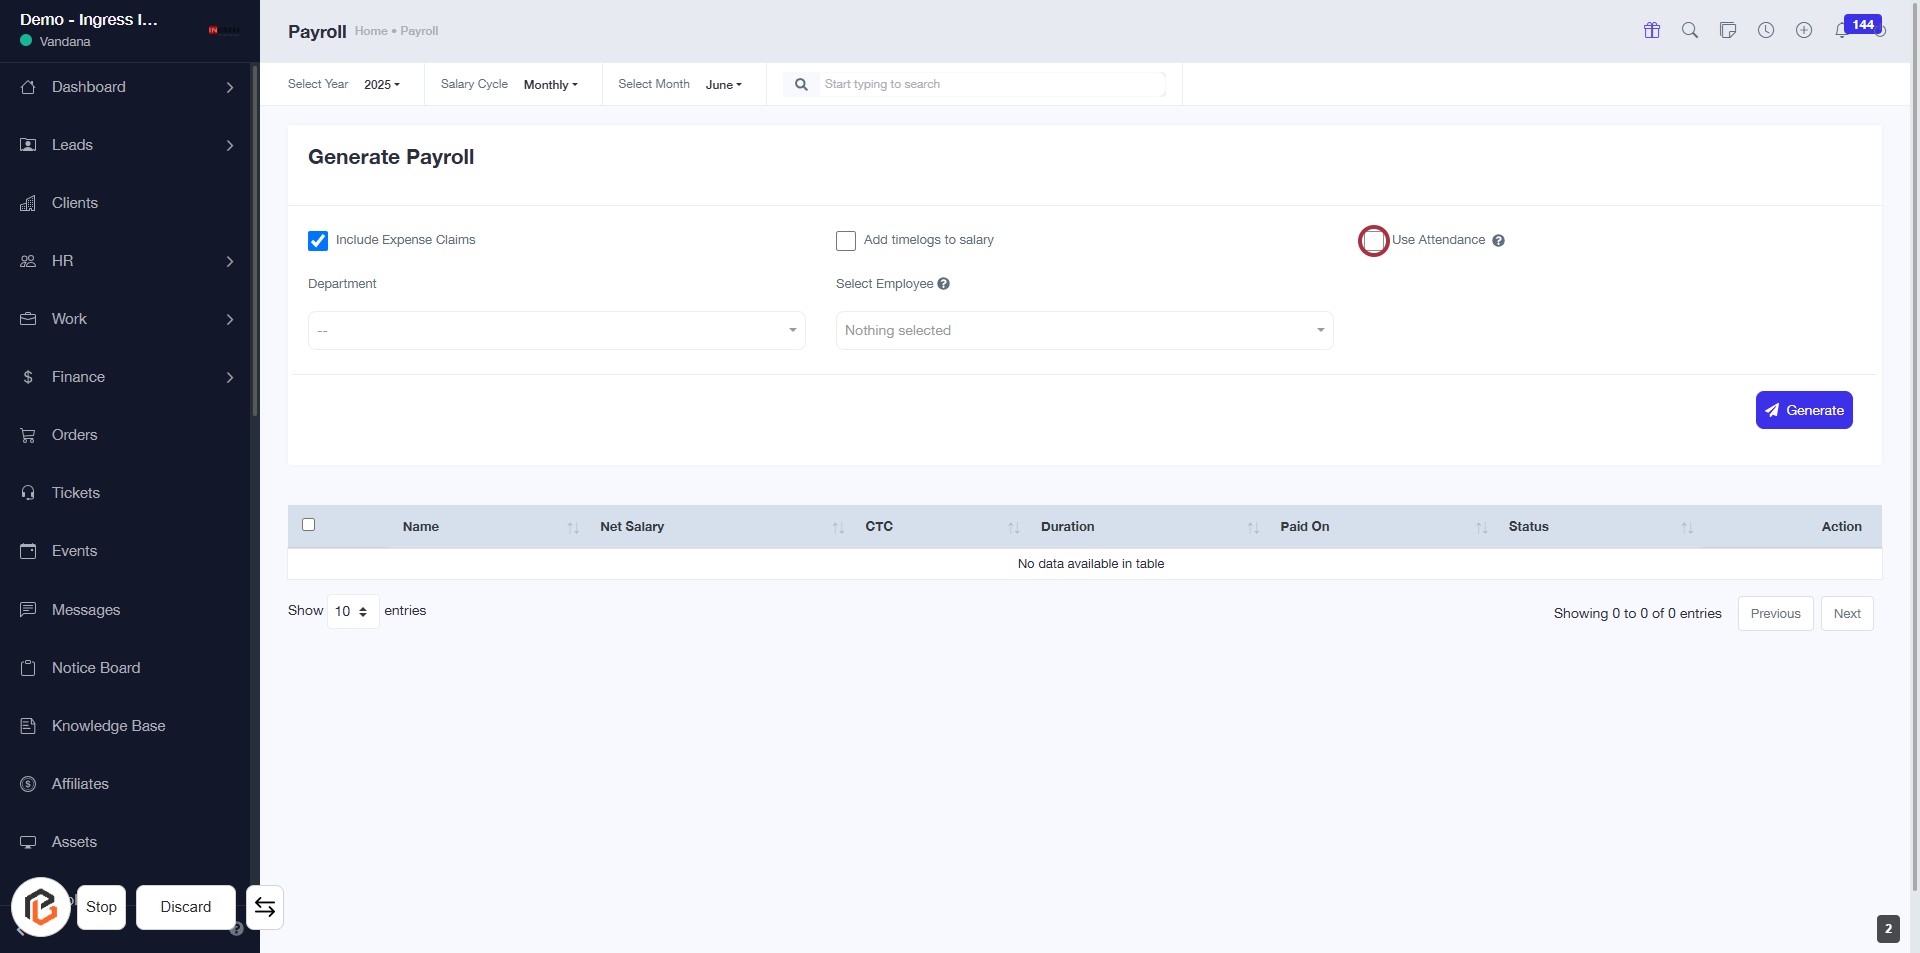
STEP 3: Click "Use Attendance" to Include Attendance Data
- Locate the "Use Attendance" checkbox in the Generate Payroll section.
- Click on the checkbox to enable attendance data for payroll processing.
- Ensure that the checkbox is marked to include attendance information.
- Proceed to the next step by selecting the "Month" for payroll generation.
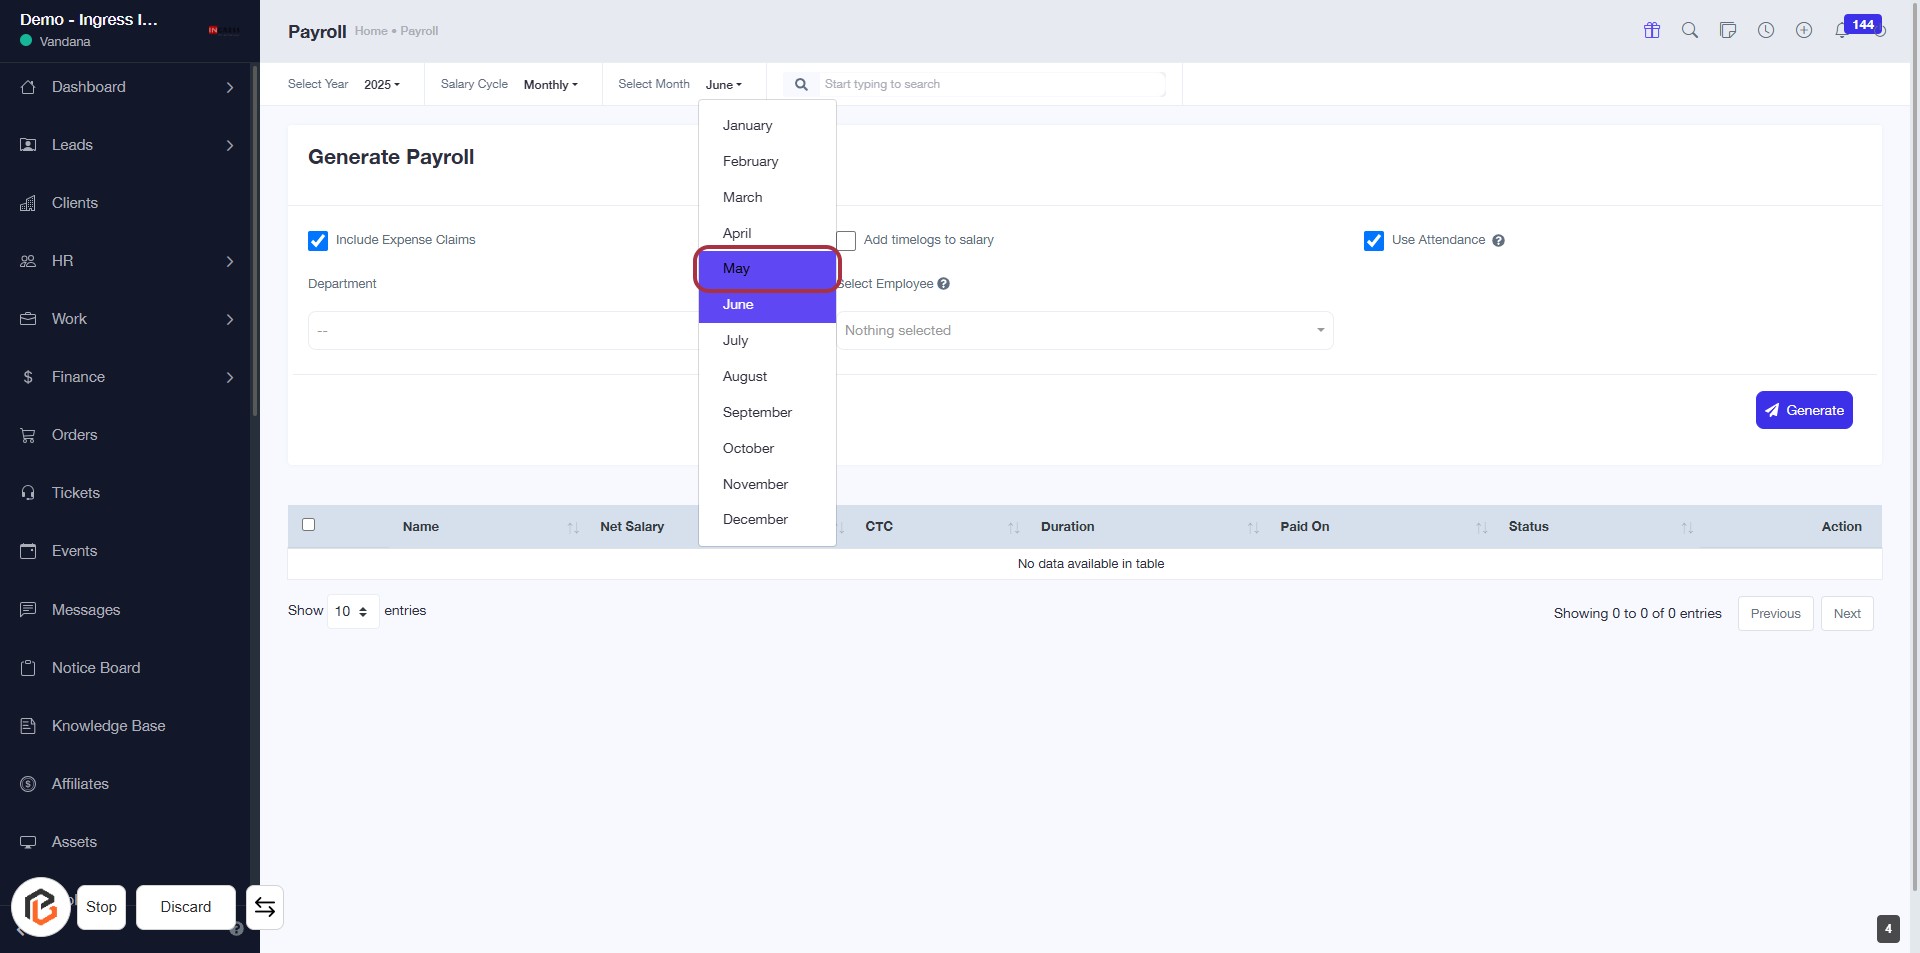
STEP 4: Select "Month" for Payroll Generation
- Click on the dropdown menu labeled "Select Month."
- Choose "May" from the list of options.
- Ensure that the selection is highlighted to confirm your choice.
- Proceed to the next step by selecting the "Employee" from the dropdown.
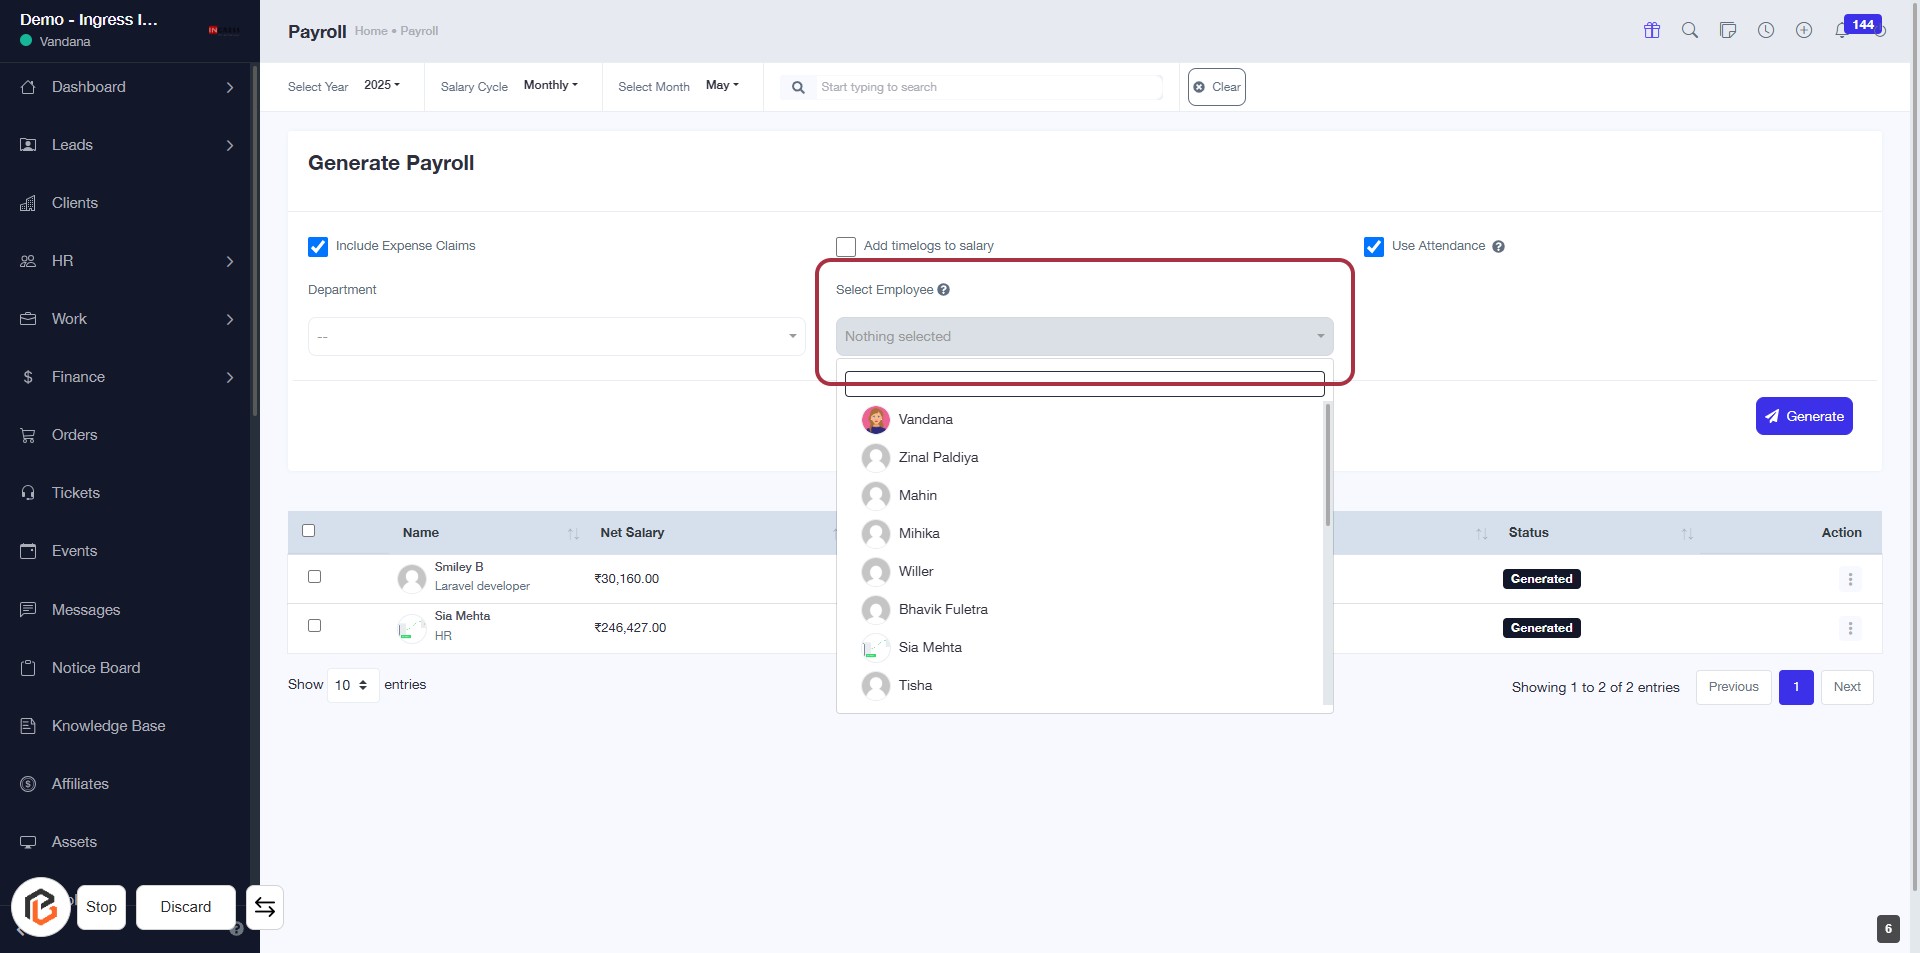
STEP 5: Select Employee for Payroll Generation
- Click on the Select Employee dropdown.
- Choose an employee from the list that appears.
- Ensure that the selected employee is displayed in the dropdown.
- Proceed to the next step by selecting the Department.
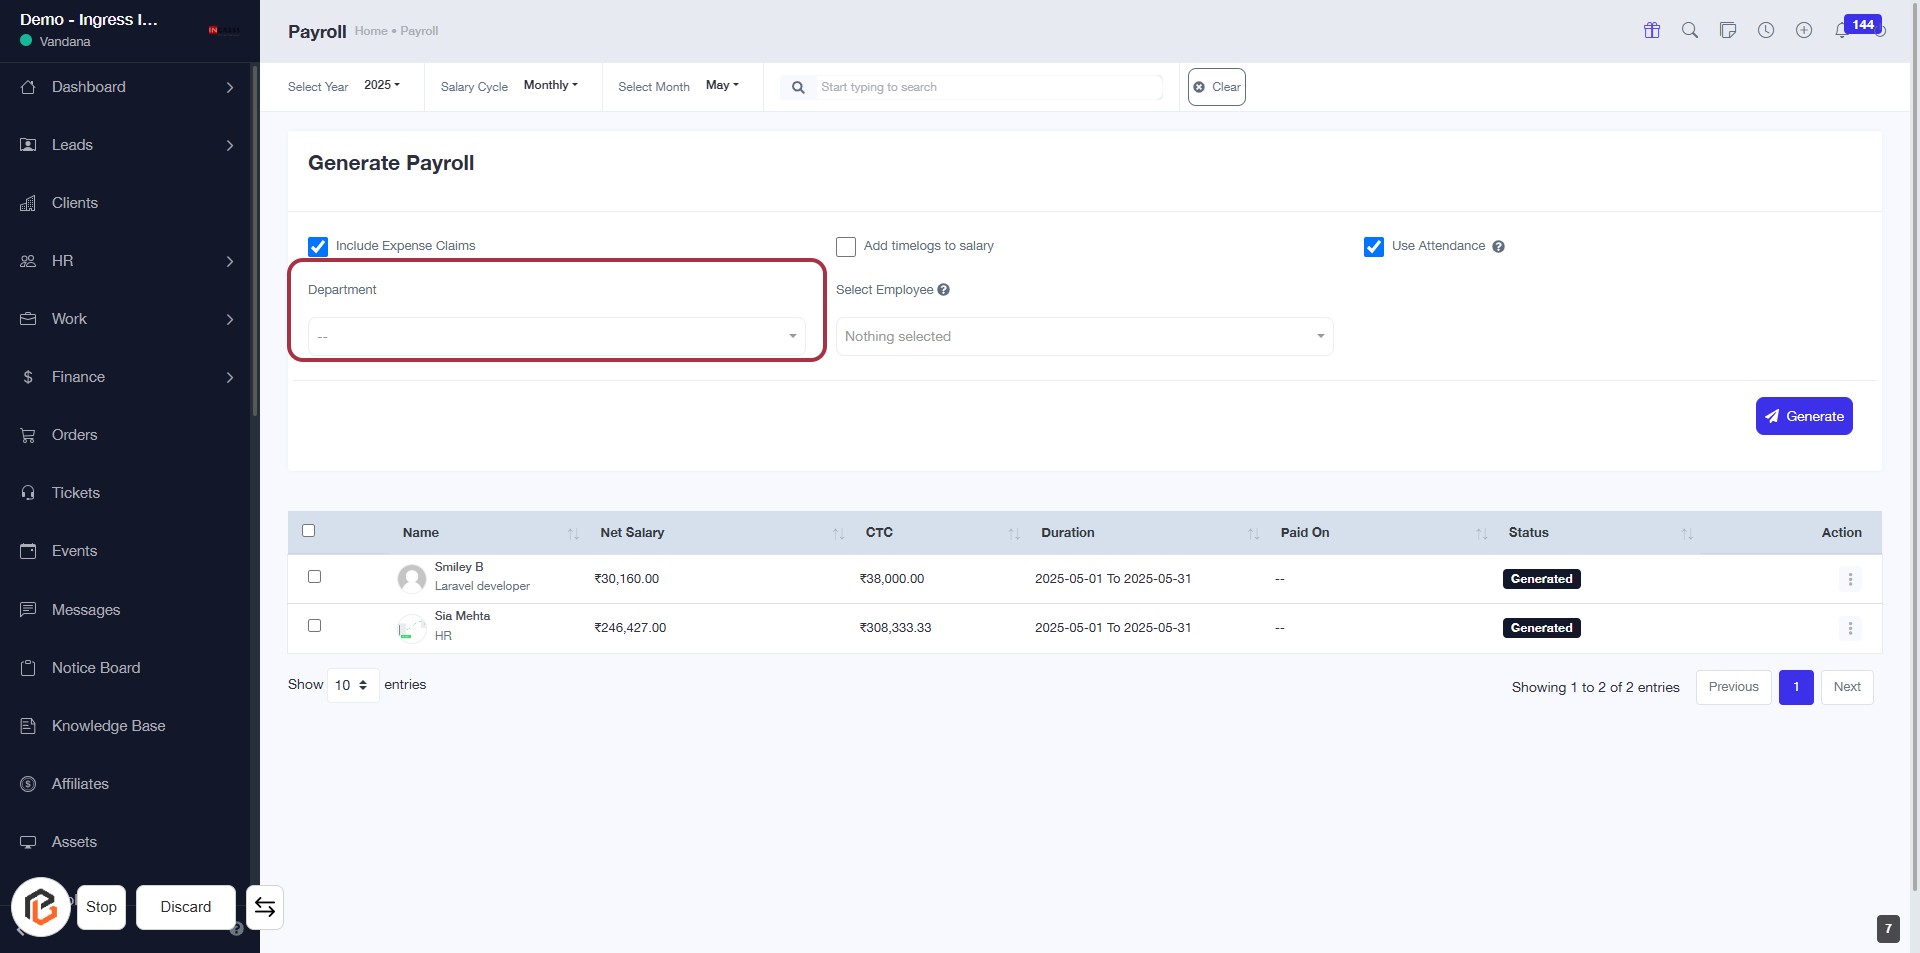
STEP 6: Select Department for Payroll Generation
- Click on the "Department" field highlighted in red.
- A dropdown will appear; select the appropriate department from the list.
- Ensure all required fields marked with an asterisk (*) are filled out.
- Review your selections before proceeding to the next step.
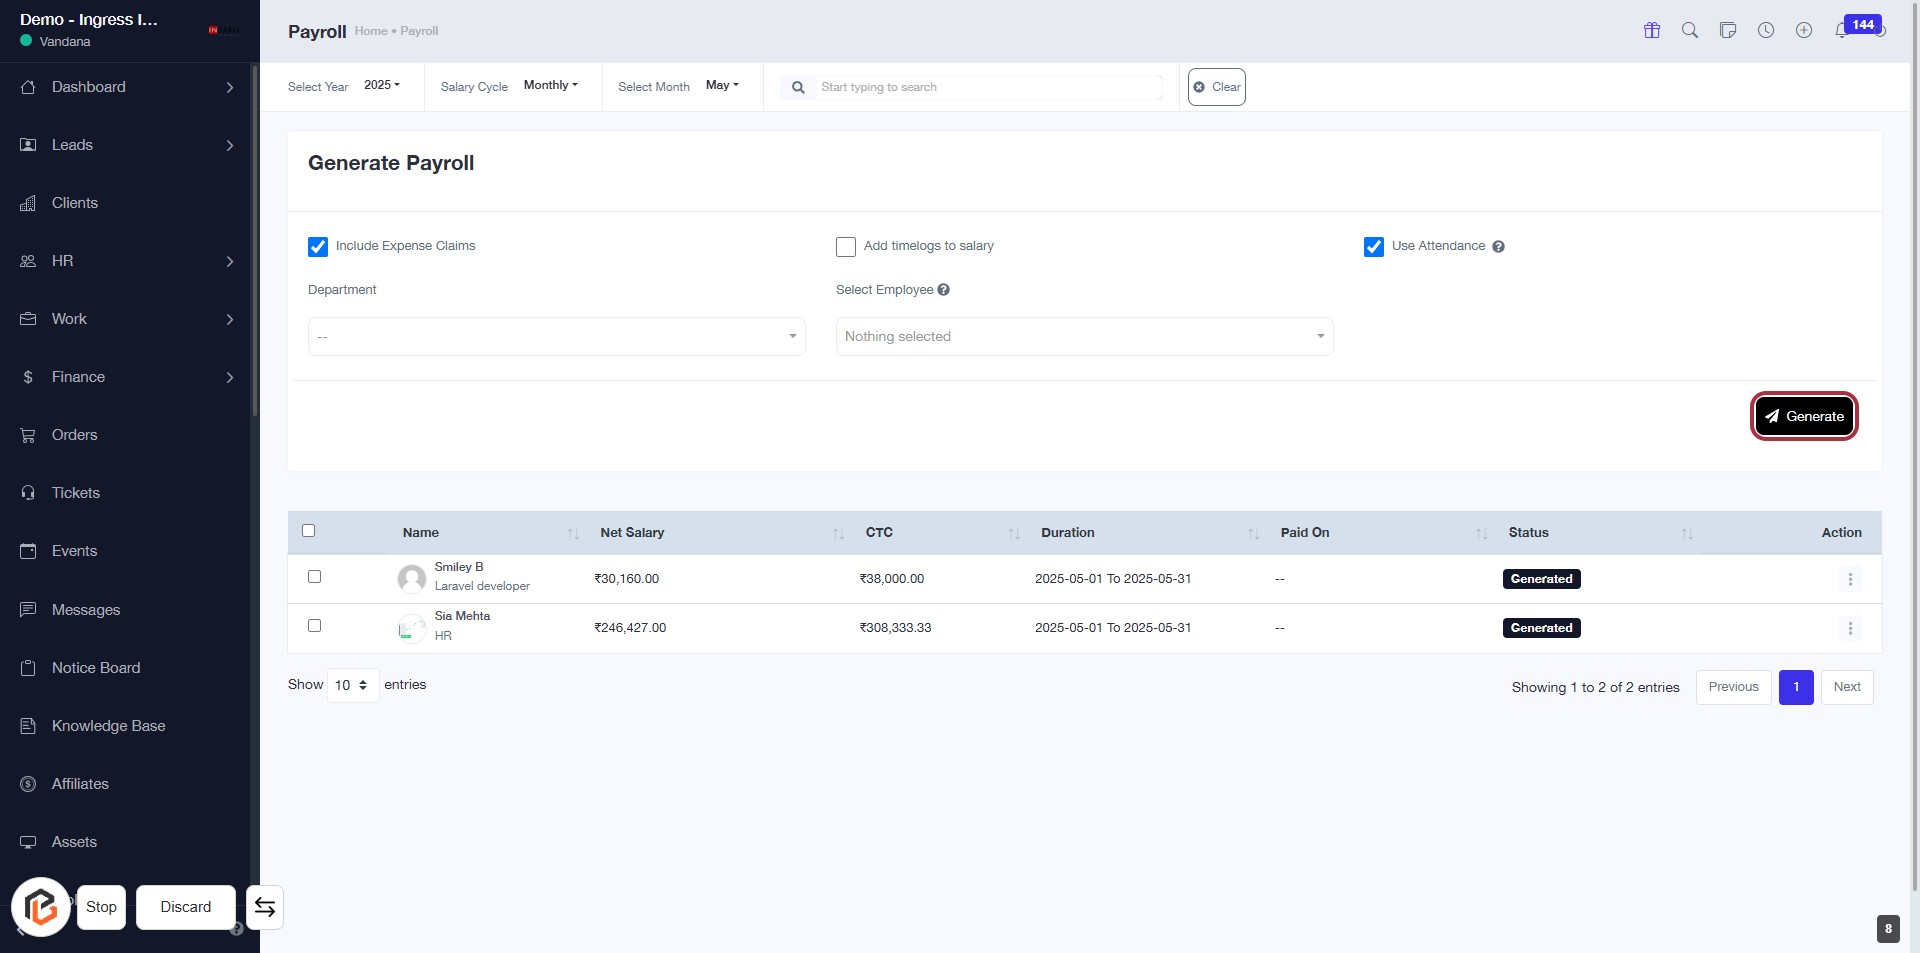
STEP 7: Click on "Generate" to Create Payroll
- Ensure all required fields are filled, including "Include Expense Claims" and "Select Employee."
- Review the payroll details displayed in the table below.
- Click the Generate button located in the highlighted area to proceed with payroll creation.
- Confirm the action if prompted to finalize the process.
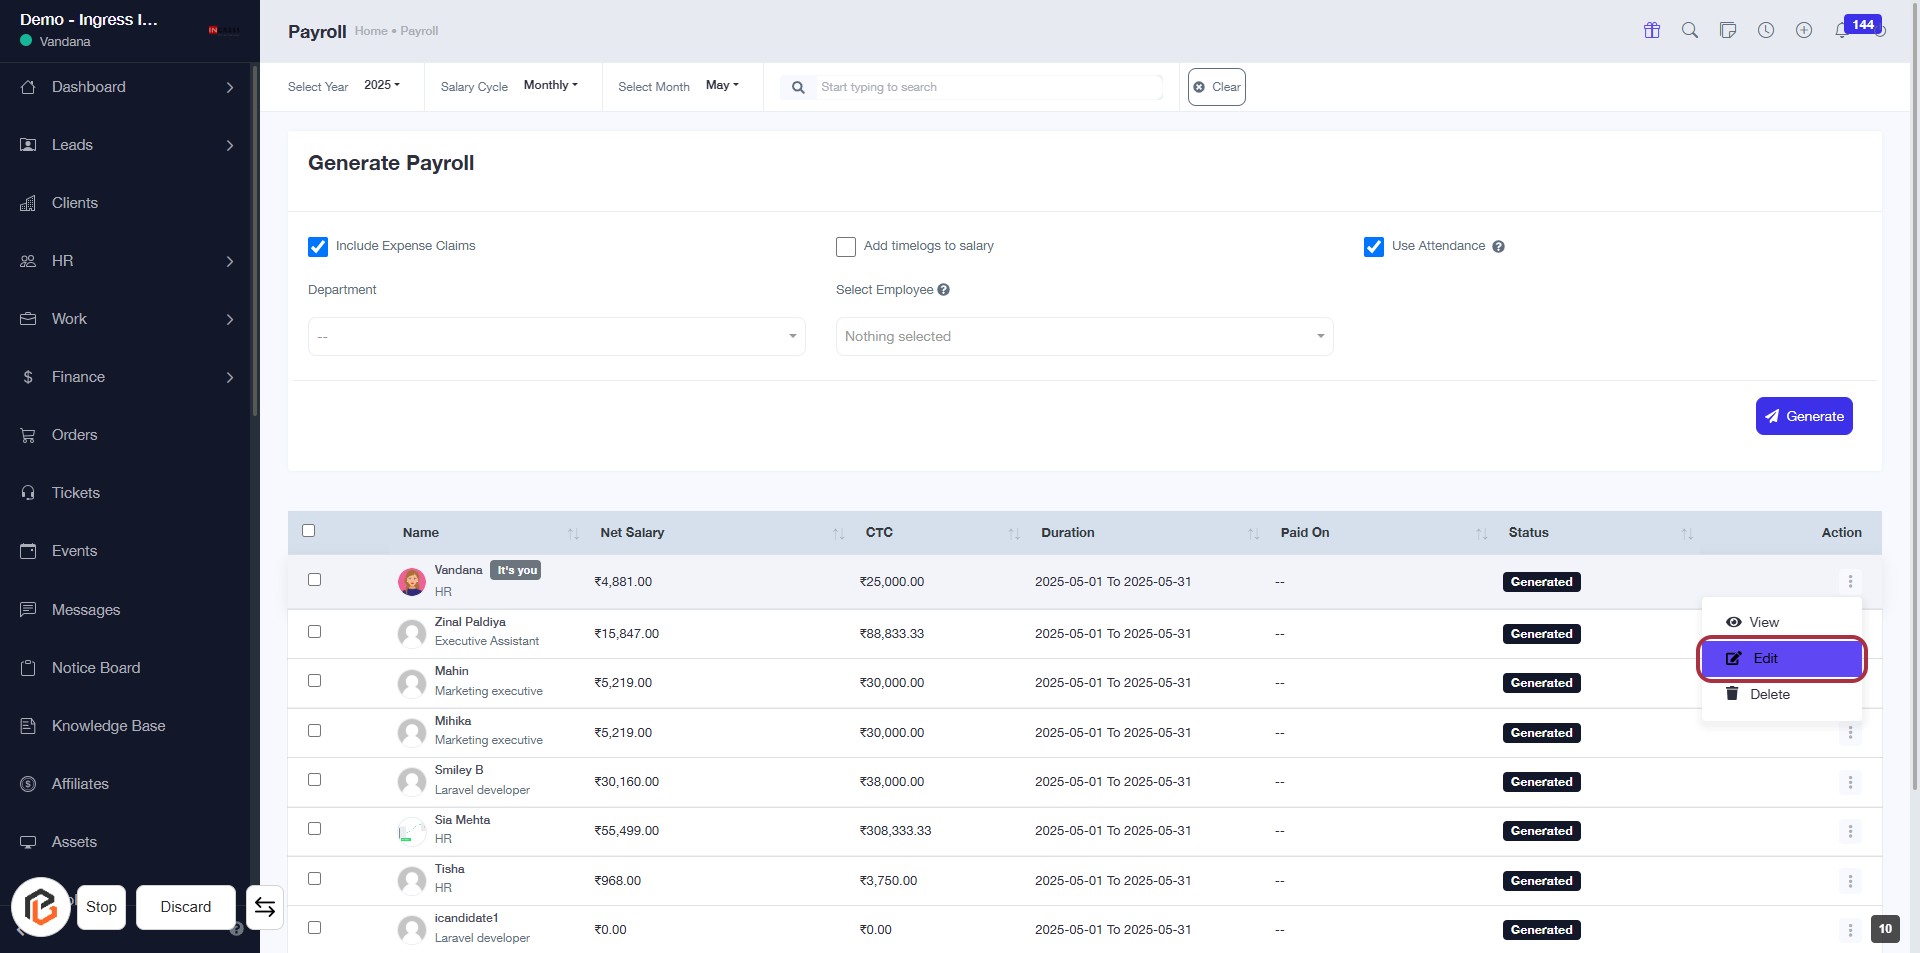
STEP 8: Click on "Action Button"
- Locate the highlighted area on the right side of the table under the "Action" column.
- Click on the action button (represented by three dots) for the desired employee.
- This will open a dropdown menu with options for managing payroll details.
- Ensure you have selected the correct employee before proceeding.

STEP 9: Click on "Edit" to Modify Payroll Details
- Locate the "Edit" option in the Action column of the payroll table.
- Click on the "Edit" link to open the payroll details for the selected employee.
- Ensure all necessary fields are filled out, especially those marked with an asterisk (*).
- Review the information before proceeding to the next step.
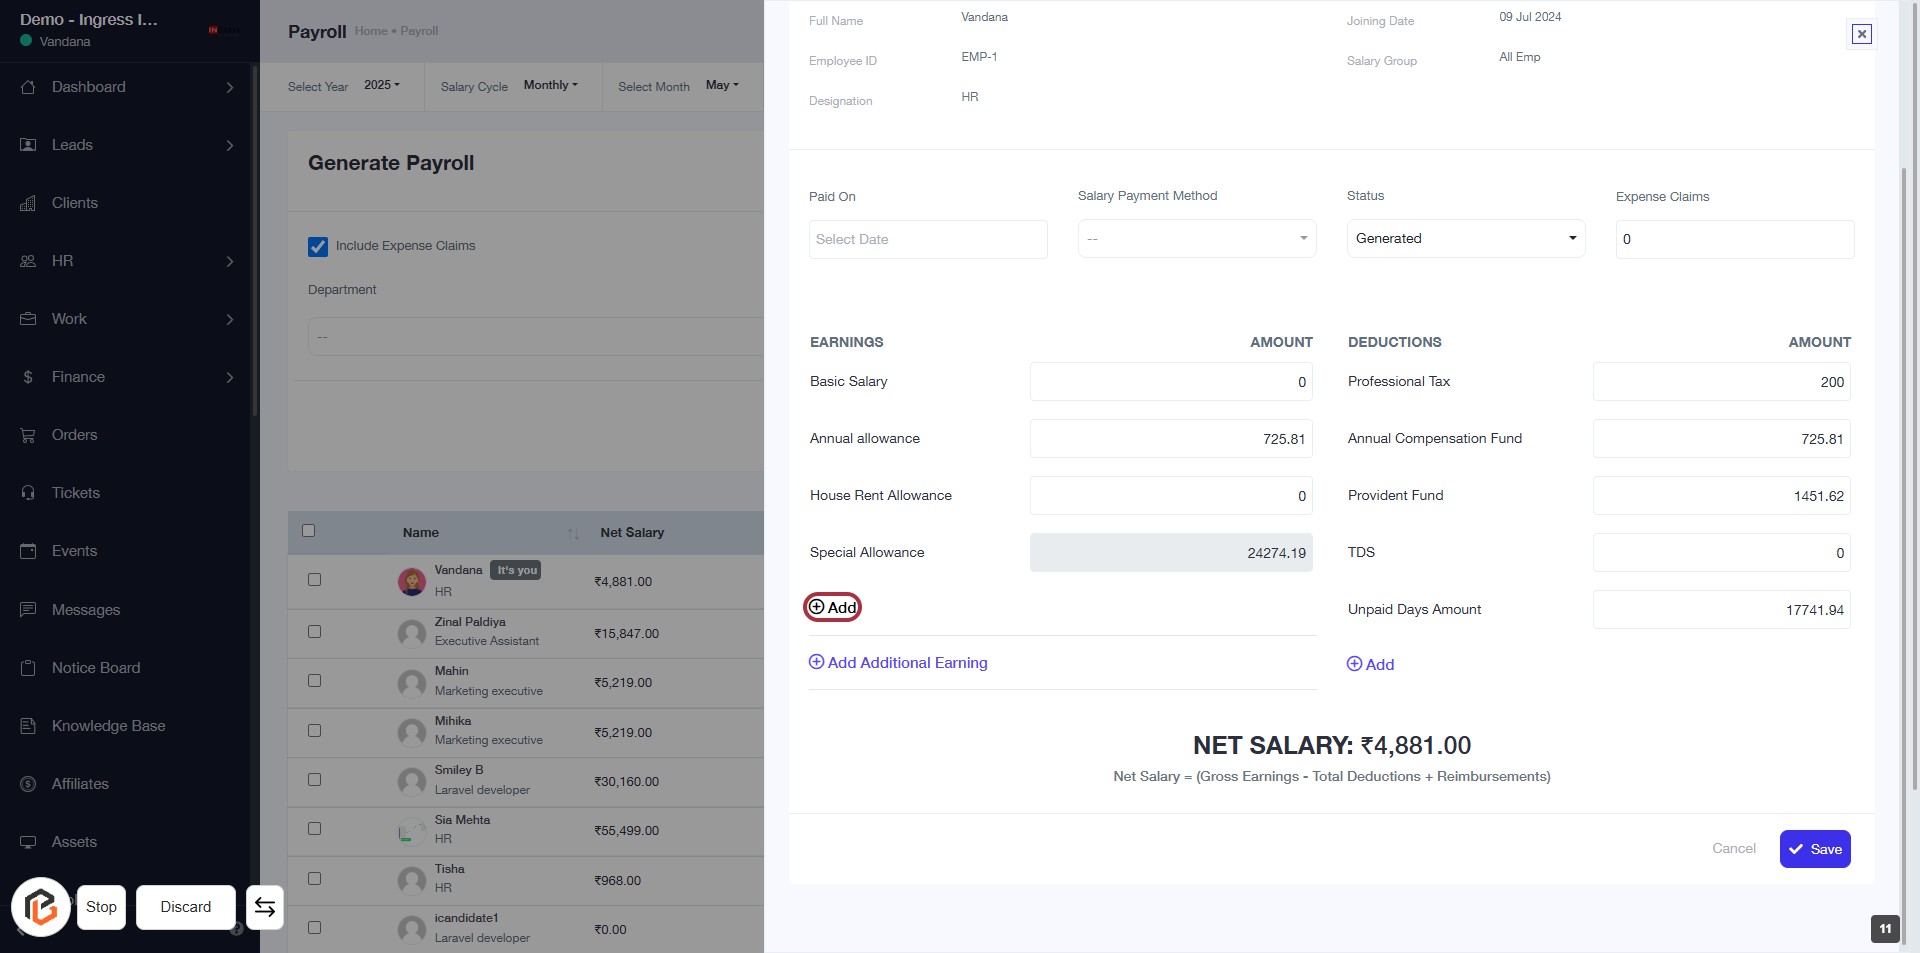
STEP 10: Click on "Add" Earnings (If Any)
- Click the "Add" link to include additional earnings.
- Ensure all required fields marked with an asterisk (*) are filled out.
- Review existing earnings before adding new ones.
- Proceed to the next step to insert the "Earning Type."
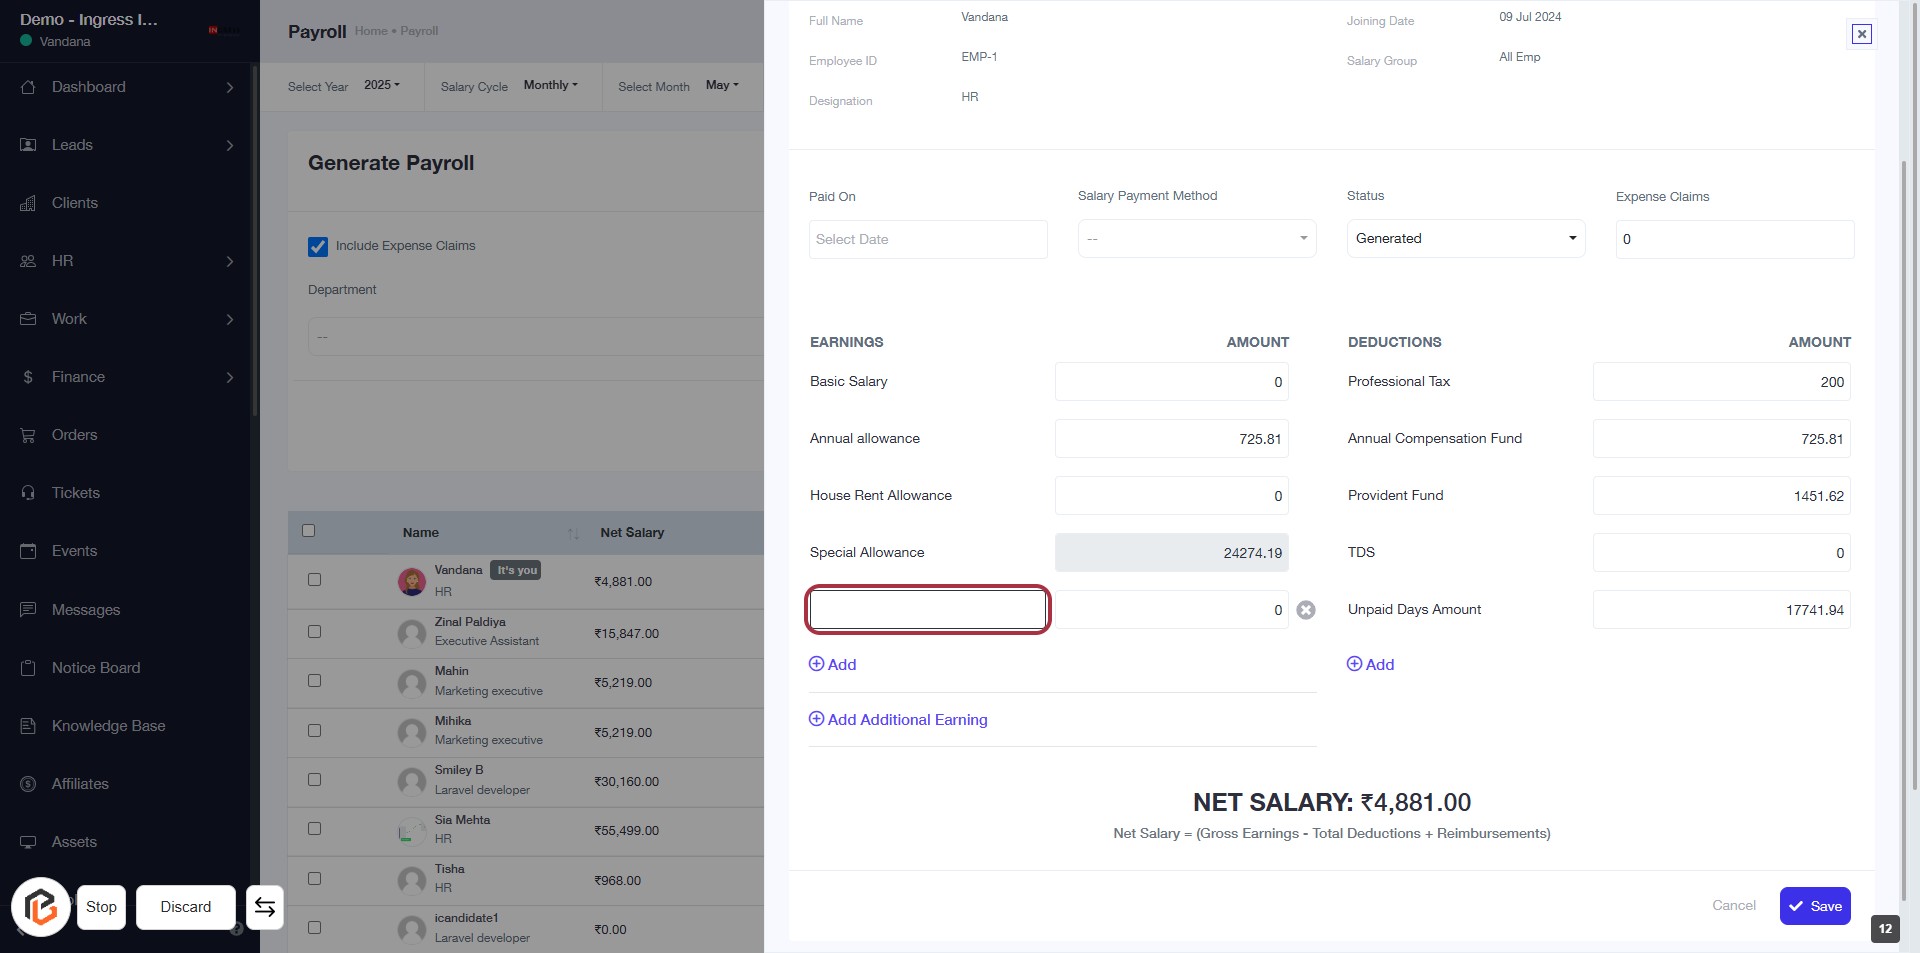
STEP 11: Insert "Earning Type"
- Click on the input field highlighted in red to enter the earning type.
- Ensure to fill in any required fields marked with an asterisk (*).
- Review the existing earnings listed above for context.
- Proceed to the next step to insert the "Earning Value."
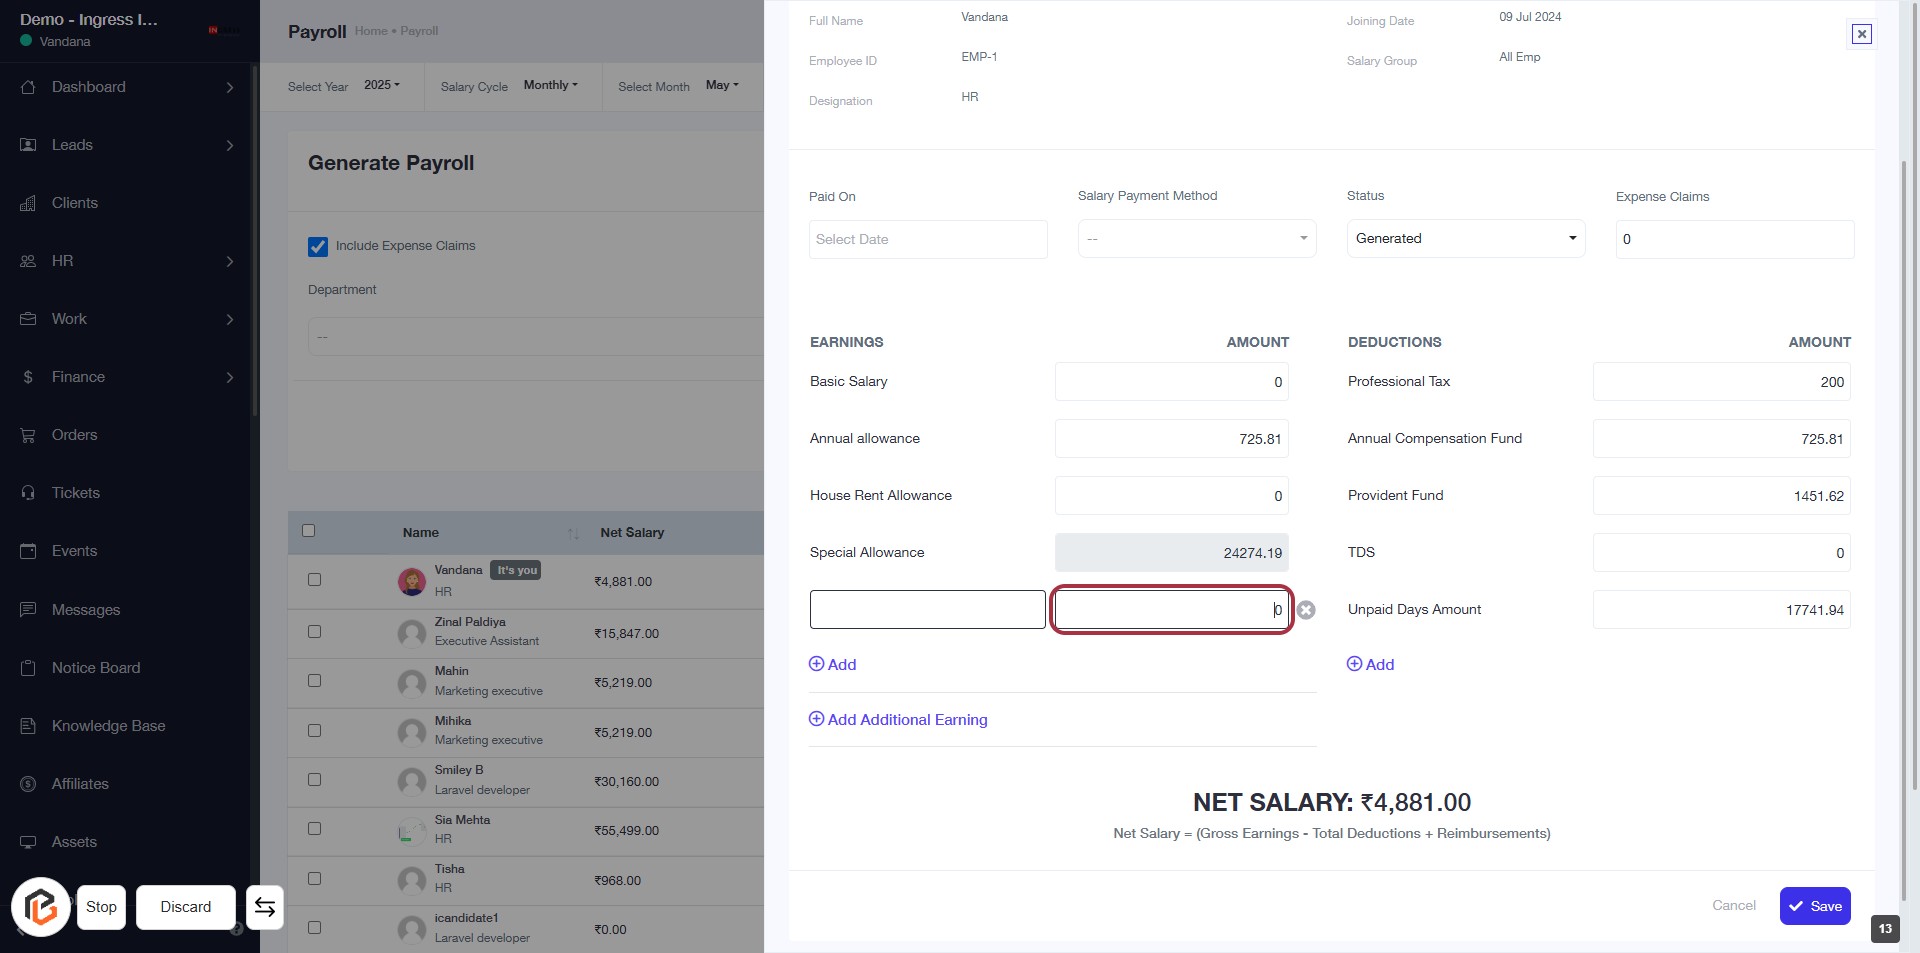
STEP 12: Insert "Earning Value"
- Click on the input field for "Special Allowance" to enter the earning value.
- Ensure to fill in the amount as required.
- Look for any fields marked with an asterisk (*) to identify mandatory inputs.
- After entering the value, proceed to the next step by clicking on "Add" Deductions if applicable.
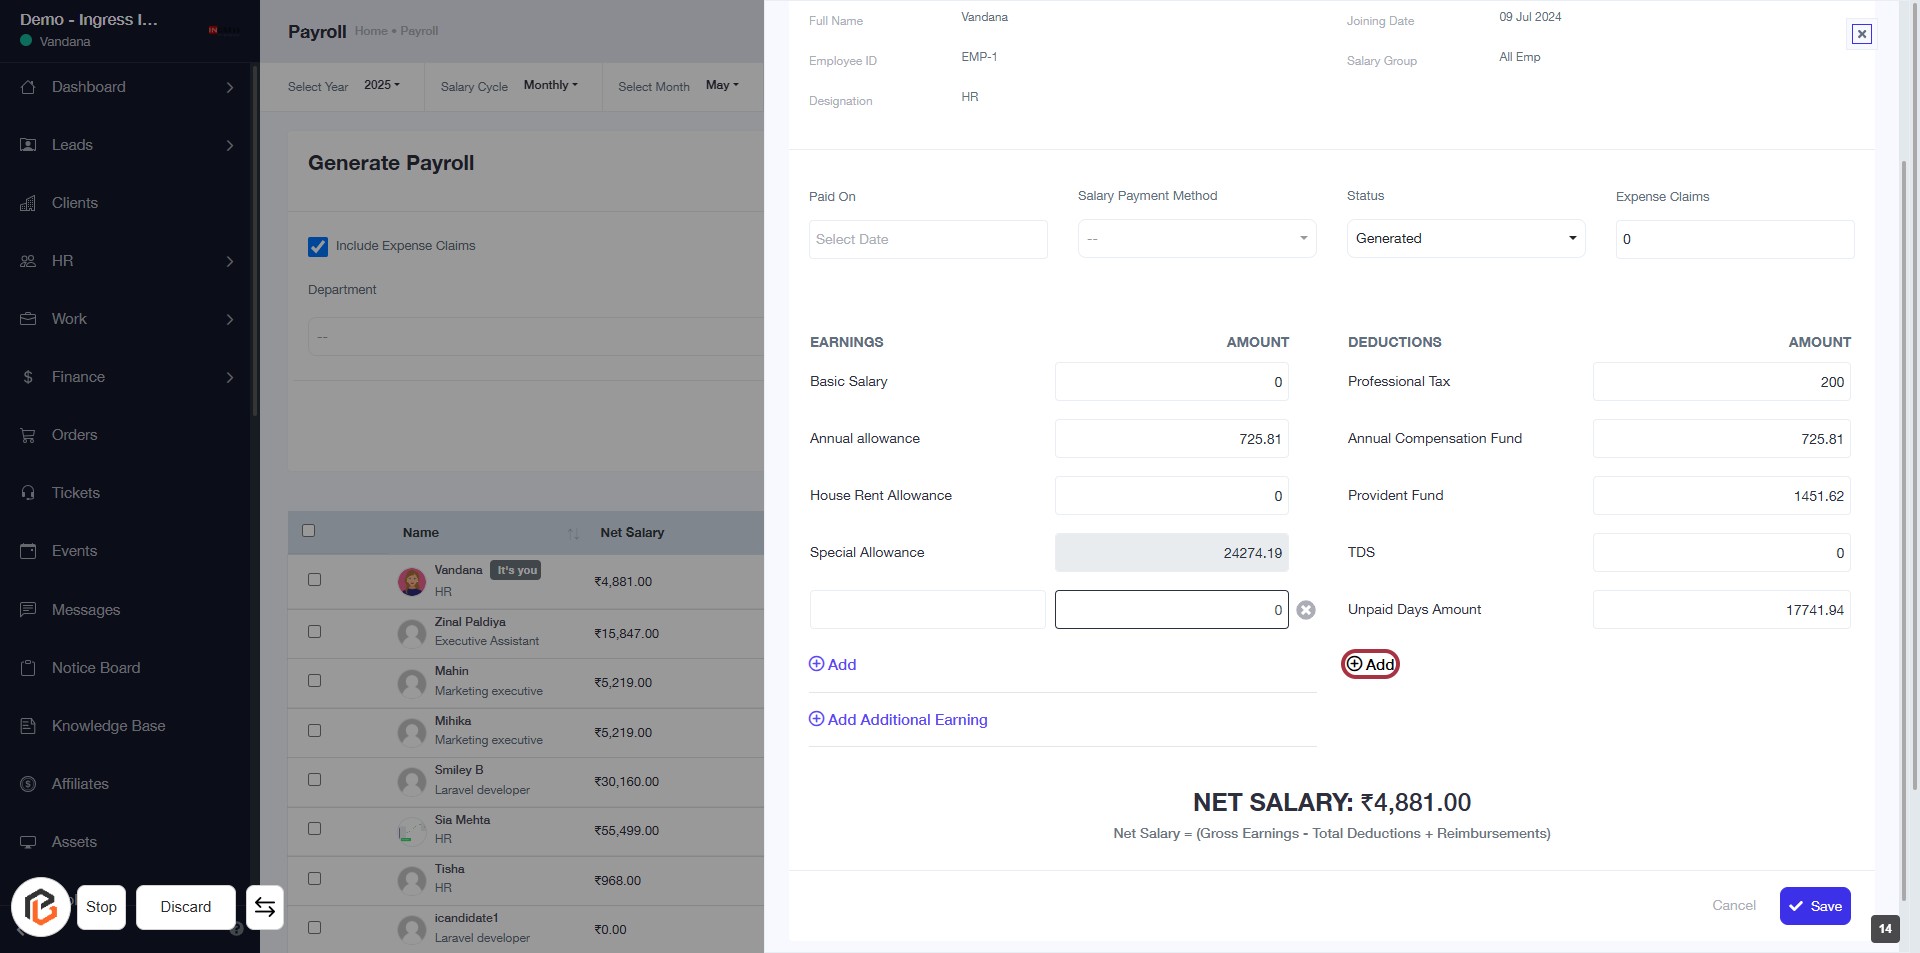
STEP 13: Click on "Add" to Include Deductions
- Locate the "Add" link under the Deductions section.
- Click on the "Add" button to initiate the process of adding deductions.
- Ensure all required fields marked with an asterisk (*) are filled out in the subsequent form.
- Review the deductions you wish to include before proceeding to the next step.
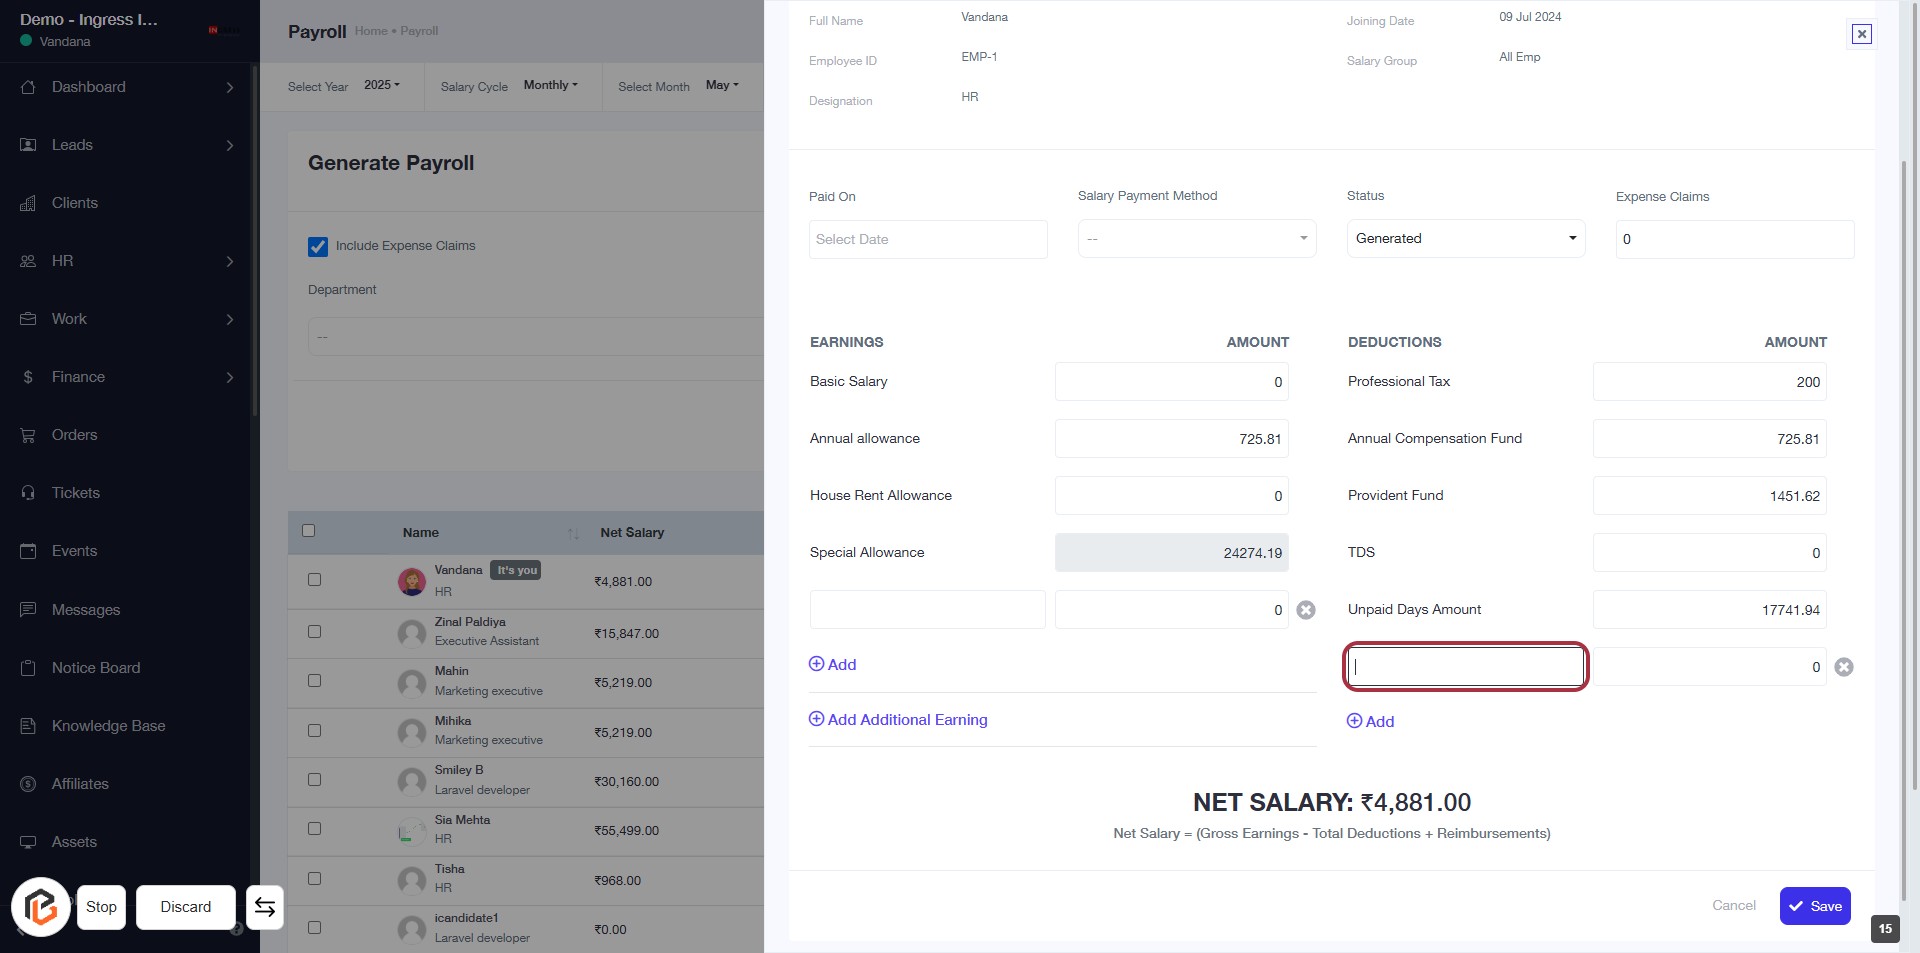
STEP 14: Insert "Deduction Type"
- Click on the input field for "Deduction Type" highlighted in red.
- Ensure to enter the appropriate deduction type as required.
- Review other deduction fields for accuracy.
- Proceed to the next step to insert the "Deduction Value."
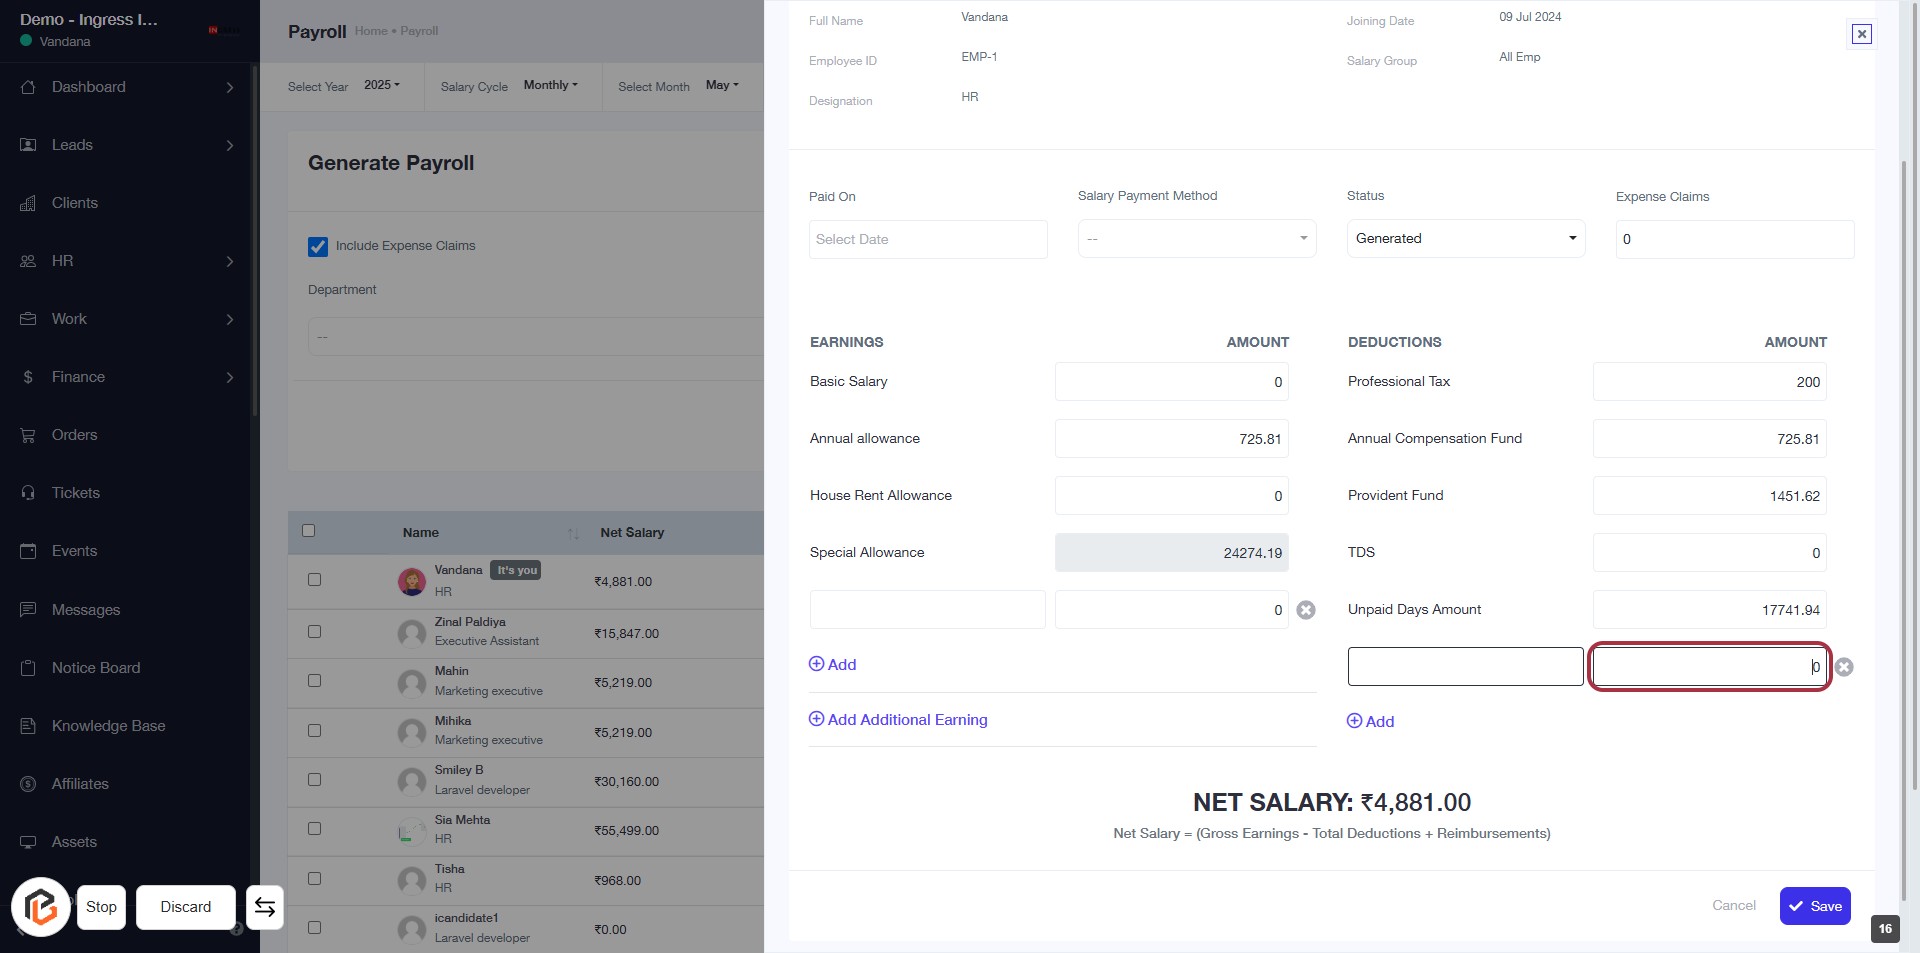
STEP 15: Insert "Deduction Value"
- Click on the input field for "Unpaid Days Amount" highlighted in red.
- Enter the deduction value as required.
- Ensure all mandatory fields marked with an asterisk (*) are filled.
- Review the entered value before proceeding to the next step.
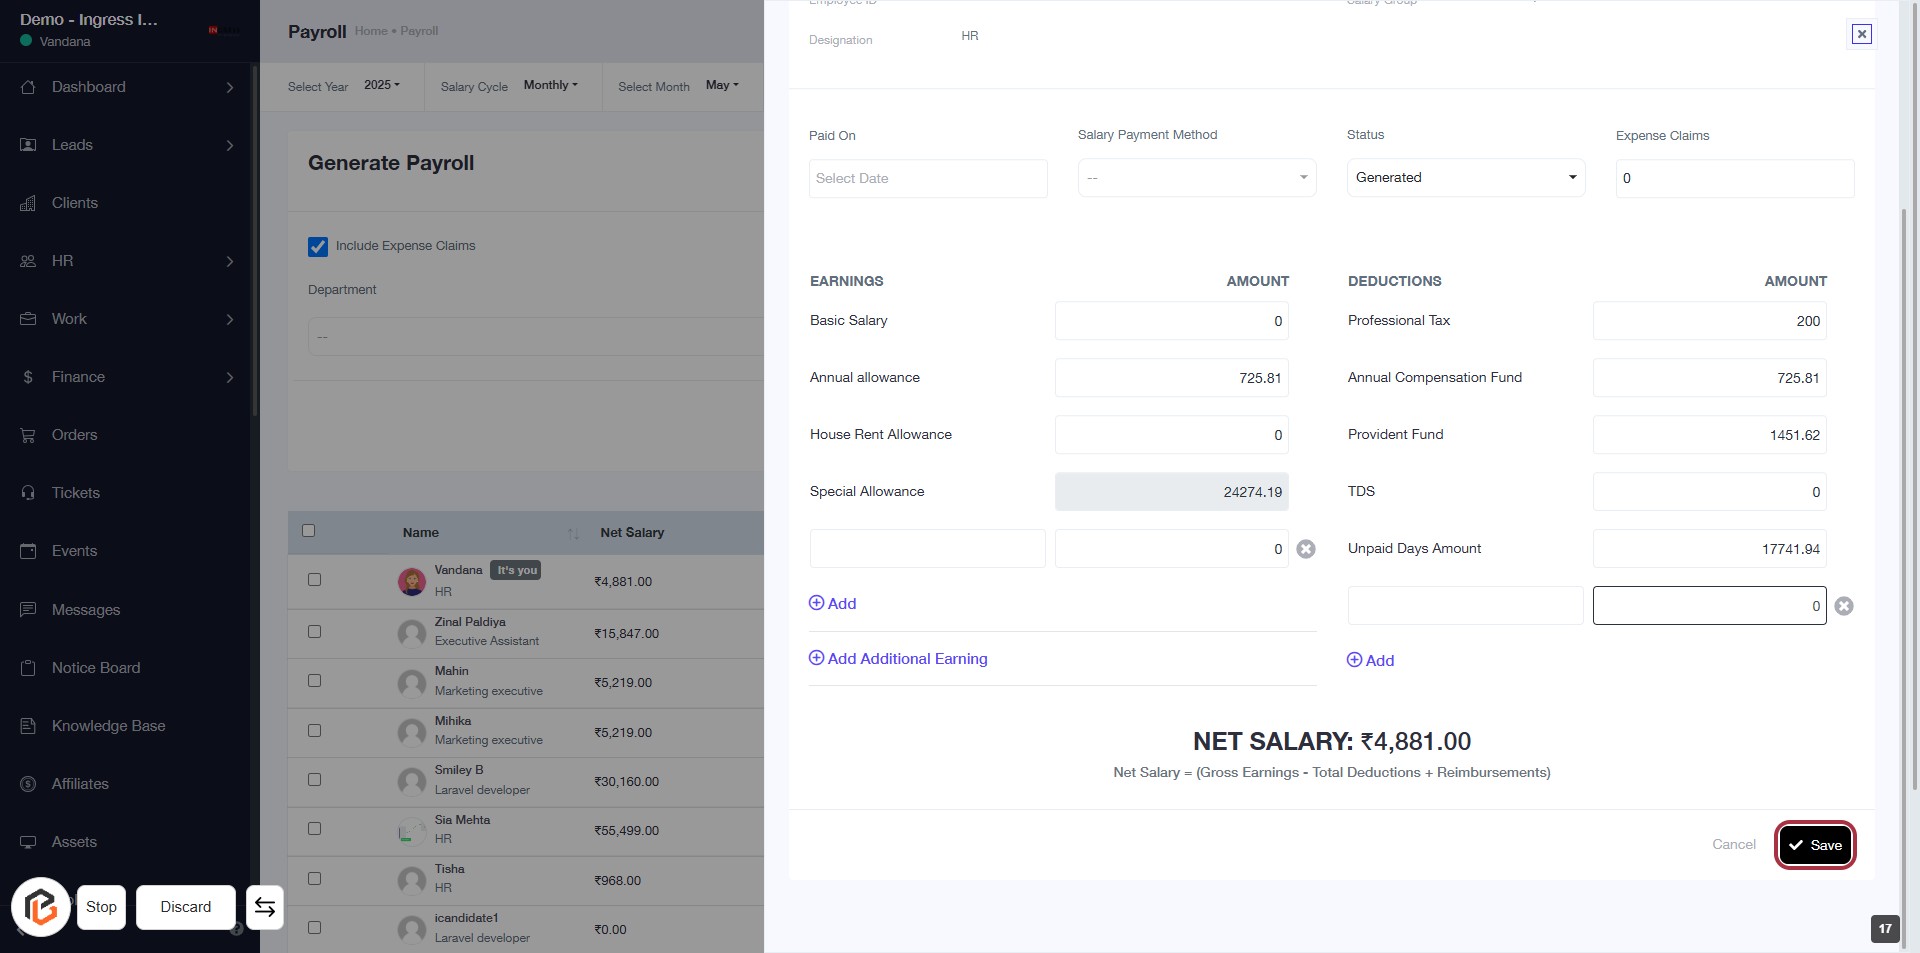
STEP 16: Click on "Save" to Finalize Payroll Entry
- Ensure all required fields are filled out correctly.
- Review the entered values for earnings and deductions.
- Click the Save button located at the bottom right of the form to finalize your payroll entry.
- Confirm that the system acknowledges your action and displays a success message.