Step-by-Step Guide to Creating a New Order in Your Dashboard
13 mins read · Updated 29 Sep, 2025
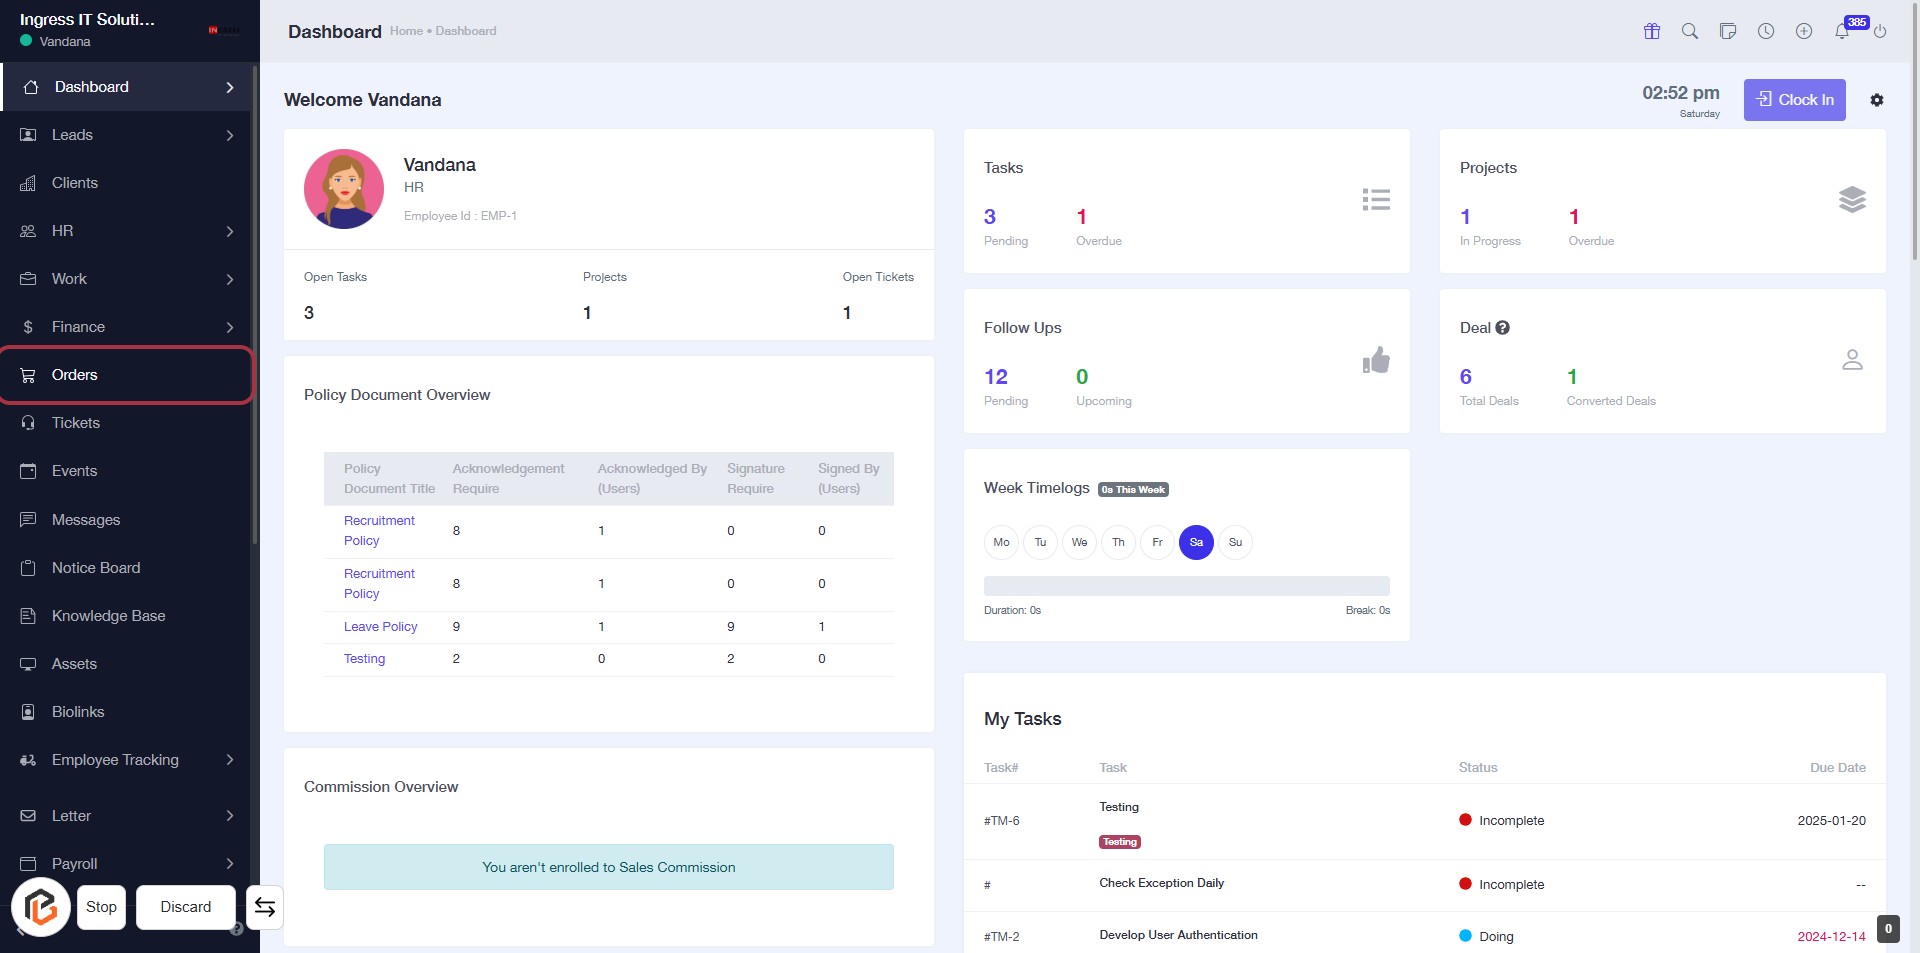
STEP 1: Click on "Orders" in the Dashboard
- Navigate to the left sidebar of the dashboard.
- Locate and click on the "Orders" link highlighted in red.
- This will take you to the Orders section for further actions.
Next, you can proceed to click on "Add New Order" to continue.
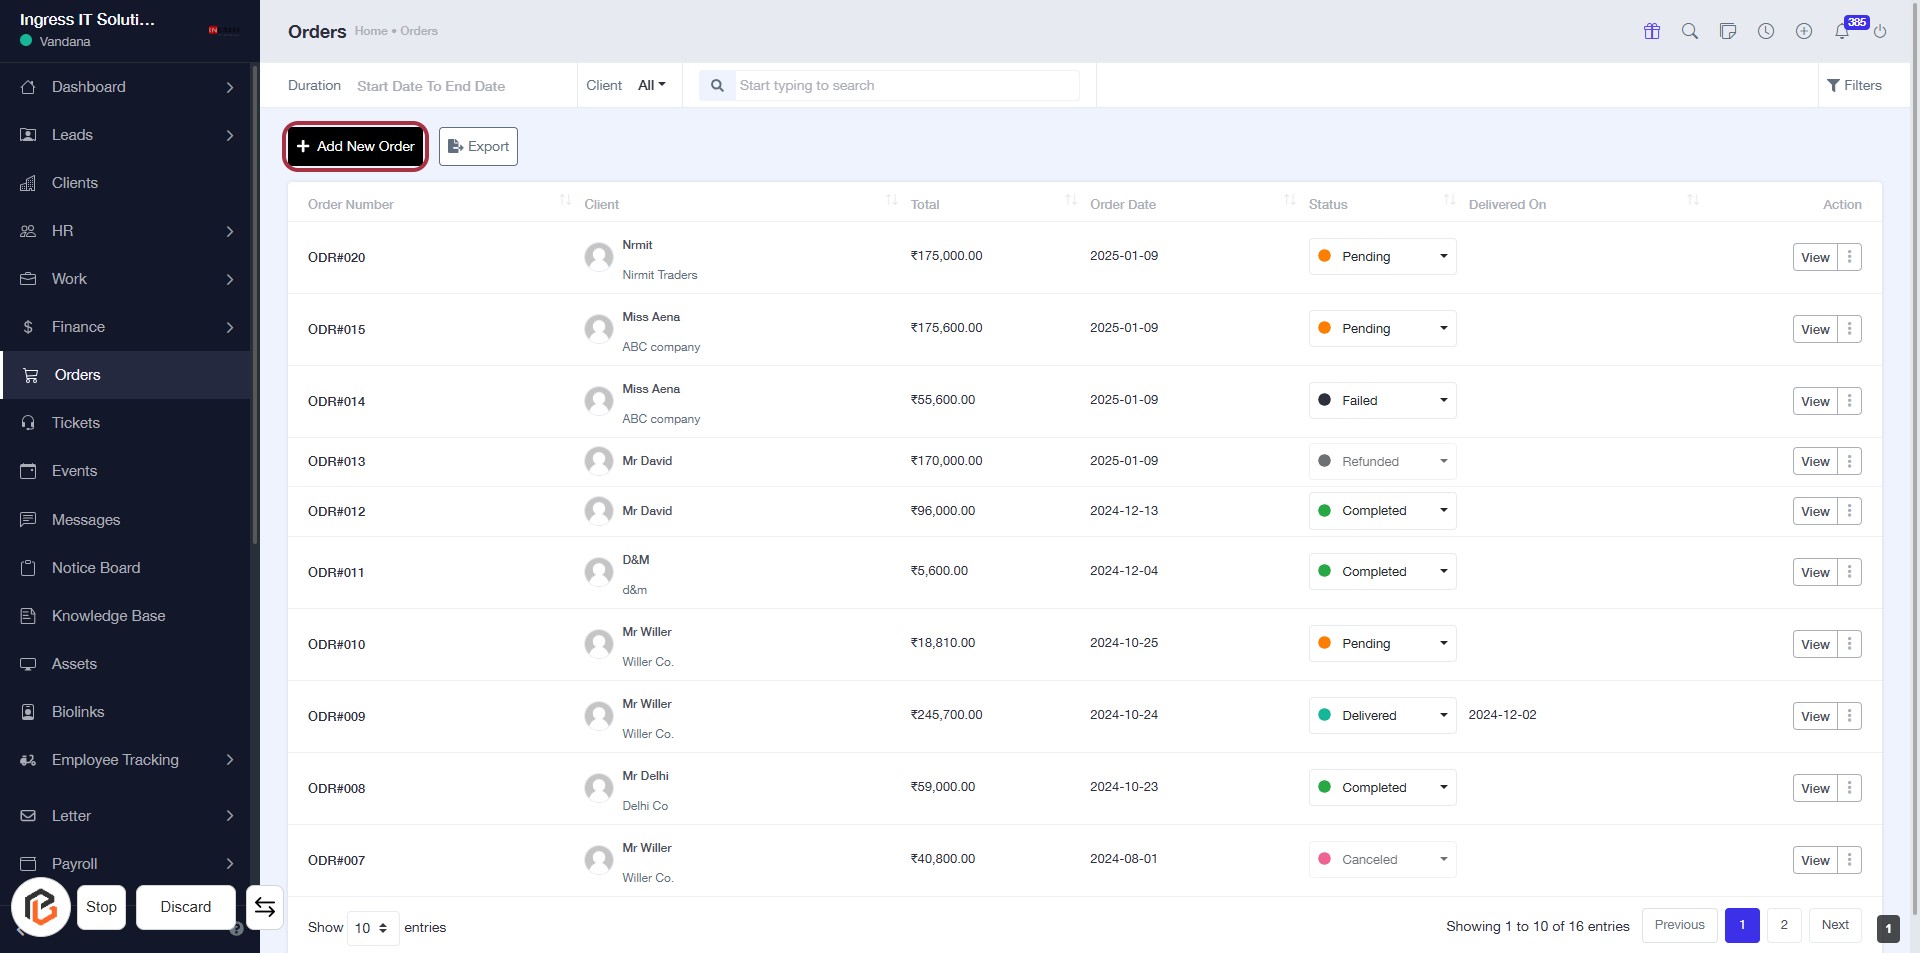
STEP 2: Click on "Add New Order"
- Navigate to the "Orders" section in your dashboard.
- Click on the Add New Order button located at the top right of the orders table.
- This action will redirect you to the order creation form where you can input the necessary details.
- Ensure to fill in all required fields marked with an asterisk (*).
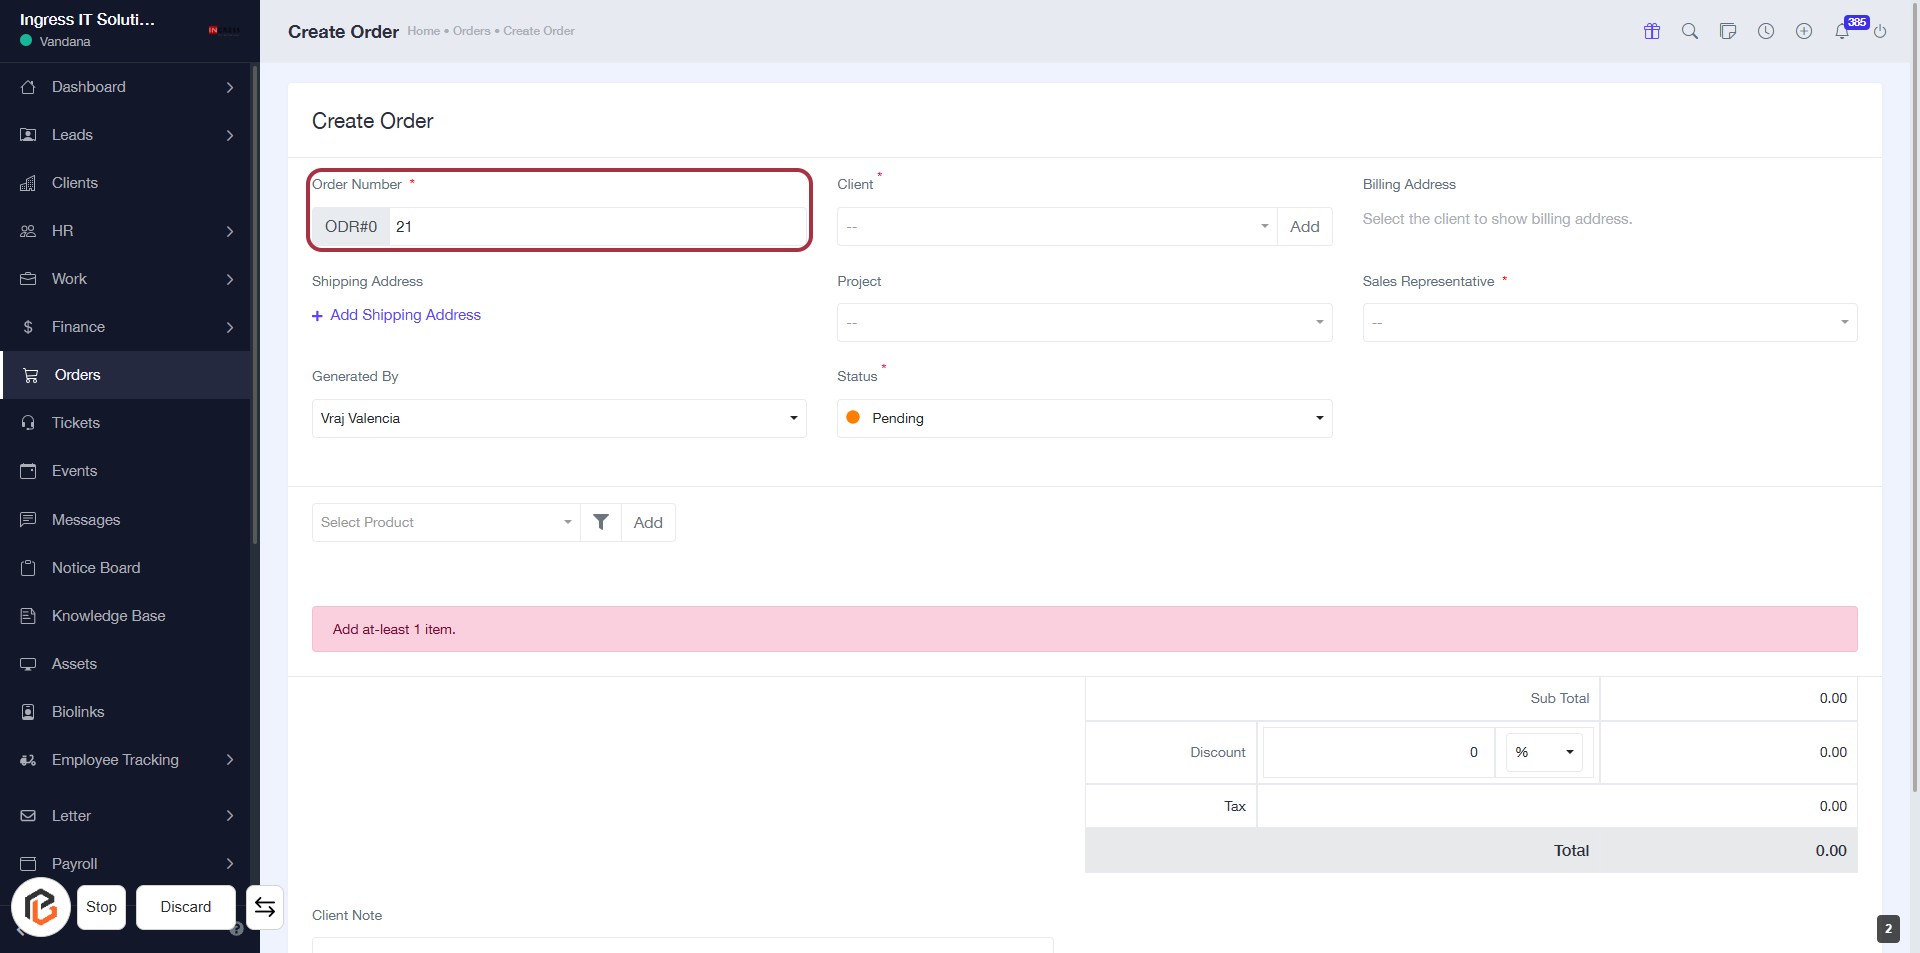
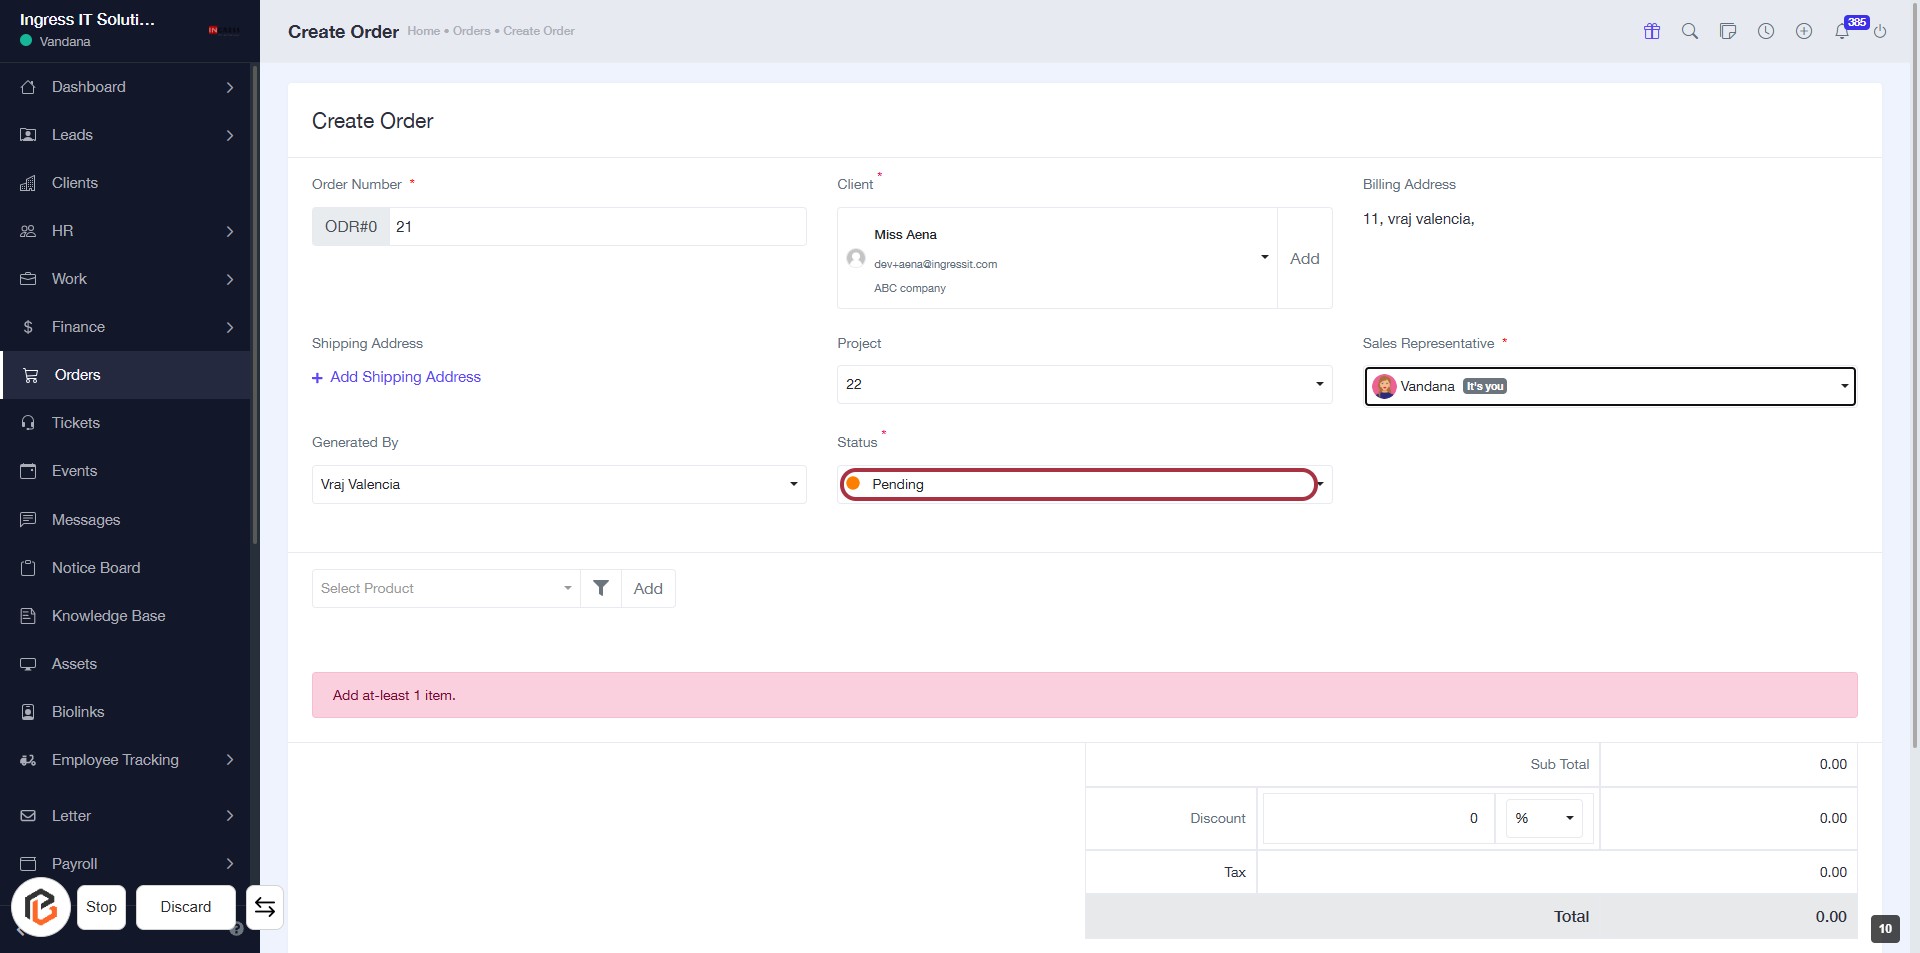
STEP 3: Enter Order Number
- Click on the "Order Number" field (marked with an asterisk * for required input).
- Input the unique order number for your transaction.
- Ensure the order number is correctly formatted as per your organization's guidelines.
- Proceed to the next step by selecting the "Client" field.
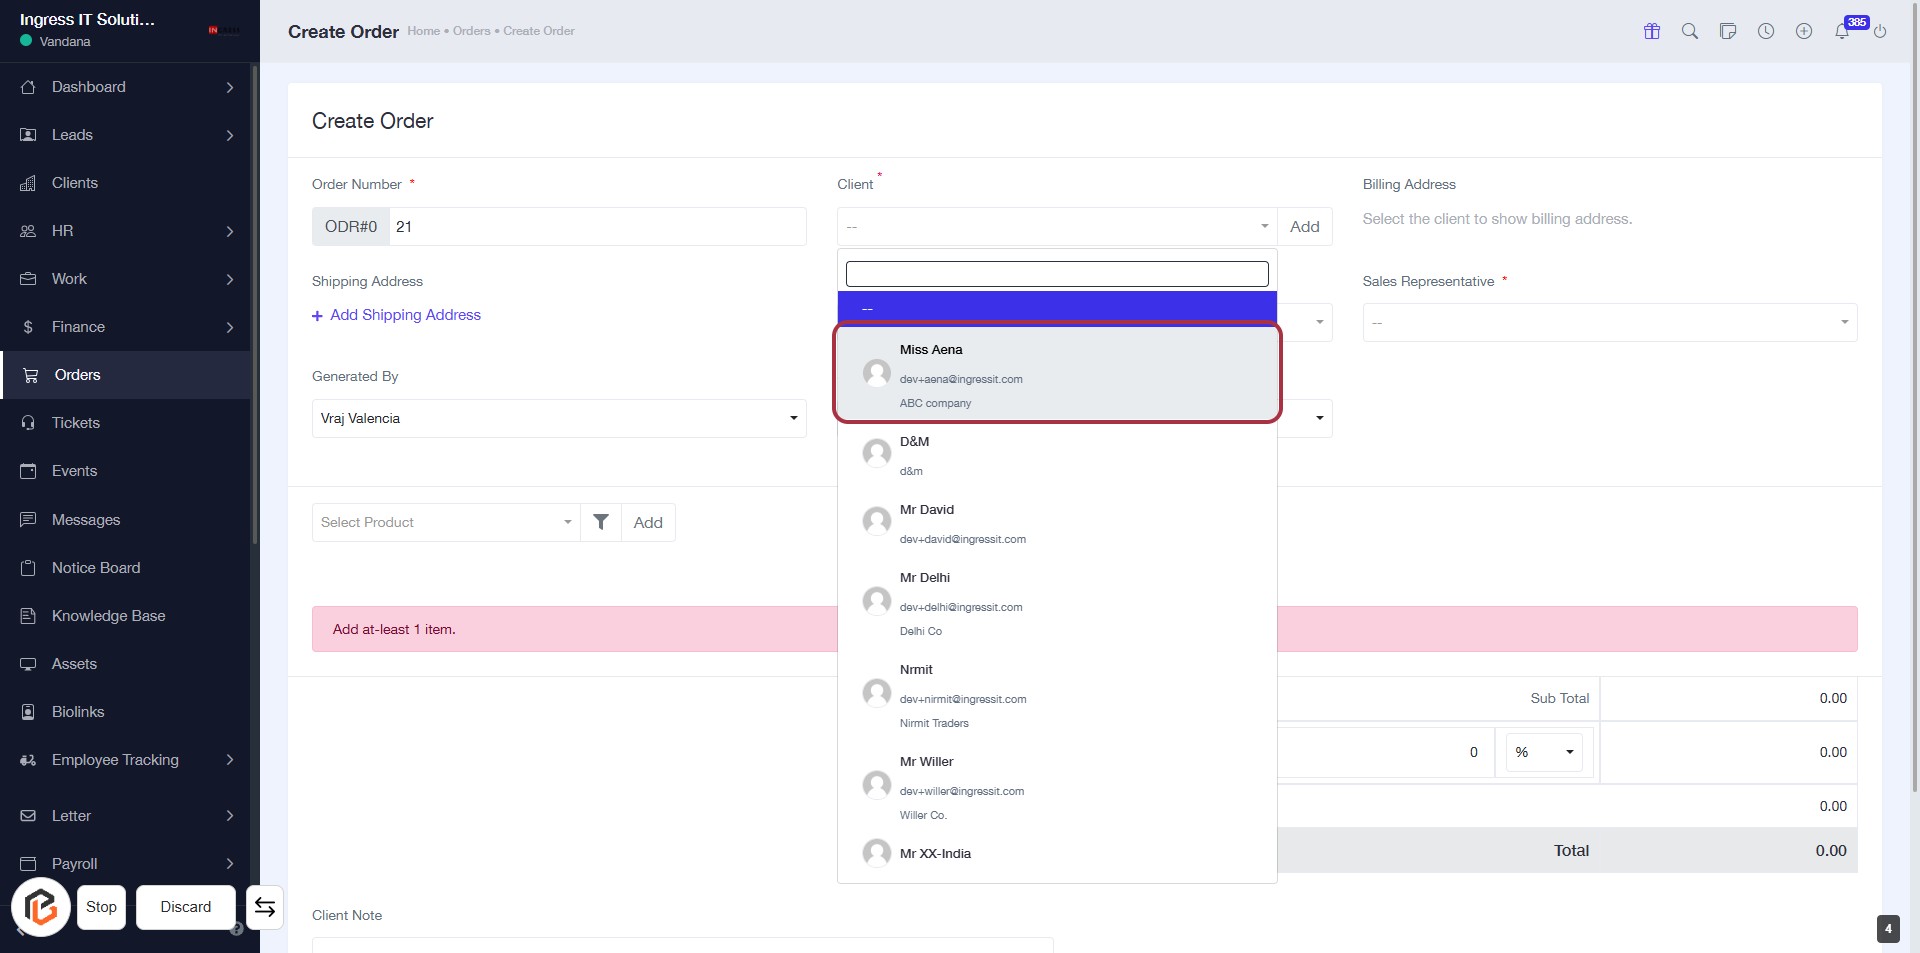
STEP 4: Select "Client"
- Click on the "Client" dropdown to view available clients.
- Locate and select "Miss Aena" from the list.
- Ensure the email and company details are correct.
- Proceed to the next step by adding the "Shipping Address."
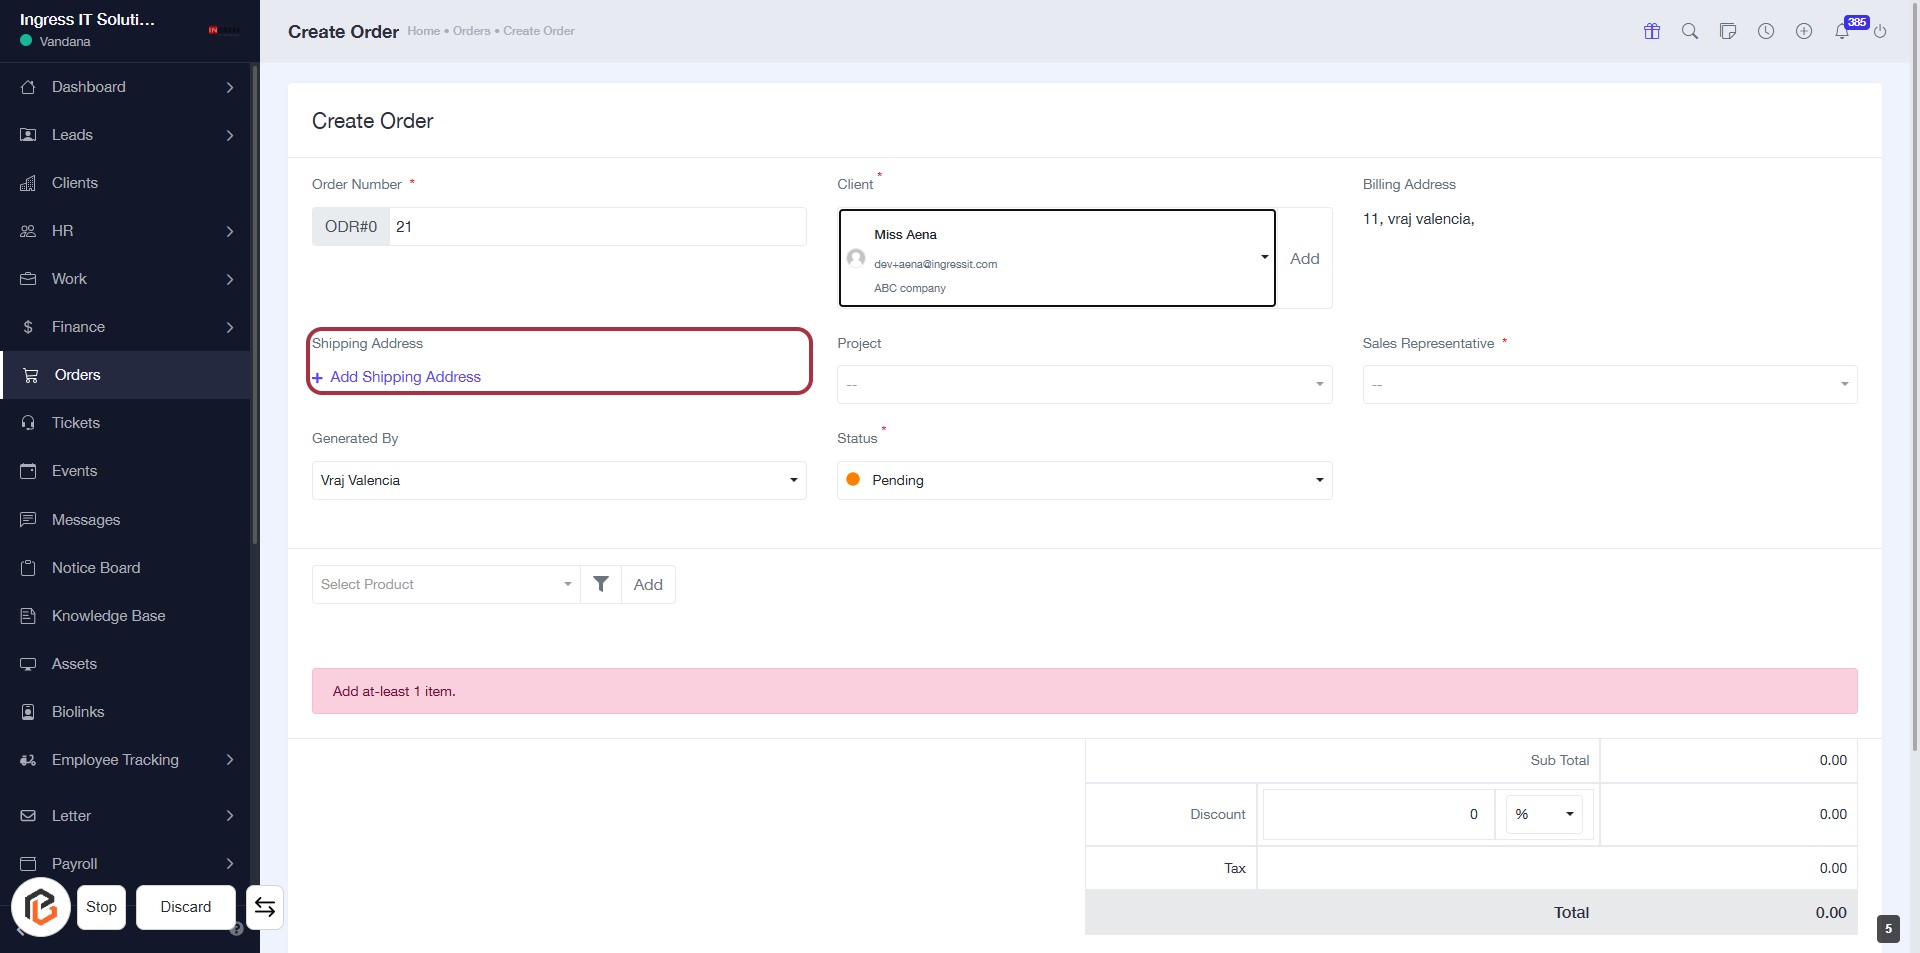
STEP 5: Click "Add Shipping Address"
- Click on the Add Shipping Address option highlighted in red.
- Ensure all required fields are filled in the form.
- Look for any fields marked with an asterisk (*) as they are mandatory.
- Proceed to the next step by adding the project details after the shipping address is entered.
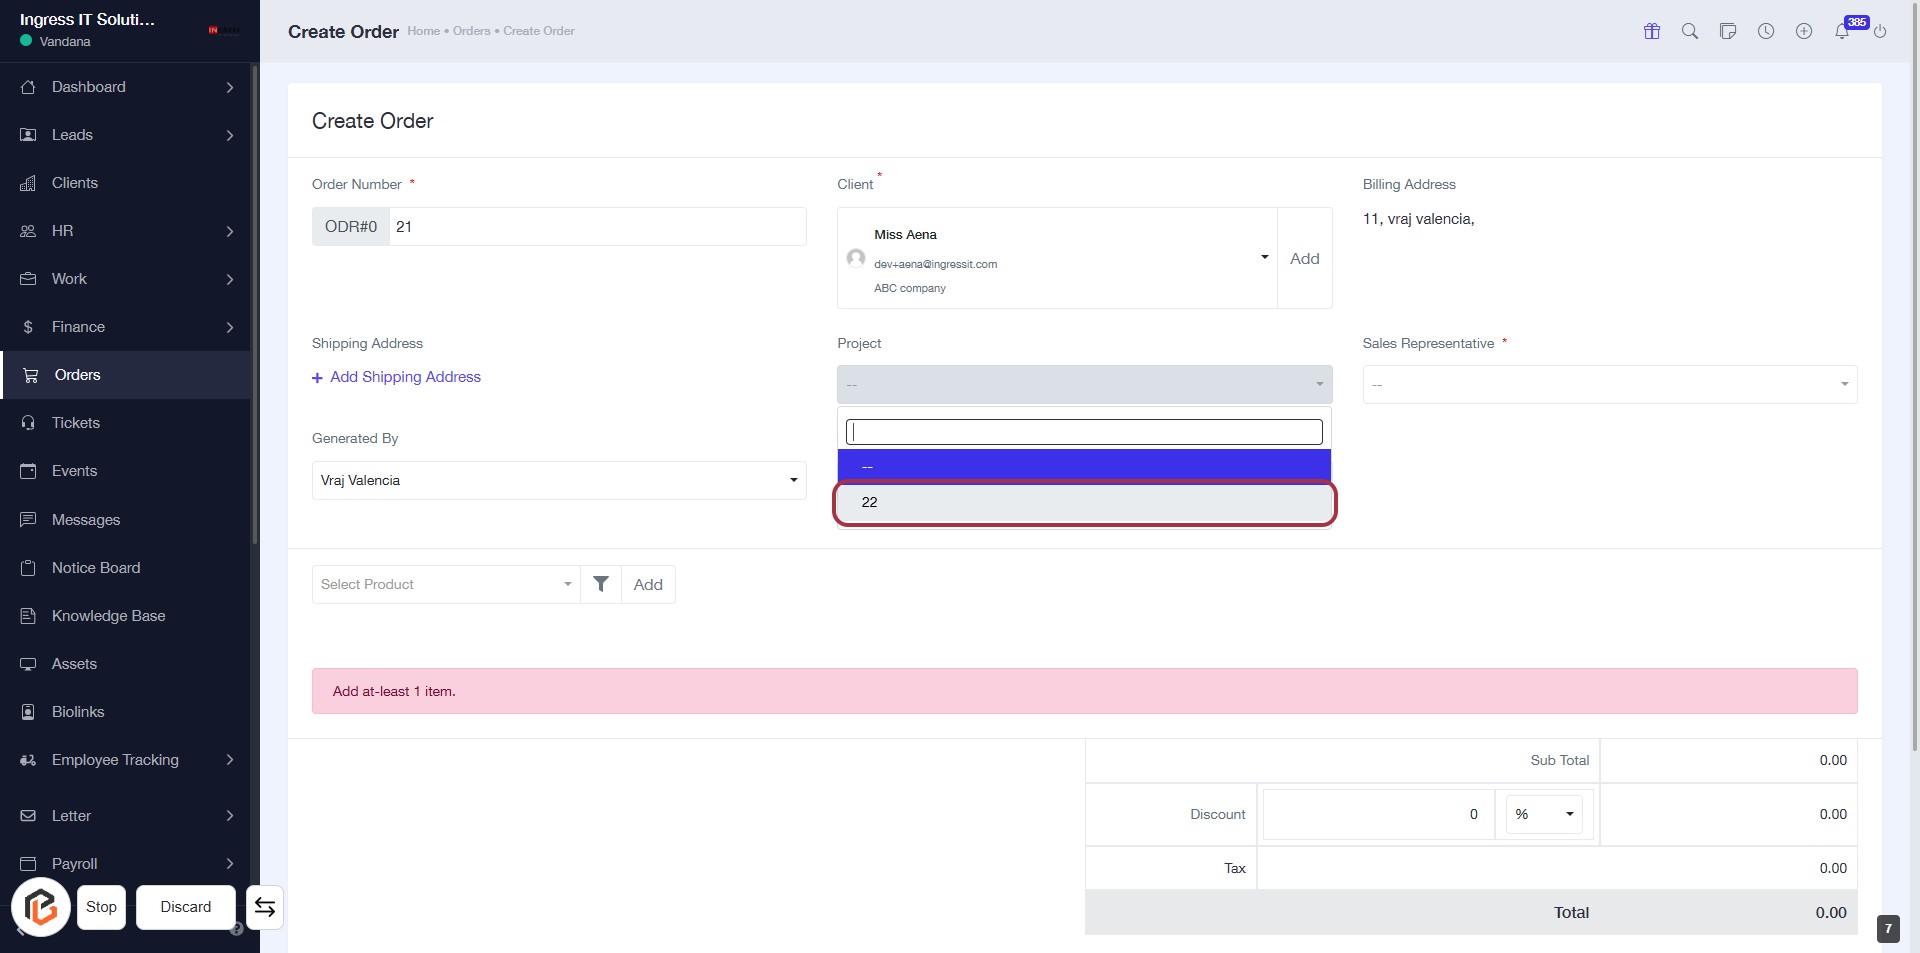
STEP 6: Click "Project" to Add Context
- Navigate to the "Project" dropdown in the Create Order form.
- Click on the option labeled "22" to select it.
- Ensure that all required fields marked with an asterisk (*) are filled out before proceeding.
- After selecting the project, continue to the next step by selecting the "Sales Representative."
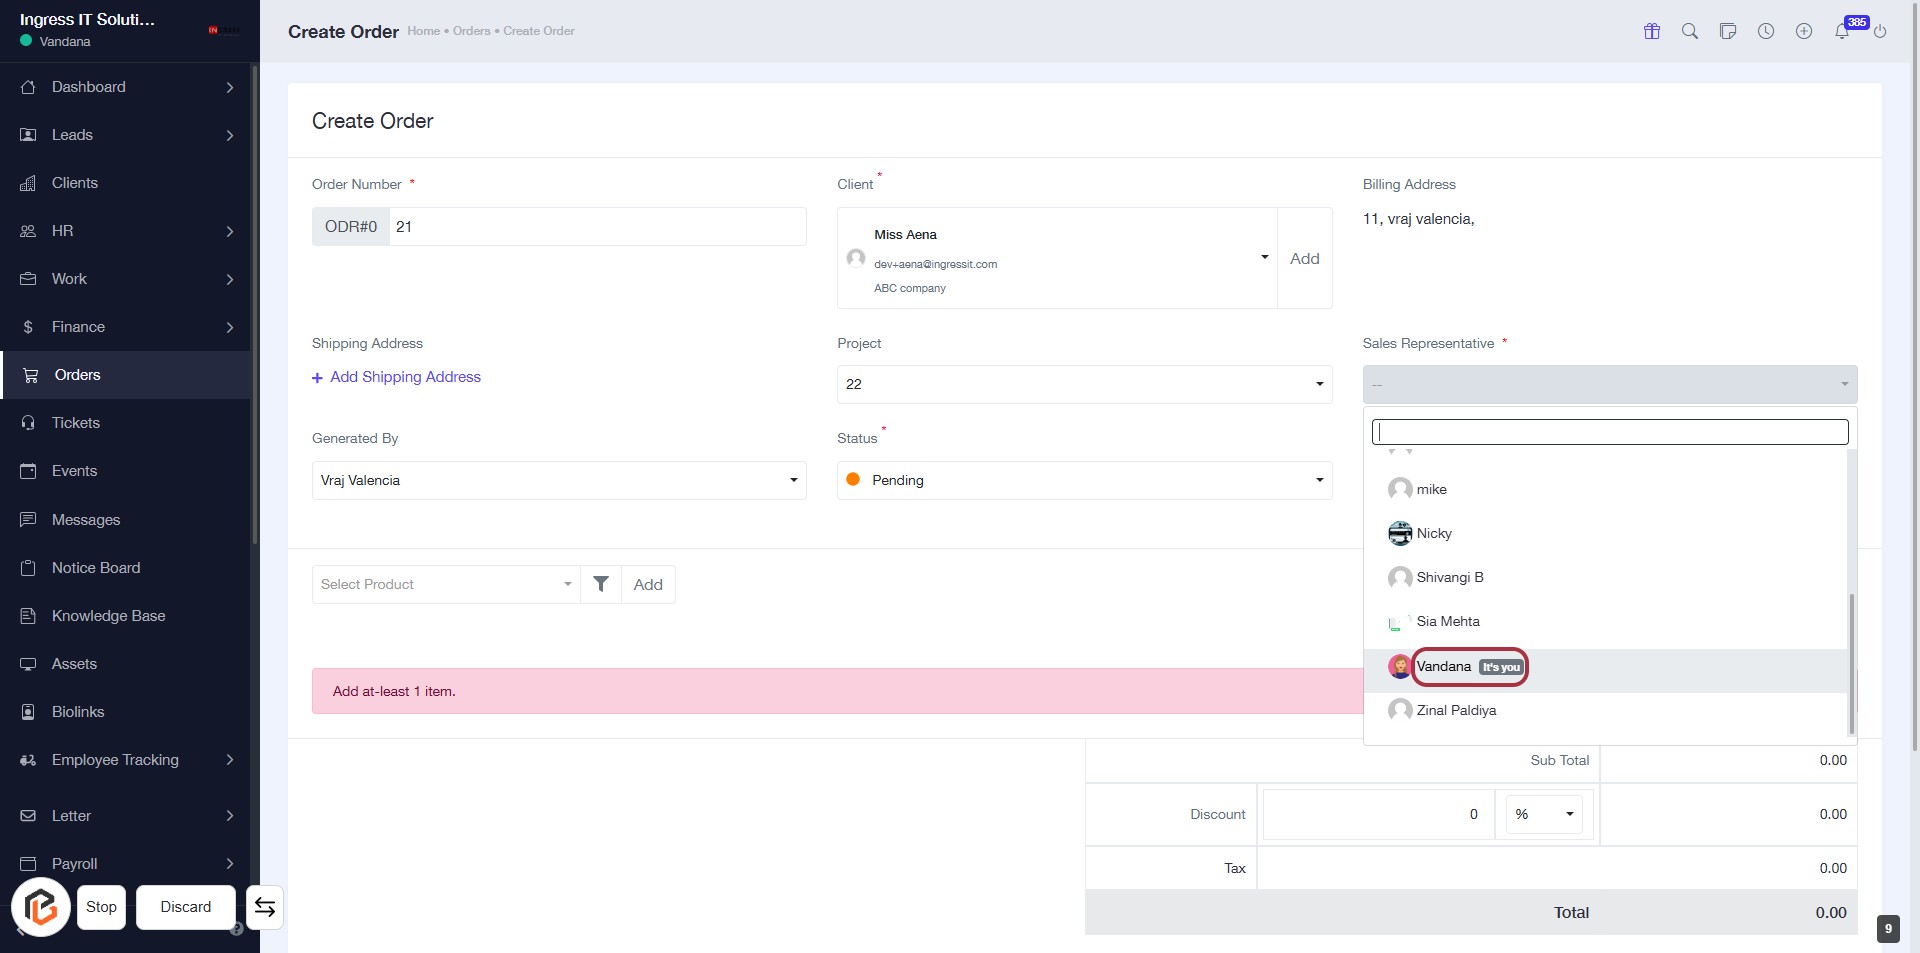
STEP 7: Select "Sales Representative"
- Click on the dropdown for "Sales Representative."
- Choose "Vandana It's you" from the list.
- Ensure the selection is marked as required (indicated by the asterisk).
- Proceed to the next step by selecting "Status."
STEP 8: Select "Status"
- Click on the Status field to view options.
- Choose Pending from the dropdown.
- Ensure all required fields marked with an asterisk (*) are filled out.
- Review other inputs like Client, Project, and Sales Representative before proceeding.
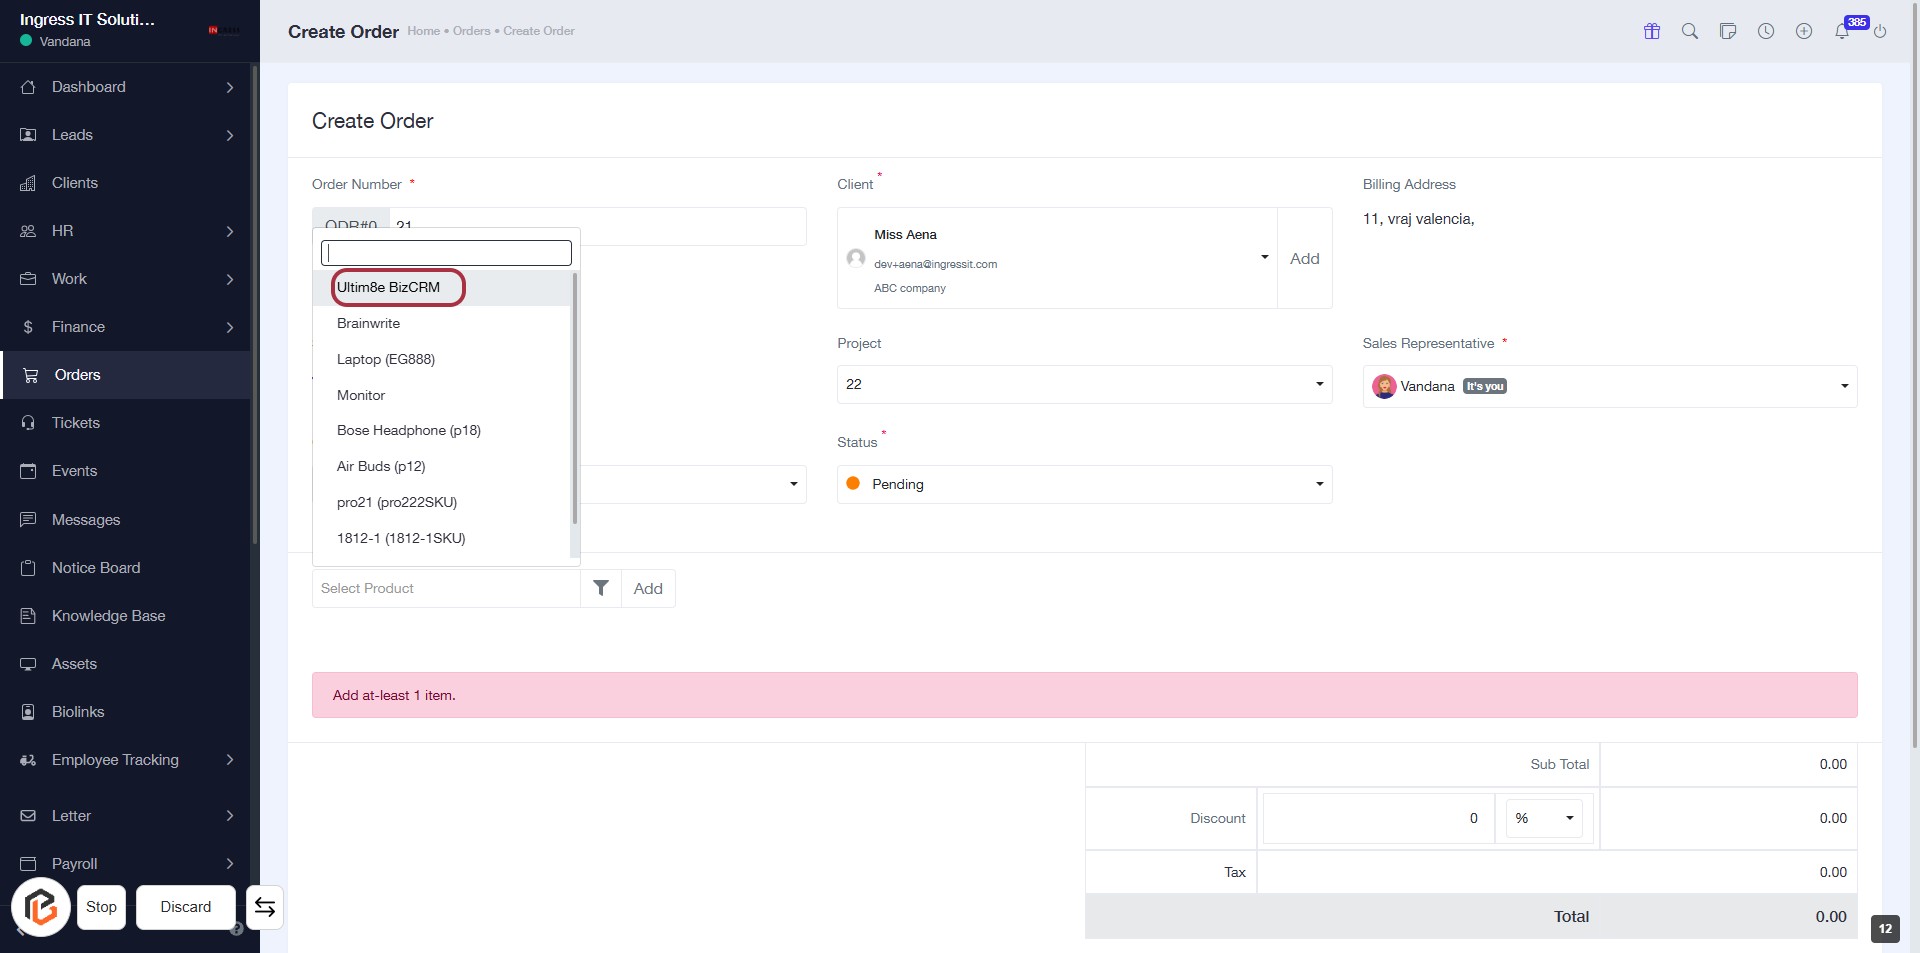
STEP 9: Click on "Select Product"
- Navigate to the "Select Product" dropdown.
- Click on the dropdown to view available products.
- Choose "Ultim8e BizCRM" from the list.
- Ensure all required fields marked with an asterisk (*) are filled out.
- Proceed to the next step by adding the "Quantity."
STEP 10: Click on "Quantity" to Add Order Quantity
- Locate the "Quantity" field in the order form.
- Click on the highlighted area to activate the input.
- Enter the desired quantity for the product.
- Ensure the quantity is accurate before proceeding to the next step.

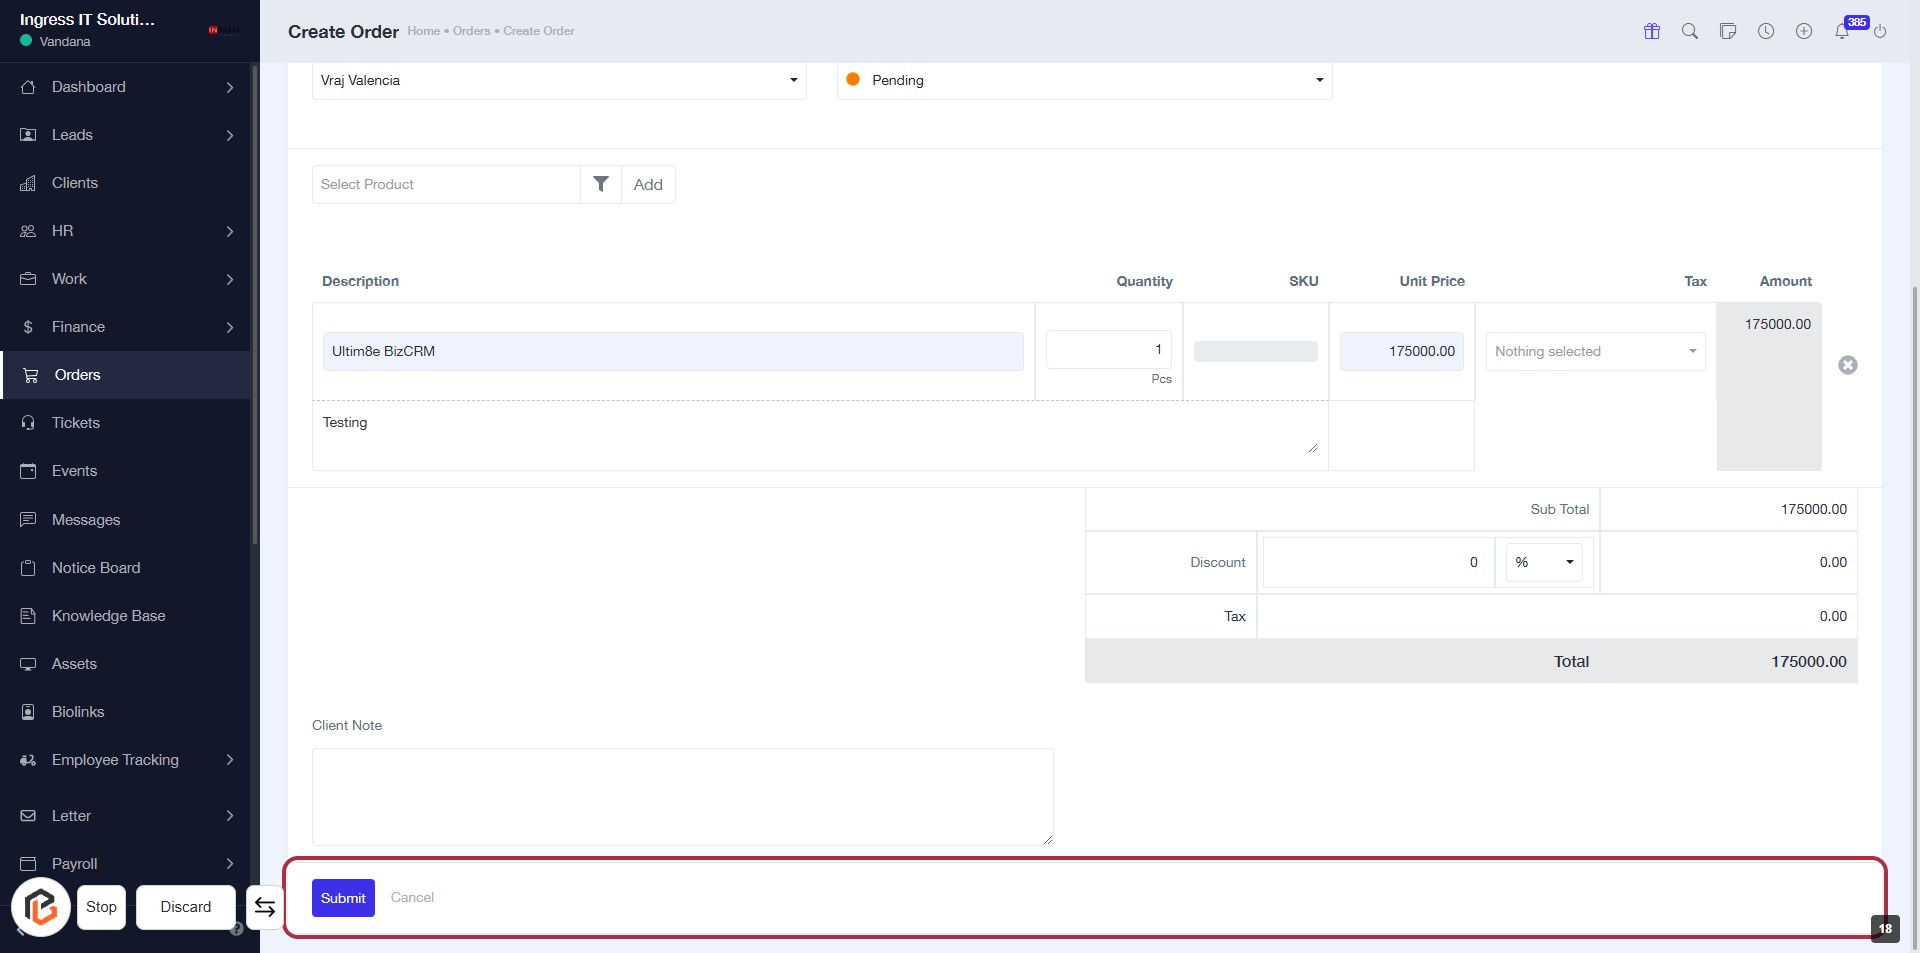
STEP 11: Click on "Description" to Add Order Details
- Click on the "Description" area highlighted in red.
- Enter relevant details about the order.
- Ensure to provide clear and concise descriptions for better understanding.
- Review the existing entries, like "Ultim8e BizCRM" and "Testing," for context.

STEP 12: Fill in "Client Note"
- Click on the "Client Note" area highlighted in red.
- Enter any relevant notes or comments for the client.
- Ensure to review your notes for clarity and completeness.
- Proceed to the next step by clicking the "Submit" button.

STEP 13: Click on "Submit" to Finalize Your Order
- Ensure all required fields are filled, including "Client Note."
- Locate the "Submit" button highlighted in red at the bottom of the form.
- Click on the "Submit" button to finalize your order.
- Review the confirmation message to ensure the order was successfully submitted.