Comprehensive Guide to Managing Orders: Viewing, Editing, Downloading, and Deleting Orders
9 mins read · Updated 29 Sep, 2025
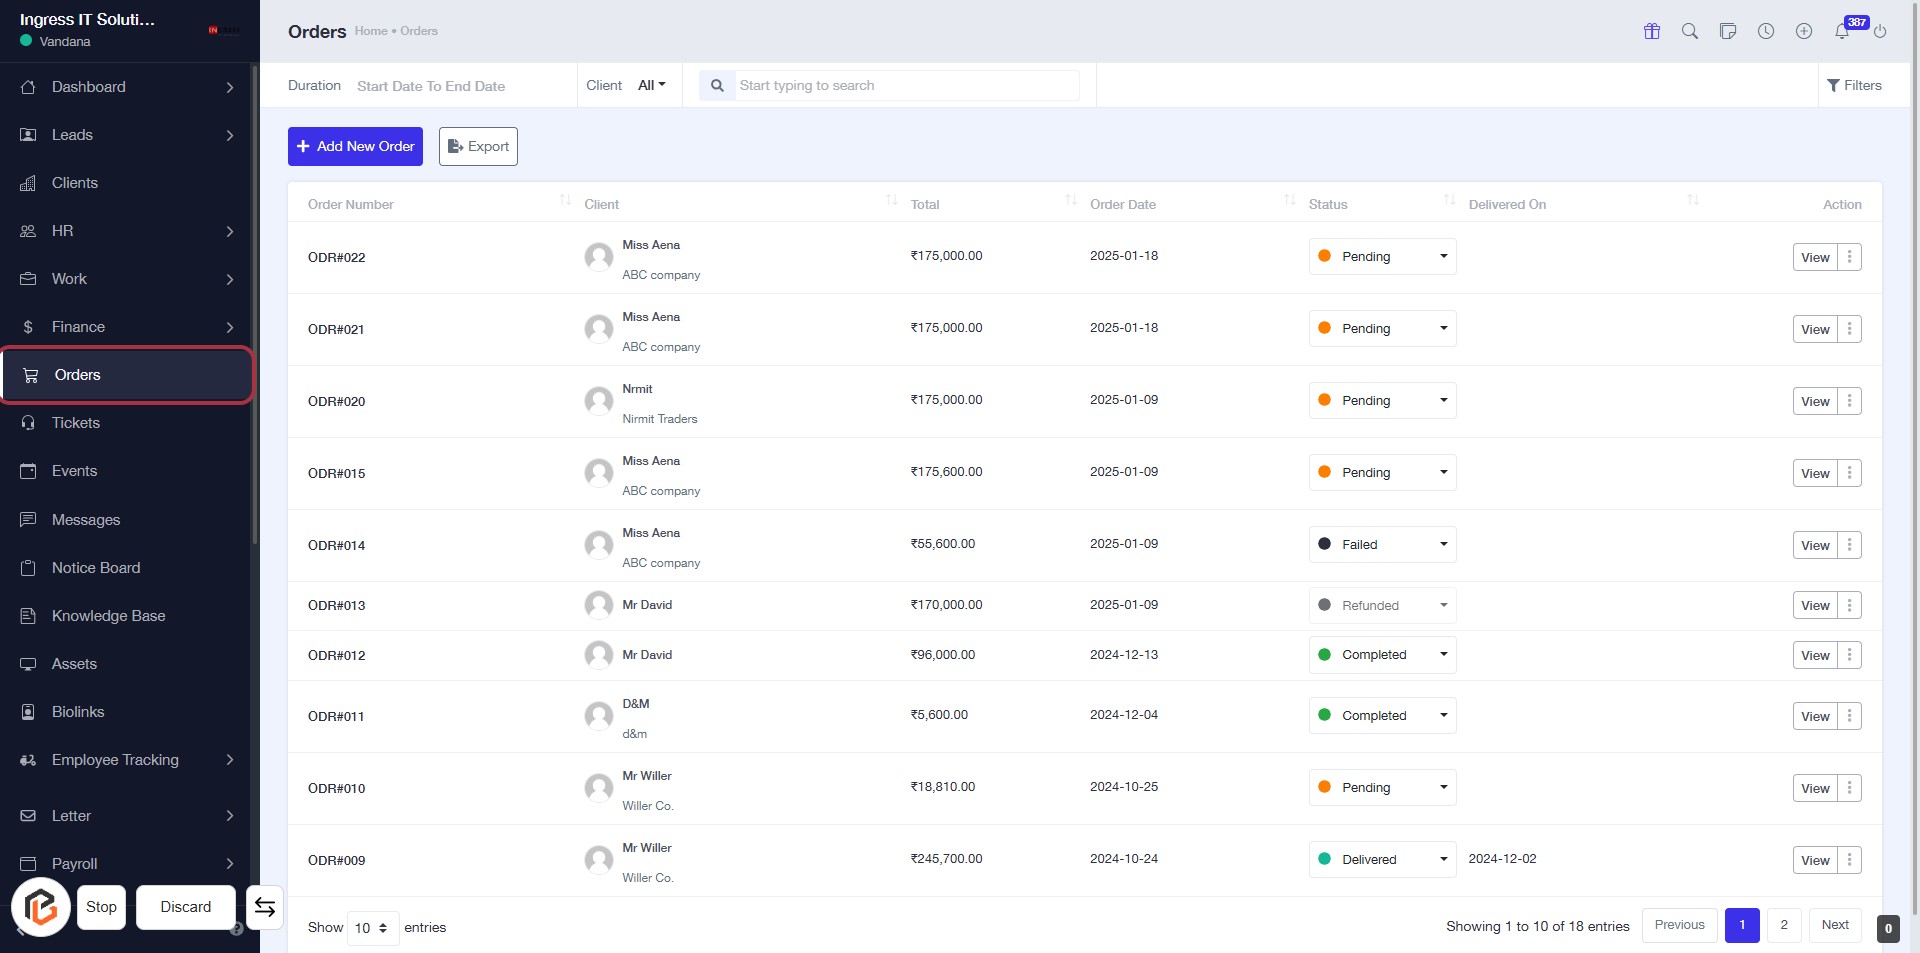
STEP 1: Click on "Orders" to Access the Orders Page
- Navigate to the left sidebar and click on the "Orders" link.
- This will direct you to the Orders page, where you can view all order details.
- The page displays a table with columns such as Order Number, Client, Total, Order Date, Status, and Action.
- You can also see options to Add New Order or Export the order list.
STEP 2: Click on "Option Menu" to Access Order Details
- Click on the highlighted "View" link in the Actions column to access detailed information about the selected order.
- Ensure you are on the Orders page to see the list of orders.
- Review the order details that appear after clicking the link for further actions.

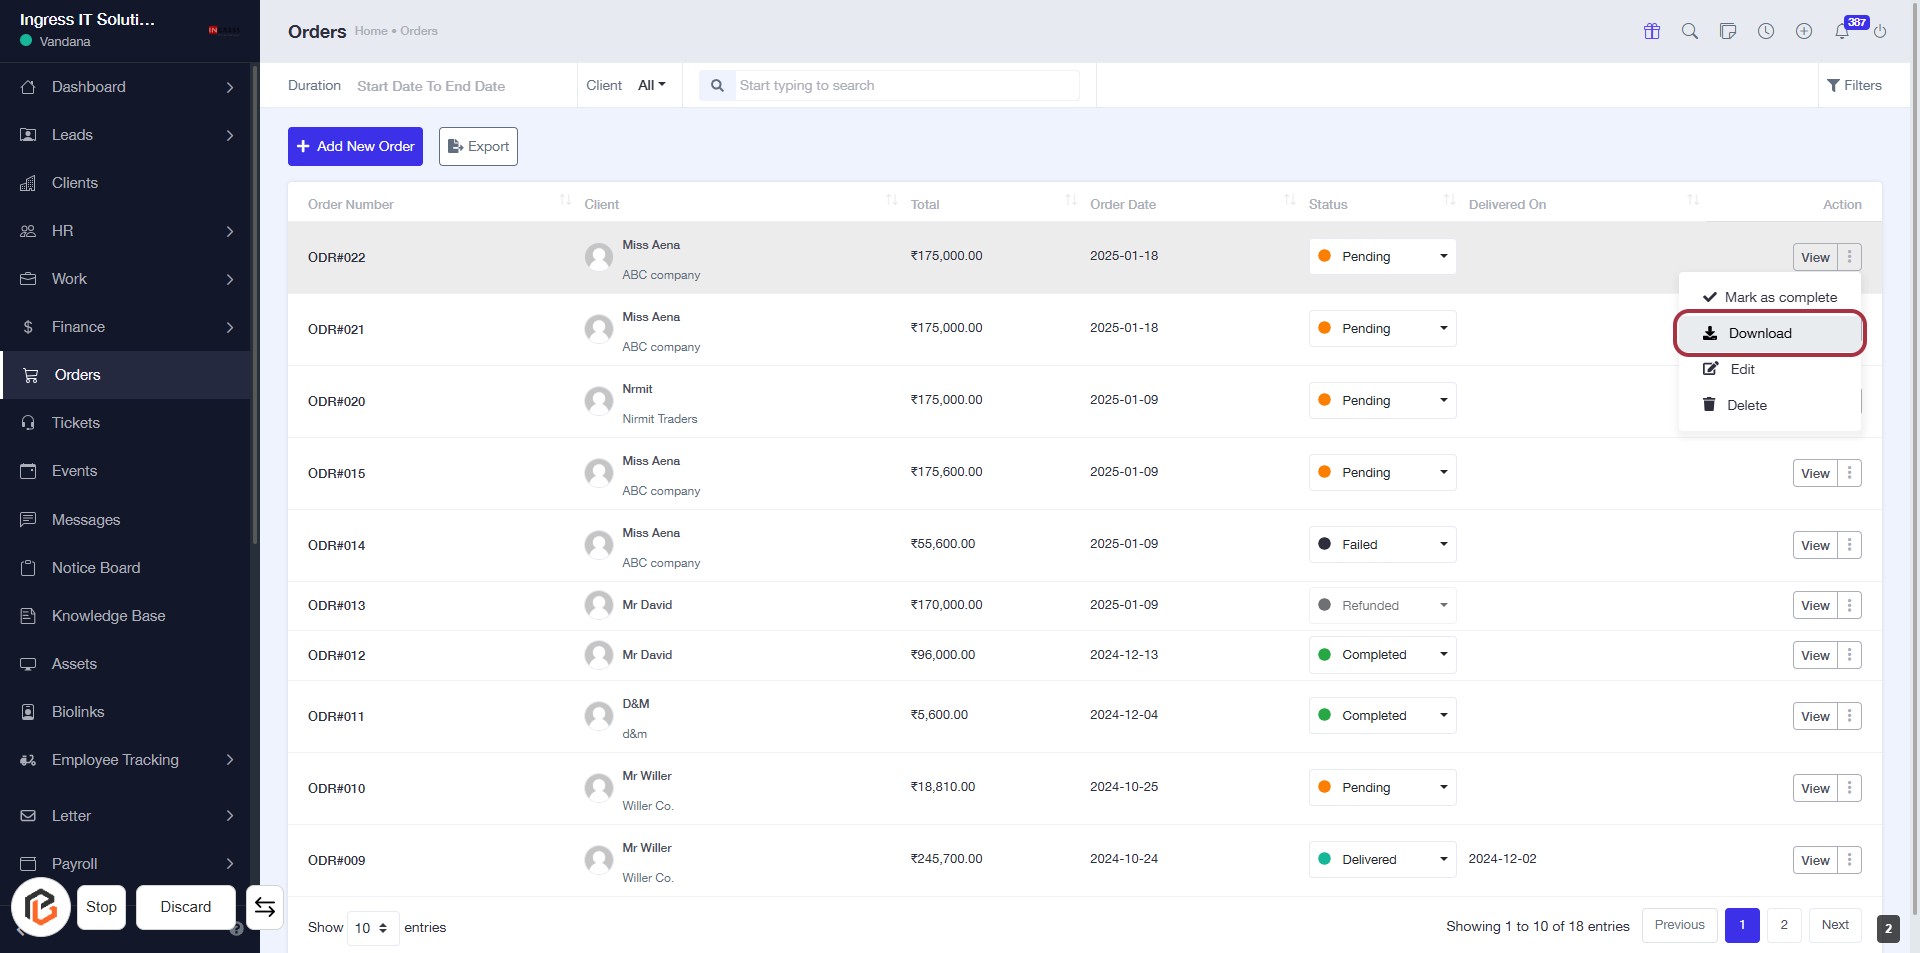
STEP 3: Click on "Download" to Retrieve Order Details
- Locate the "Download" option in the Actions column of the orders table.
- Click on the "Download" link to initiate the download process for the selected order.
- Ensure that you have the necessary permissions to download the order details.
- Check your downloads folder for the retrieved file after clicking.
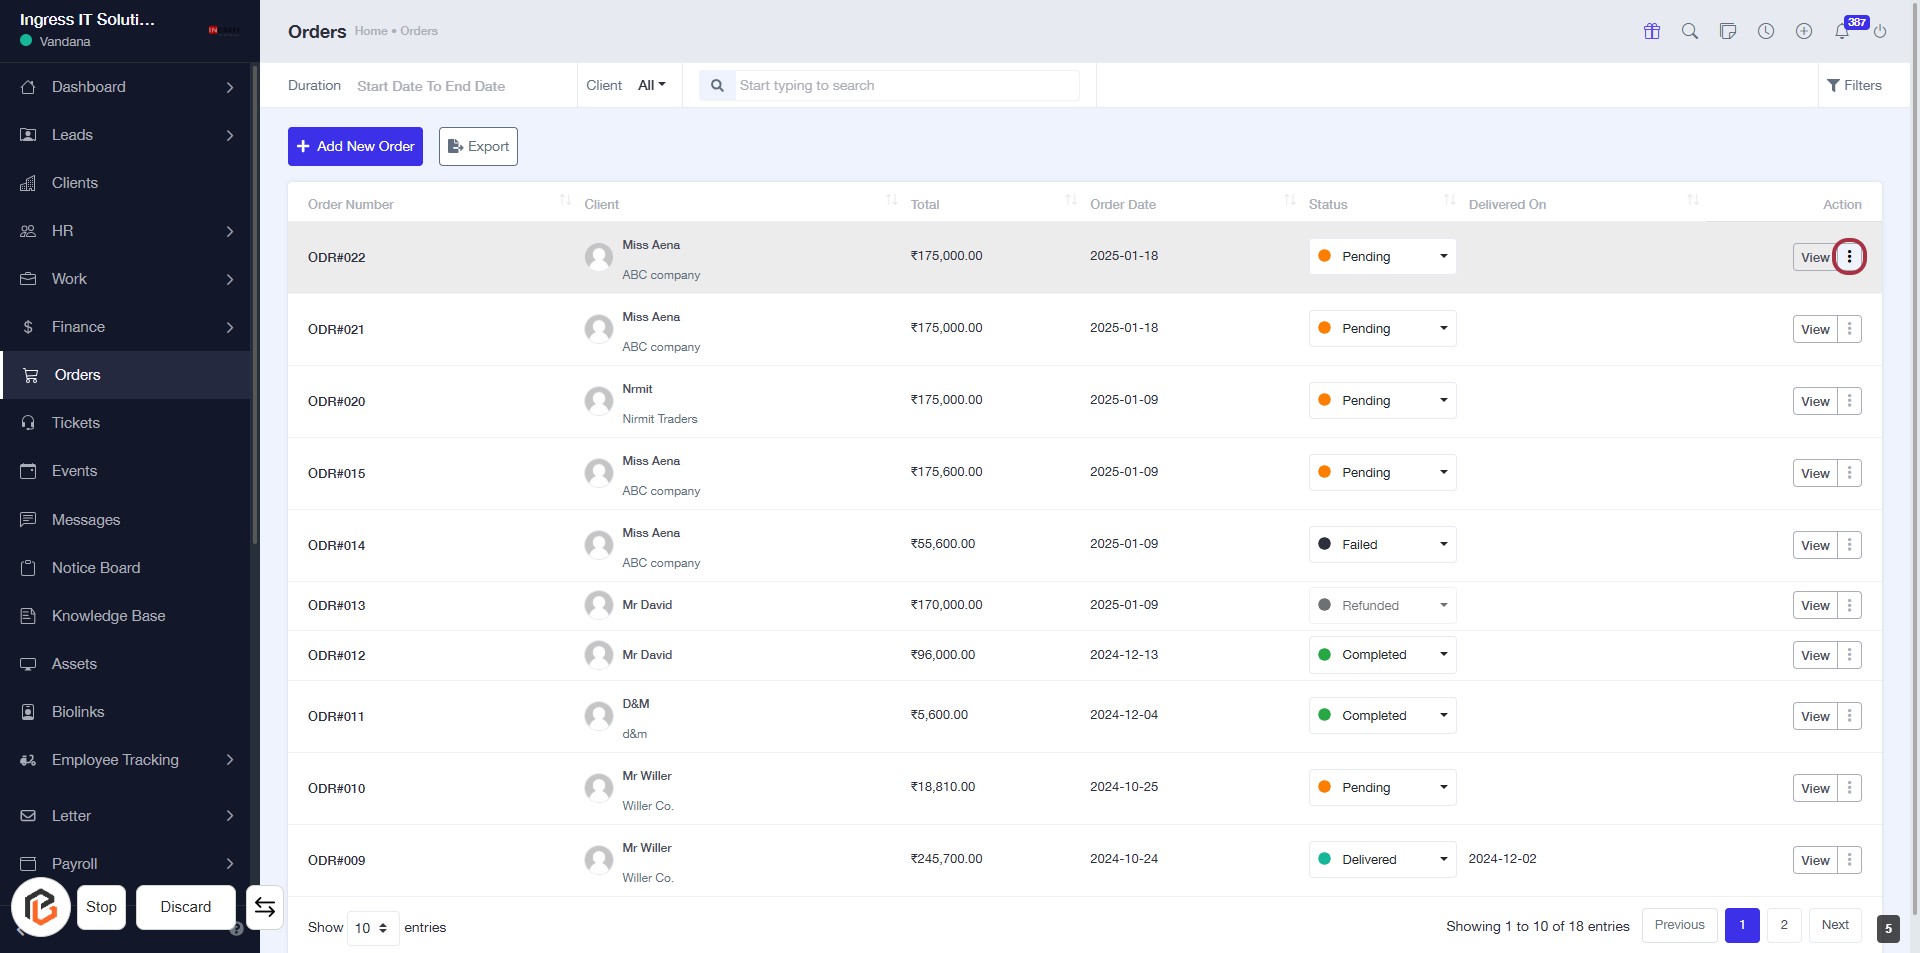
STEP 4: Click on "Option Menu" to Access Order Actions
- Locate the "View" link in the Actions column of the order table.
- Click on the highlighted area (red border) to open the option menu.
- Review available actions for the selected order.
- Proceed to the next step by clicking "Edit" if needed.

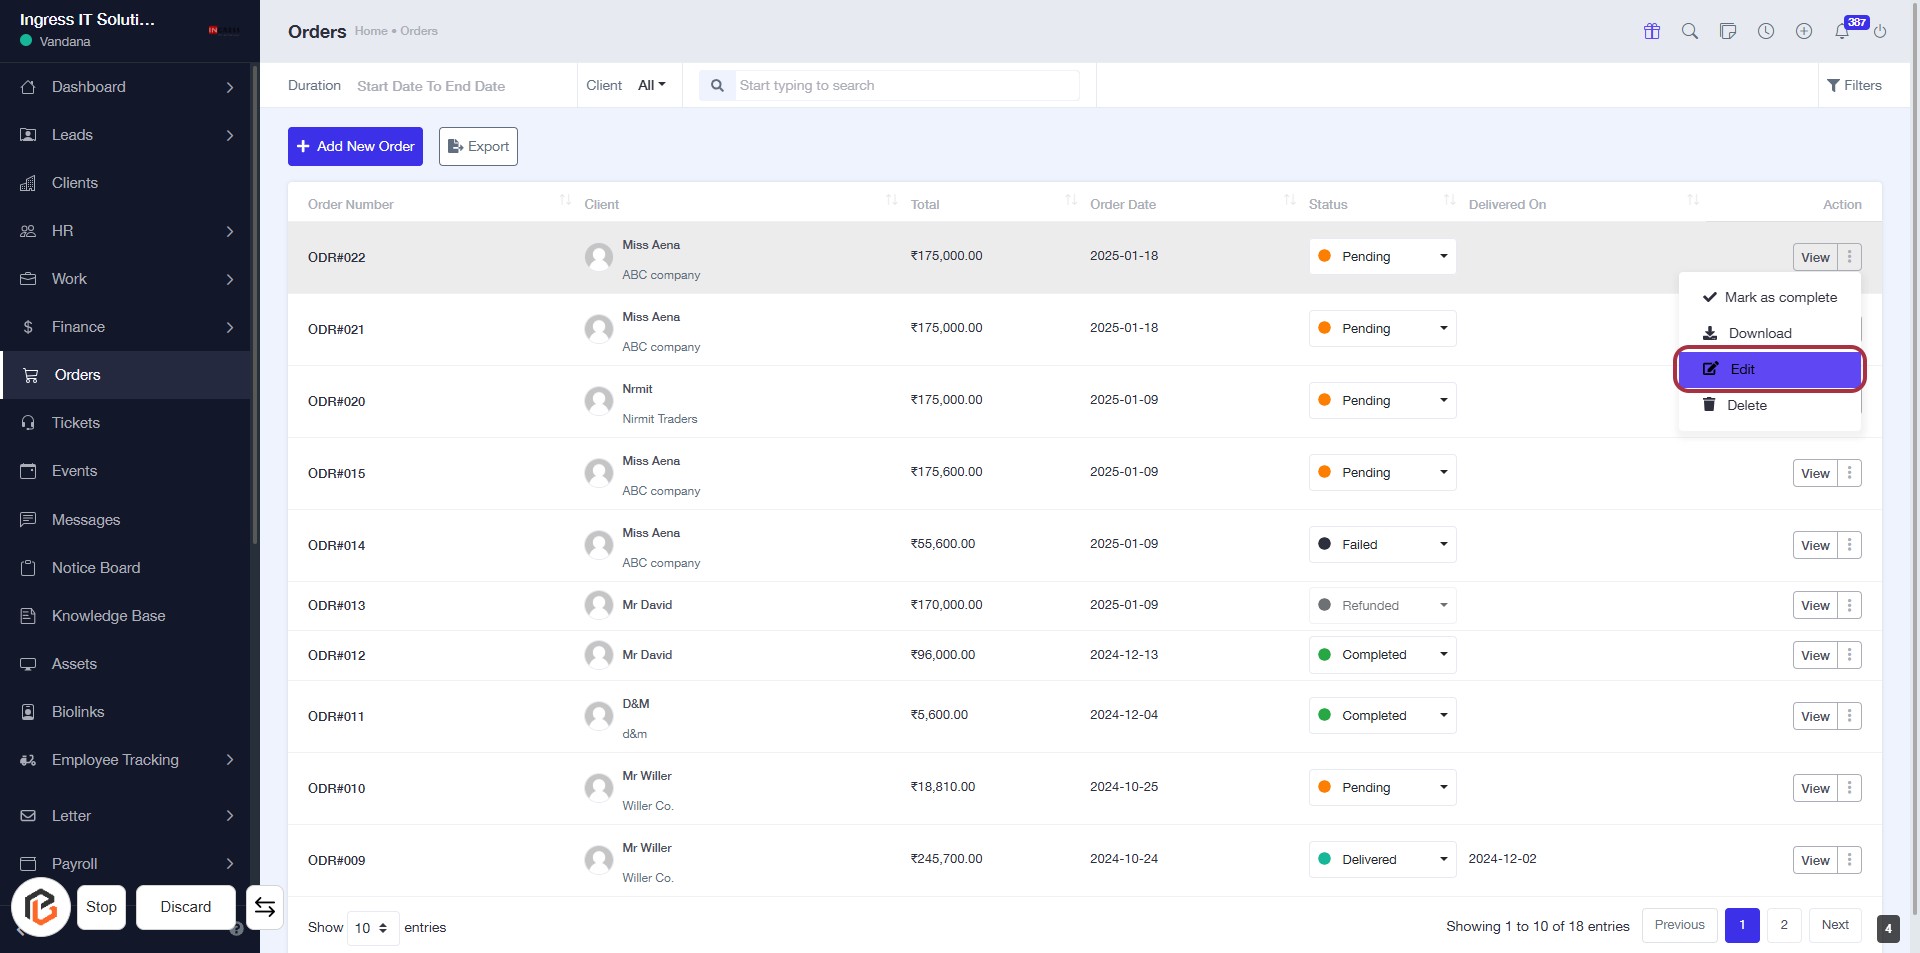
STEP 5: Click on "Edit" to Modify Order Details
- Locate the "Edit" option in the Actions column of the orders table.
- Click on "Edit" to open the order modification form.
- Ensure all required fields marked with an asterisk (*) are filled out.
- Review and update any necessary order information.
- Save changes to apply the updates.
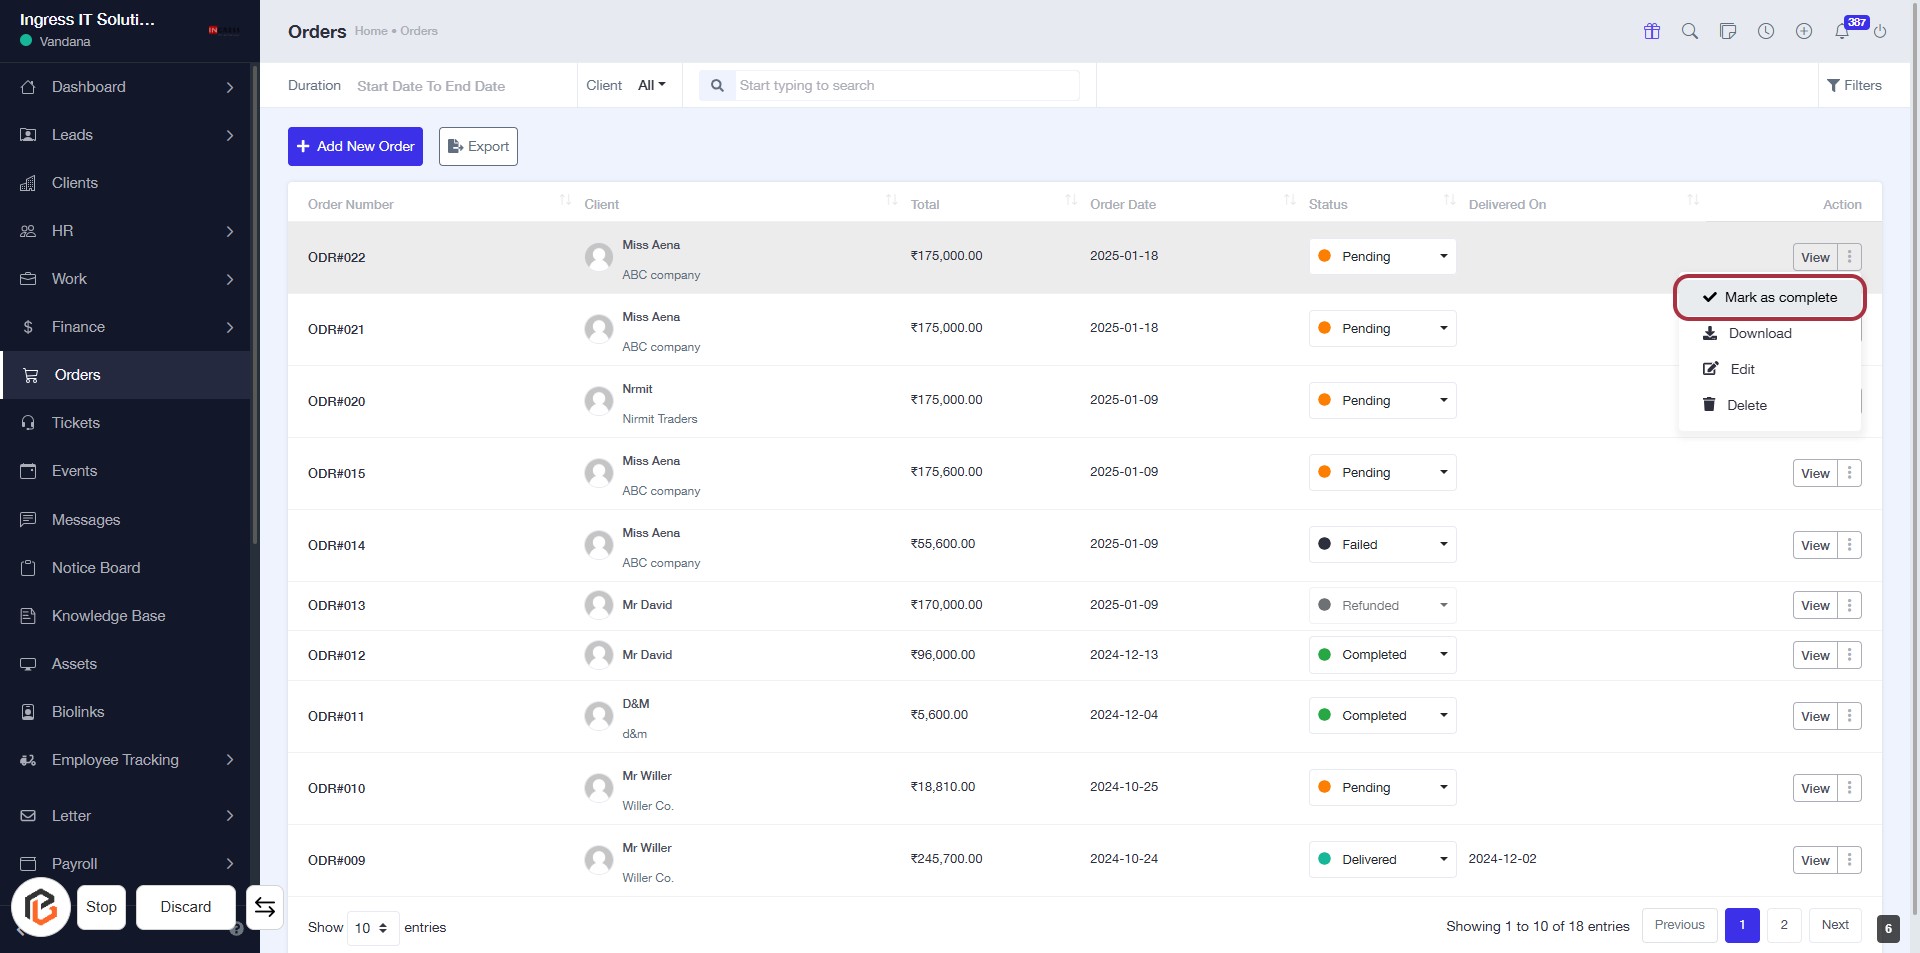
STEP 6: Click on "Option Menu" to Access Order Actions
- Locate the "View" button in the Actions column of the order table.
- Click on the highlighted area (indicated by the red border) to open the options menu.
- Review available actions for the selected order.
- Proceed to the next step by clicking "Mark as complete" when ready.
STEP 7: Click on "Mark as complete"
- Navigate to the "Orders" section.
- Locate the order you wish to update.
- Click on the "Mark as complete" link in the Actions column.
- Confirm the action if prompted to finalize the update.
This will change the status of the selected order to completed.
STEP 8: Click on "Option Menu"
- Locate the "Option Menu" icon in the Orders table.
- Click on the icon to reveal additional actions for the selected order.
- Ensure you have the correct order highlighted before proceeding.
- Review available options to manage the order as needed.

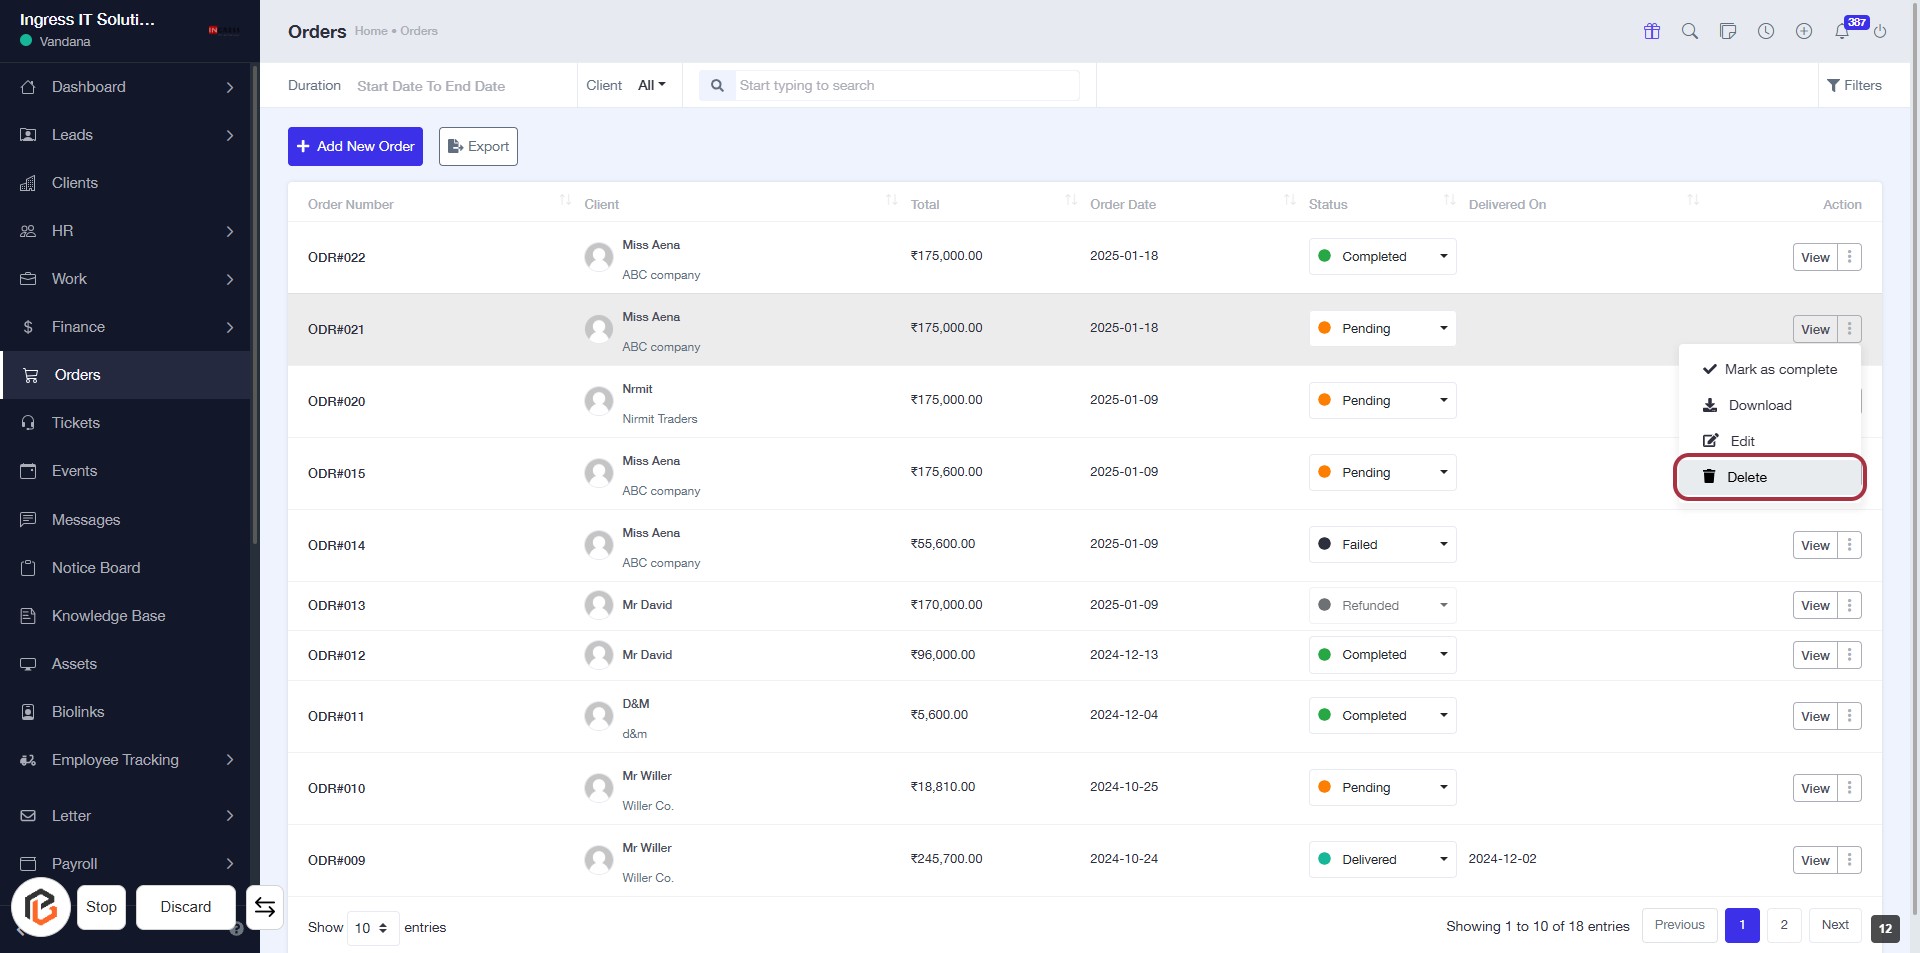
STEP 9: Click on "Delete" to Remove an Order
- Navigate to the "Orders" section.
- Locate the order you wish to delete.
- Click on the "Delete" option in the action menu for that order.
- Confirm the deletion if prompted to ensure the order is permanently removed.