Step-by-Step Guide to Generating and Managing Letters in Your Document Dashboard
13 mins read · Updated 29 Sep, 2025
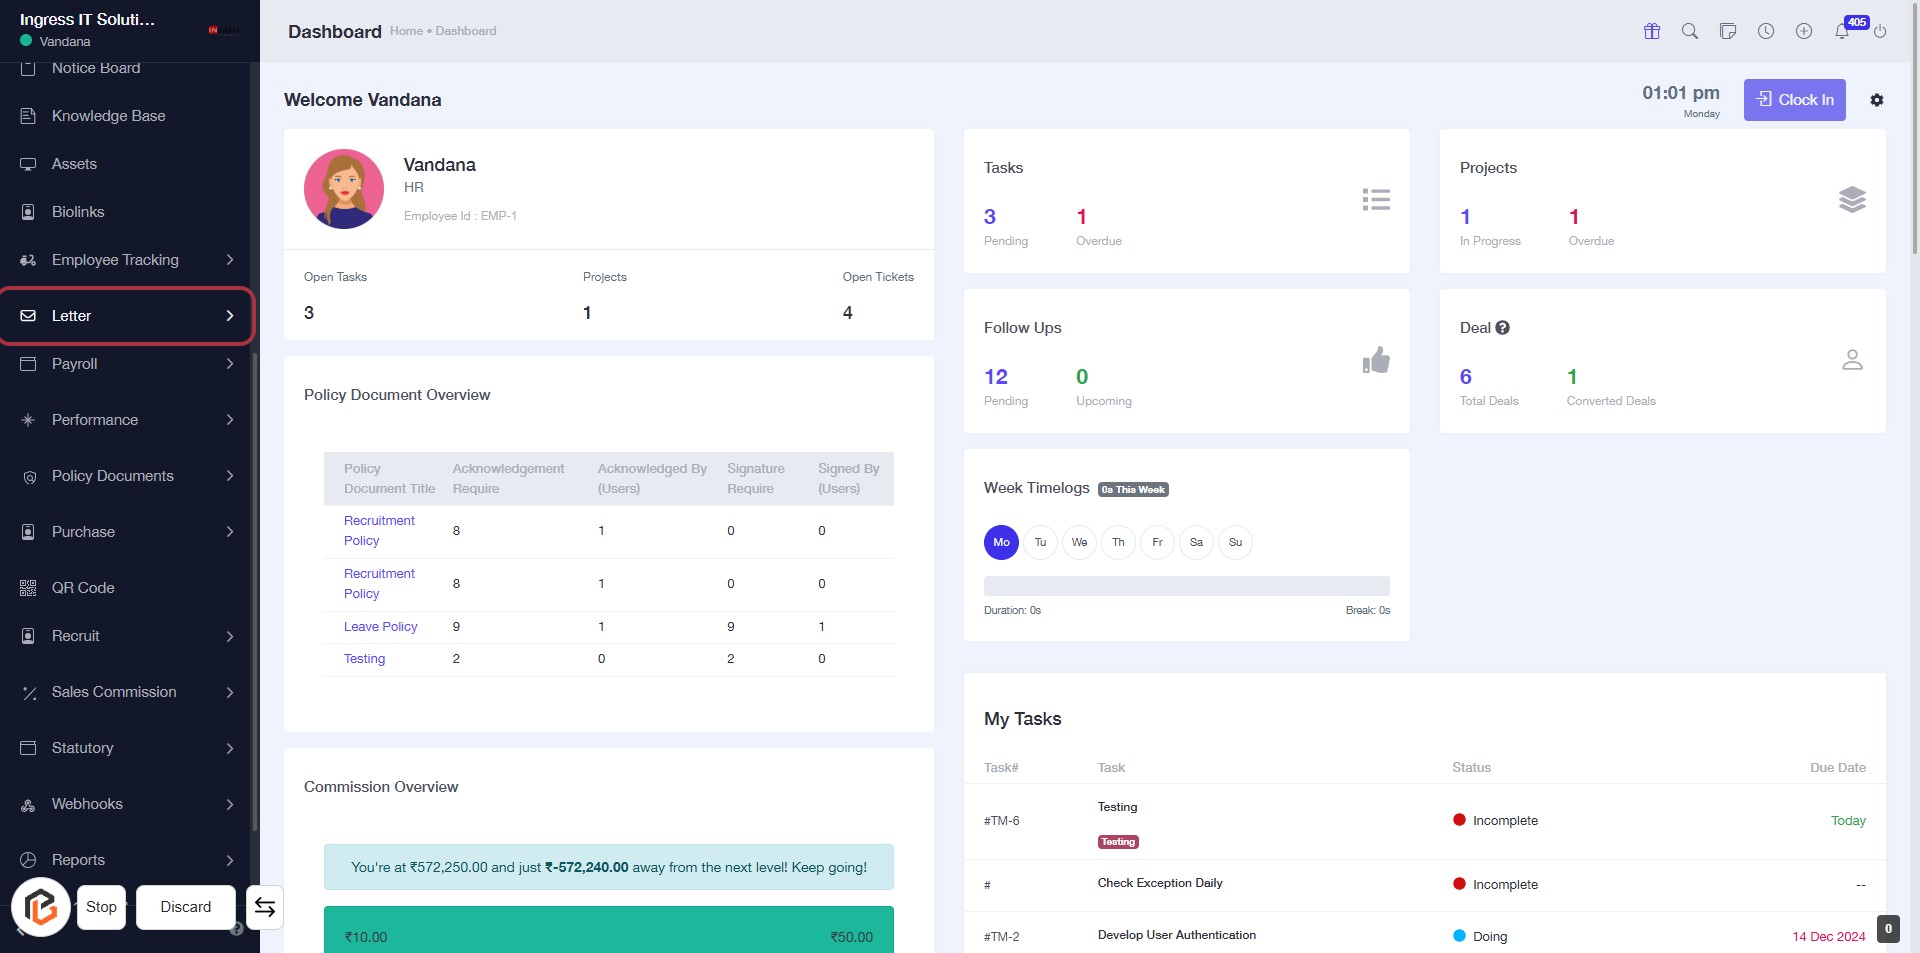
STEP 1: Click on "Letter" to Access Document Features
- Navigate to the left sidebar of the dashboard.
- Click on the "Letter" option highlighted in red.
- This will direct you to the document management section.
- Ensure to check for any required inputs or options available in the new section.
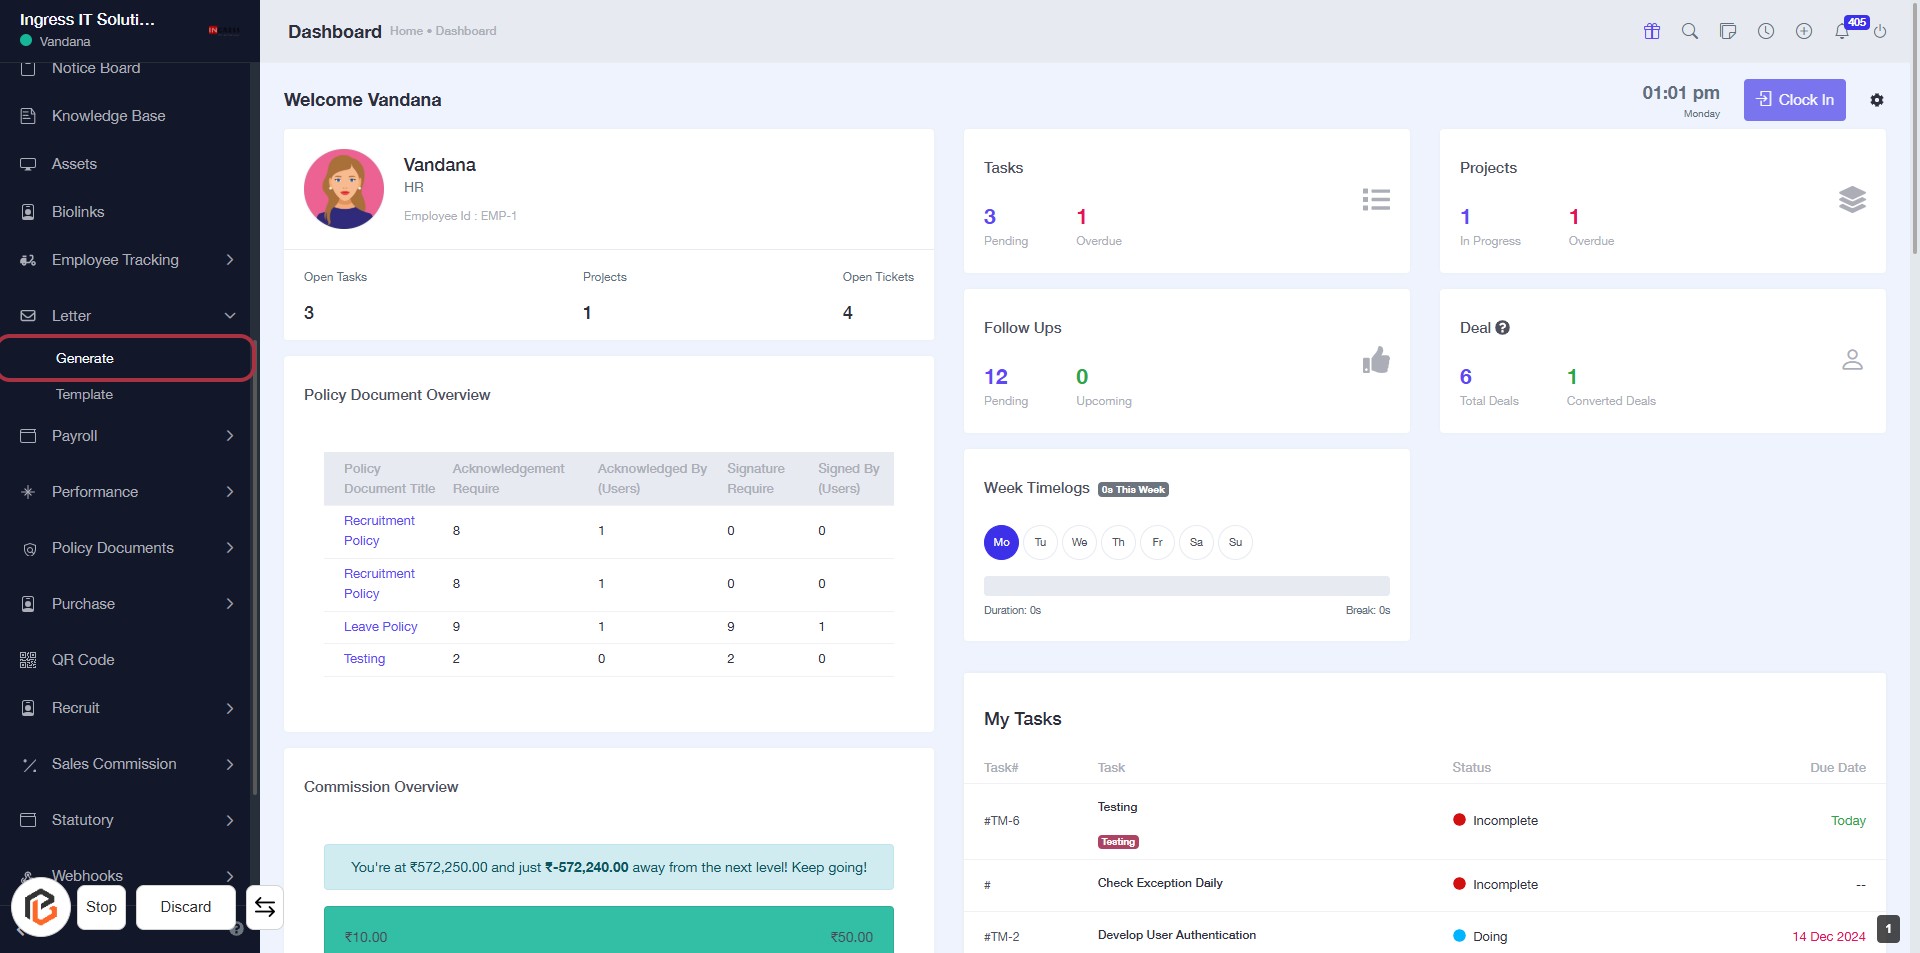
STEP 2: Click on "Generate" to Access Document Features
- Navigate to the sidebar menu.
- Click on the "Generate" link to access document generation features.
- Ensure you are on the Dashboard page.
- Look for the highlighted area to confirm your action.
- Proceed to the next step by clicking on "Add New".
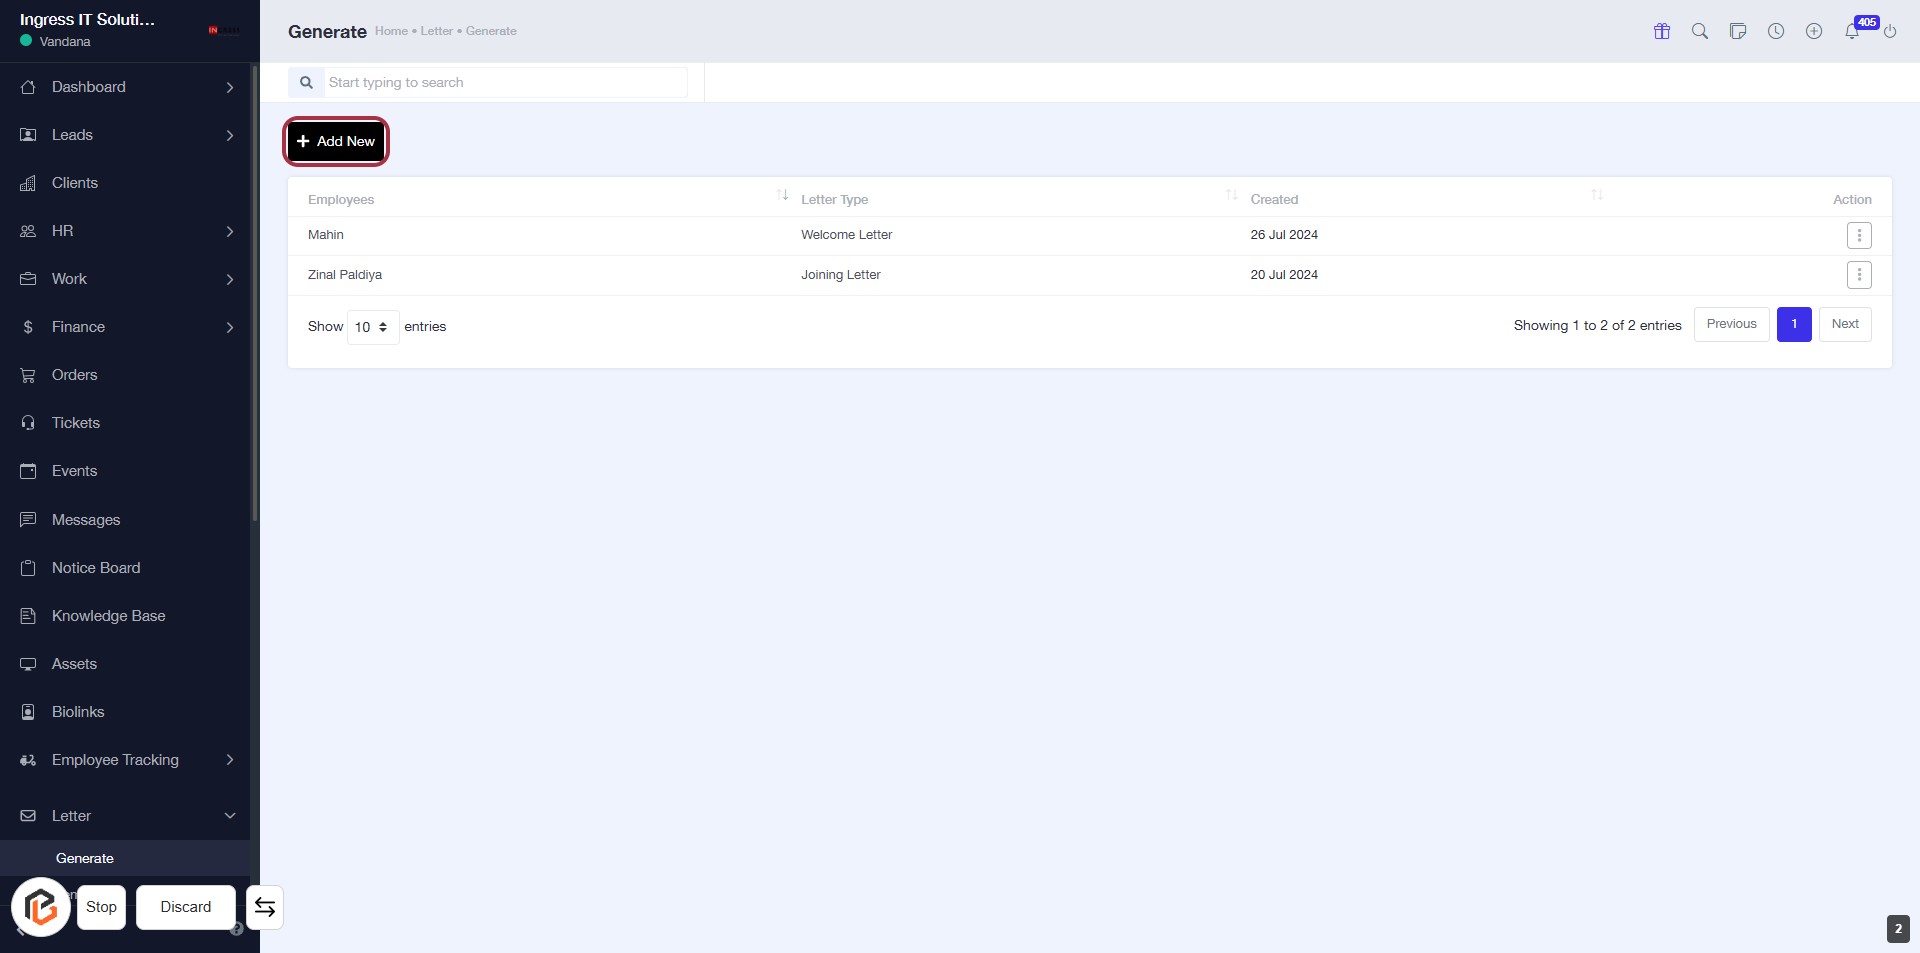
STEP 3: Click on "Add New"
- Navigate to the "Generate" section.
- Click on the Add New link located at the top right of the employee list.
- This action will allow you to add a new entry to the document features.
- Ensure all required fields marked with an asterisk (*) are filled in the subsequent form.
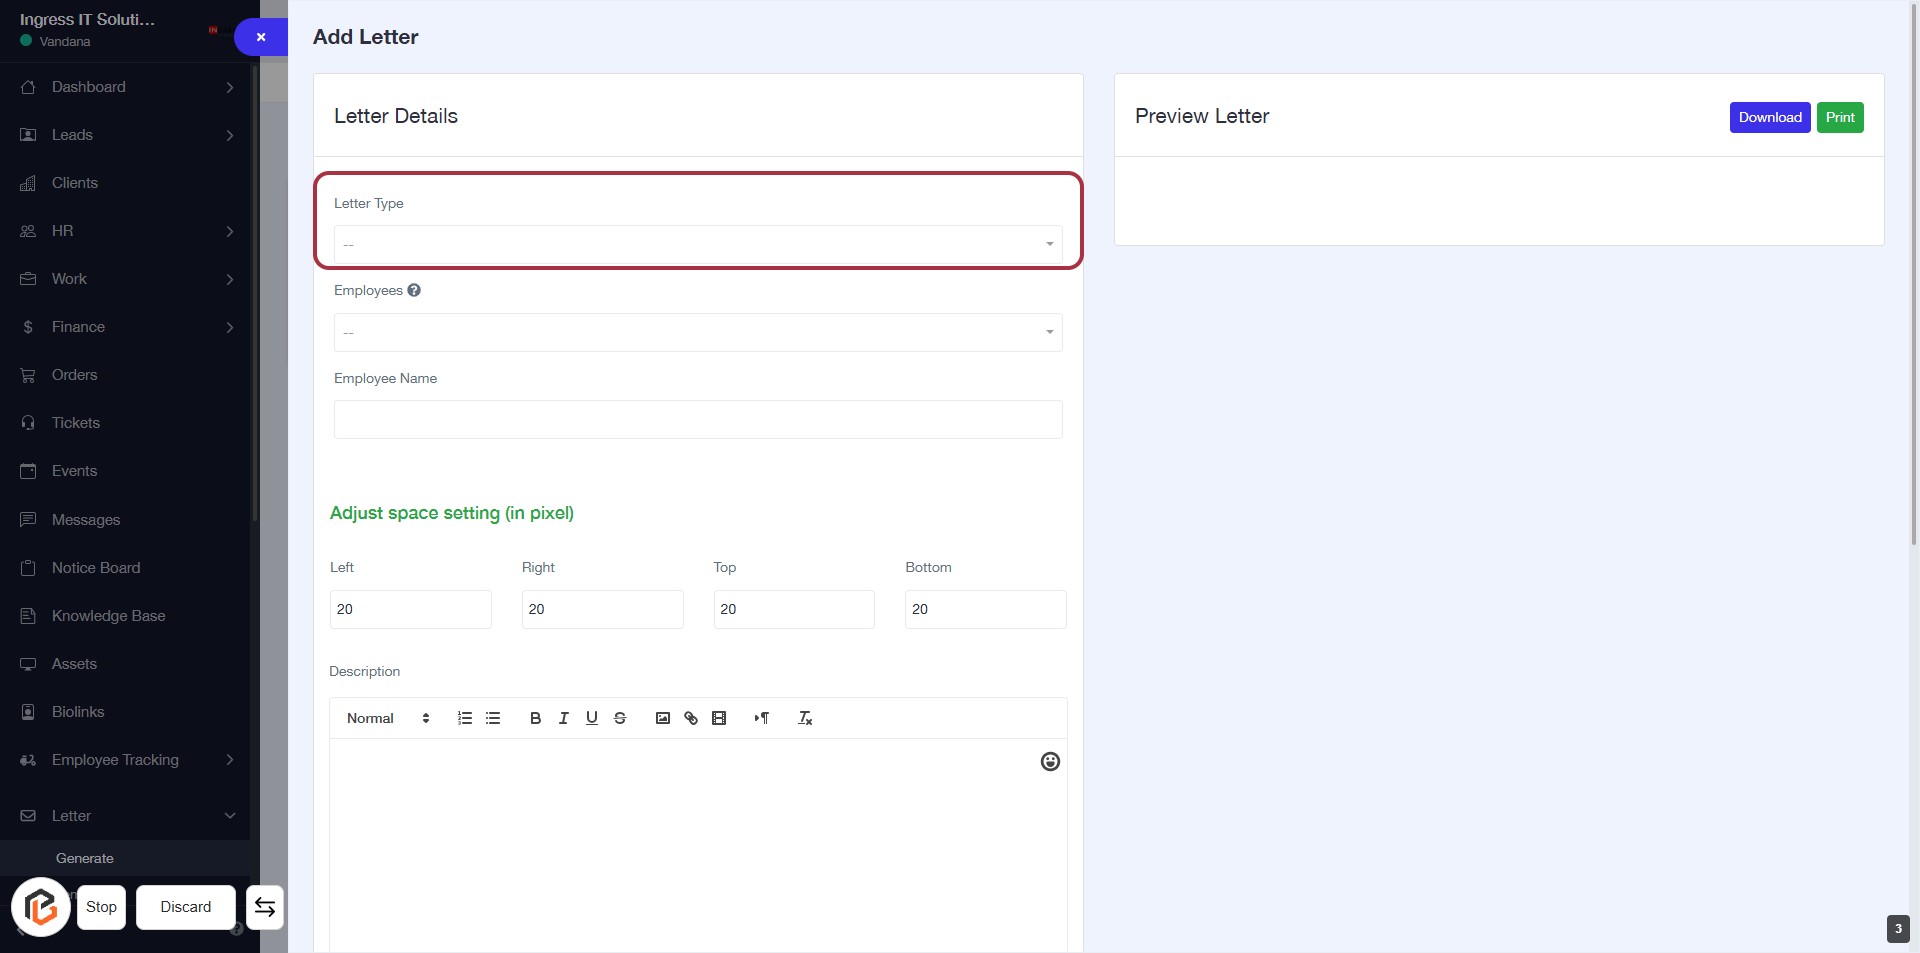
STEP 4: Select "Letter Type"
- Click on the "Letter Type" dropdown to choose the appropriate type of letter.
- Ensure that the selection is made from the available options.
- This field is mandatory, indicated by the absence of an asterisk (*).
- After selecting, proceed to the next step to select "Employees".
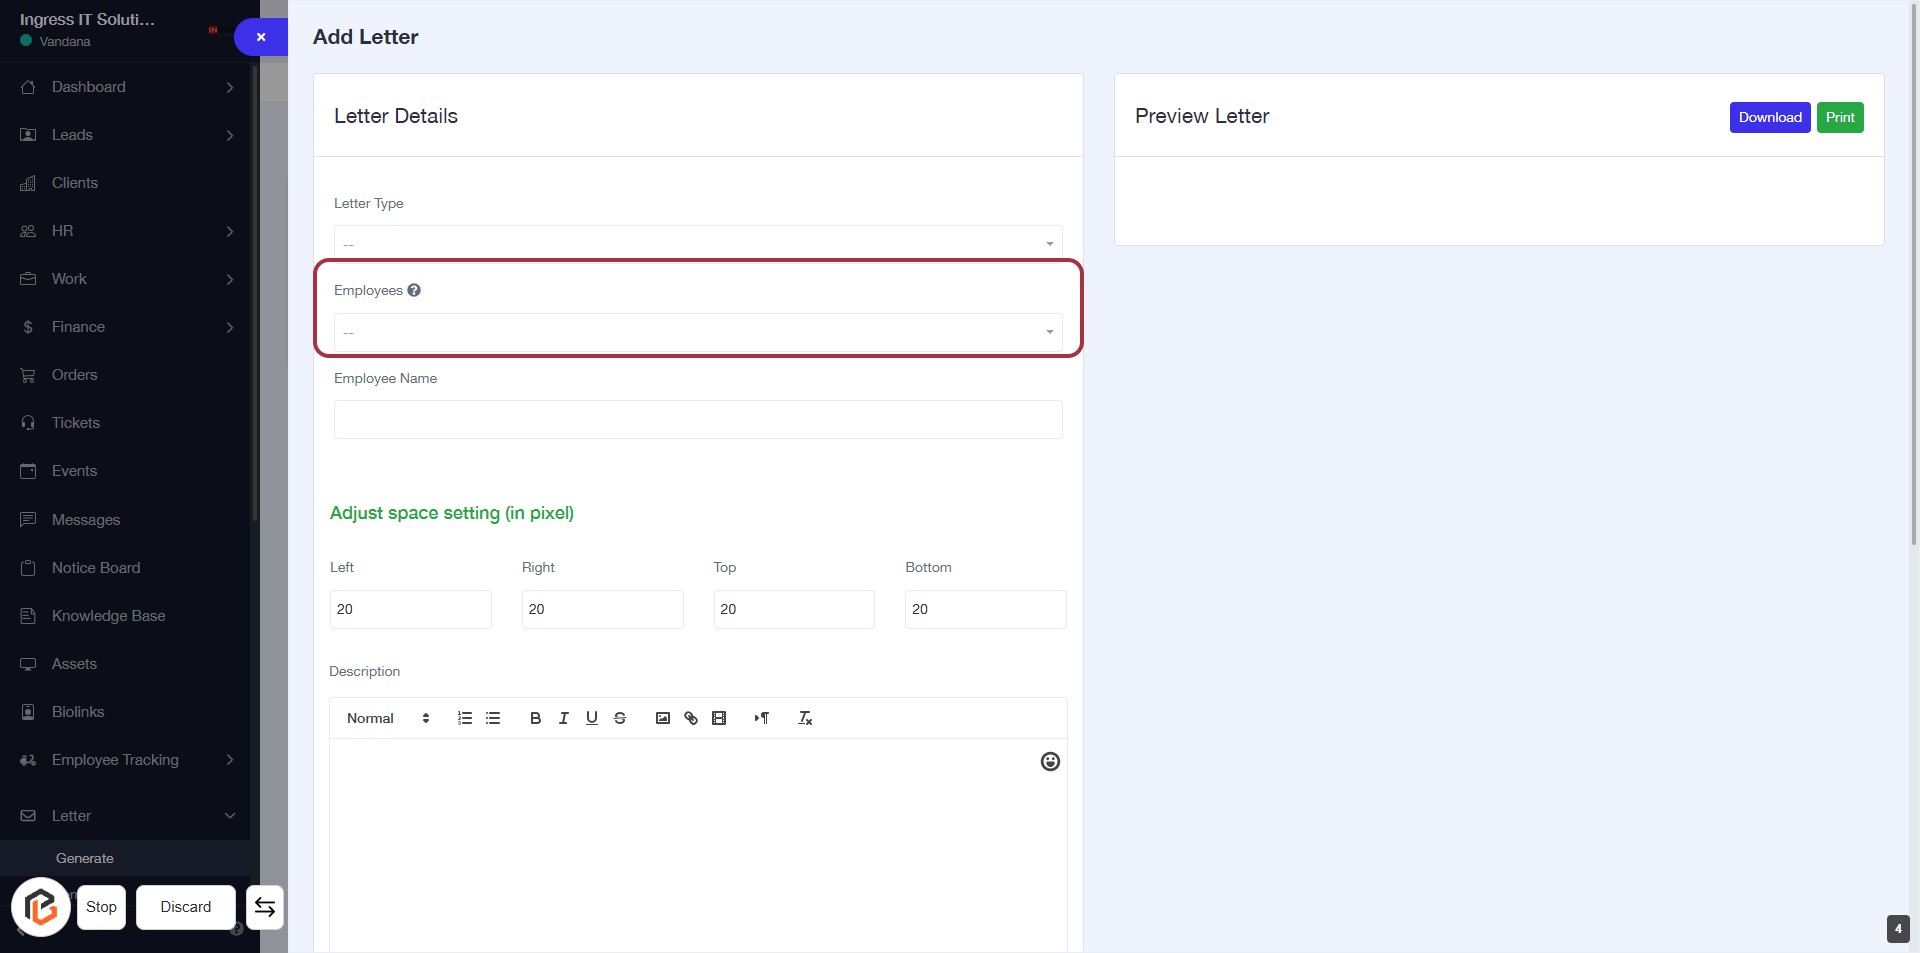
STEP 5: Select "Employees"
- Click on the "Employees" dropdown in the Letter Details section.
- This dropdown allows you to select from available employee options.
- Ensure to choose the correct employee as this will affect the letter generation.
- After selection, proceed to the next step to enter the "Employee Name."
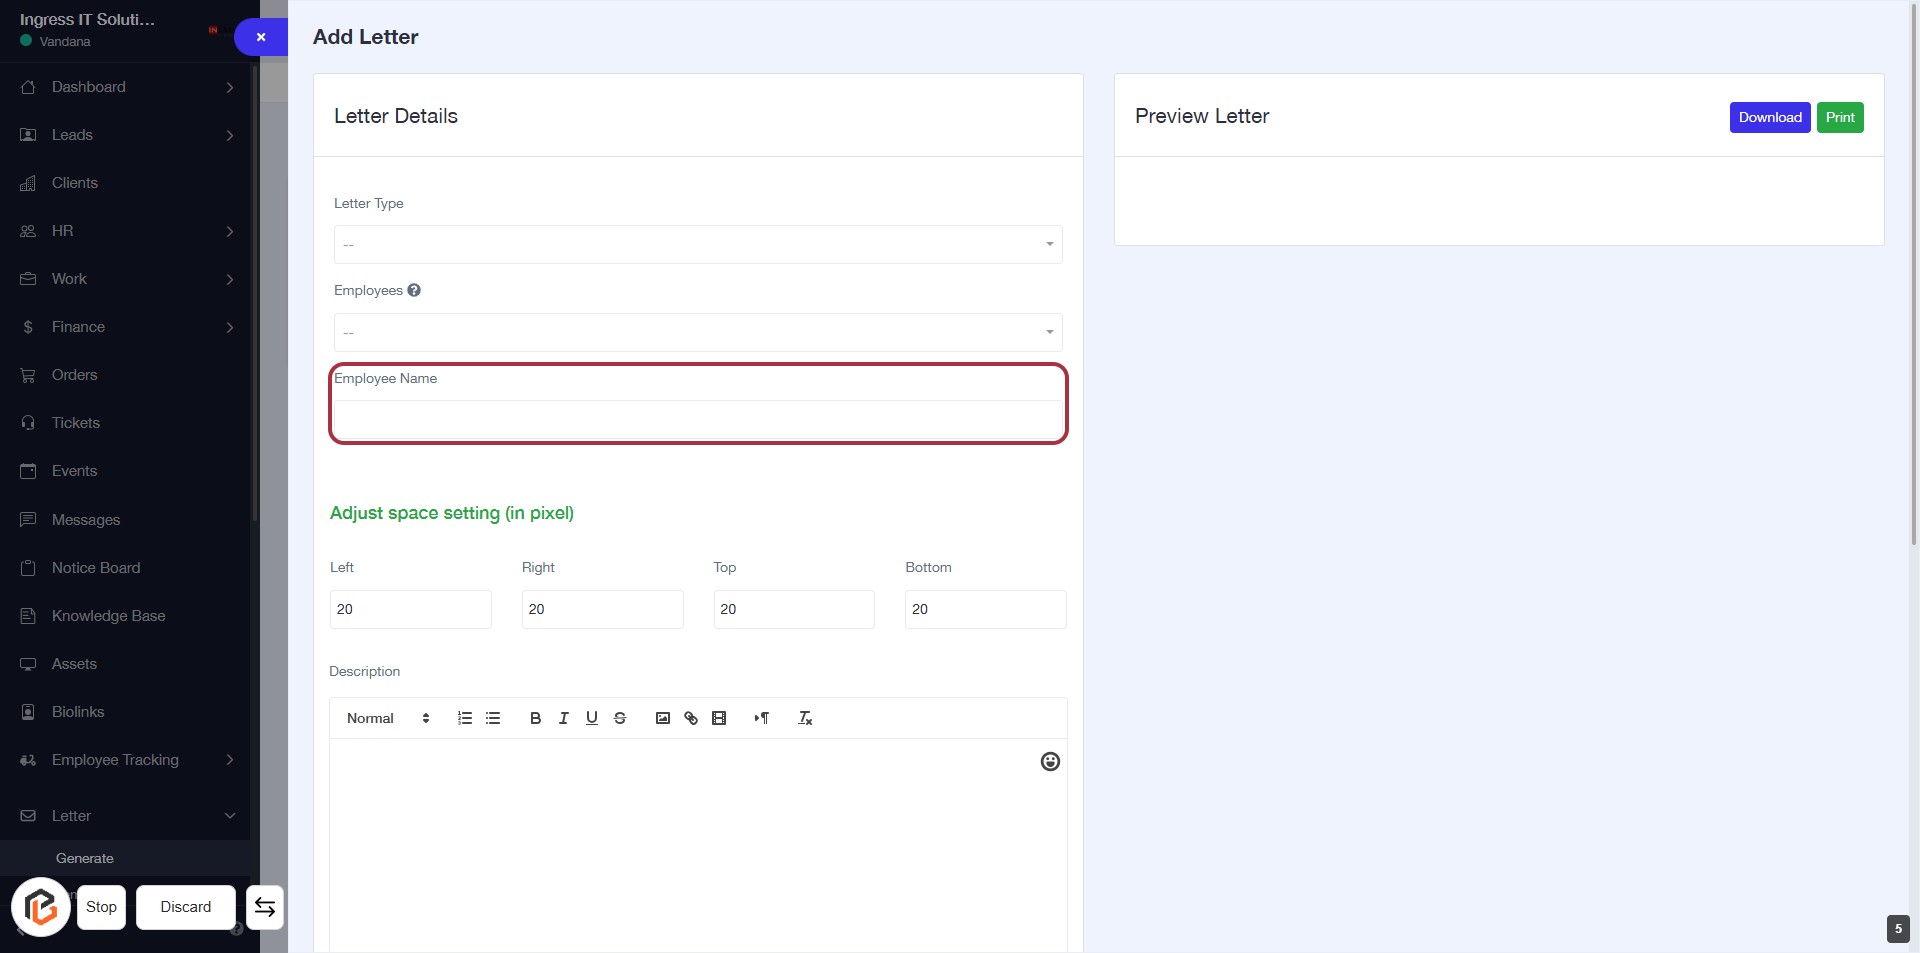
STEP 6: Enter Employee Name
- Click on the "Employee Name" field to input the name of the employee.
- Ensure to fill in this field as it is likely required (indicated by the absence of an asterisk).
- After entering the name, proceed to the next step by clicking on "Adjust space setting (in pixel)".
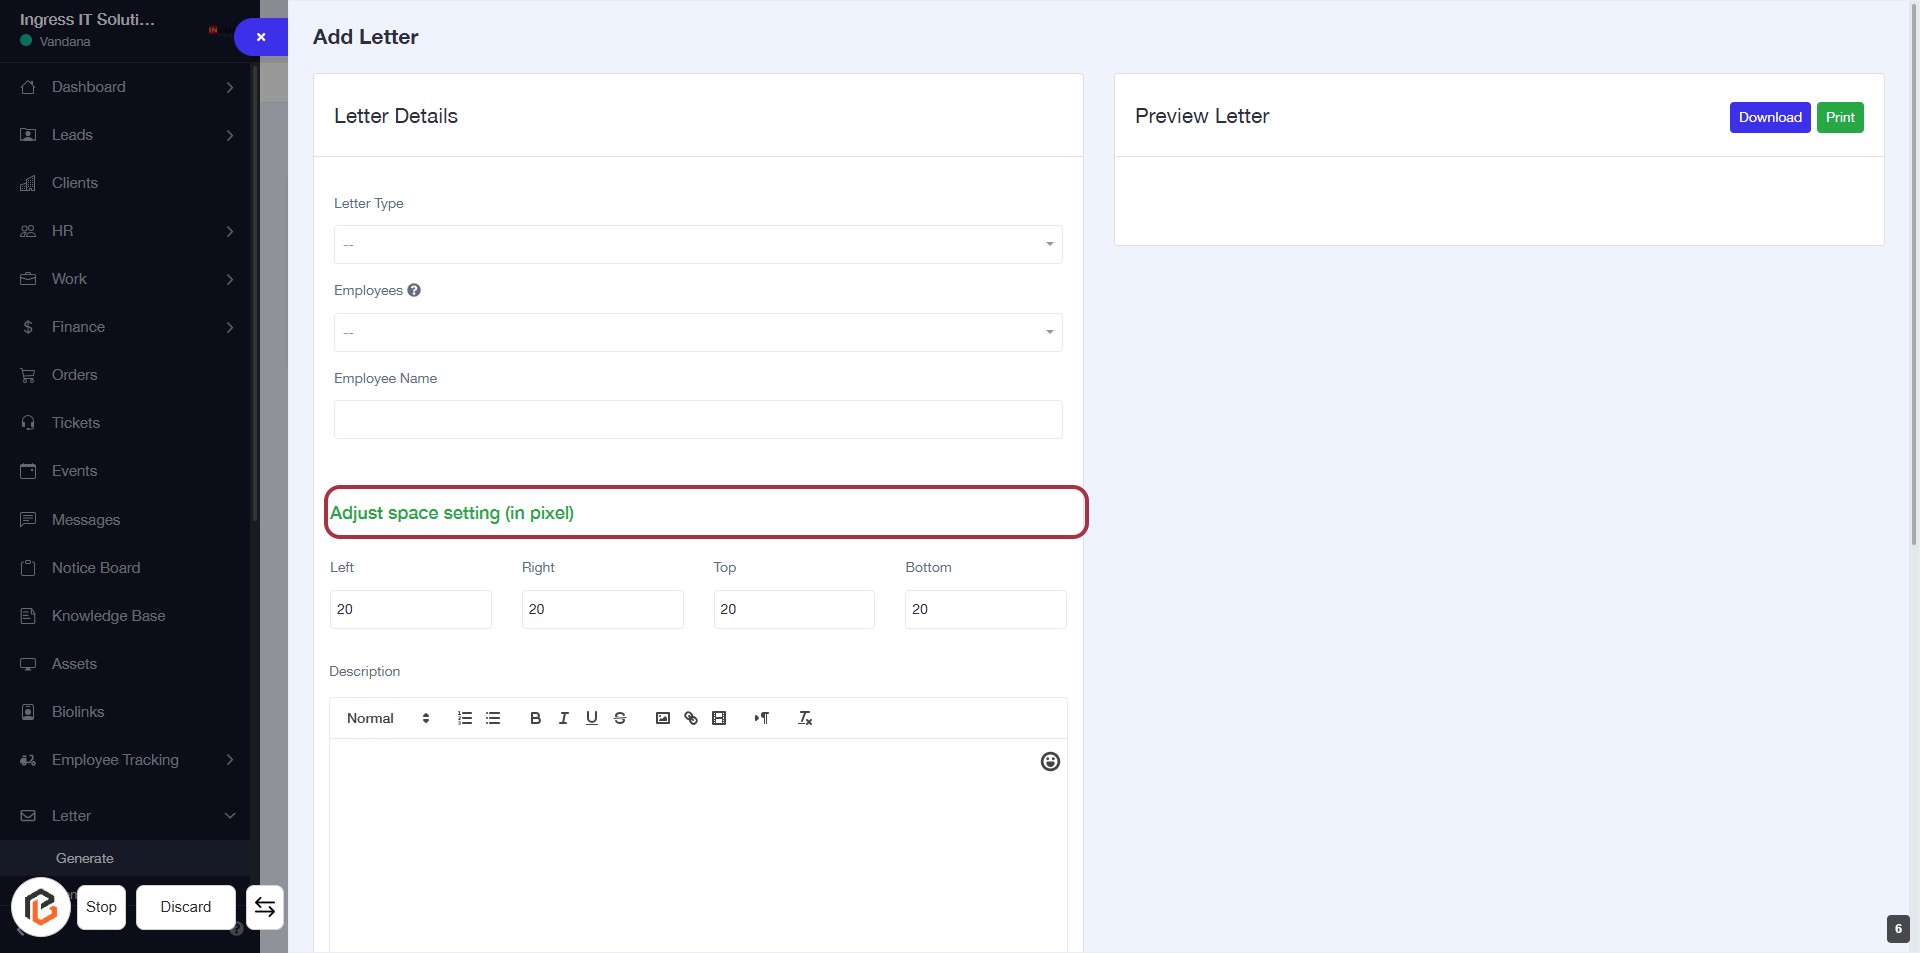
STEP 7: Click on "Adjust space setting (in pixel)"
- Click on the highlighted section labeled "Adjust space setting (in pixel)".
- This section allows you to adjust the spacing in pixels for the letter.
- Fill in the values for Left, Right, Top, and Bottom as needed (default is 20 pixels).
- Ensure all required fields are filled before proceeding.
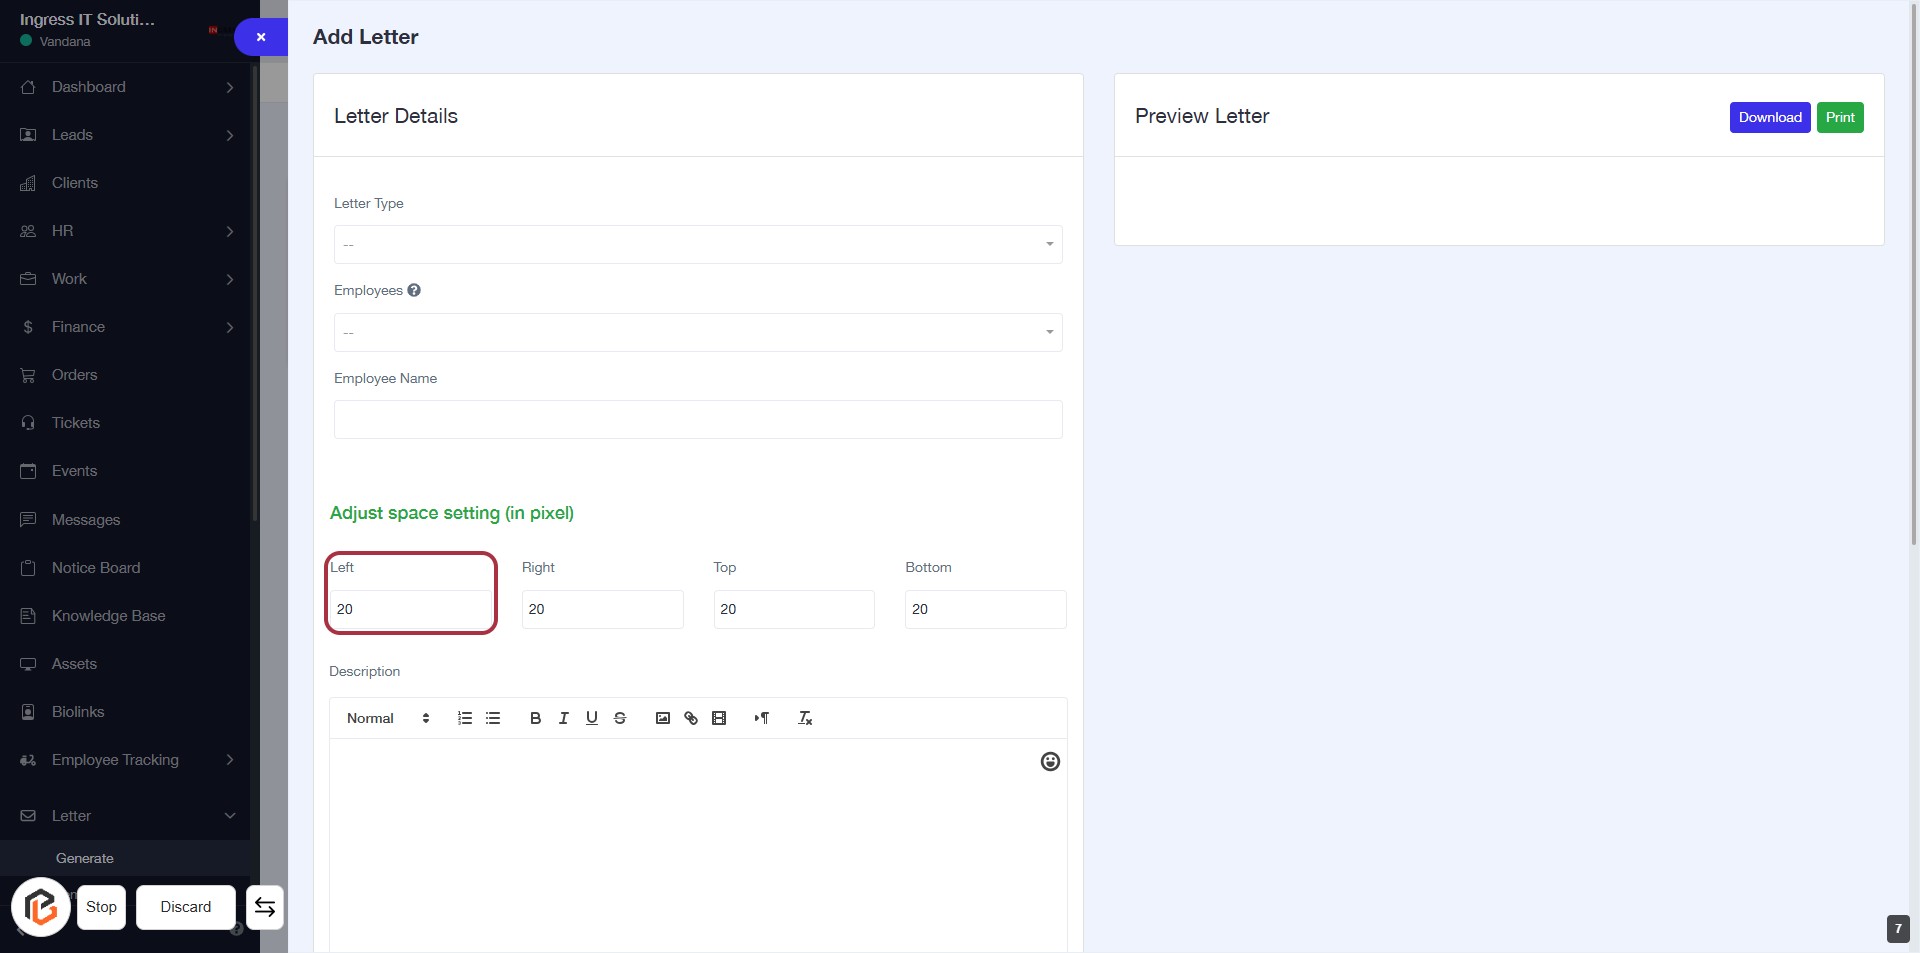
STEP 8: Enter value in "Left"
- Click on the "Left" field under "Adjust space setting (in pixel)".
- Input the desired pixel value for the left margin.
- Ensure to fill in other fields (Right, Top, Bottom) as needed.
- Proceed to the next step by entering a value in the "Right" field.
STEP 9: Enter value in "Right"
- Click on the "Right" input field to adjust the space setting.
- Ensure the value is entered in pixels.
- The fields available for adjustment are:
- Left
- Right (current focus)
- Top
- Bottom
- After entering the value, proceed to the next step to enter the value in "Top".

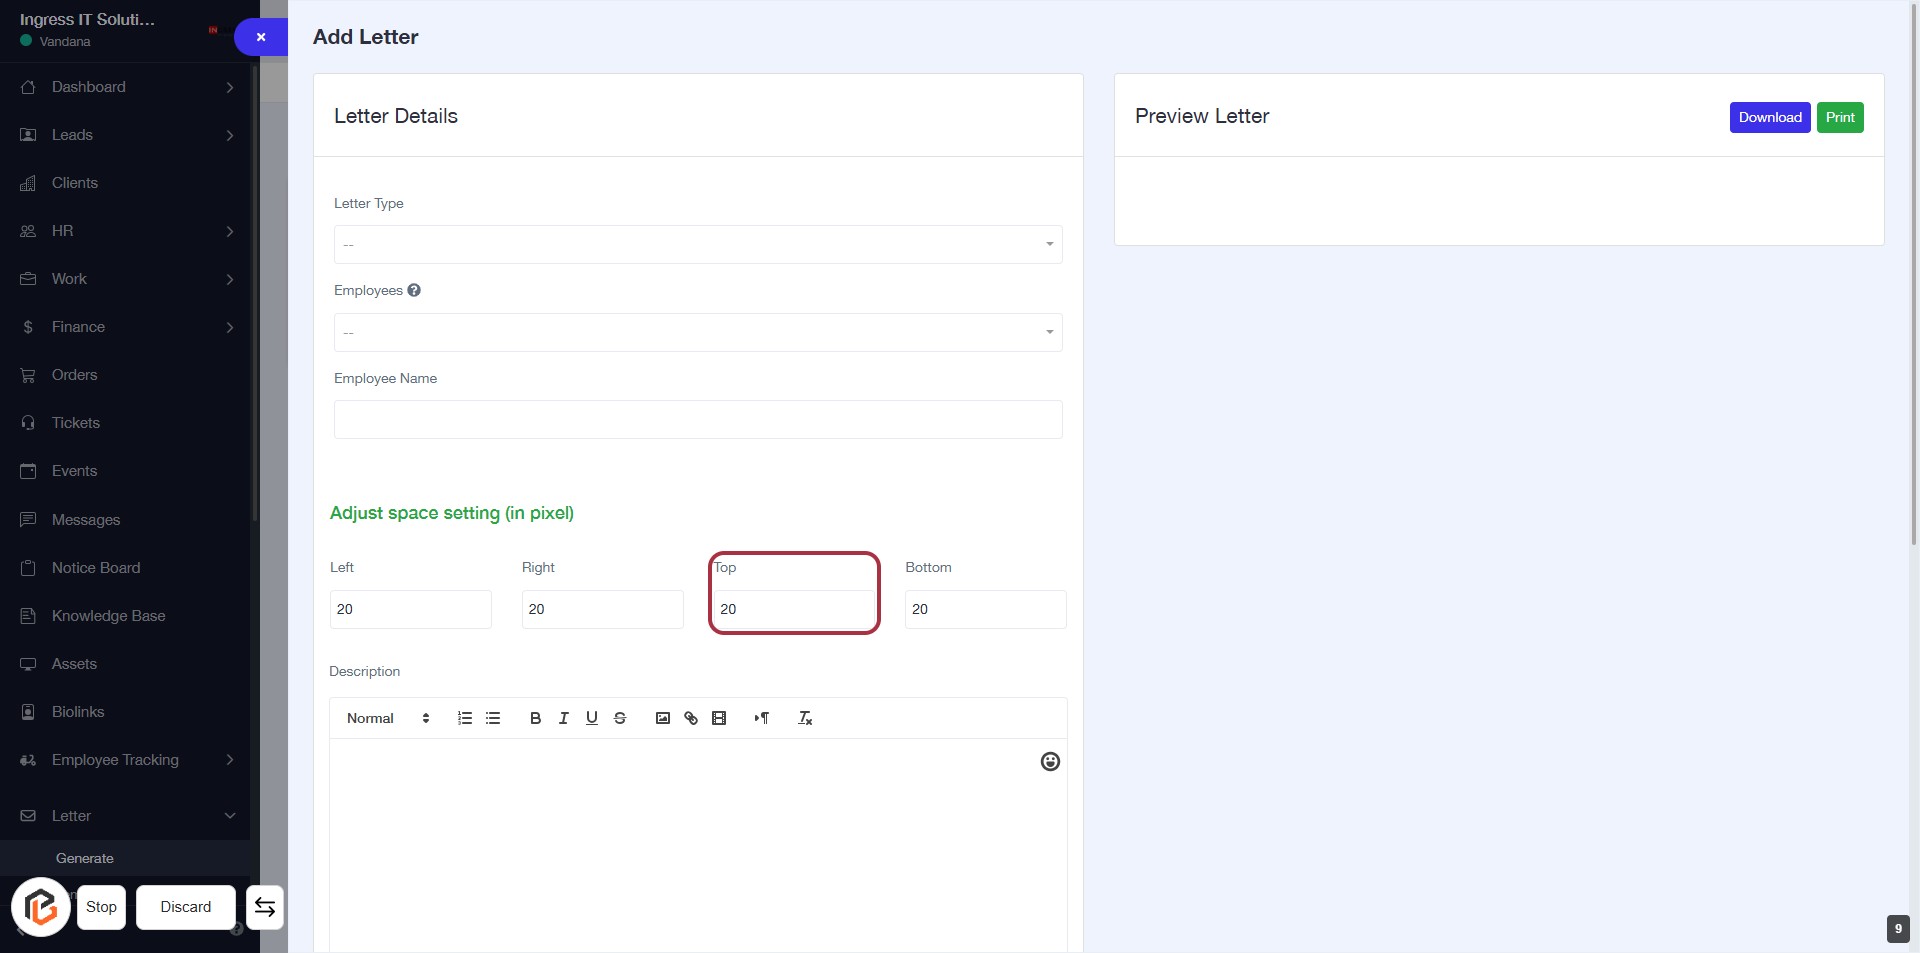
STEP 10: Enter value in "Top"
- Click on the "Top" field to input the desired pixel value.
- Ensure to fill in the value as required (indicated by the absence of an asterisk).
- Review other fields: Left, Right, and Bottom for spacing adjustments.
- Proceed to the next step to enter the value in "Bottom".
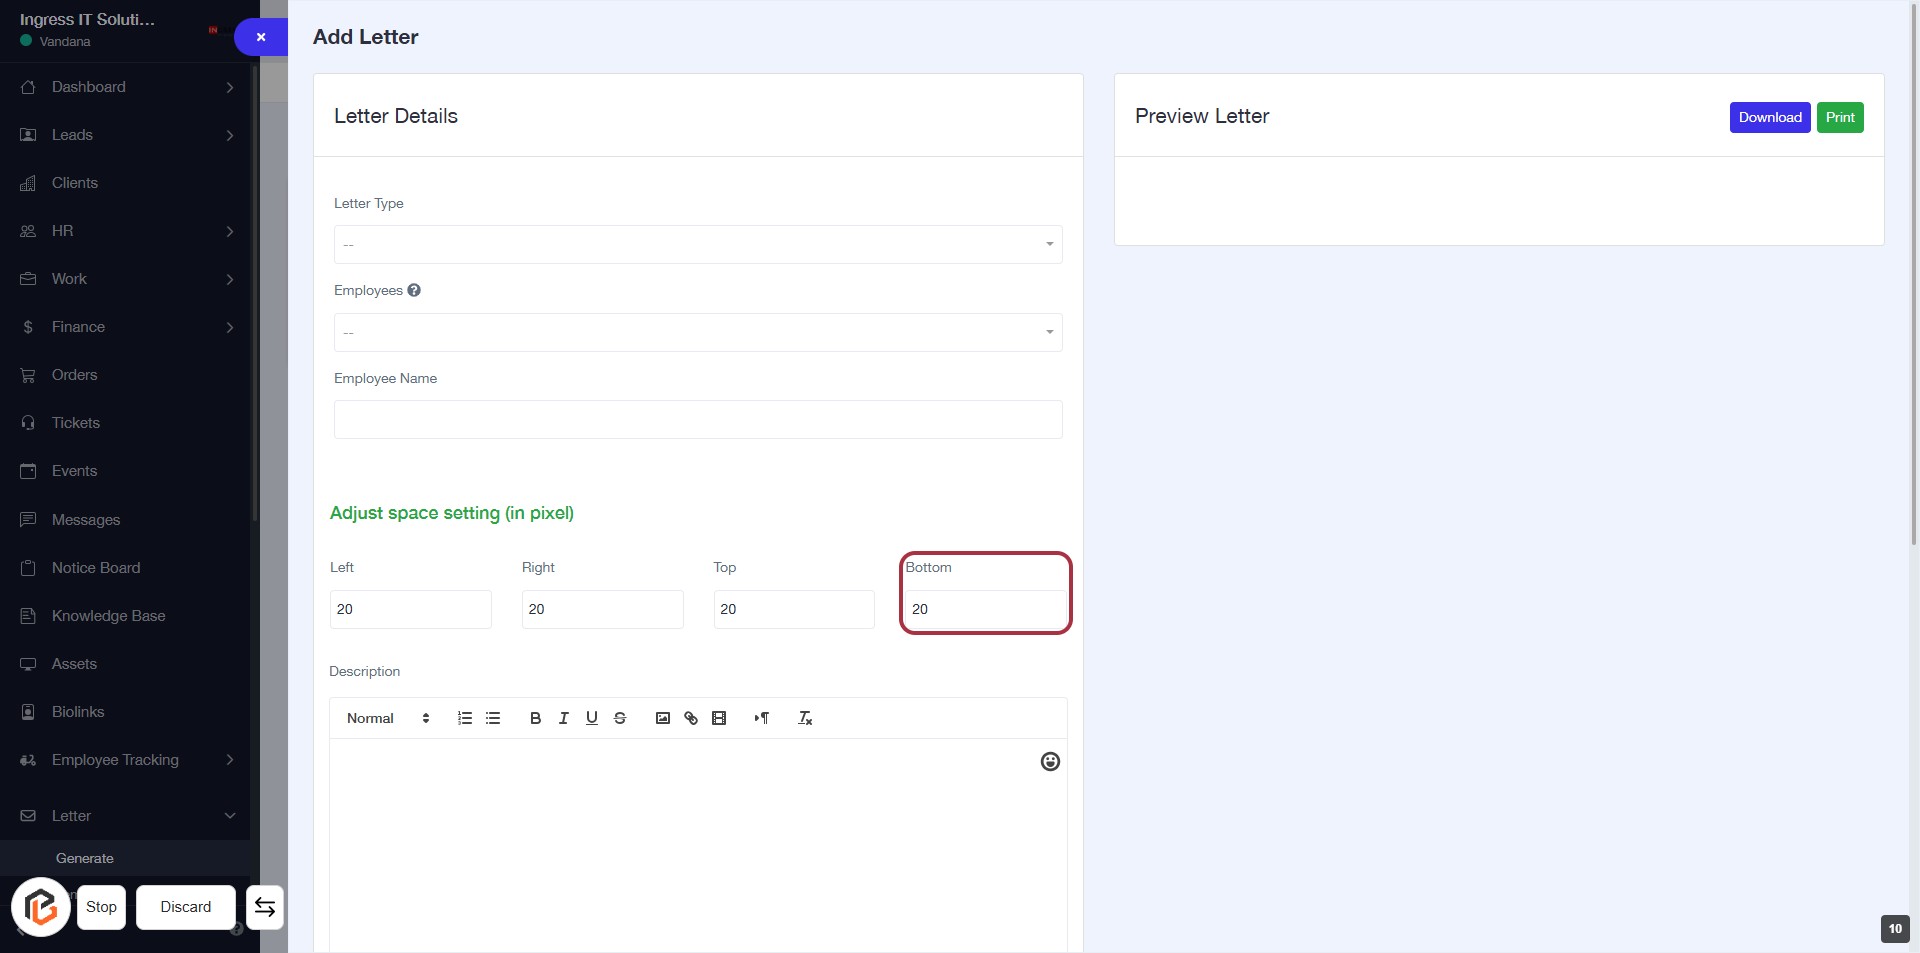
STEP 11: Enter value in "Bottom"
- Click on the "Bottom" field to input the desired value.
- Ensure the value entered is in pixels, as indicated by the label.
- Review the adjacent fields (Left, Right, Top) for consistency in spacing settings.
- Proceed to the next step by writing the "Description."
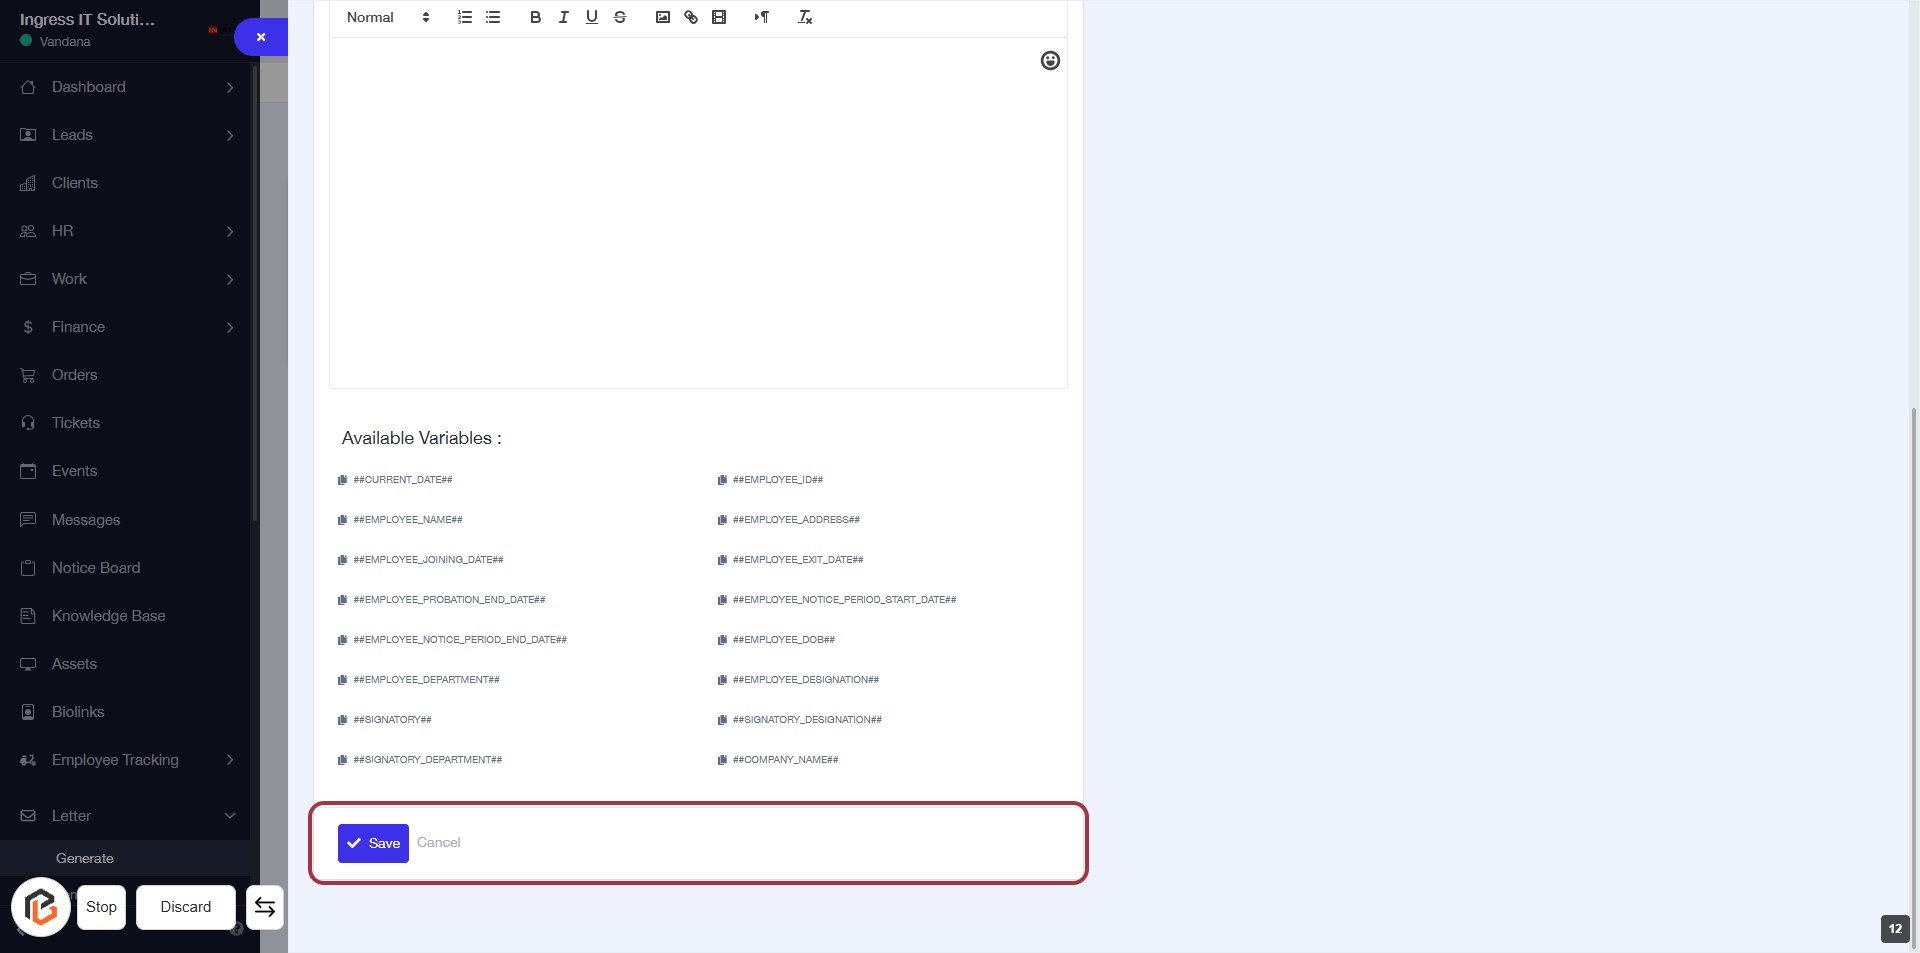
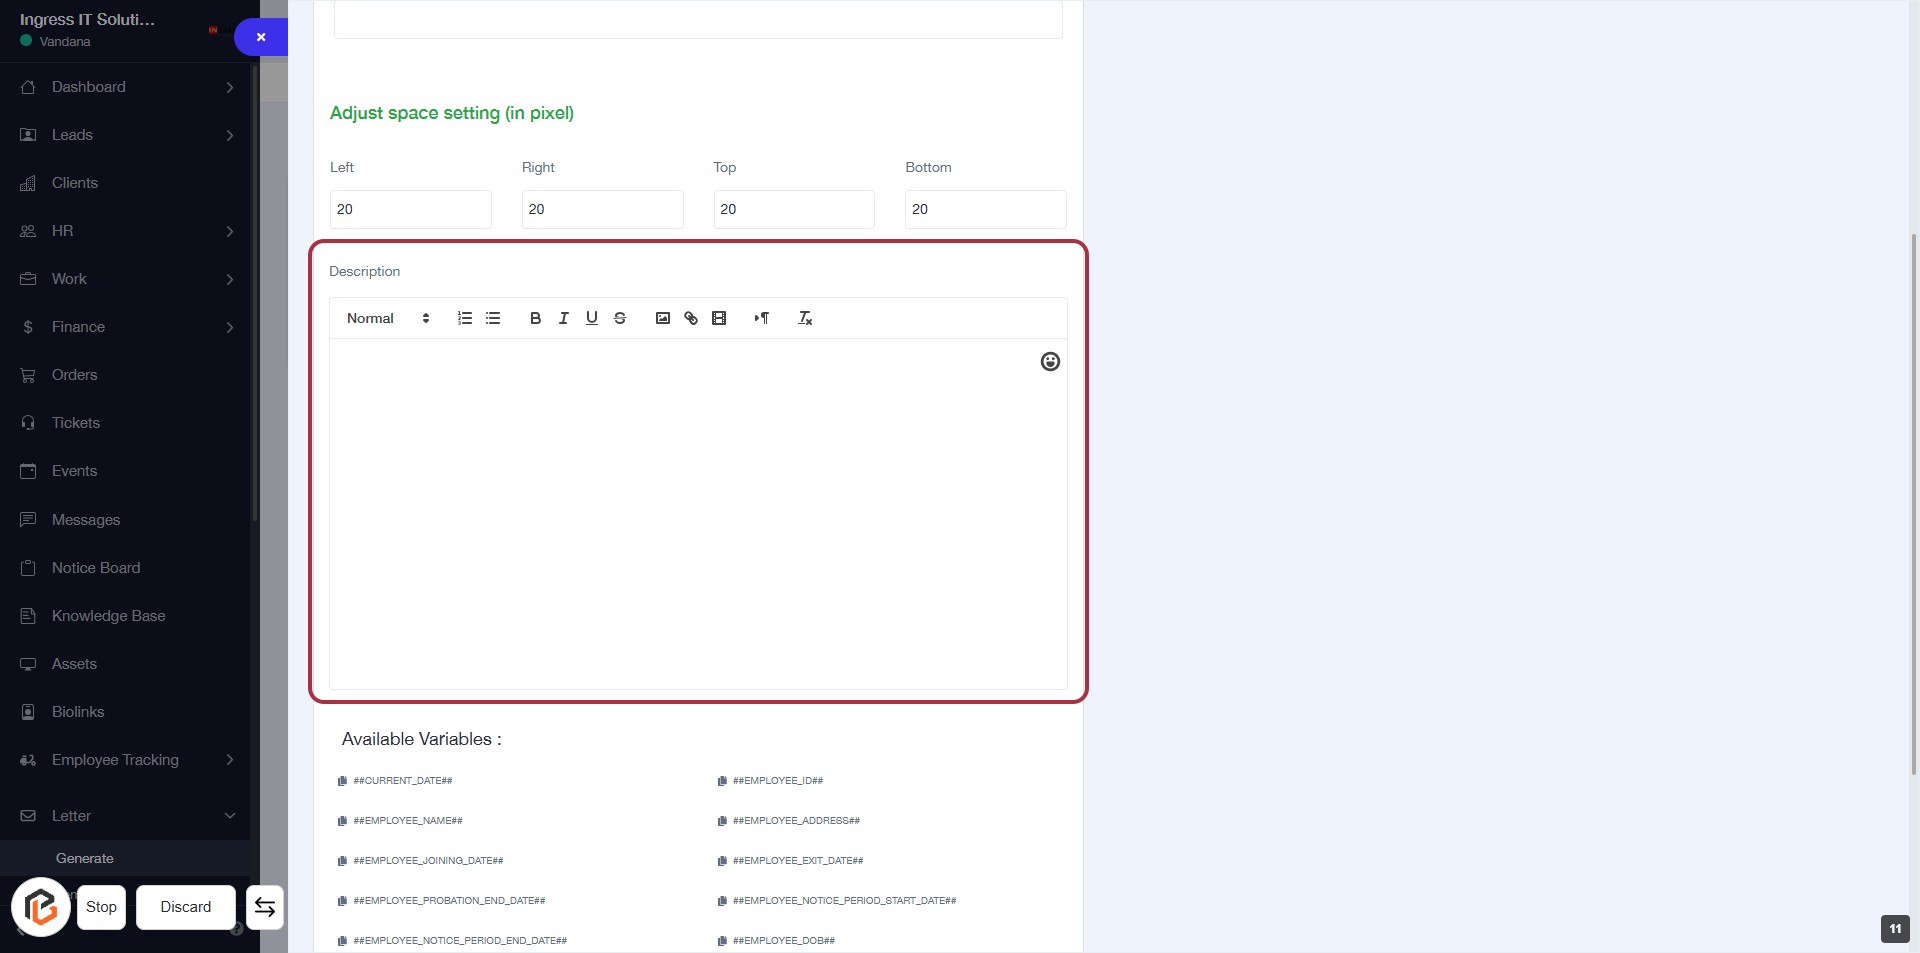
STEP 12: Click on "Description" to Enter Details
- Navigate to the highlighted "Description" area.
- Click on the "Description" field to activate it.
- Enter the necessary details regarding the description.
- Ensure to format your text using the available formatting options (e.g., bold, italics).
- Review your input before proceeding to the next step.
STEP 13: Click on "Save" to Finalize Your Changes
- Ensure all required fields are filled out before proceeding.
- Locate the "Save" button at the bottom of the form.
- Click on the "Save" button to save your changes.
- If needed, you can also click "Cancel" to discard any changes made.