Step-by-Step Guide to Accessing and Adding Categories in the Knowledge Base
4 mins read · Updated 29 Sep, 2025
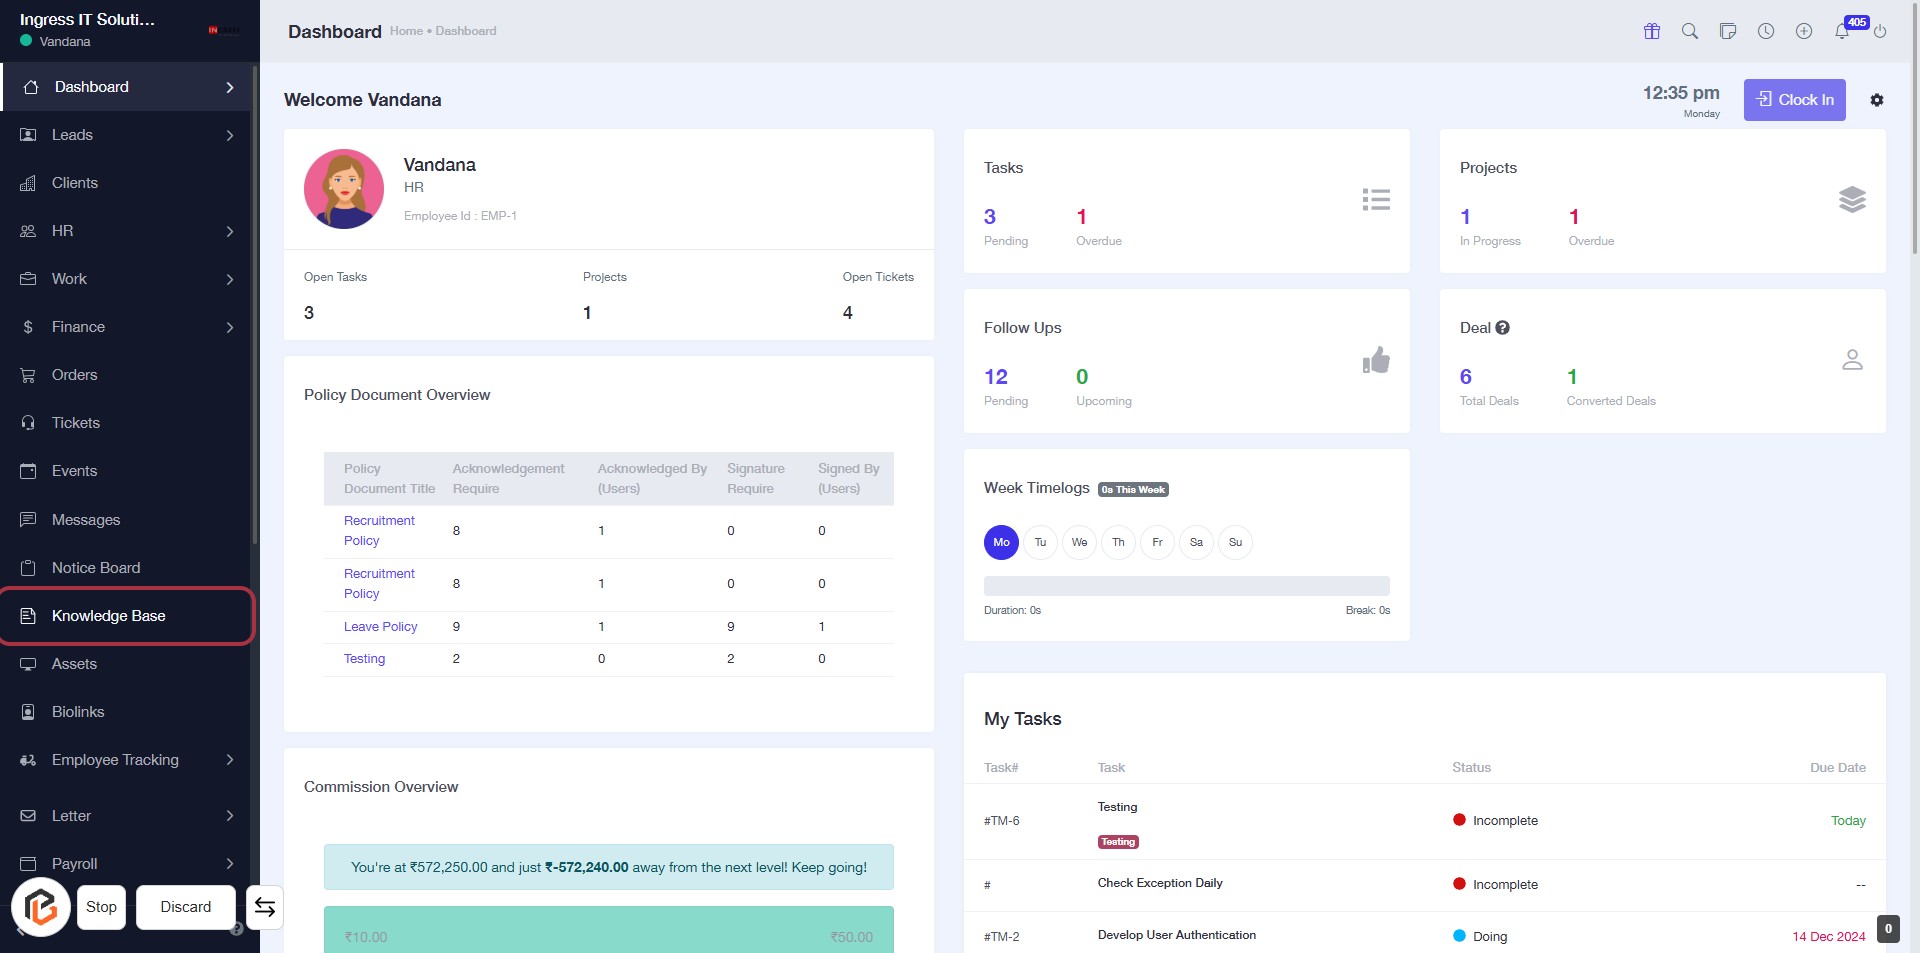
STEP 1: Click on "Knowledge Base"
- Navigate to the left sidebar of the dashboard.
- Locate and click on the "Knowledge Base" link highlighted in red.
- This action will direct you to the Knowledge Base section for further exploration.
- Ensure you are logged in to access all features.
STEP 2: Fill Out the Category Name Field
- Click on the highlighted input field labeled "Category Name" to enter the desired category.
- Ensure to fill in this field as it is marked with an asterisk (*), indicating it is required.
- You can use examples provided, such as "Potential Client," for guidance.
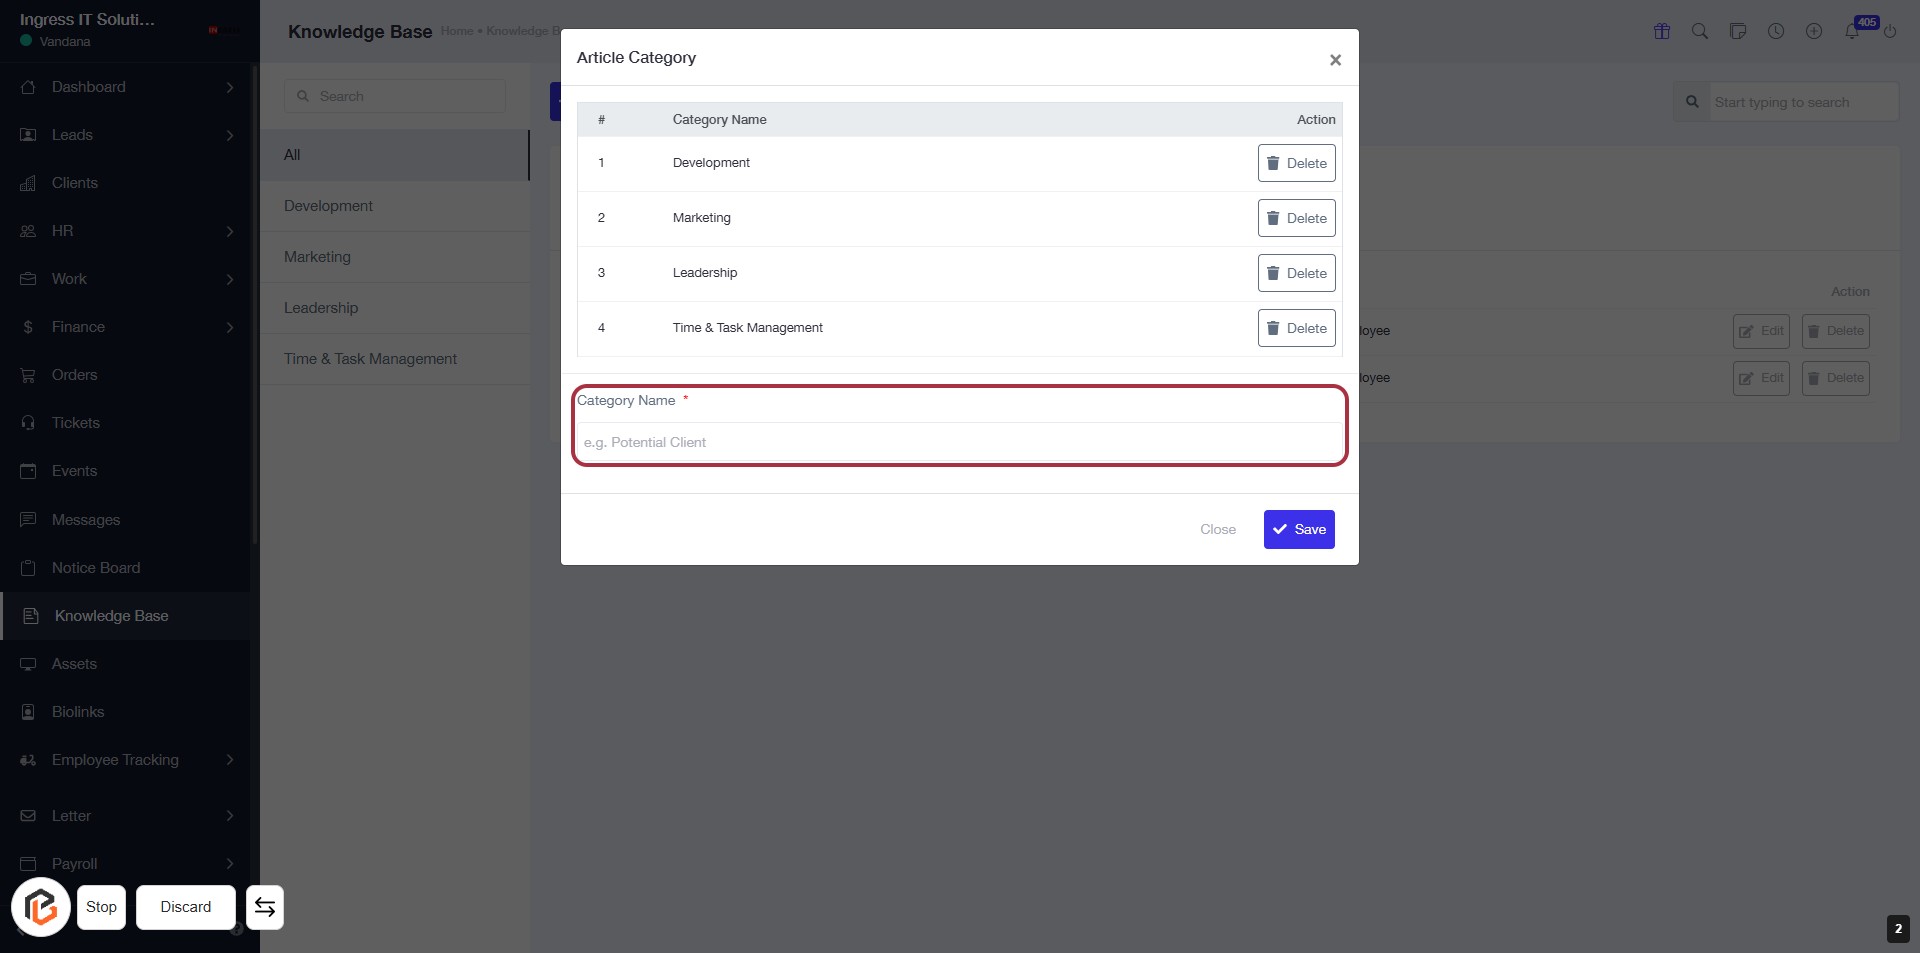
STEP 3: Enter Category Name
- Click on the "Category Name" field (marked with a red border).
- This field is mandatory (indicated by the asterisk '*').
- Enter a descriptive name for the category, e.g., "Potential Client".
- Ensure the name is relevant to your knowledge base.

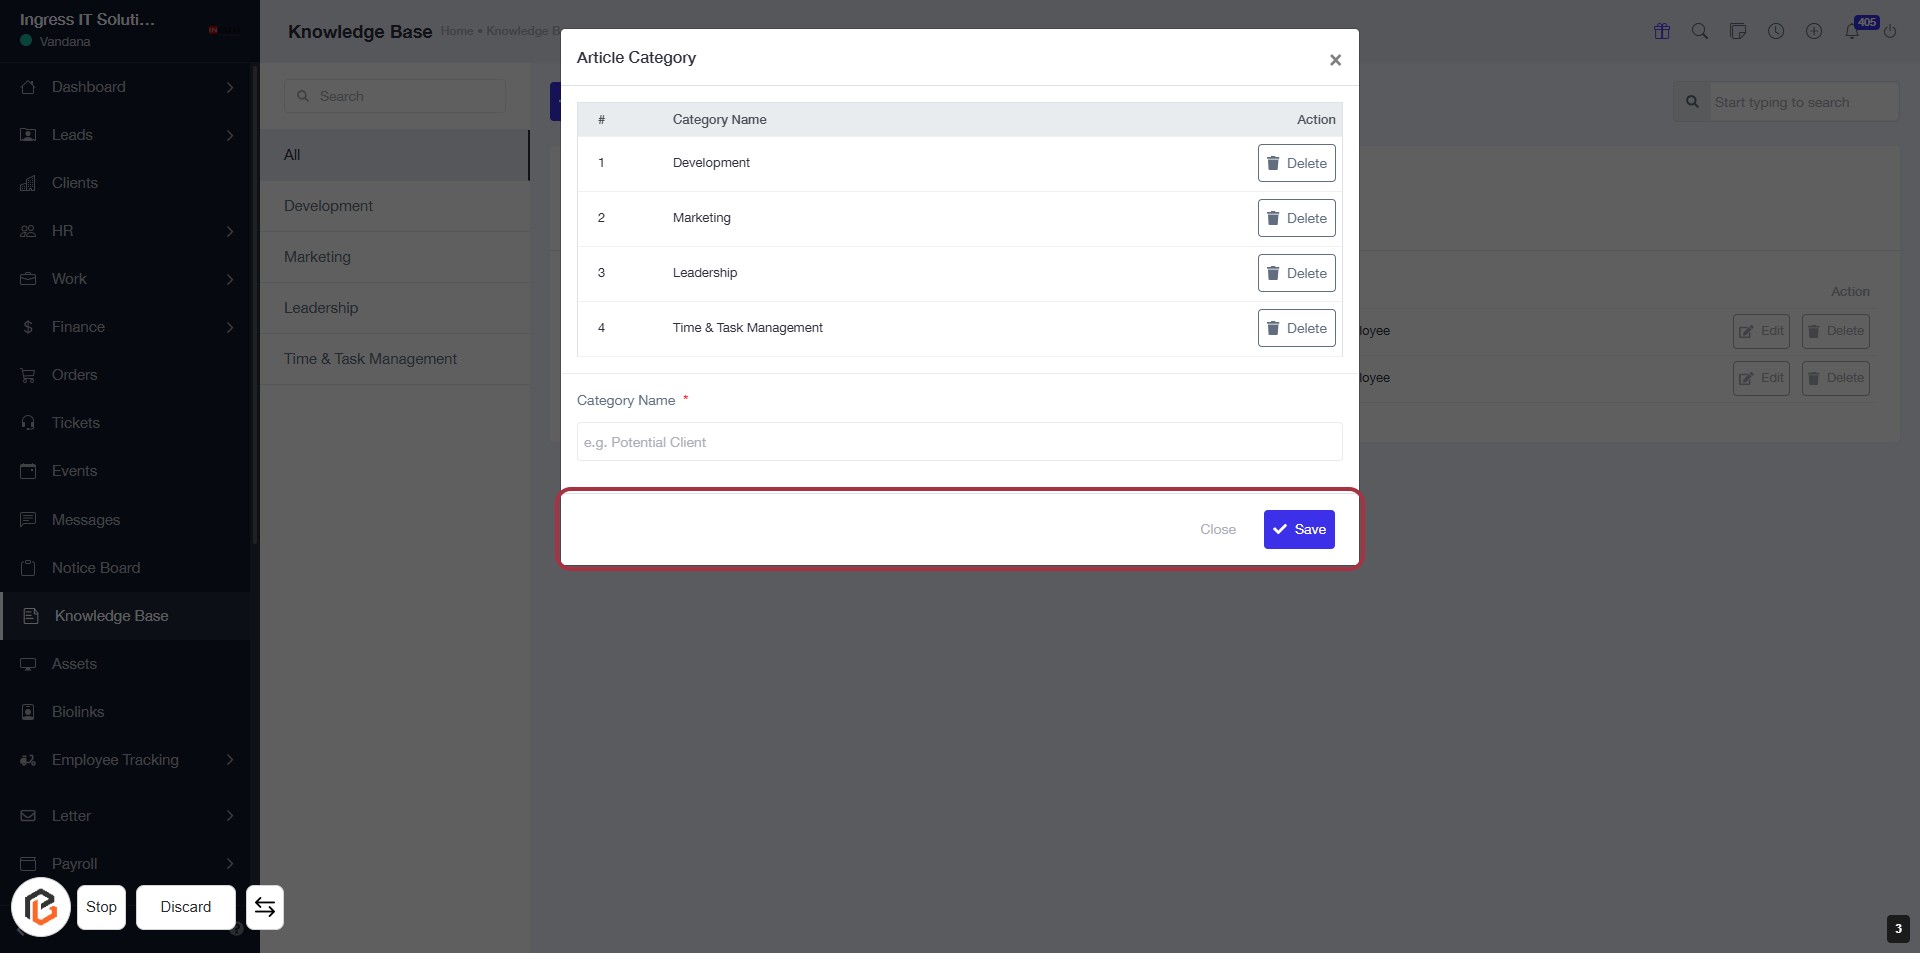
STEP 4: Click on "Save" to Finalize Category Entry
- Ensure all required fields are filled, especially the "Category Name" marked with an asterisk (*).
- Review your entries for accuracy.
- Click the Save button located at the bottom right of the dialog to save your changes.
- If you wish to exit without saving, click the Close button.