Step-by-Step Guide to Managing Proposals on BizCRMApp: Viewing, Editing, Sending, and Invoice Creation
12 mins read · Updated 29 Sep, 2025
STEP 1: Click on "Proposals" to Access Options Menu
- Navigate to bizcrmapp.com.
- Click on Proposals in the sidebar.
- Locate the Options Menu icon (highlighted area).
- Click the icon to reveal additional options related to proposals.
Ensure to check for any required fields marked with an asterisk (*) in the options that appear.

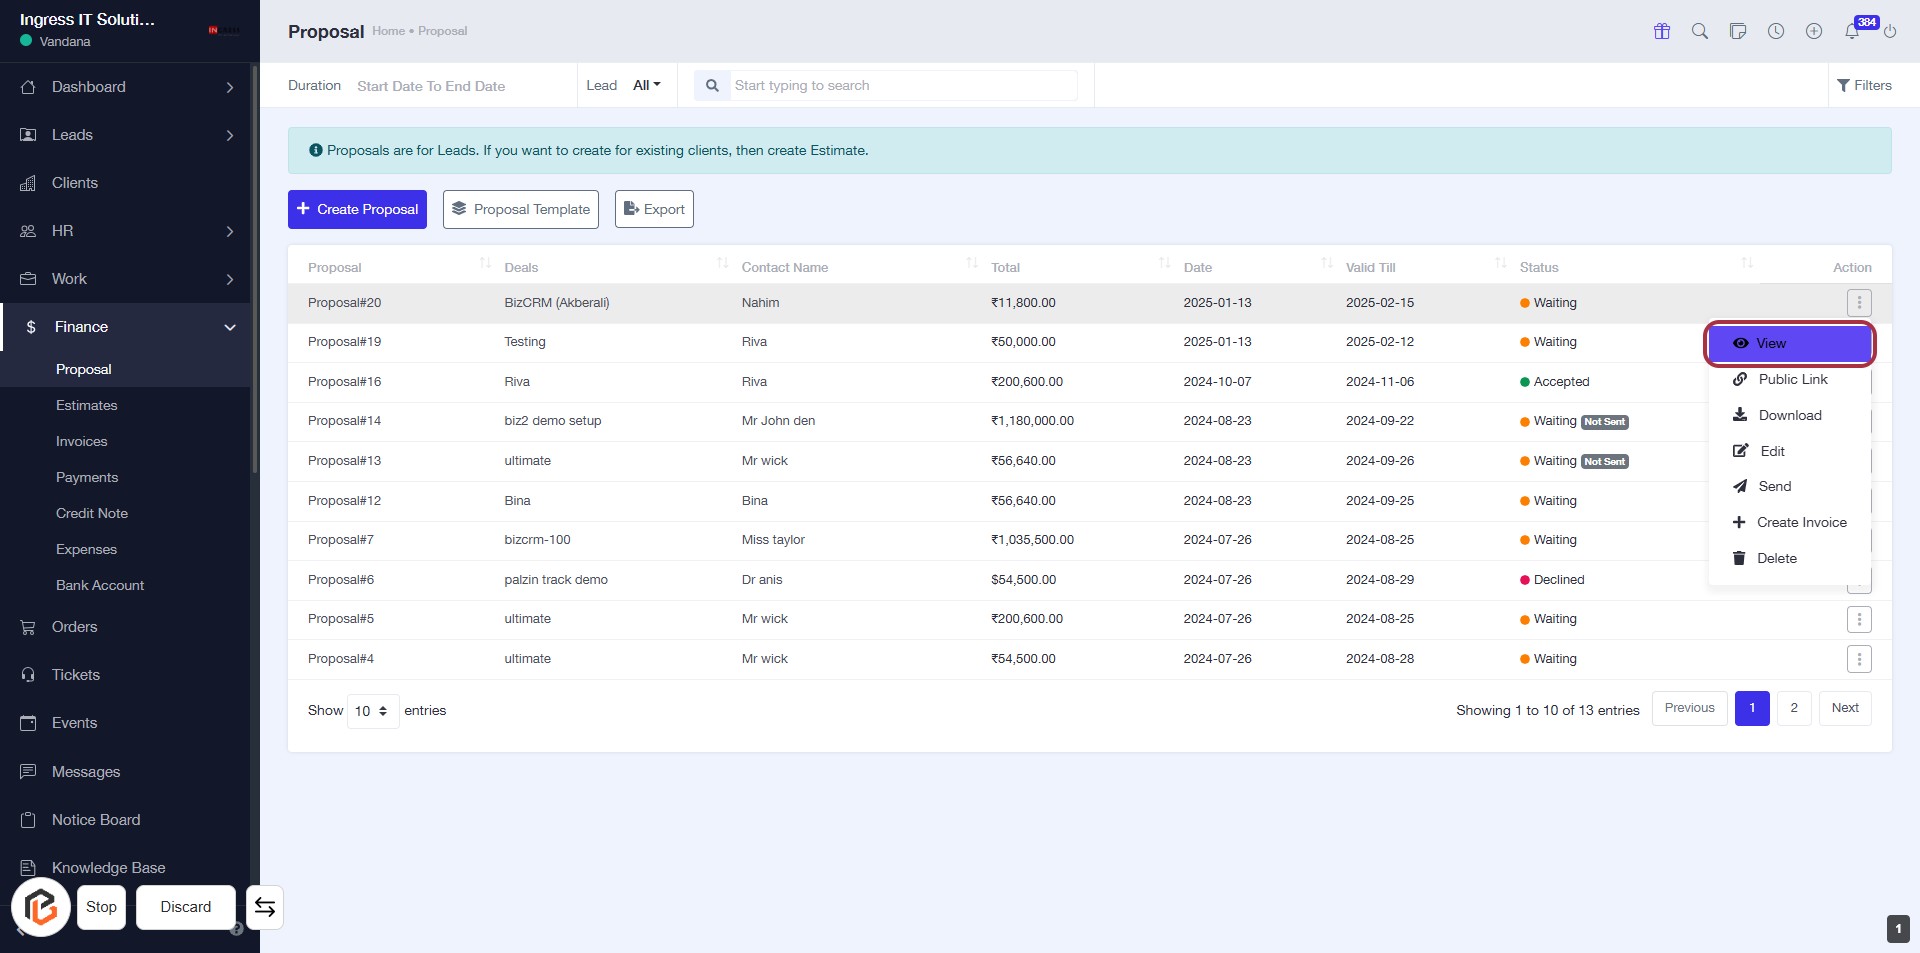
STEP 2: CLICK on "View" to Access Proposal Details
- Navigate to the "Proposal" section.
- Locate the "View" link in the action column of the desired proposal.
- Click on "View" to open the proposal details for further review.
- Ensure to check any additional options available in the options menu after viewing.
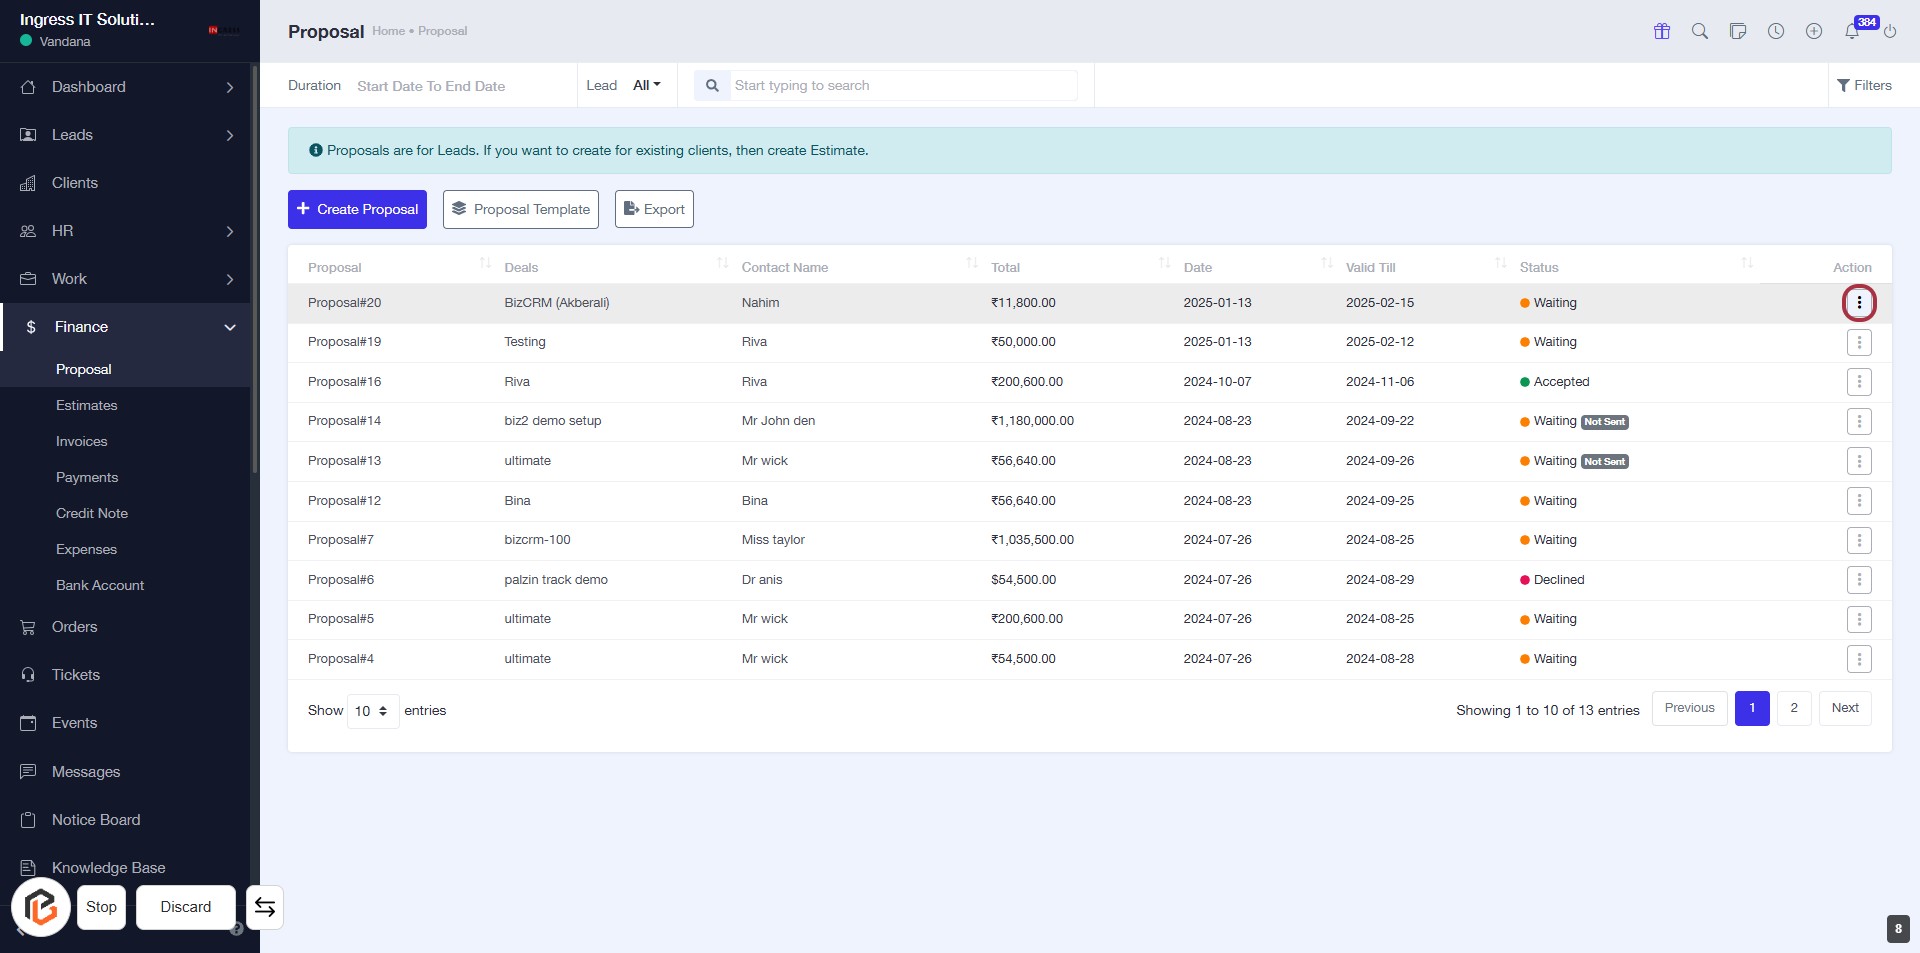
STEP 3: CLICK on "Options Menu"
- Navigate to the highlighted area in the proposal table.
- Click on the options menu icon (represented by an "I").
- This action will reveal additional options related to the selected proposal.
- Ensure you have the necessary permissions to access these options.

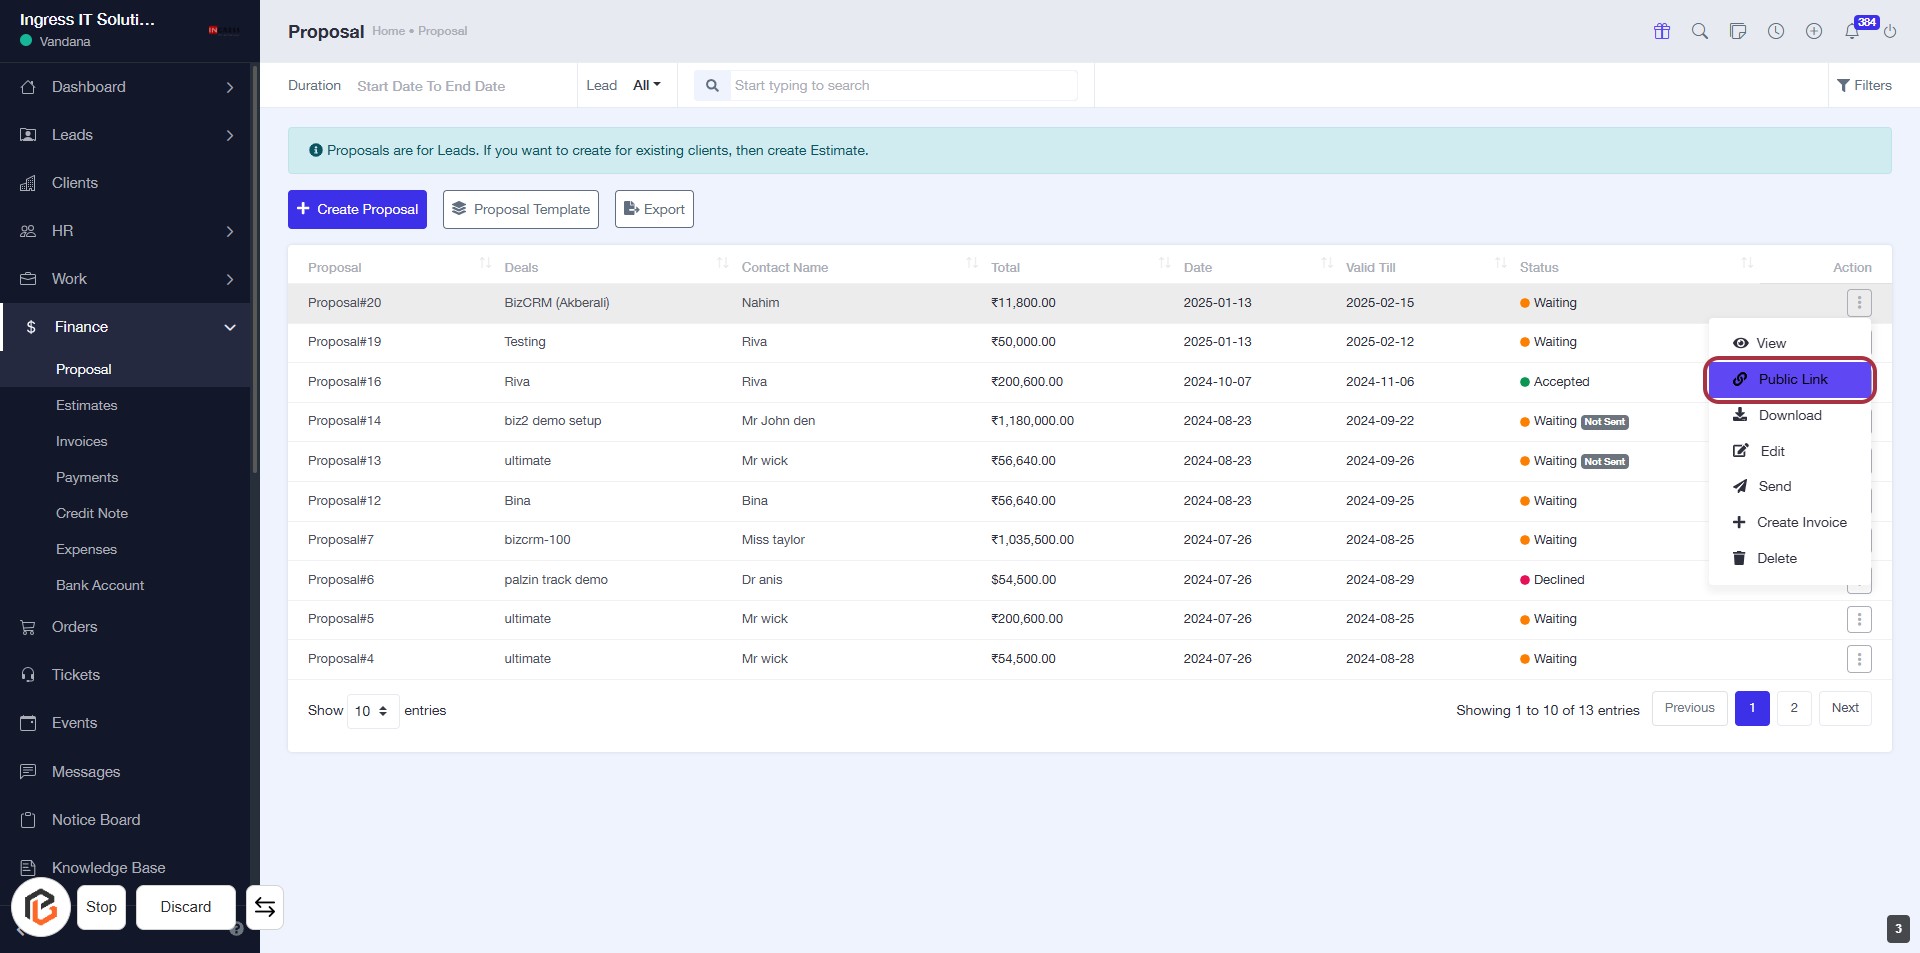
STEP 4: CLICK on "Public Link" to create public link
- Navigate to the "Proposal" section.
- Locate the "Public Link" option highlighted in red.
- Click on the "Public Link" to generate a public link for the selected proposal.
- Ensure you have selected the correct proposal before clicking.
STEP 5: CLICK on "Option Menu" to access additional actions
- Navigate to the highlighted area in the proposal table.
- Click on the icon to open the option menu.
- Review available actions related to the selected proposal.
- Ensure to check for any additional prompts or options that may appear.

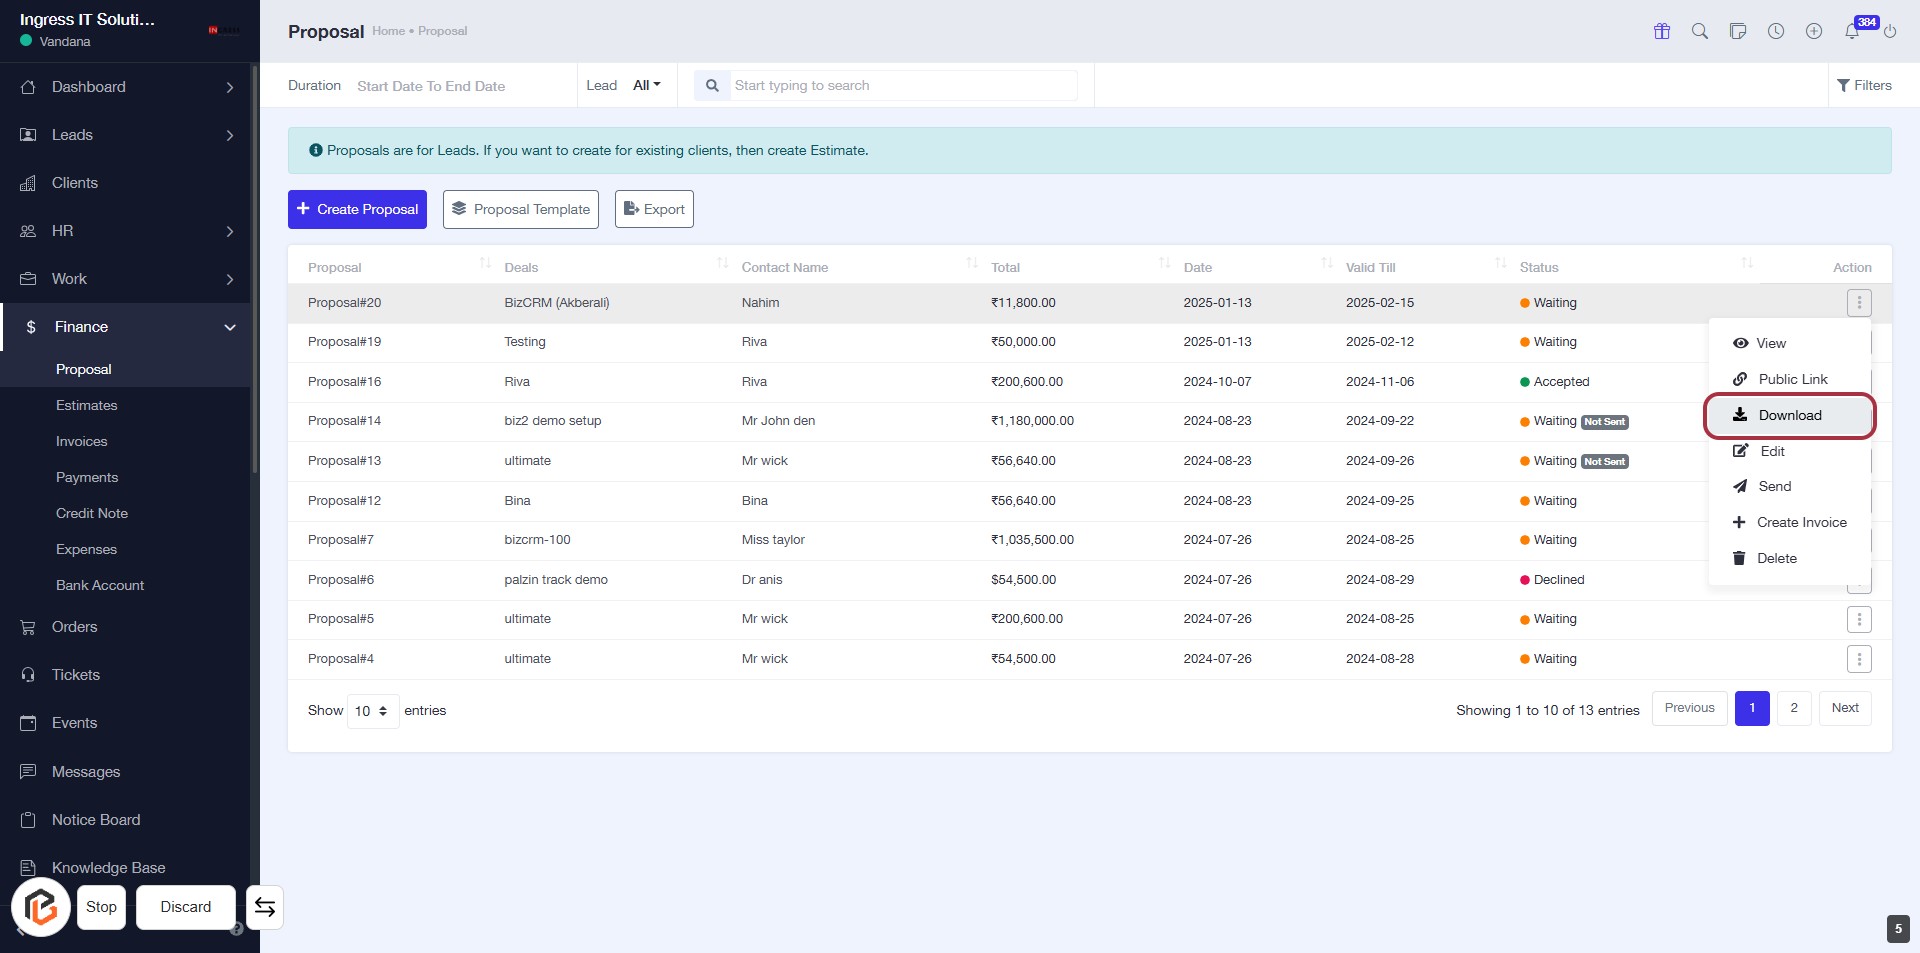
STEP 6: CLICK on "Download" to download the proposal
- Navigate to the "Action" column in the proposals table.
- Locate the "Download" option highlighted in red.
- Click on the "Download" link to initiate the download of the selected proposal.
- Ensure that your browser settings allow downloads for a smooth process.
STEP 7: CLICK on "Option Menu" to access additional actions
- Locate the highlighted area in the "Action" column of the proposal table.
- Click on the three-dot menu icon to reveal more options related to the selected proposal.
- Review available actions such as "Edit," "Delete," or others that may appear.
- Proceed to select the desired action for further processing.

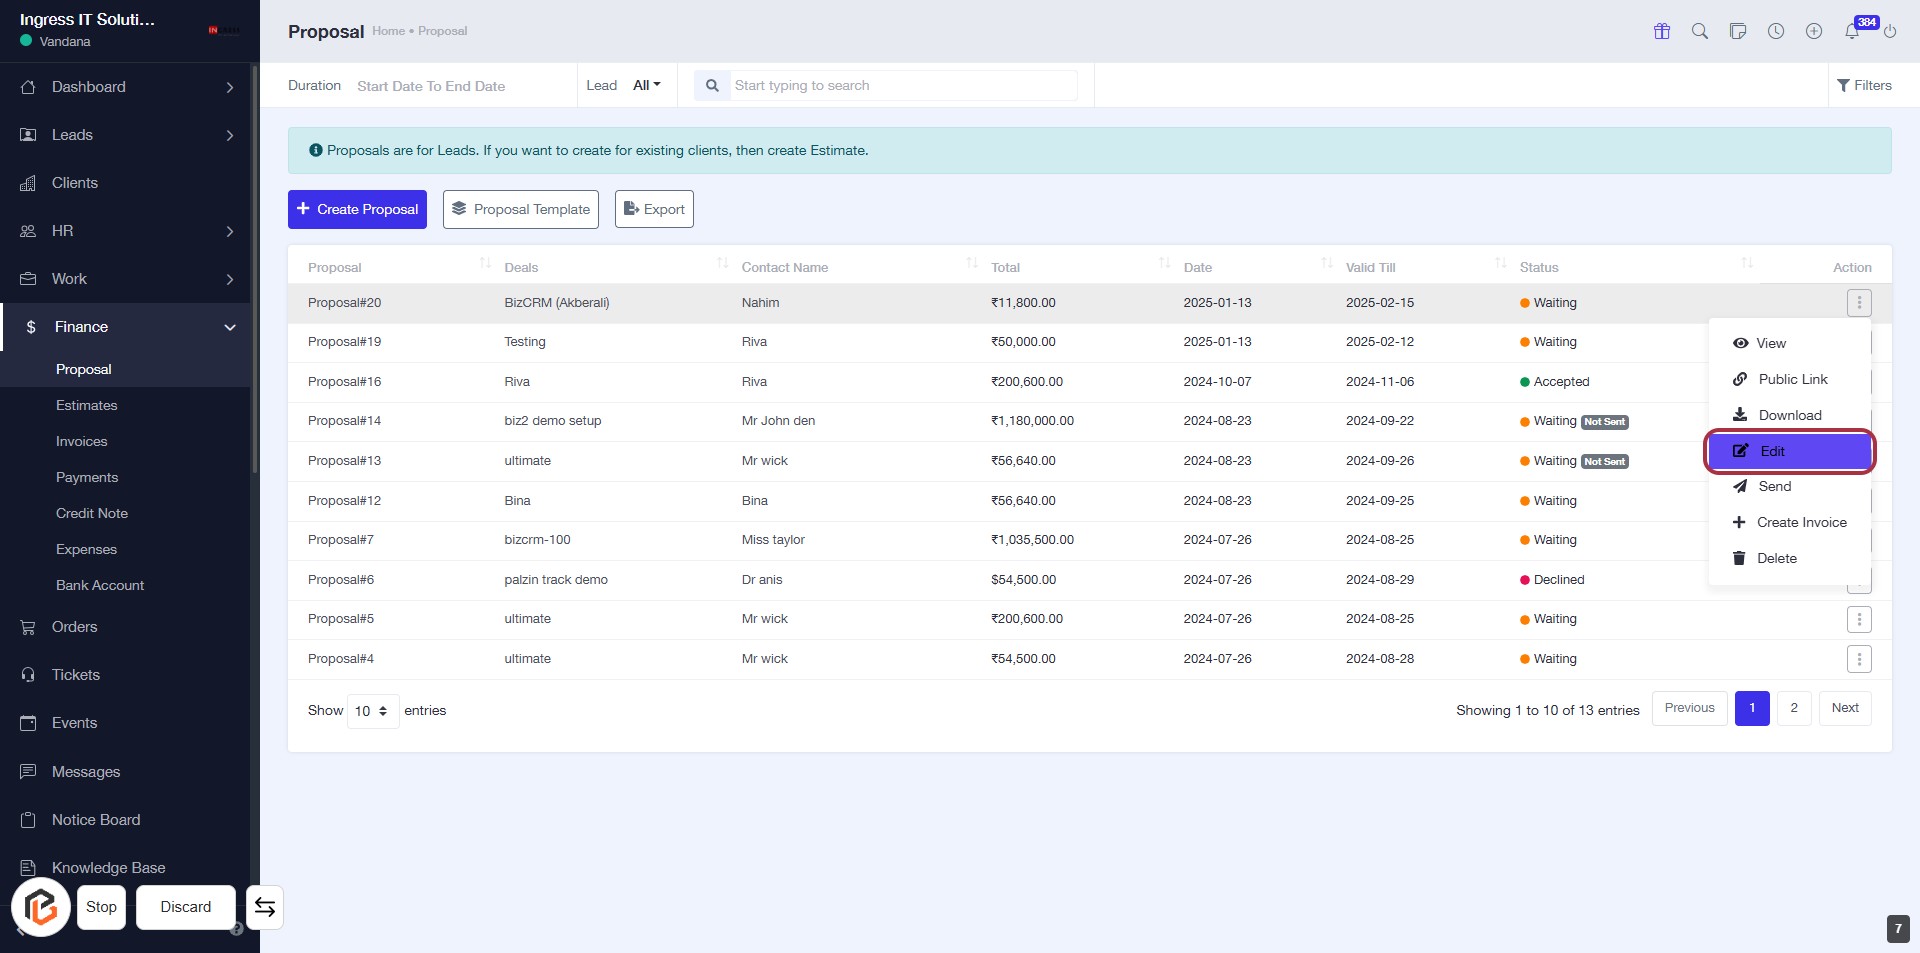
STEP 8: CLICK on "Edit" to edit proposal
- Navigate to the "Proposal" section.
- Locate the proposal you wish to edit.
- Click on the "Edit" link in the "Action" column for the selected proposal.
- Ensure all necessary fields are filled out as indicated by any asterisks (*) for required inputs.
STEP 9: CLICK on "Option Menu"
- Navigate to the highlighted area in the proposal table.
- Click on the "..." (Option Menu) to access additional actions for the selected proposal.
- Ensure you have selected the correct proposal before proceeding.
- This action allows you to manage the proposal further, such as sending or editing it.
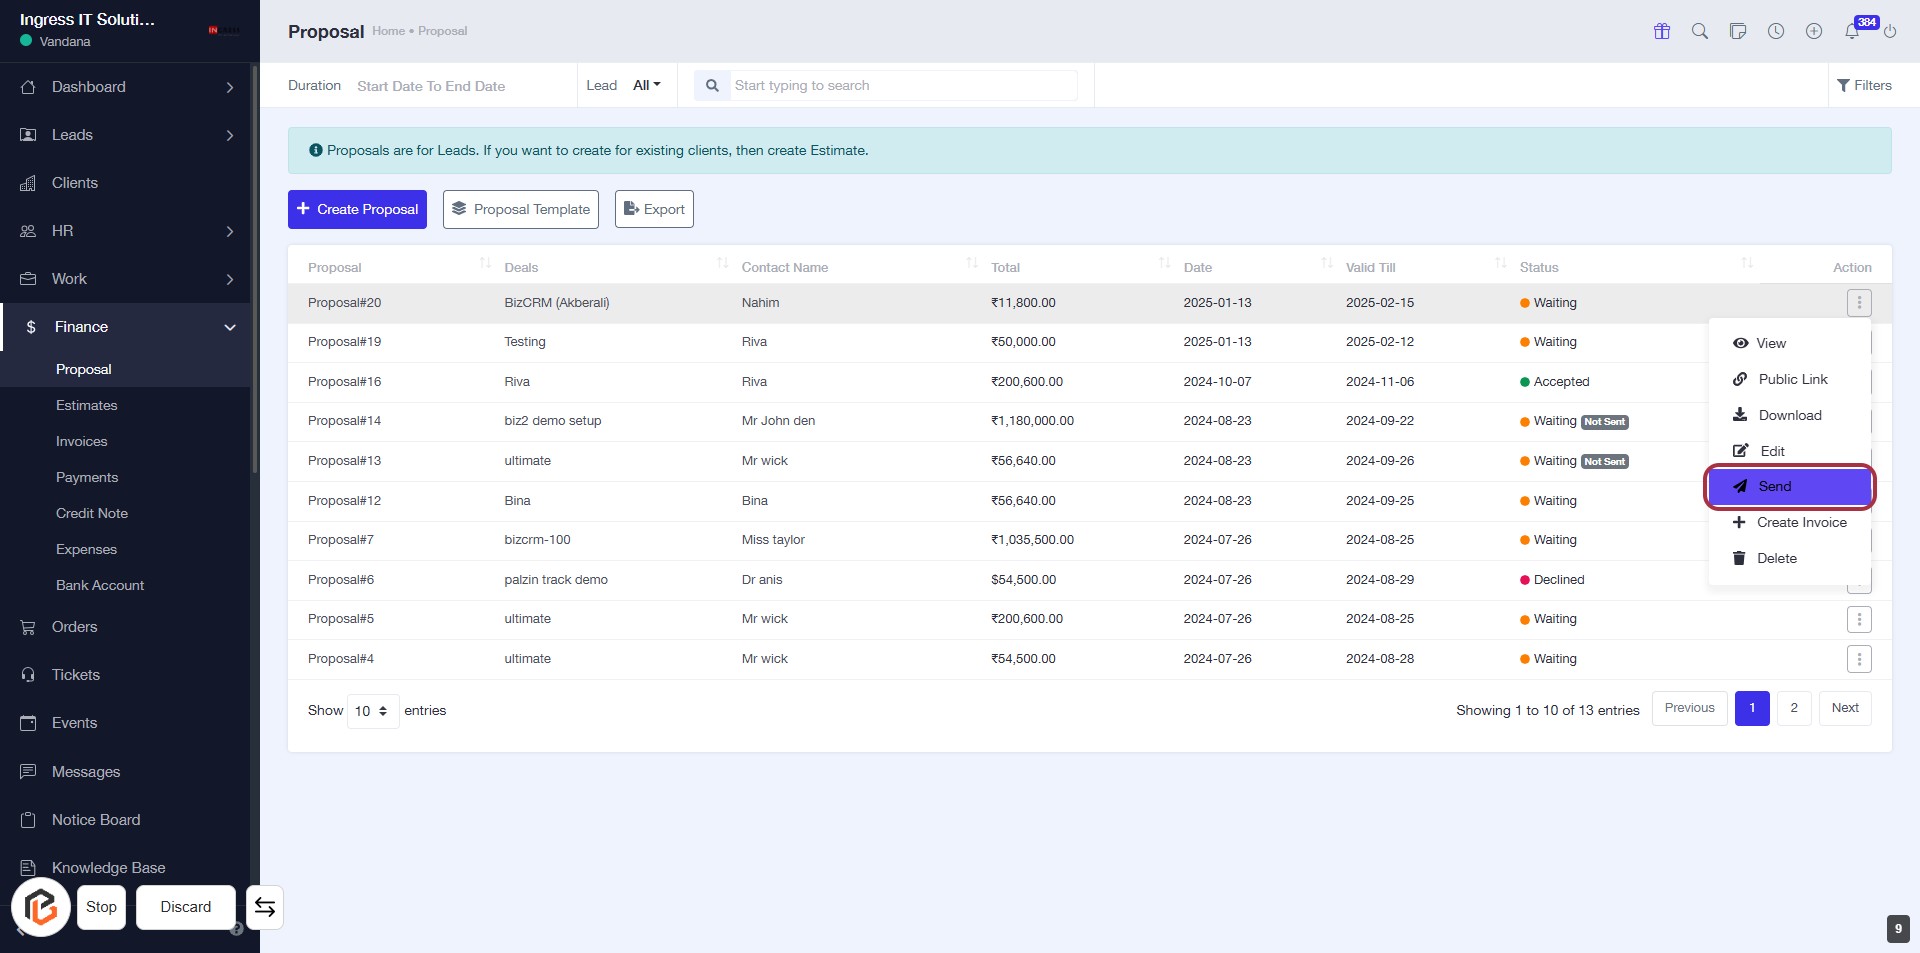
STEP 10: CLICK on "Send" to send the proposal to client
- Navigate to the "Proposal" section.
- Locate the proposal you wish to send.
- Click on the "Send" link highlighted in the action column.
- Ensure all necessary details are filled out before sending.
- Confirm the action to dispatch the proposal to the client.
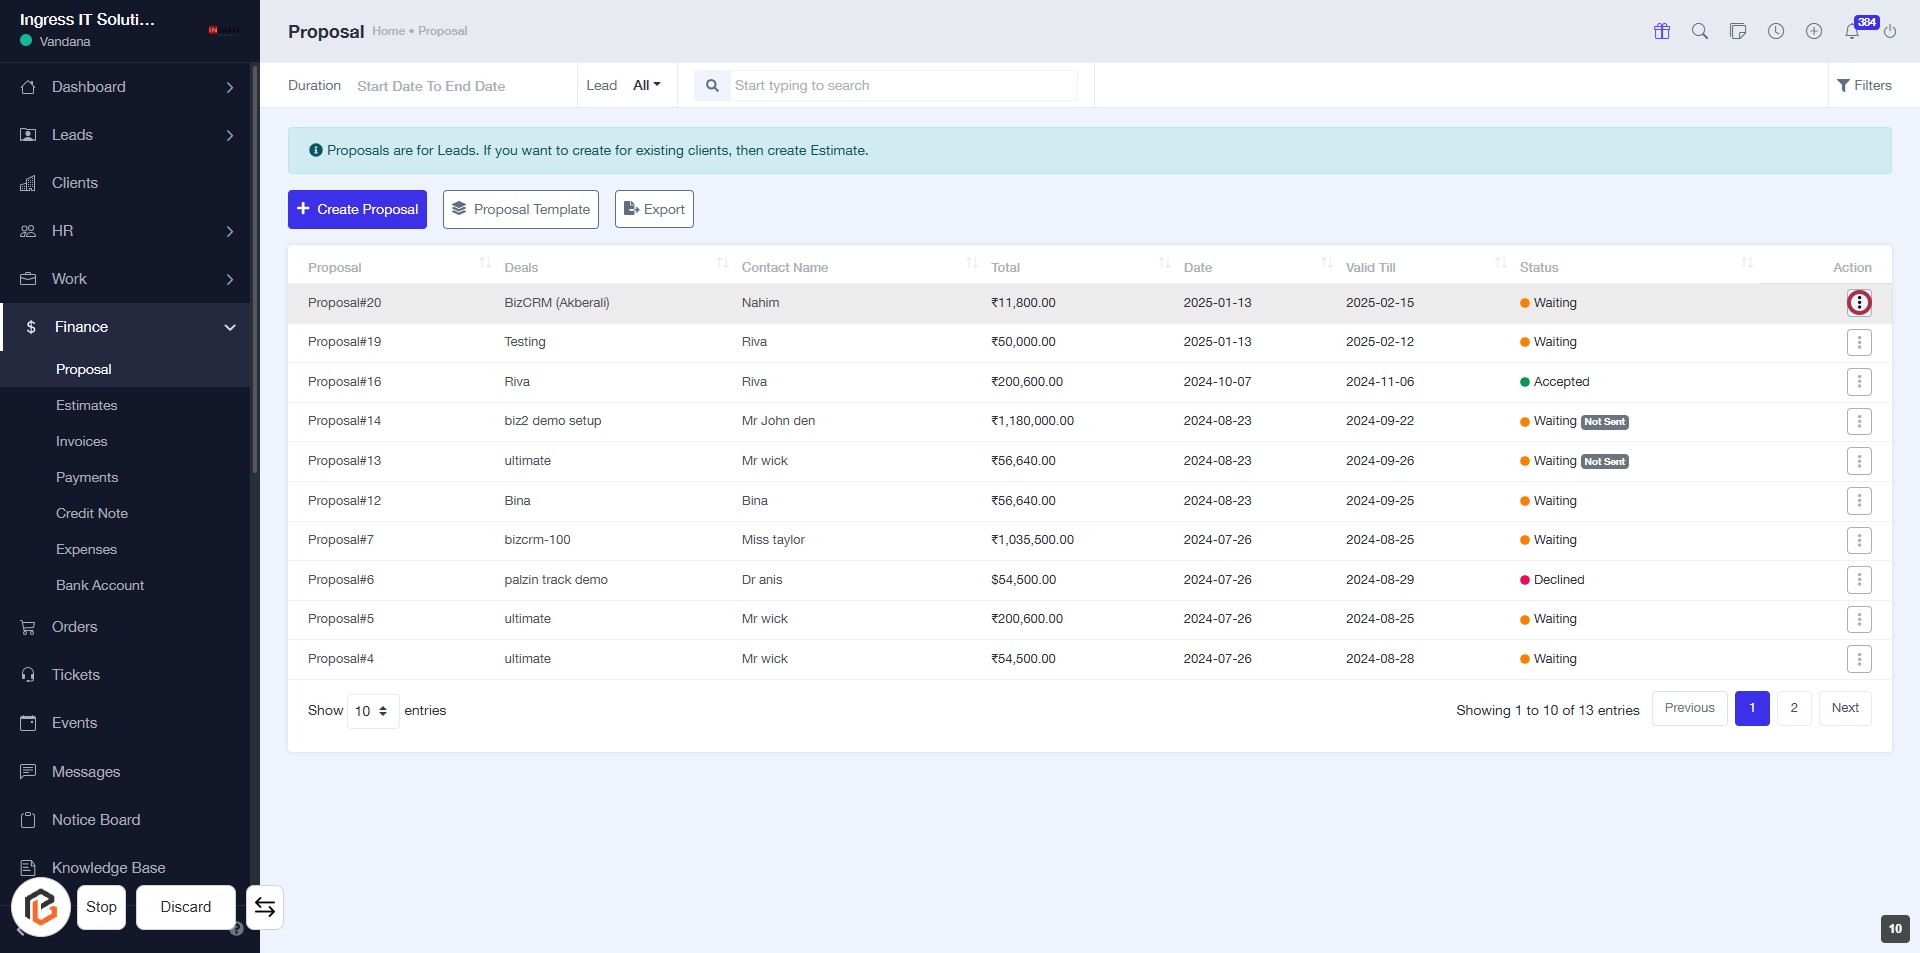
STEP 11: Click on "Option Menu" to Access Additional Actions
- Locate the option menu icon in the highlighted area.
- Click on the icon to reveal additional actions related to the selected proposal.
- Review the options available for further actions, such as editing or deleting the proposal.
- Ensure you have the necessary permissions to perform the desired action.
STEP 12: CLICK on "Create Invoice" to create an invoice
- Navigate to the highlighted area in the table.
- Click on the "Create Invoice" link to initiate the invoice creation process.
- Ensure all required fields are filled out in the subsequent form.
- Review any optional fields marked with an asterisk (*) for additional information.
