Step-by-Step Guide to Creating and Managing Proposals in the Finance Dashboard
16 mins read · Updated 29 Sep, 2025
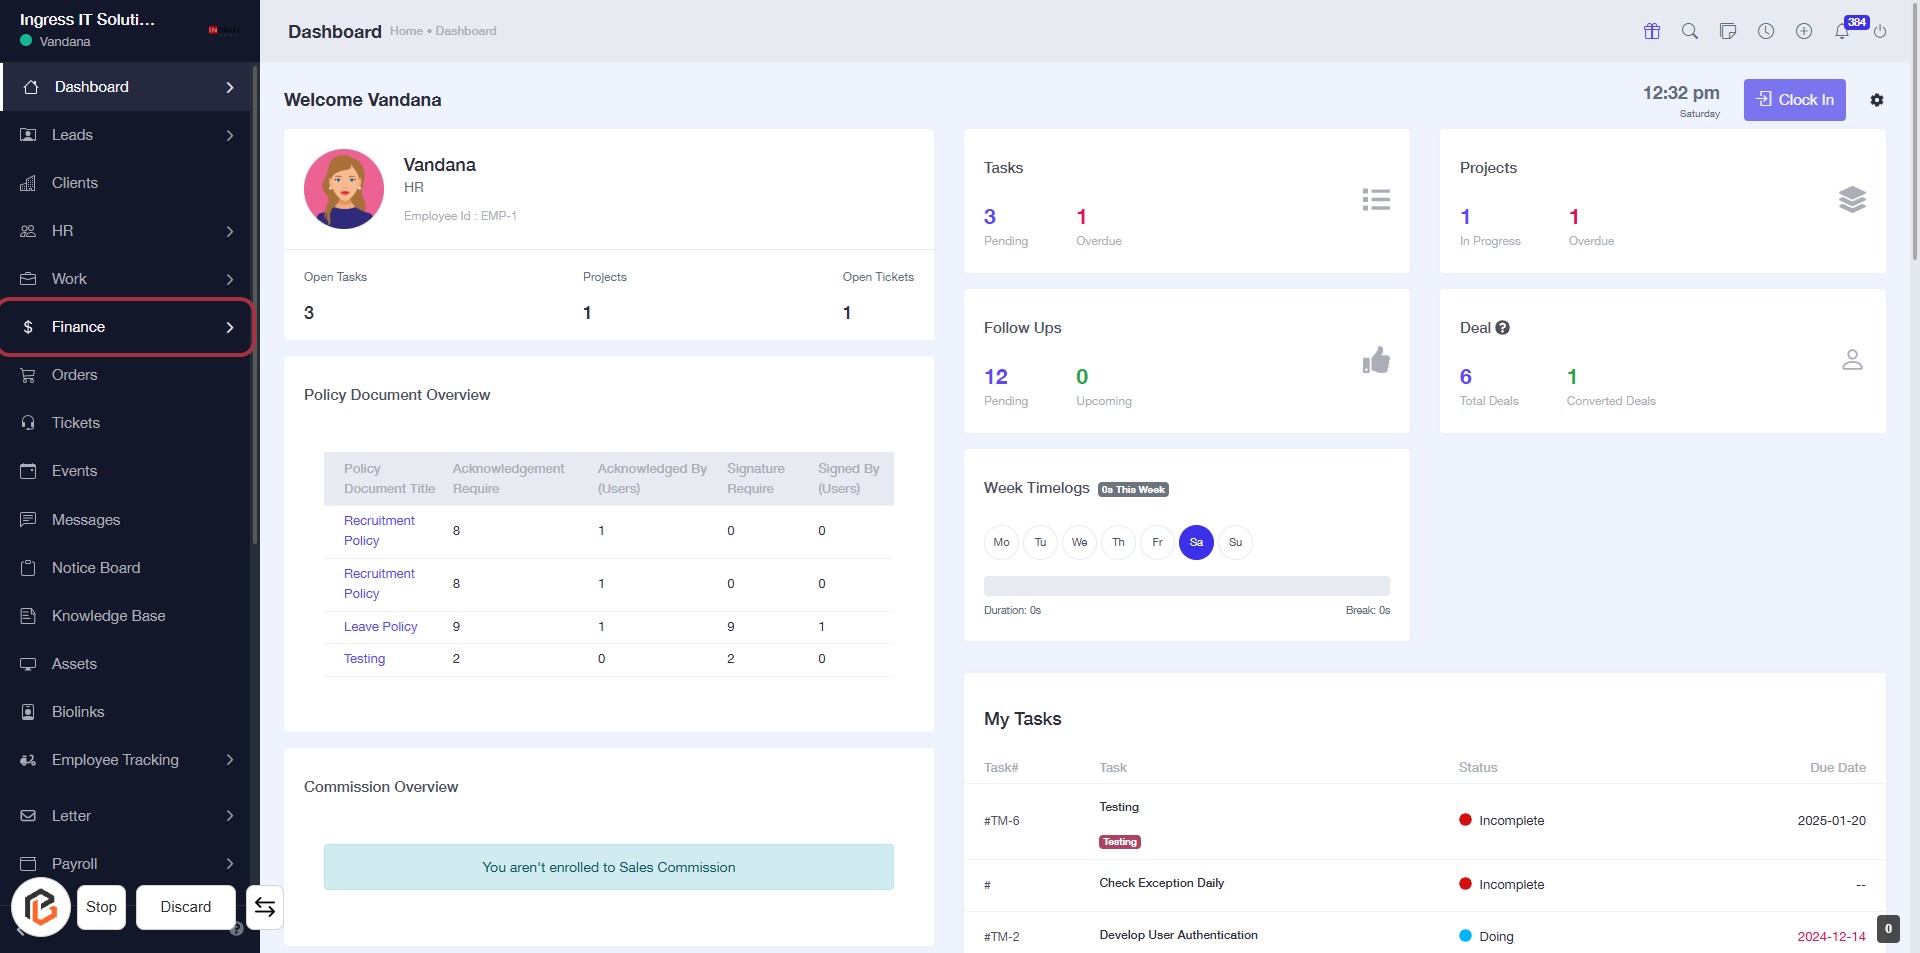
STEP 1: Click on "Finance" to Access Financial Overview
- Navigate to the left sidebar of the dashboard.
- Click on the Finance link to view financial documents and summaries.
- This section includes policy document overviews and commission details.
- Ensure to check for any required acknowledgments or signatures in the displayed tables.
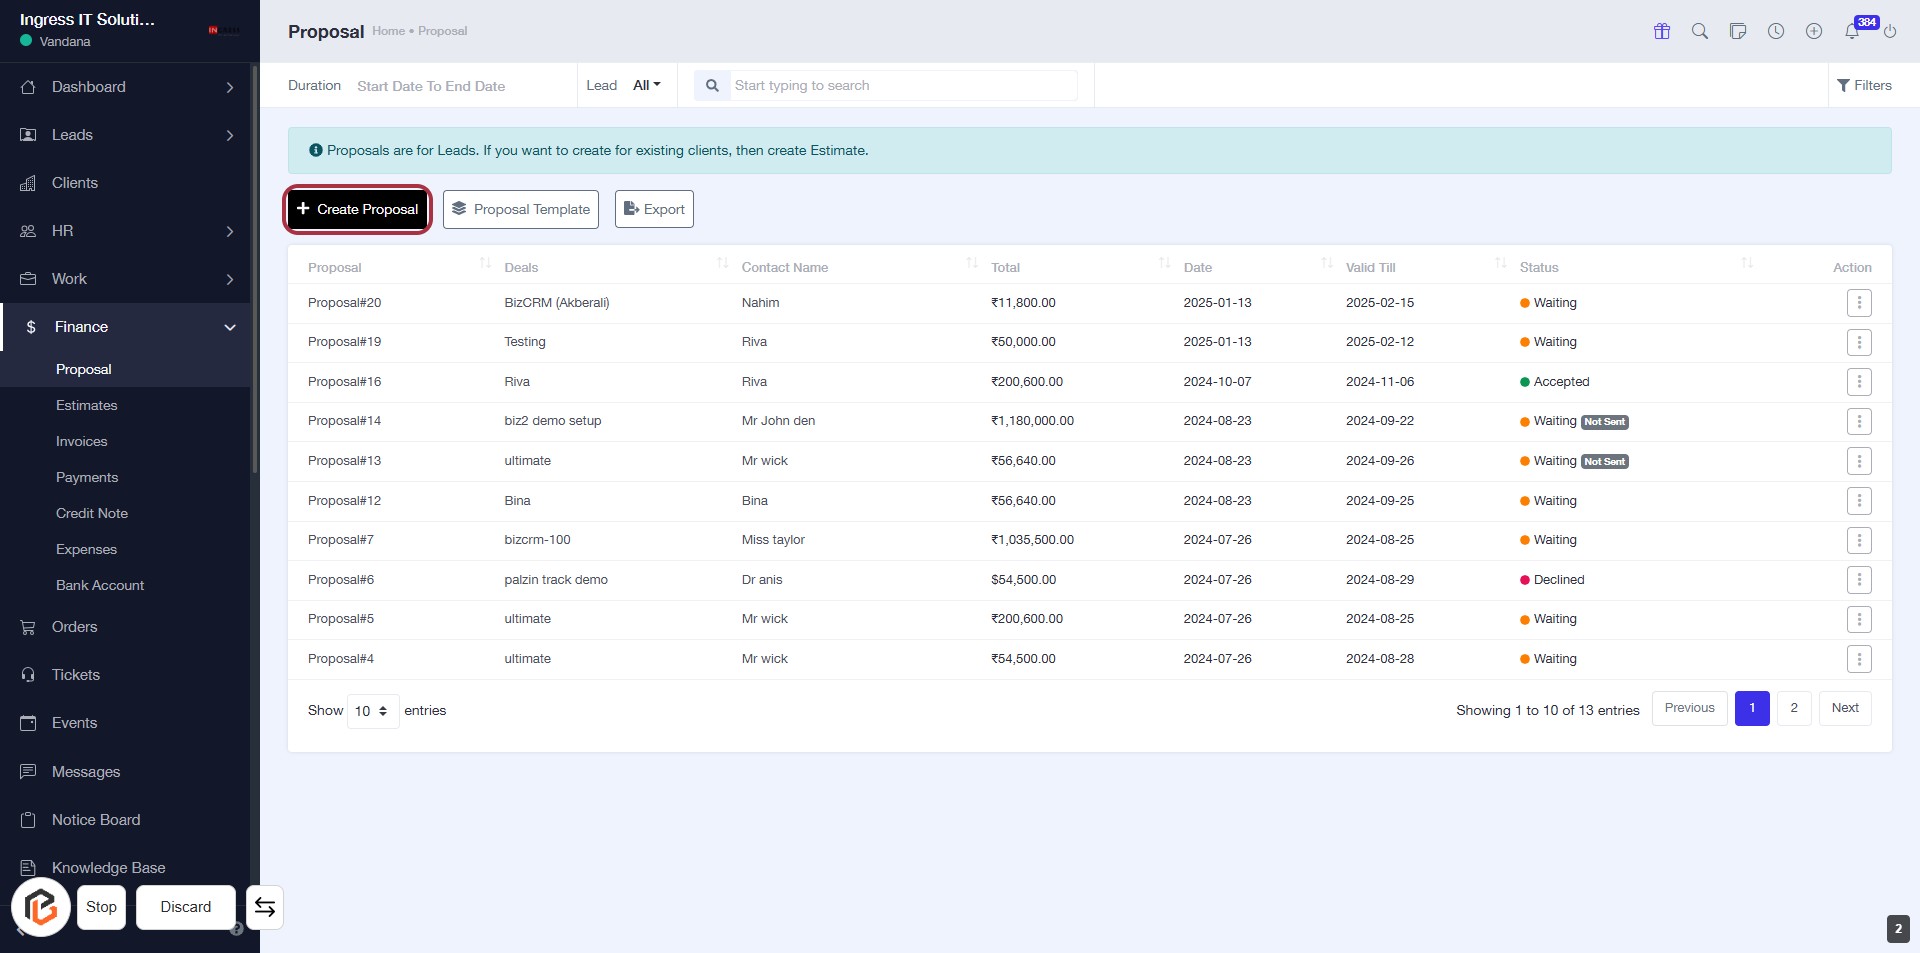
STEP 2: Click on "Proposal" to Access Proposal Section
- Navigate to the sidebar menu.
- Click on the Proposal option highlighted in red.
- This will direct you to the Proposal section where you can manage proposals and related documents.
- Ensure you have the necessary permissions to access this section.

STEP 3: Click on "Create Proposal"
- Navigate to the Proposal section.
- Click the Create Proposal button highlighted in the interface.
- Ensure all required fields marked with an asterisk (*) are filled out in the upcoming form.
- Review any optional fields to enhance your proposal.
- Proceed to the next step by selecting "Lead Contacts."
STEP 4: Select "Lead Contacts"
- Click on the Lead Contacts field (marked with an asterisk) to select a contact.
- Ensure you choose a valid contact from the dropdown list.
- This field is mandatory, so make sure to fill it before proceeding.
- After selecting, you can move on to the next step by selecting Deal.
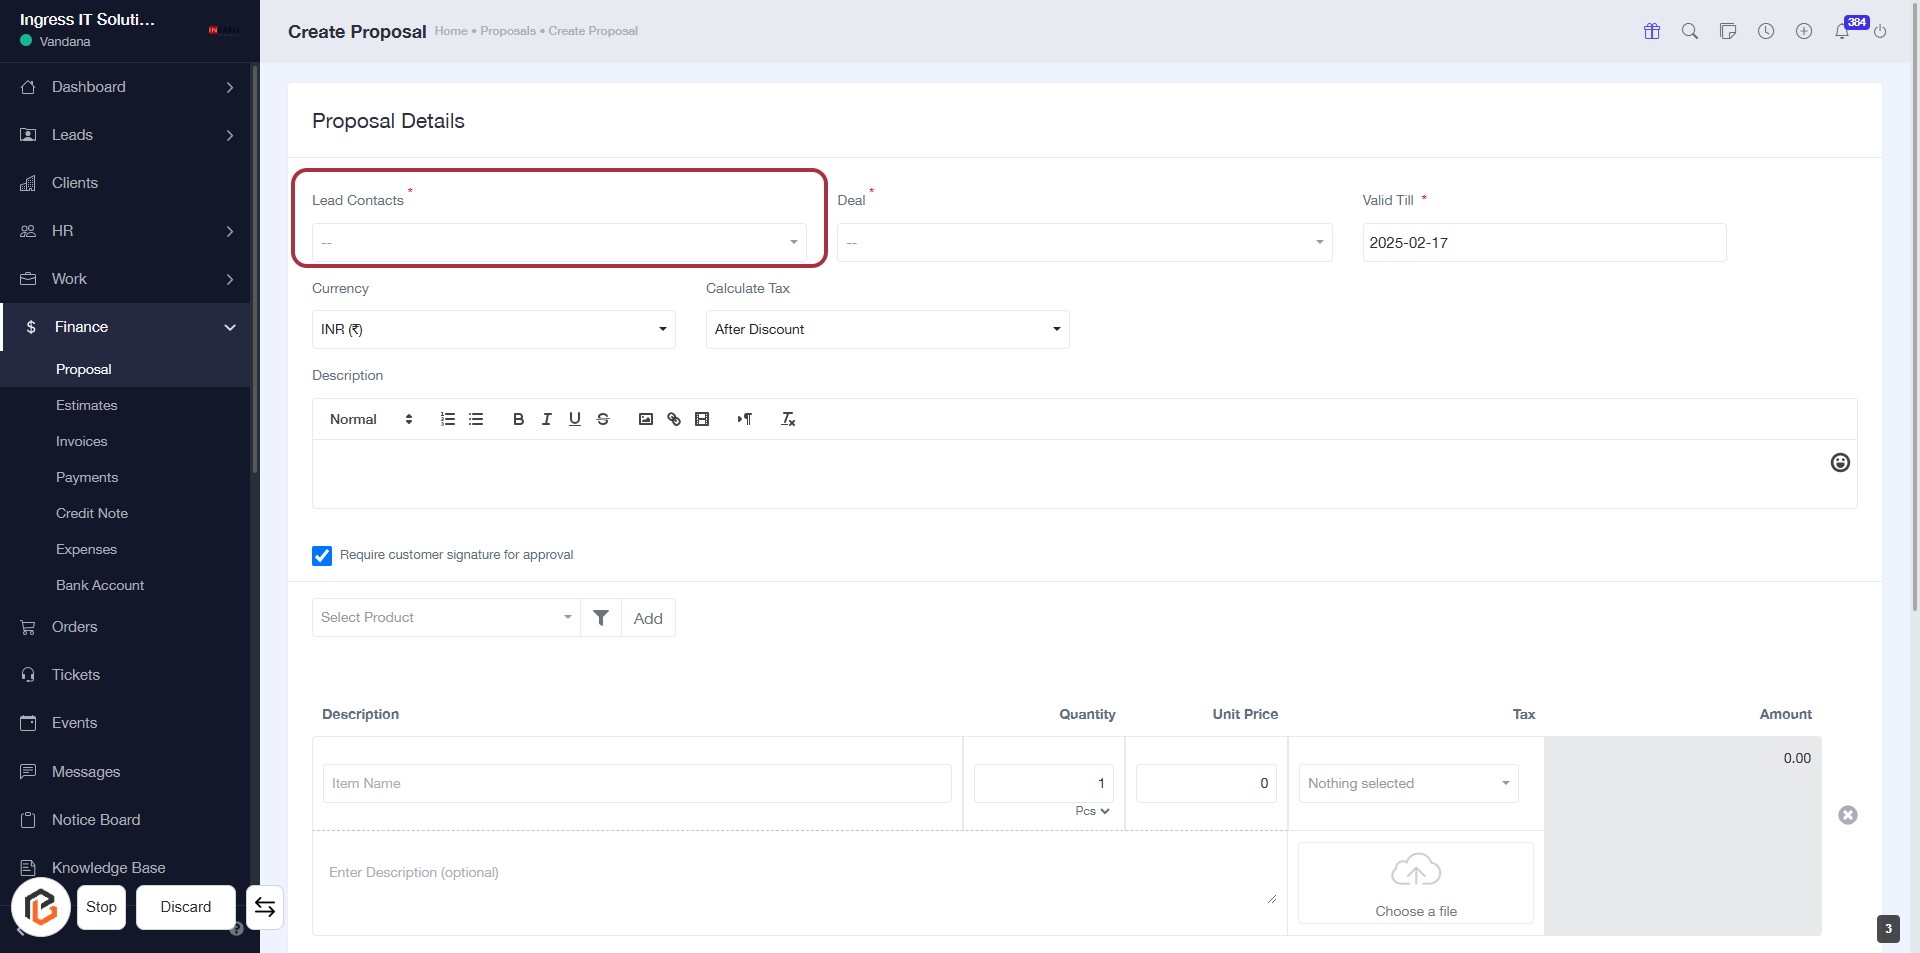
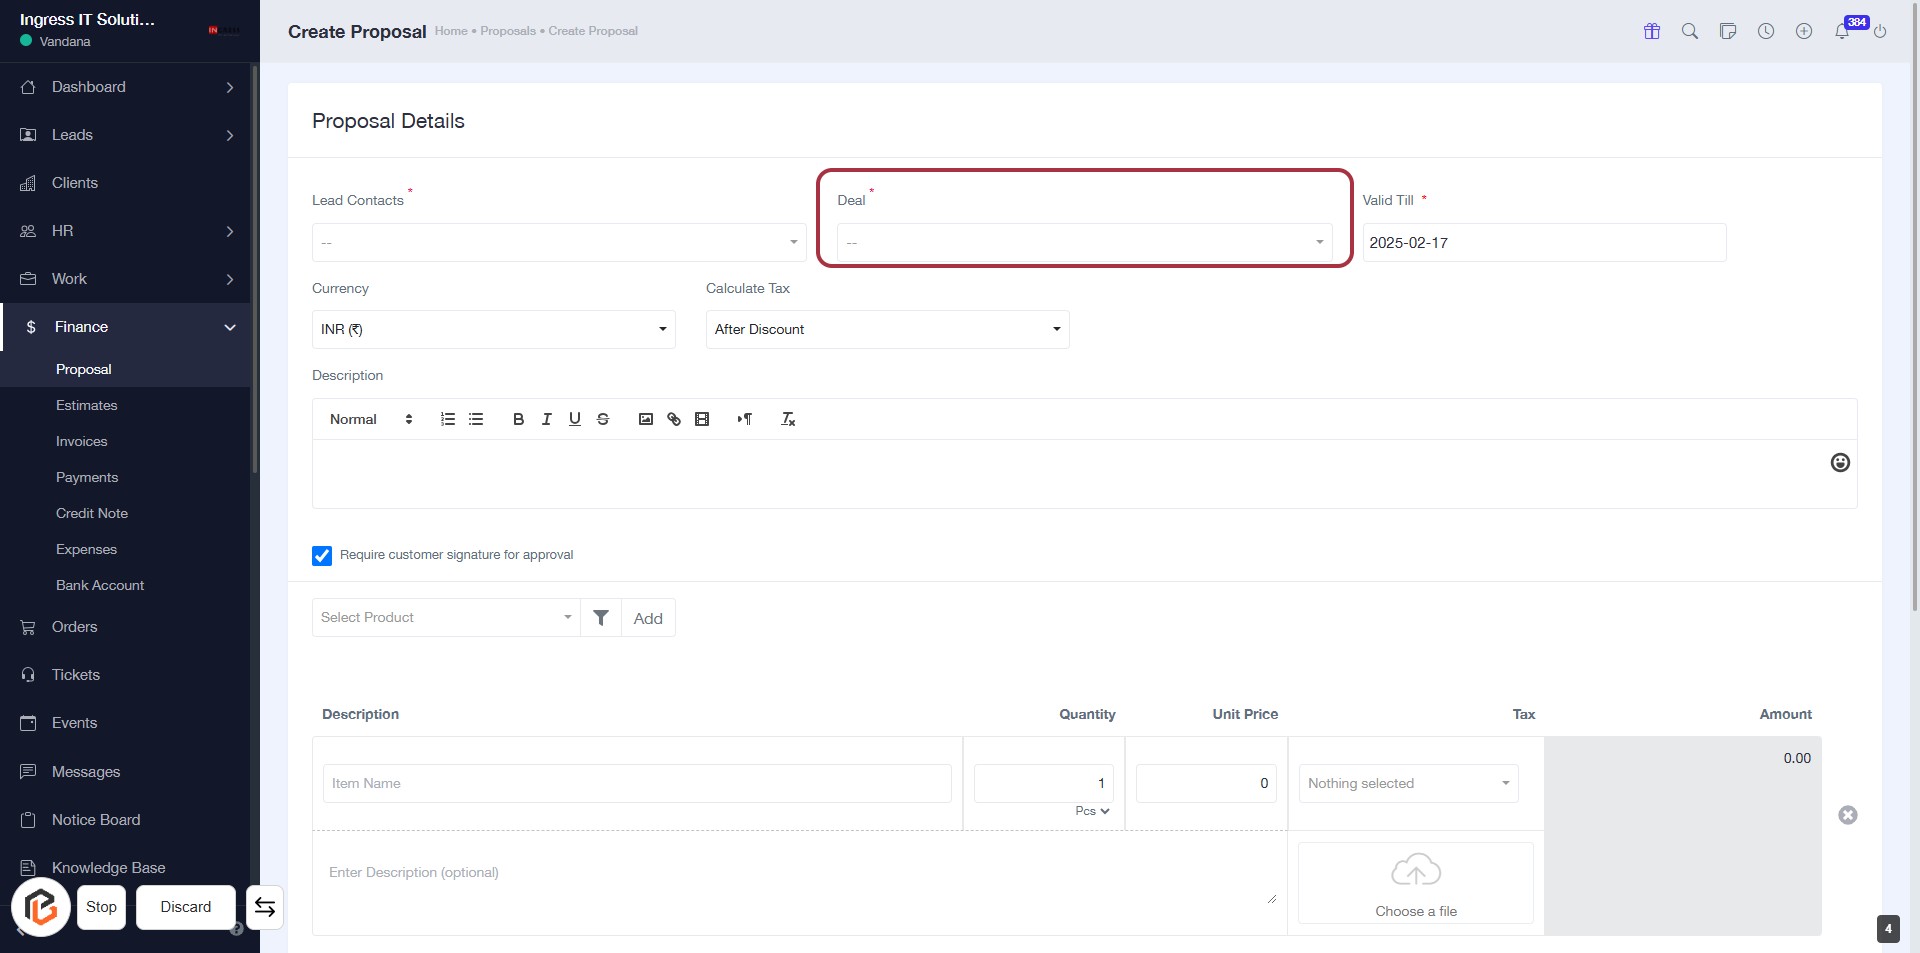
STEP 5: Select "Deal"
- Click on the "Deal" field highlighted in red.
- Ensure to fill in the required information as indicated by the asterisk (*).
- This field is mandatory for proceeding with the proposal.
- After selecting the deal, continue to the next step to enter the "Valid Till" date.
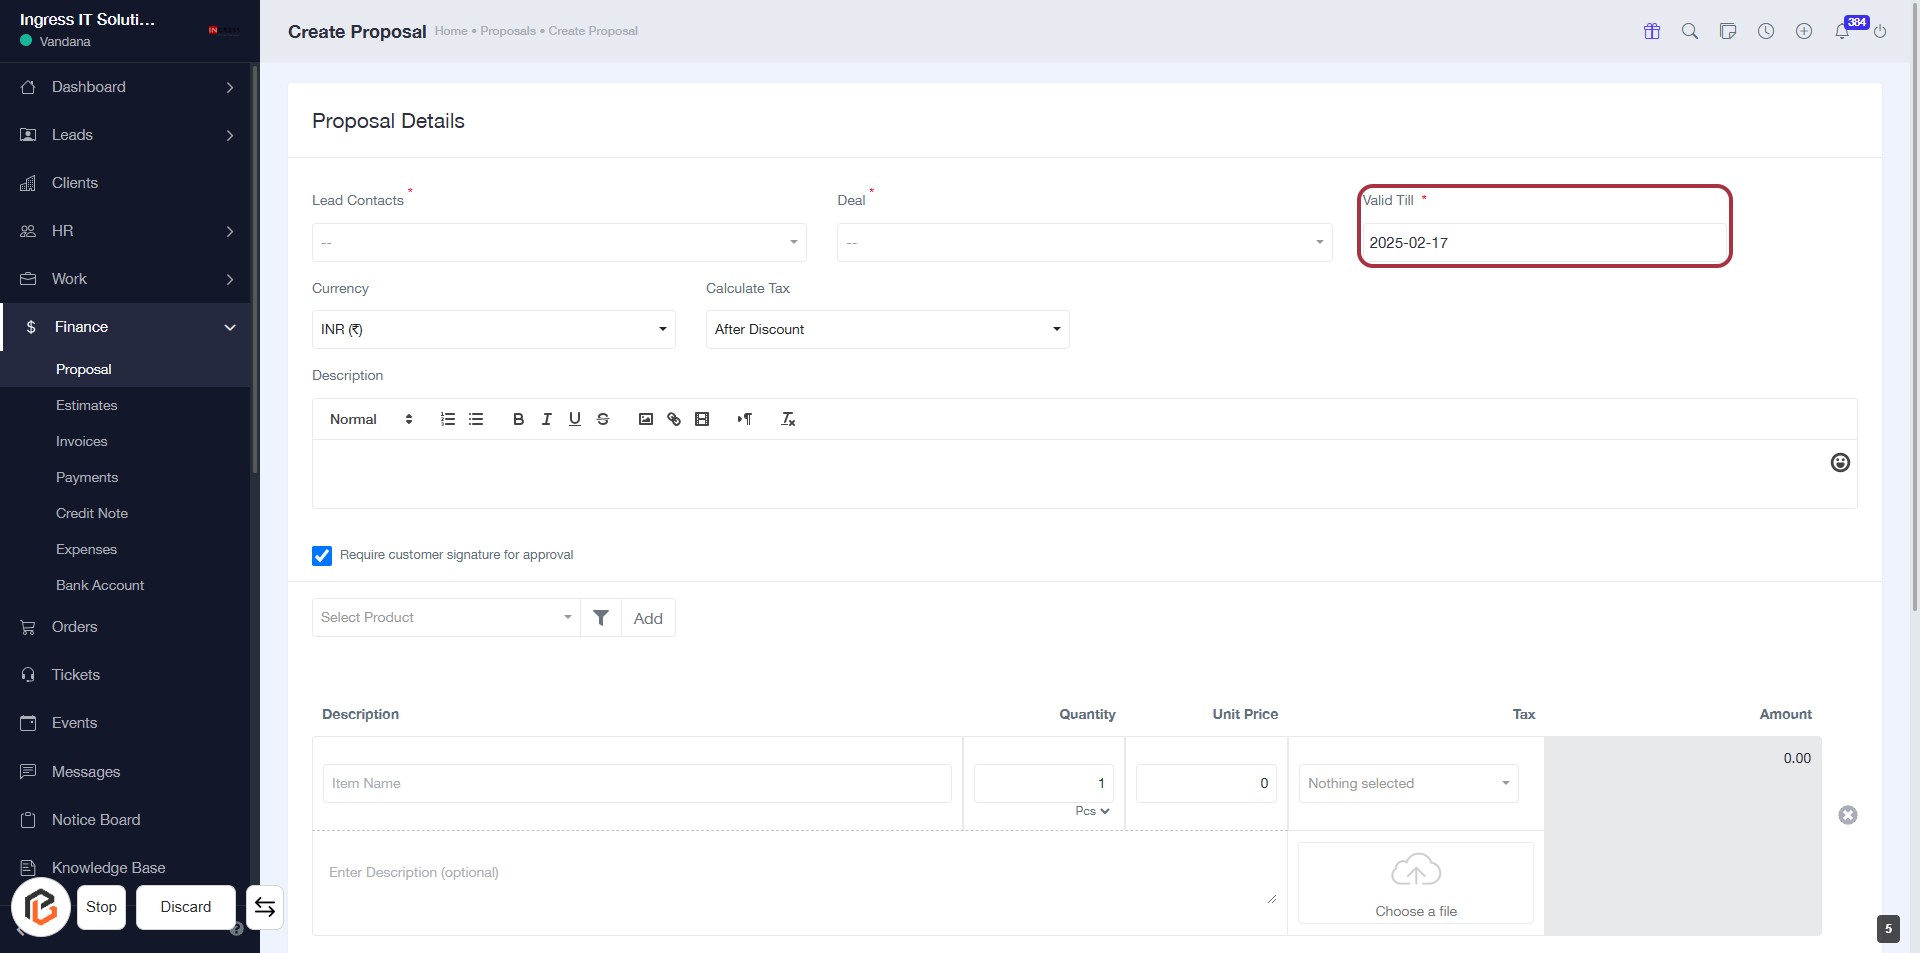
STEP 6: Enter "Valid Till"
- Click on the "Valid Till" field to set the expiration date for the proposal.
- Ensure the field is marked with an asterisk (*) indicating it's a required input.
- Enter the date in the format YYYY-MM-DD.
- Review other fields in the Proposal Details section for completeness.
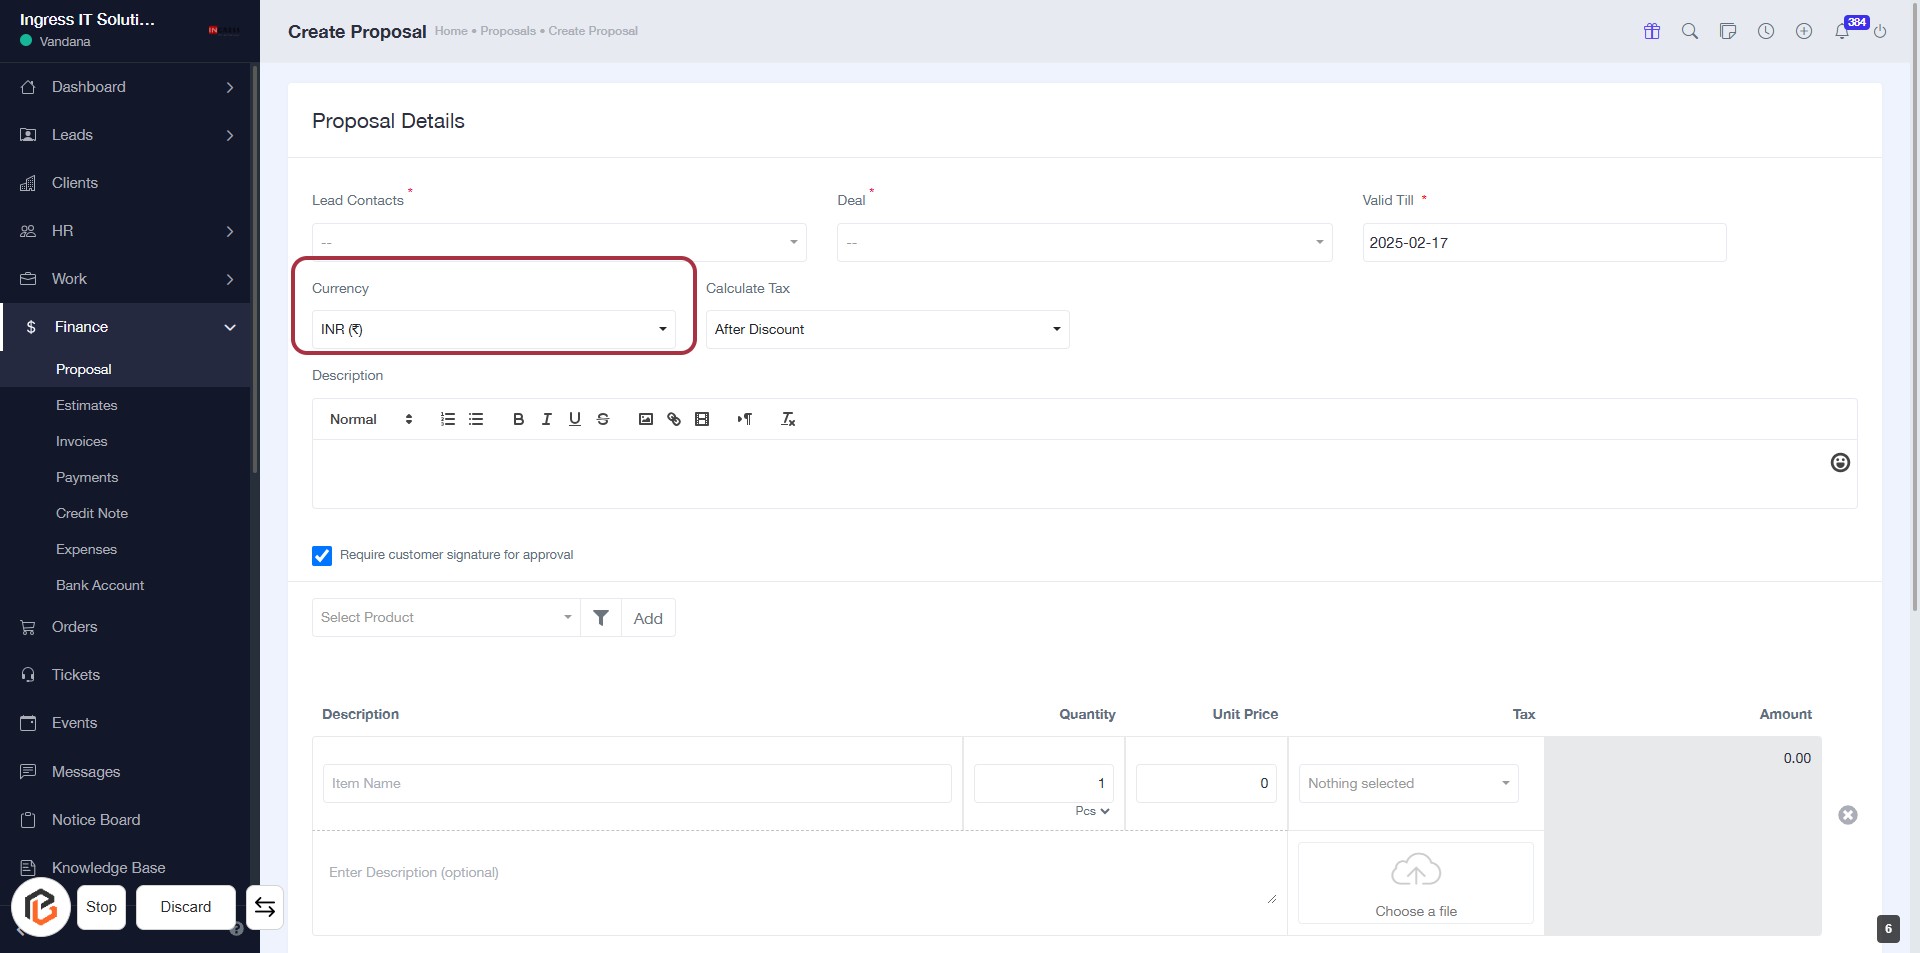
STEP 7: Select Currency
- Click on the "Currency" field highlighted in red.
- Choose the appropriate currency from the dropdown menu.
- Ensure that the selection aligns with your proposal requirements.
- Proceed to the next step by selecting from "Calculate Tax".
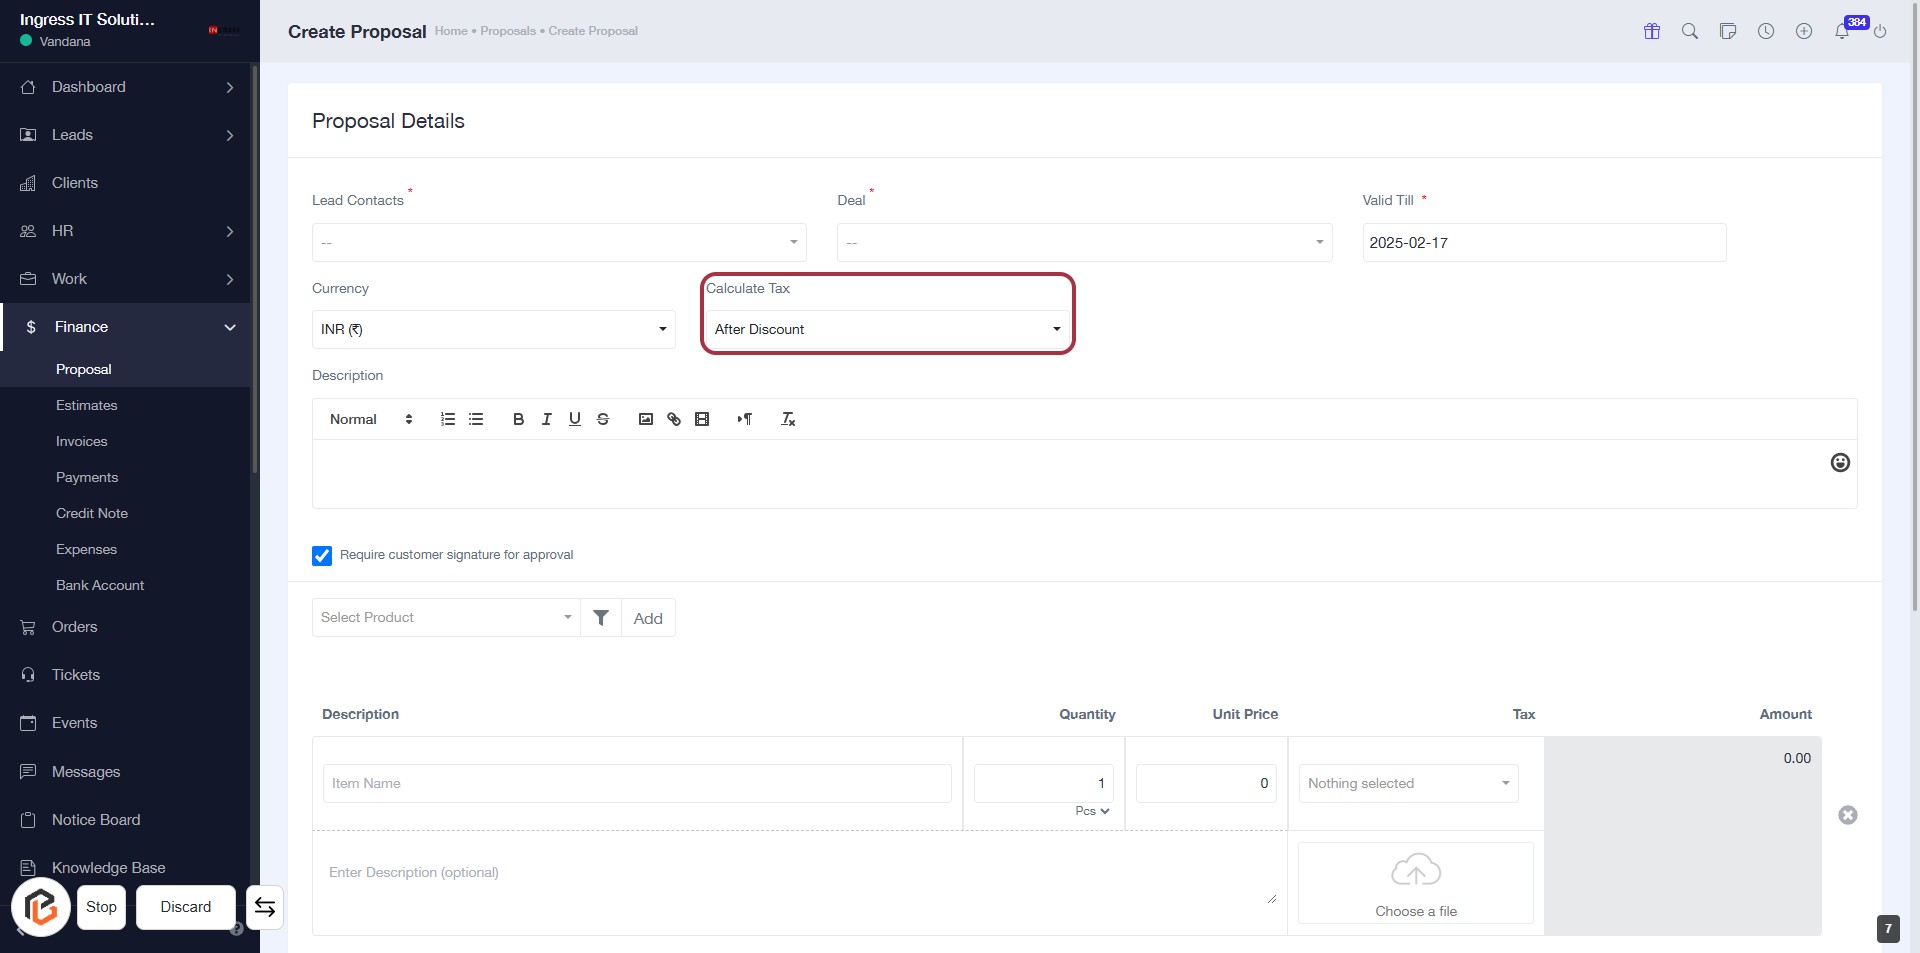
STEP 8: Click "Calculate Tax" to Set Tax Calculation Method
- Locate the "Calculate Tax" dropdown in the Proposal Details section.
- Click on the dropdown to view available options.
- Select your preferred tax calculation method (e.g., "After Discount").
- Ensure all required fields are filled before proceeding to the next step.
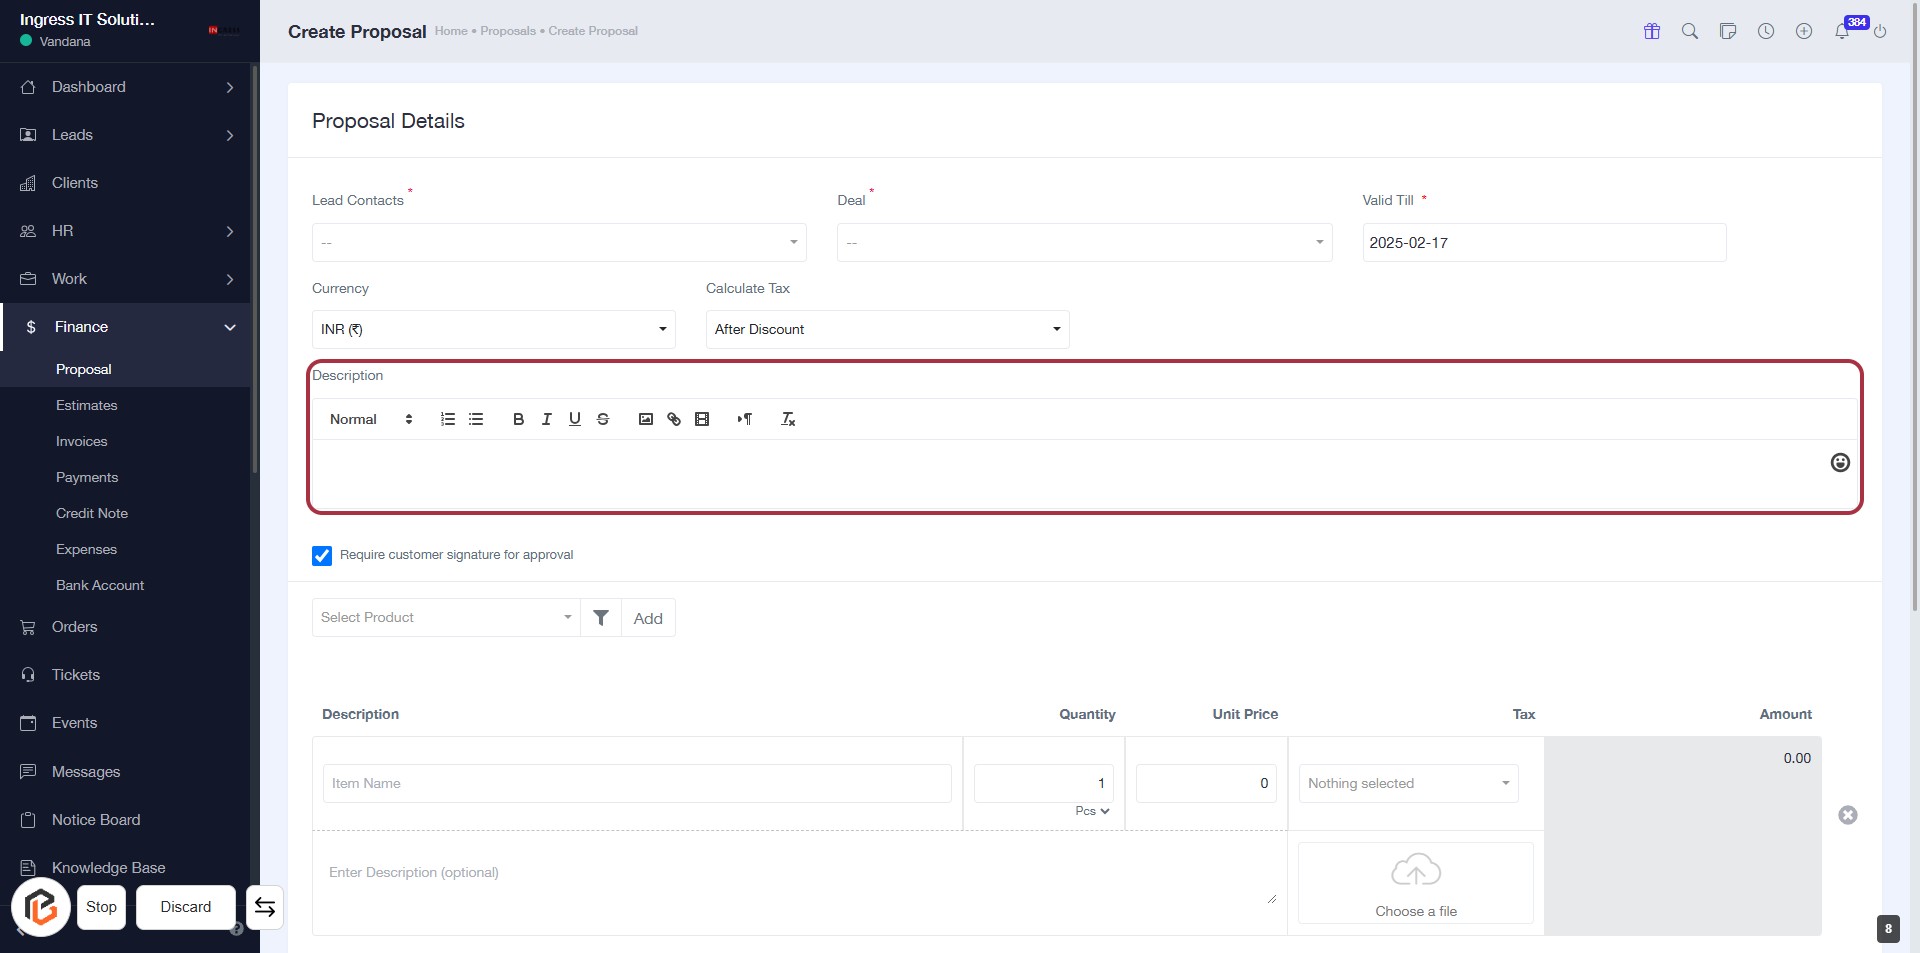
STEP 9: Click "Description" to Add Proposal Details
- Locate the "Description" section highlighted in red.
- Click on the area to open the text editor.
- Enter relevant details about the proposal.
- Use formatting options (bold, italics, etc.) as needed.
- Ensure all required fields are filled before proceeding.
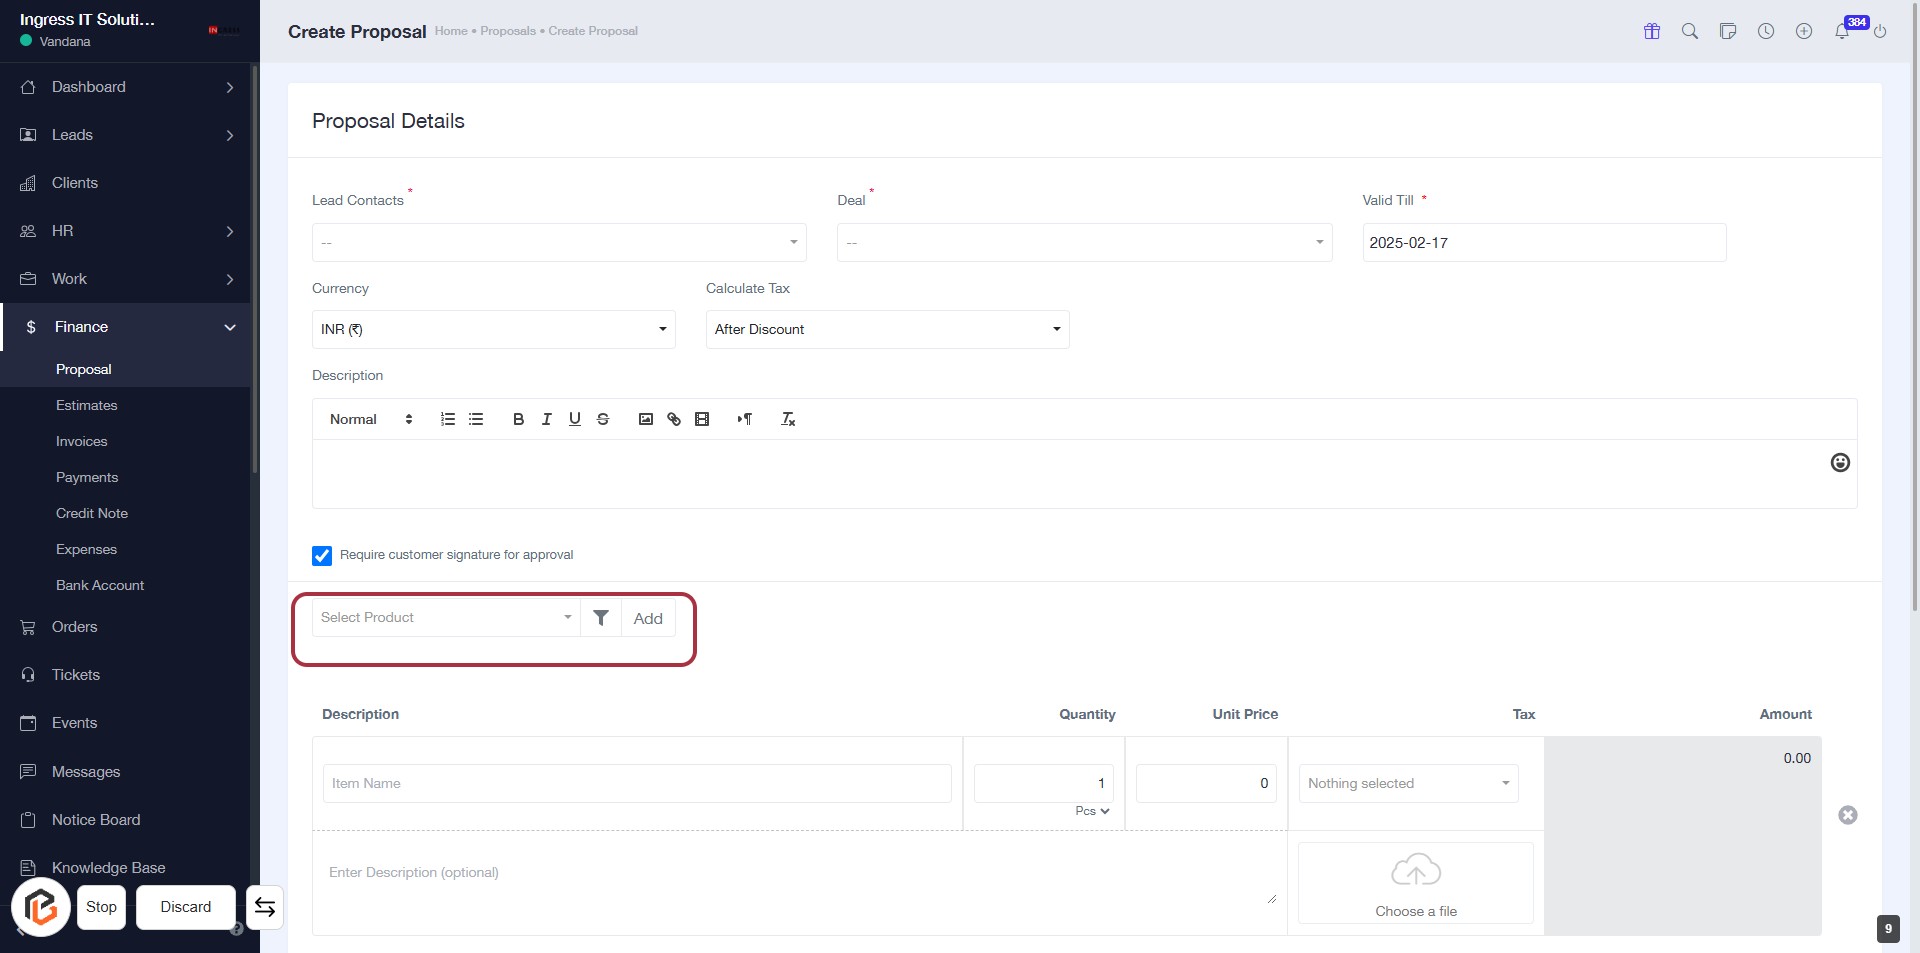
STEP 10: Click on "Select Product"
- Navigate to the "Select Product" dropdown.
- Click to view available product options.
- Choose the desired product from the list.
- Ensure to fill in any required fields marked with an asterisk (*).
- Proceed to the next step by entering the "Quantity."
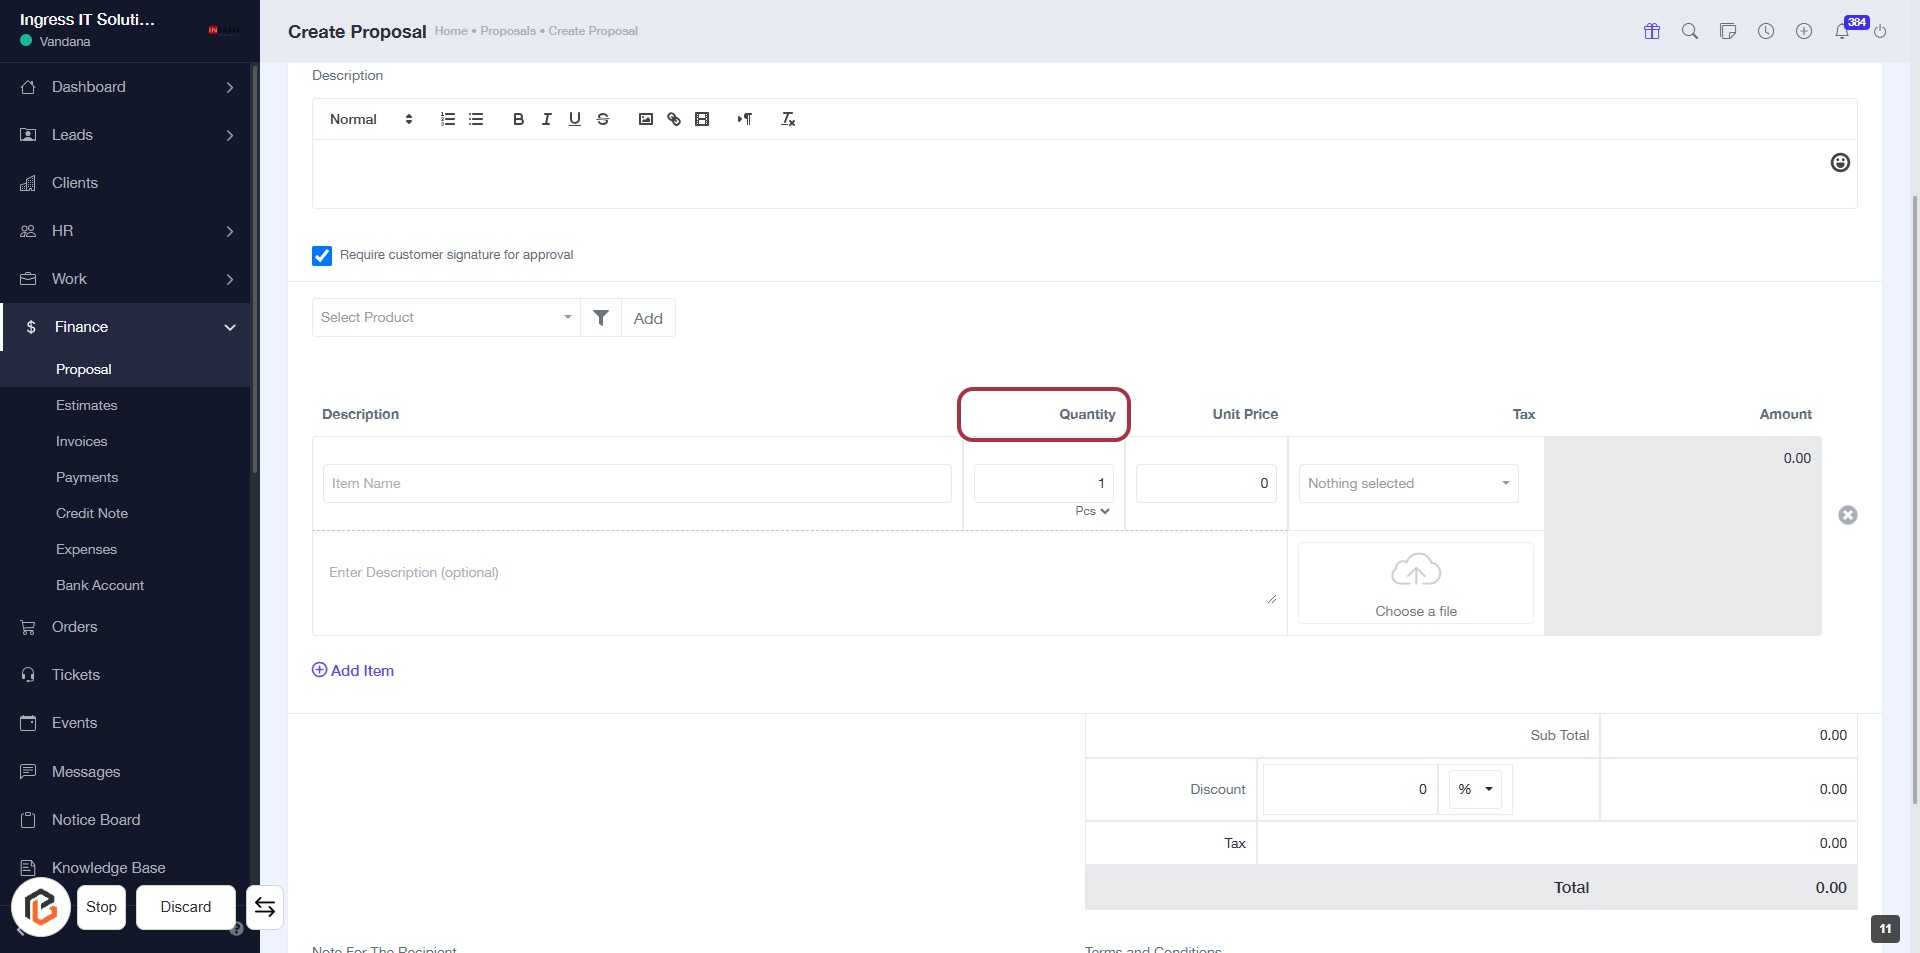
STEP 11: Enter Quantity in the Proposal Form
- Click on the "Quantity" field highlighted in red.
- Input the desired quantity for the selected product.
- Ensure the quantity is a positive integer.
- Review other fields for accuracy before proceeding to the next step.
STEP 12: Enter "Unit Price"
- Click on the "Unit Price" field in the proposal form.
- Ensure that the quantity is already entered.
- This field is essential for calculating the total amount.
- After entering the unit price, proceed to the next step to upload a file.

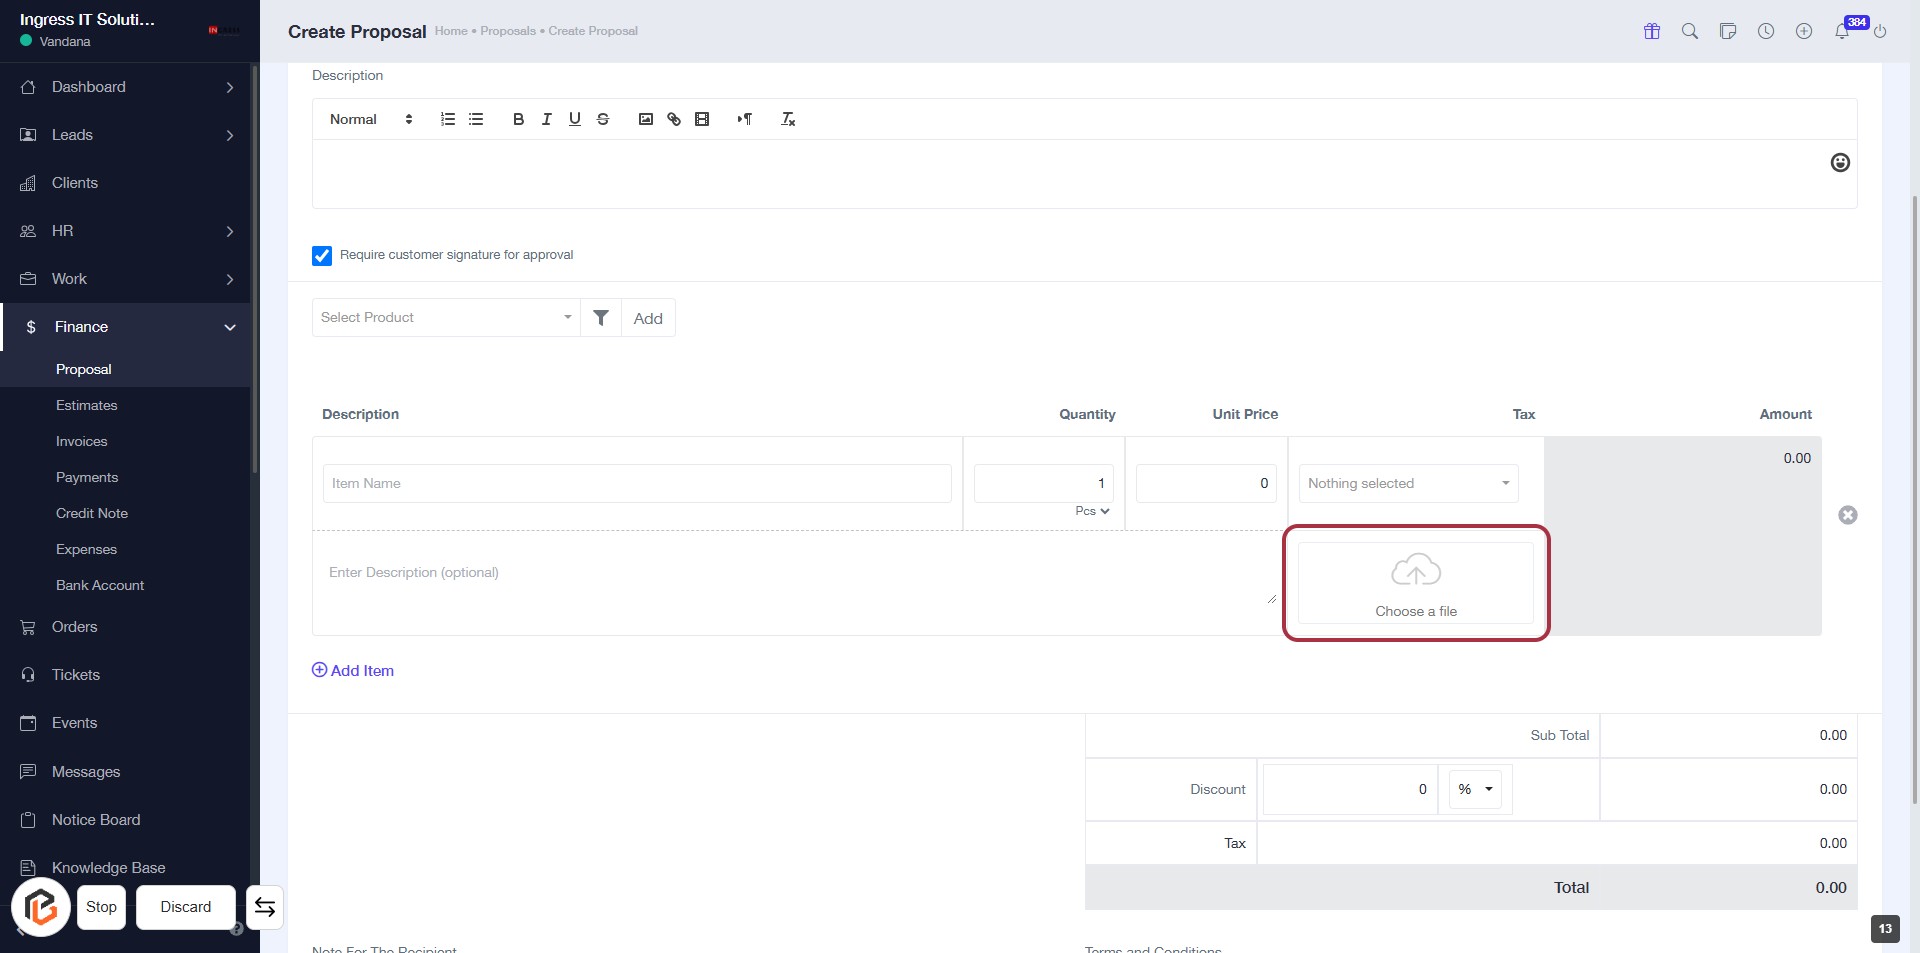
STEP 13: Click to Upload a File in "Choose a file"
- Locate the "Choose a file" button highlighted in red.
- Click on the button to open the file selection dialog.
- Select the desired file from your device.
- Ensure the file is uploaded successfully; look for any error messages if it fails.
- Proceed to the next step by clicking on "Add Item."
STEP 14: Click on "Add Item"
- Click on the "Add Item" button to include a new item in your proposal.
- Ensure to fill in the required fields such as Item Name, Description, Quantity, and Unit Price.
- Optional fields may include Discount and Tax.
- After adding items, proceed to write a note for the recipient in the next step.

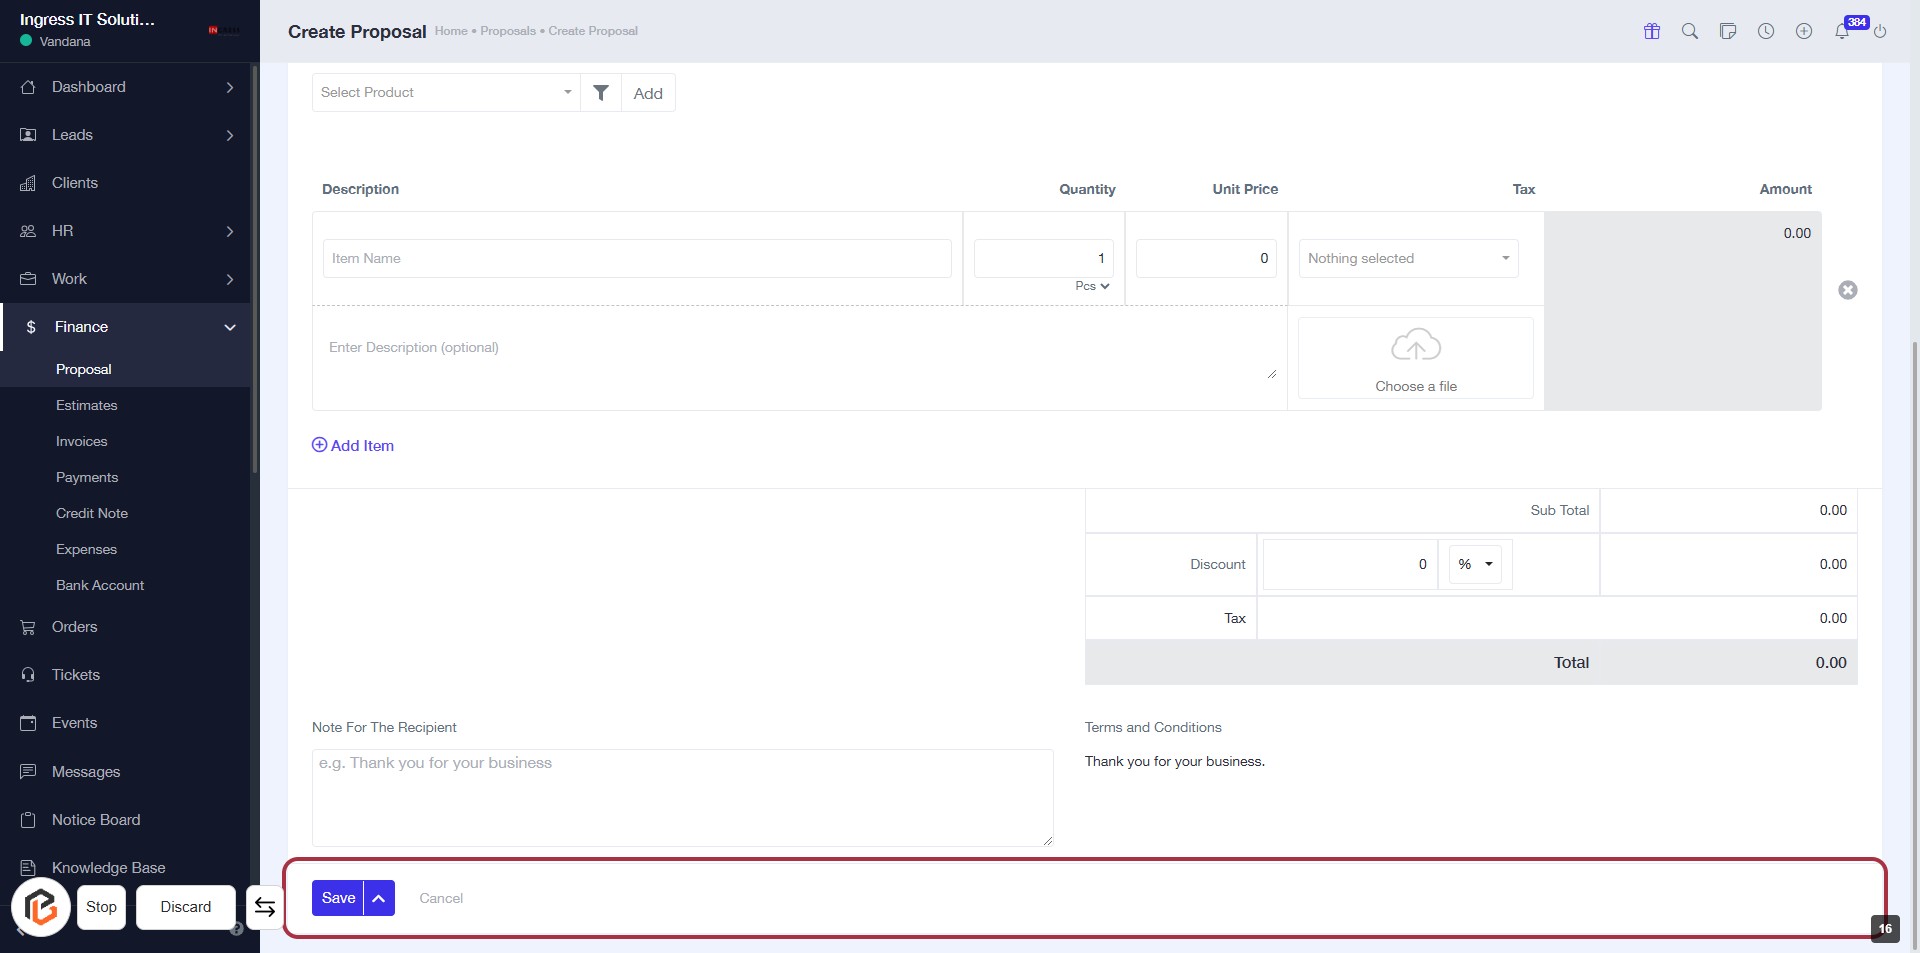
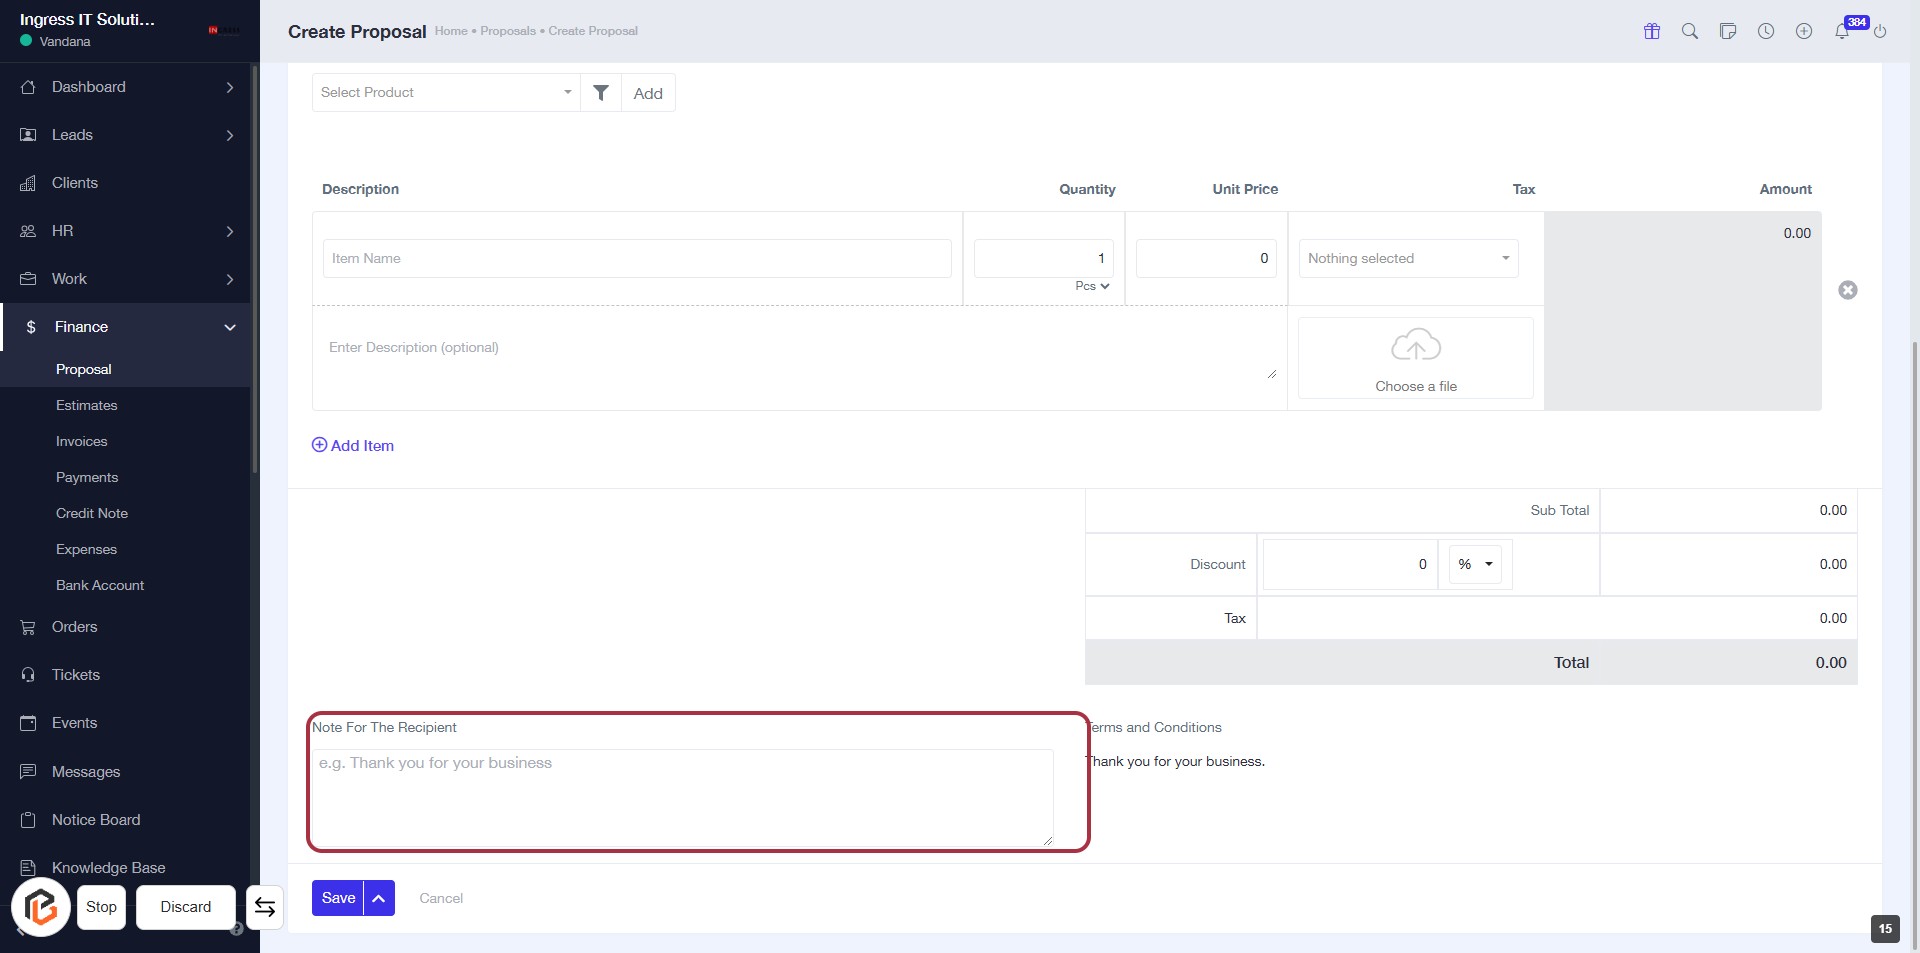
STEP 15: Click on "Note for the Recipient"
- Locate the highlighted area labeled "Note For The Recipient."
- Click on the text area to enter your message.
- Provide a personalized note for the recipient (e.g., "Thank you for your business").
- Ensure that the note is clear and concise.
- Proceed to the next step by clicking on the "Save" button.
STEP 16: Click on "Save" to Finalize Your Proposal
- Ensure all required fields are filled out, including "Item Name" and "Quantity."
- Review the "Note For The Recipient" section for any additional messages.
- Click the Save button located at the bottom of the form to save your proposal.
- Confirm that the proposal is saved successfully before exiting.