Step-by-Step Guide: Creating and Managing Estimates on the Dashboard
17 mins read · Updated 29 Sep, 2025
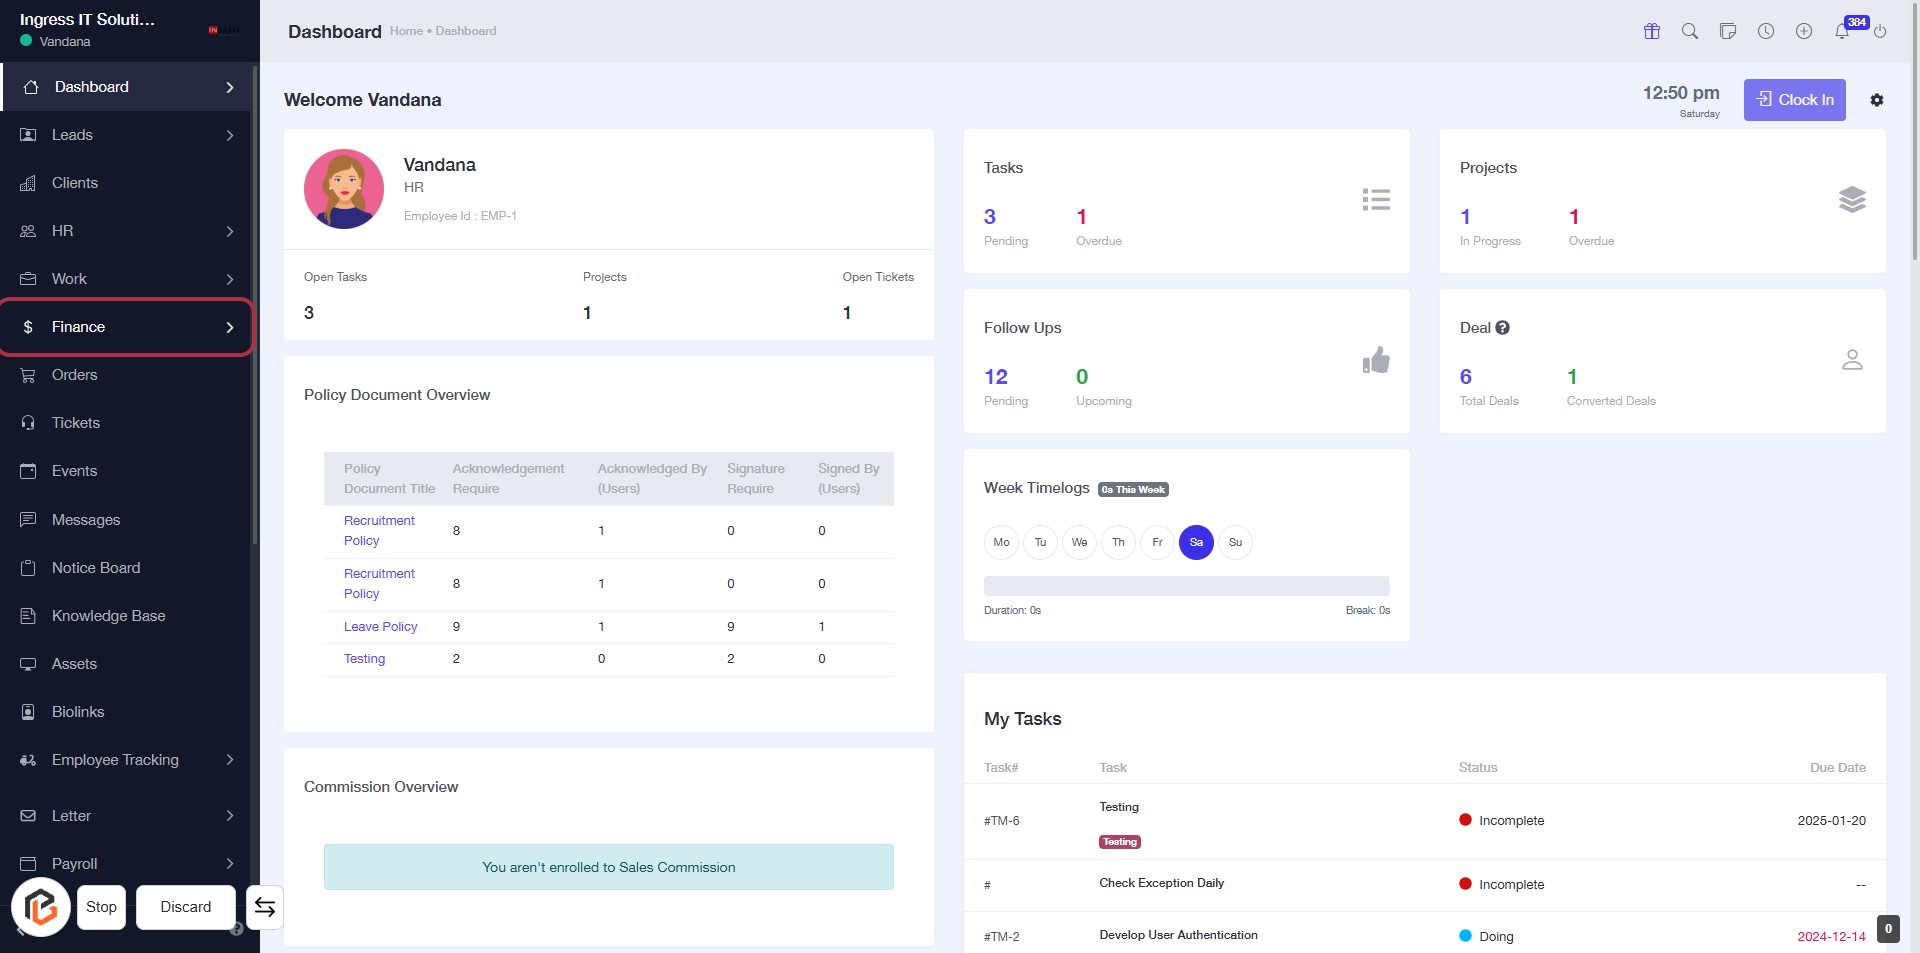
STEP 1: Click on "Finance" in the Dashboard
- Navigate to the sidebar menu on the left.
- Click on the Finance link to access financial information.
- Ensure you are on the Dashboard page for context.
- After clicking, you will see various financial metrics and documents.
Proceed to the next step by going to Estimates.
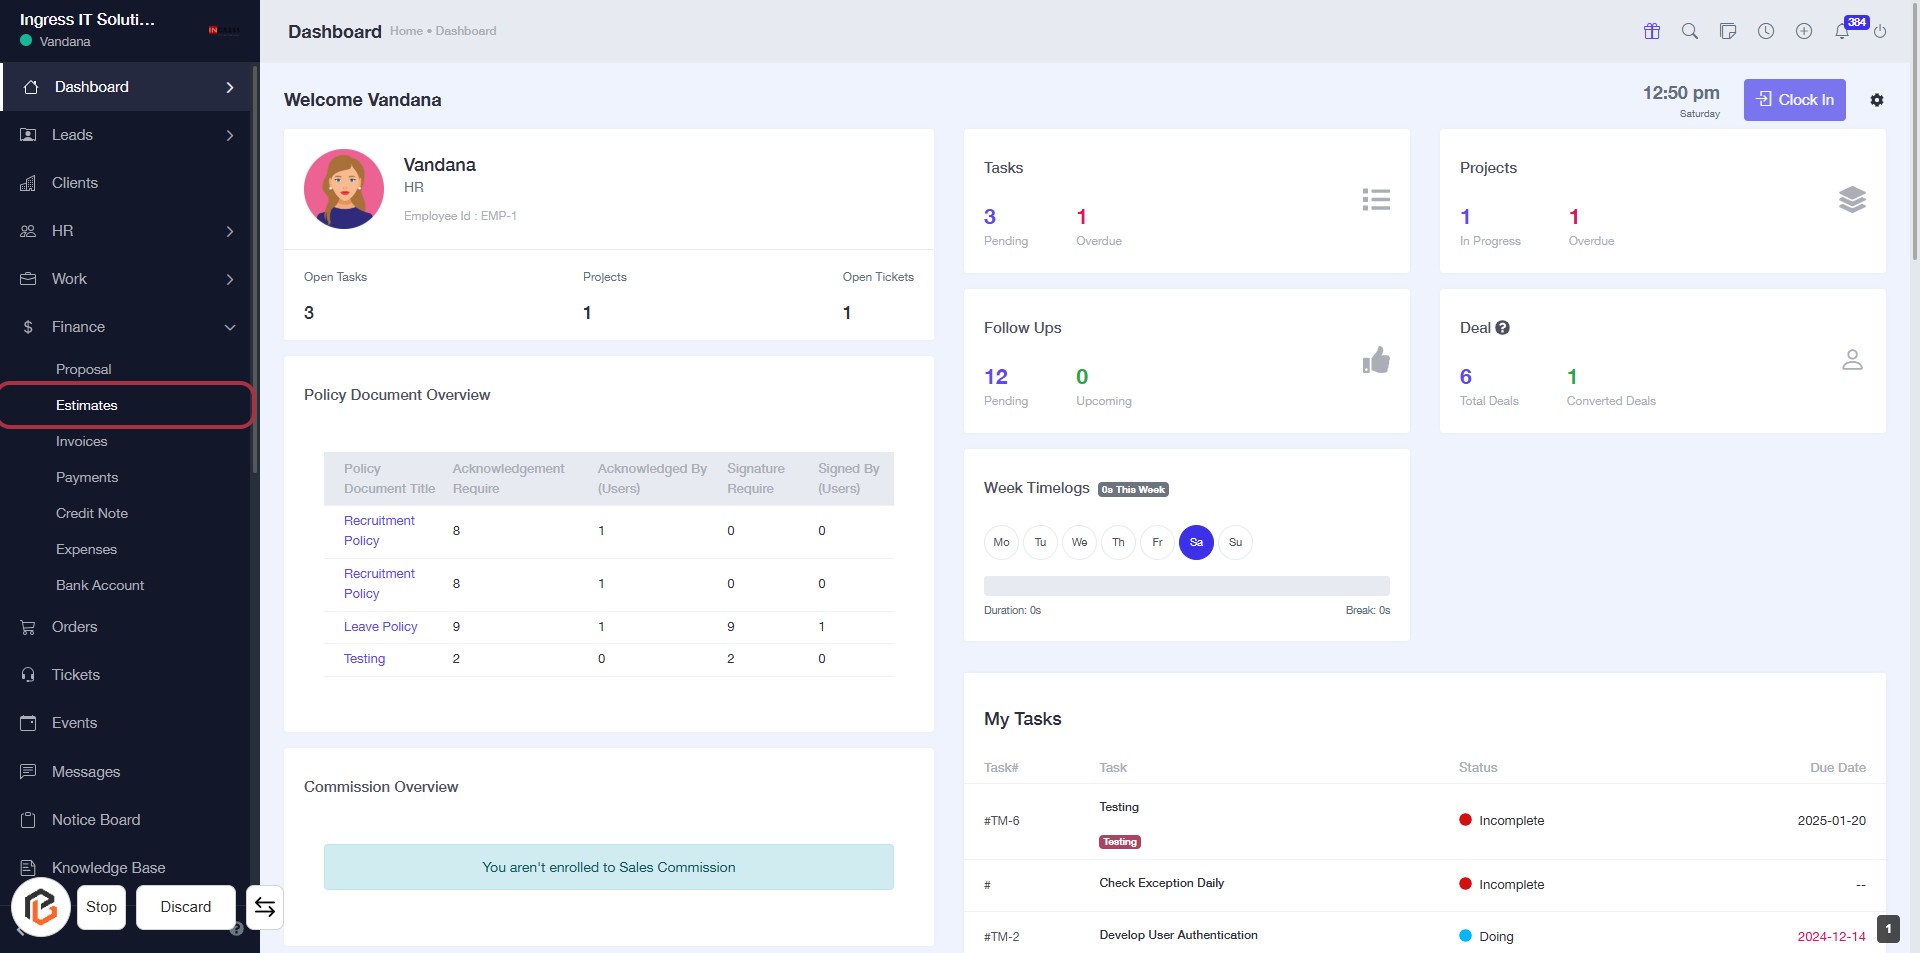
STEP 2: Click on "Estimates" in the Dashboard
- Navigate to the left sidebar menu.
- Locate and click on the Estimates link highlighted in red.
- This will take you to the Estimates section for further actions.
- Ensure you have the necessary permissions to access this feature.
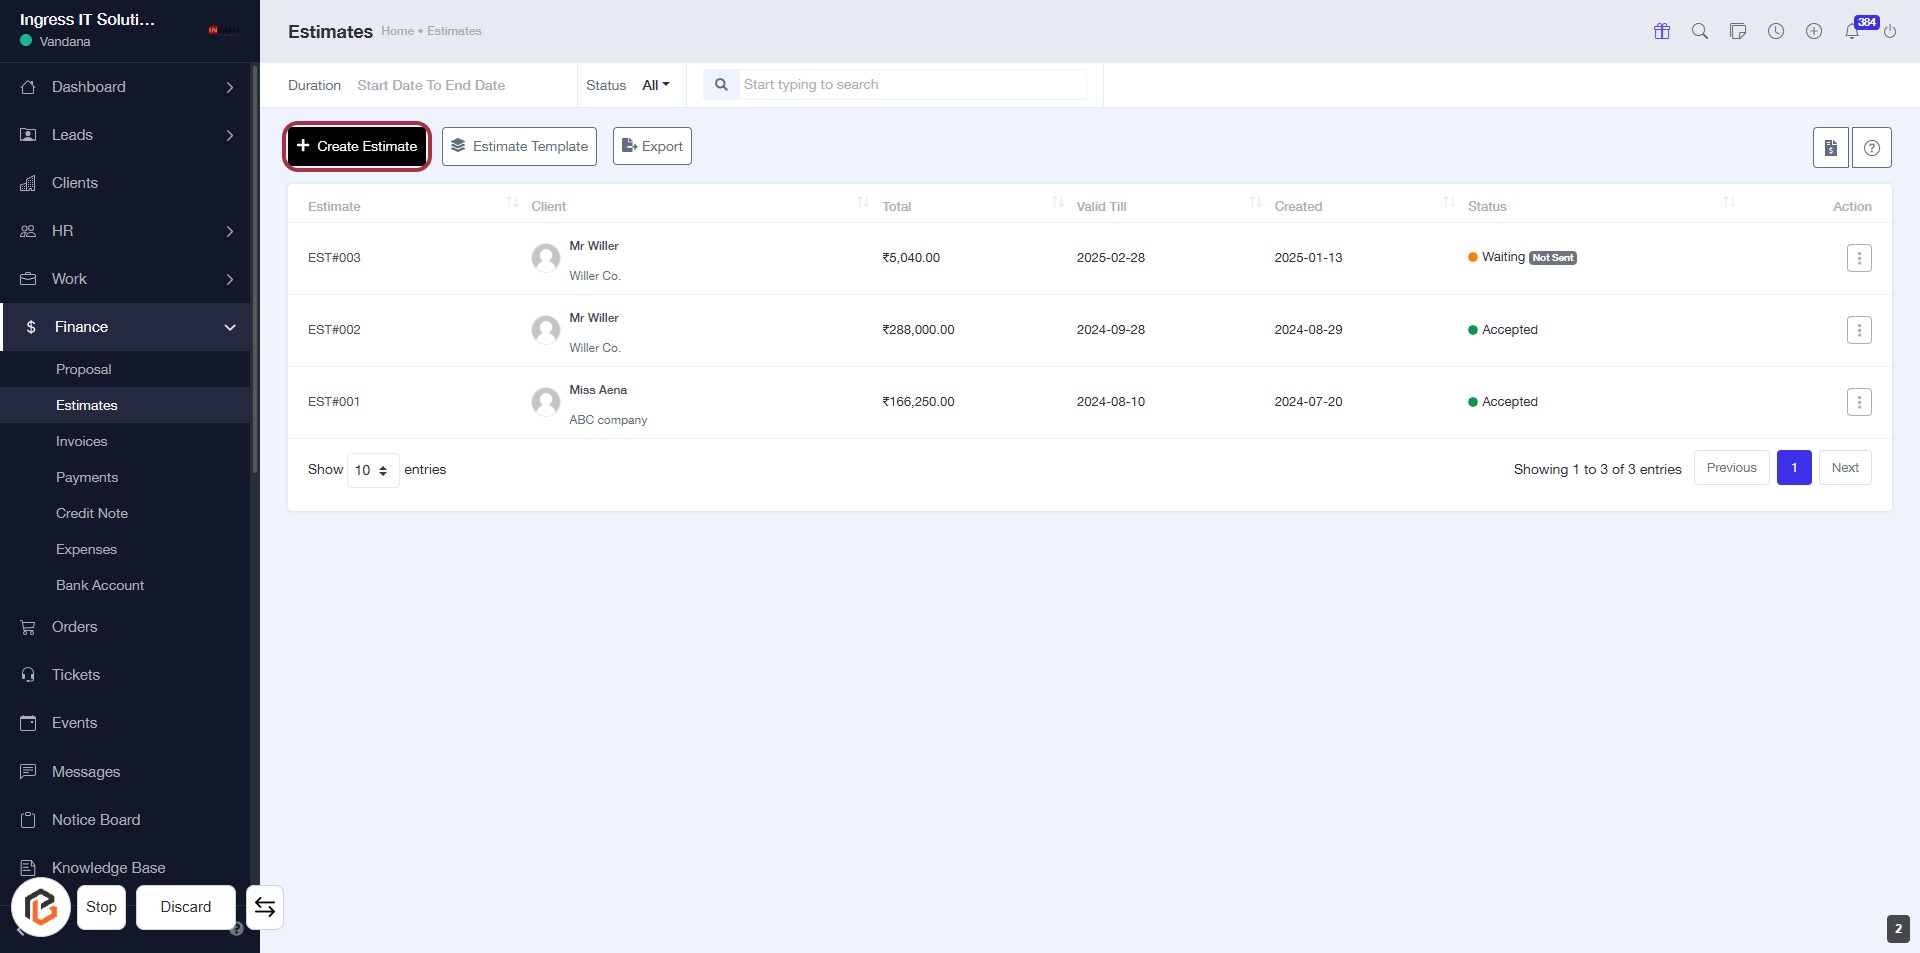
STEP 3: Click on "Create Estimate"
- Navigate to the "Estimates" section in the dashboard.
- Click on the Create Estimate button highlighted in red.
- This action will direct you to the estimate creation form.
- Ensure all required fields marked with an asterisk (*) are filled out in the next step.
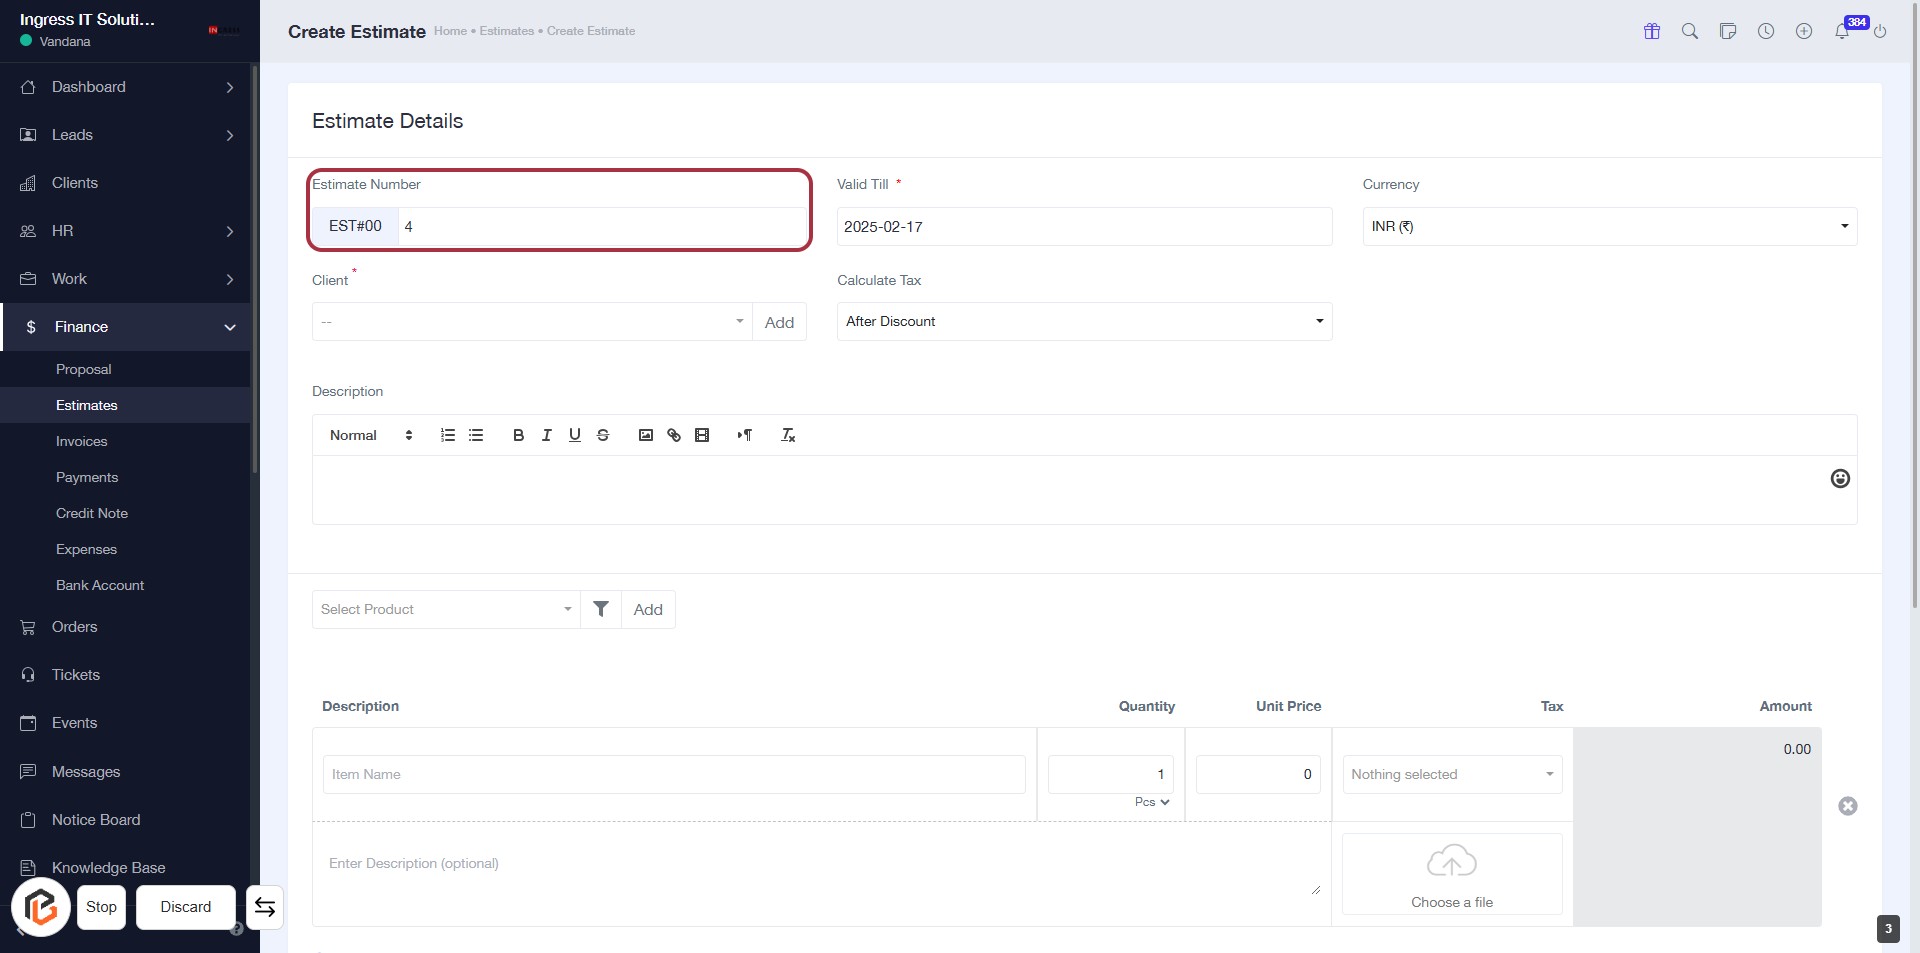
STEP 4: Enter Estimate Number
- Click on the "Estimate Number" field to input your estimate number.
- Ensure the field is filled correctly as it is essential for tracking.
- Look for any asterisk (*) next to the label to identify required fields.
- Proceed to the next step by selecting "Valid Till."
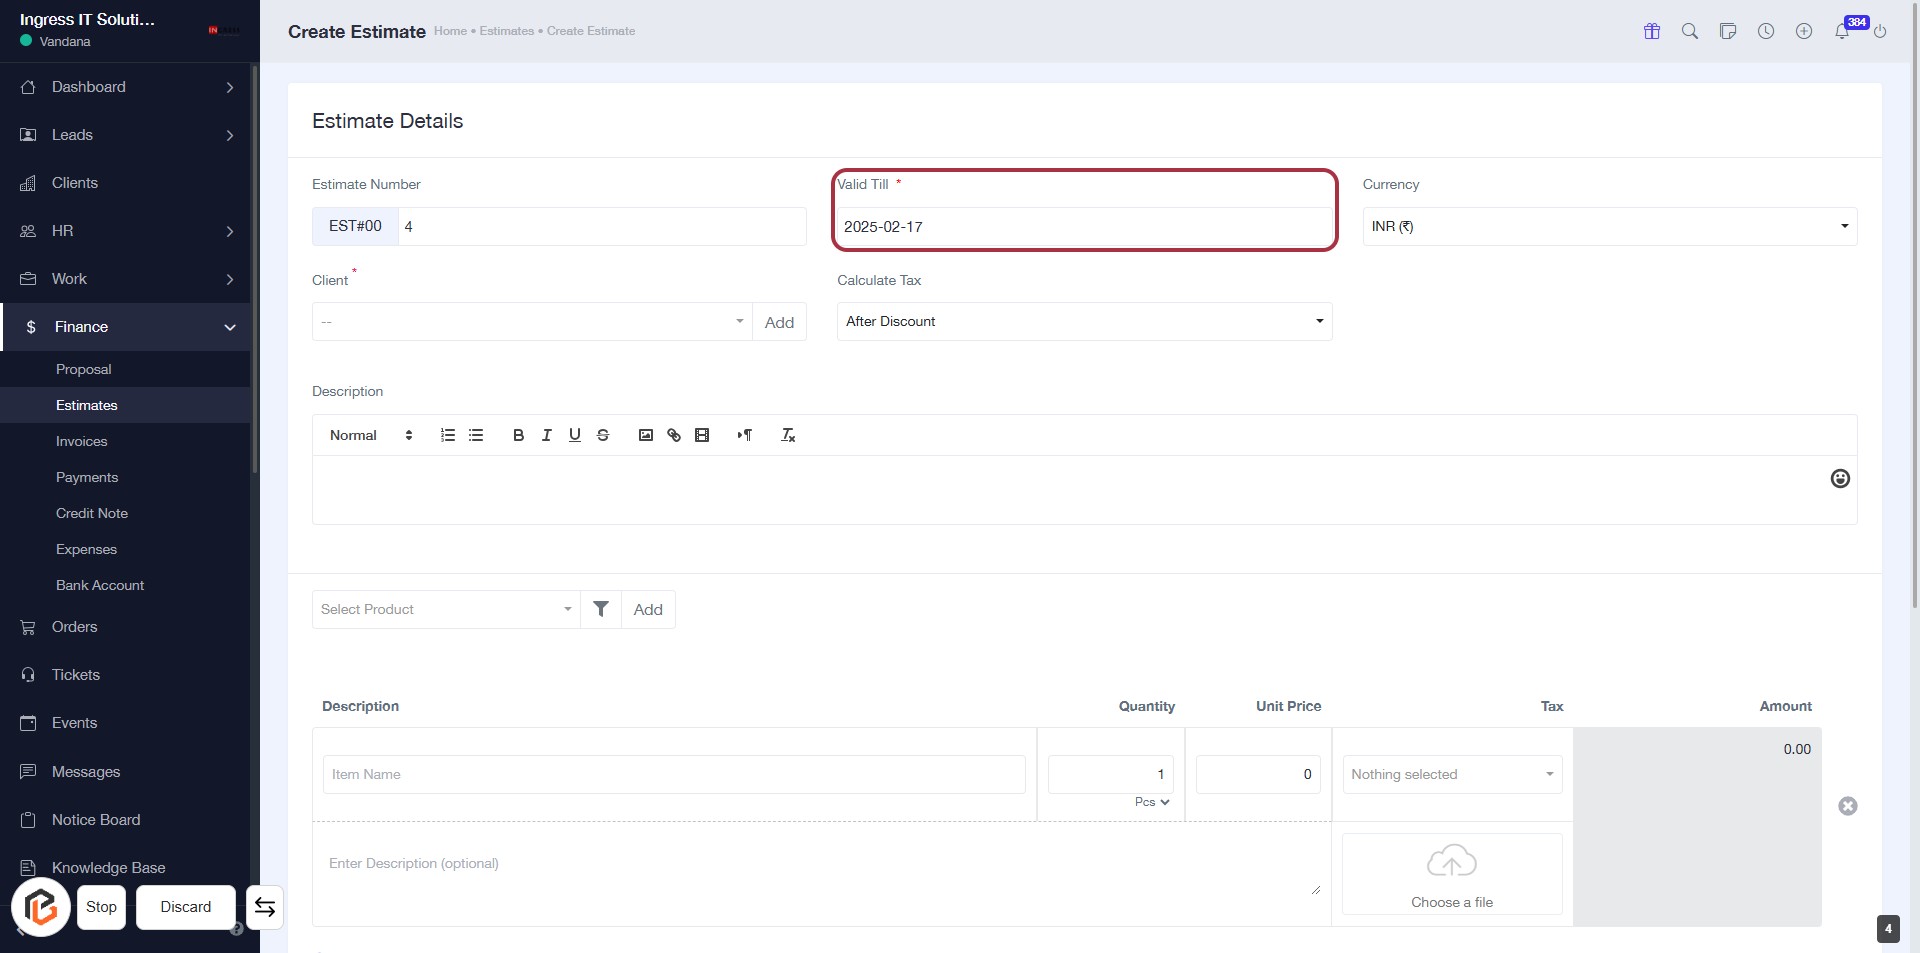
STEP 5: Select "Valid Till"
- Click on the "Valid Till" field to set the expiration date for the estimate.
- Ensure to fill in the required date format.
- The field is marked with an asterisk (*), indicating it is mandatory.
- After entering the date, proceed to the next step to select the currency.
STEP 6: Select "Currency"
- Click on the Currency field highlighted in red.
- A dropdown will appear; select your desired currency from the options.
- Ensure that the currency selection aligns with your estimate requirements.
- Proceed to the next step by selecting Client.

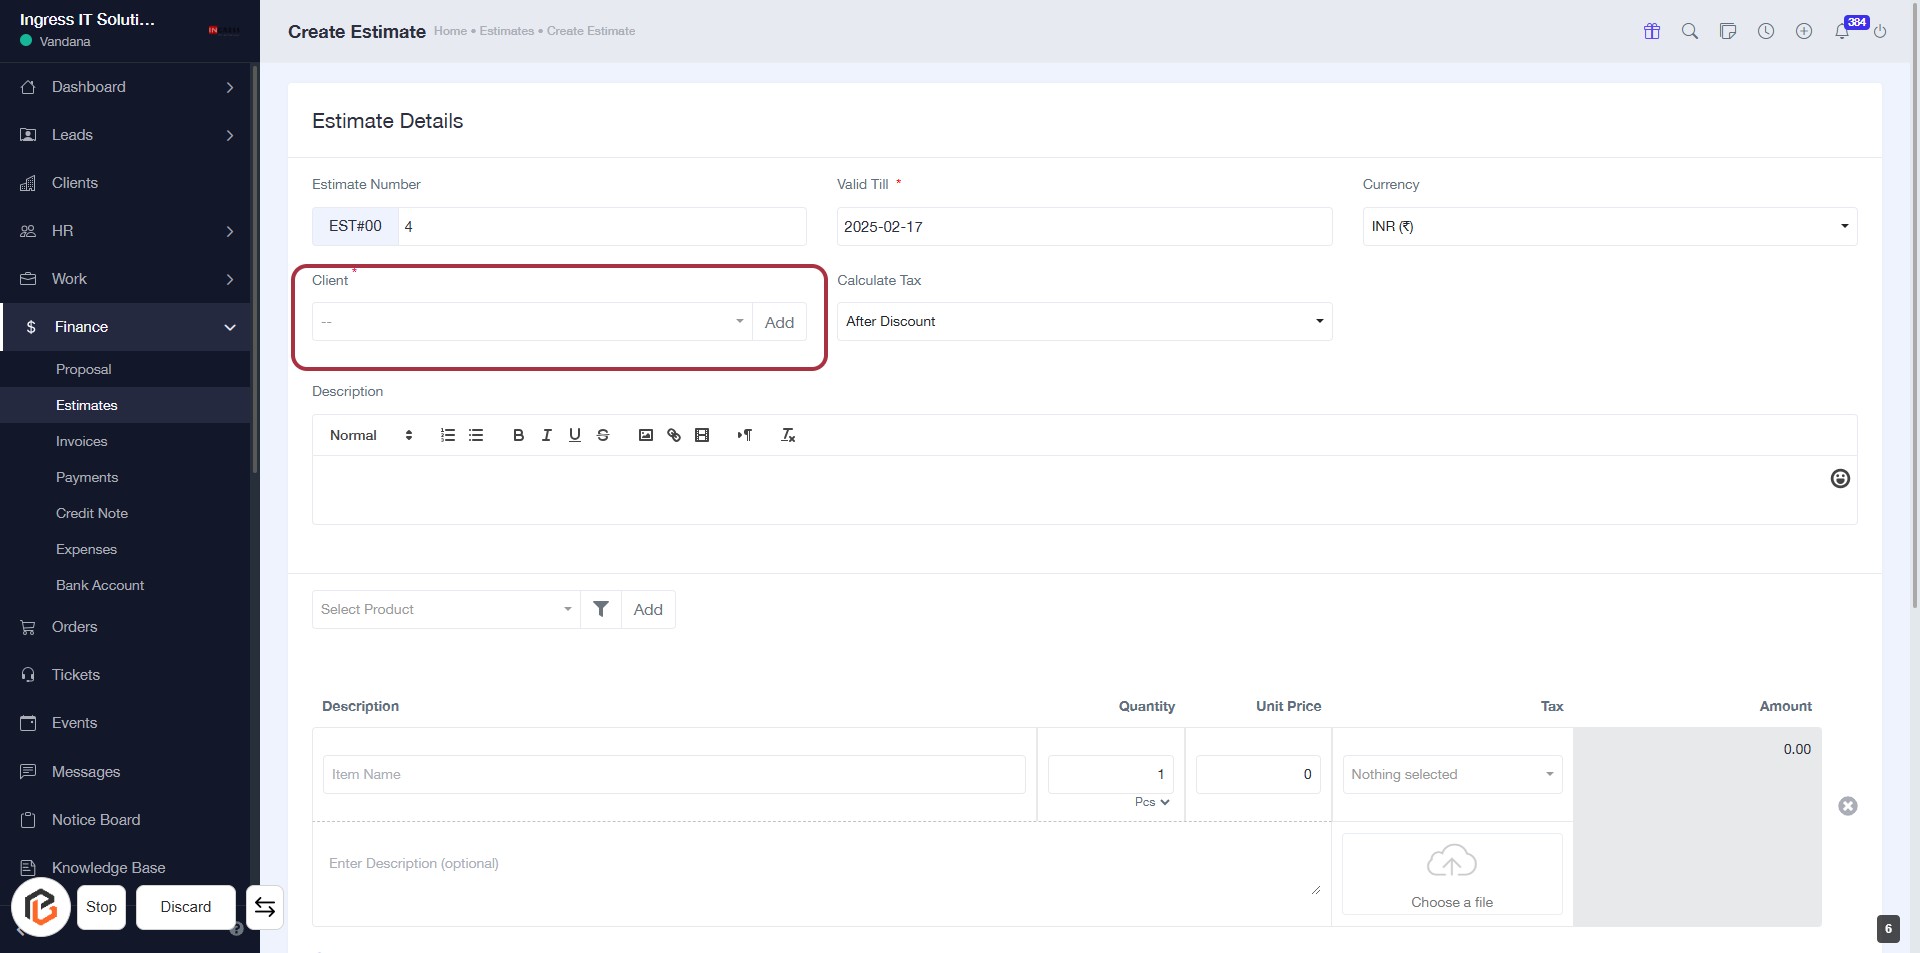
STEP 7: Select "Client"
- Click on the "Client" field (marked with a red border) to open the selection options.
- Ensure to fill in any required fields marked with an asterisk (*).
- After selecting the client, proceed to the next step by selecting from "Calculate Tax."
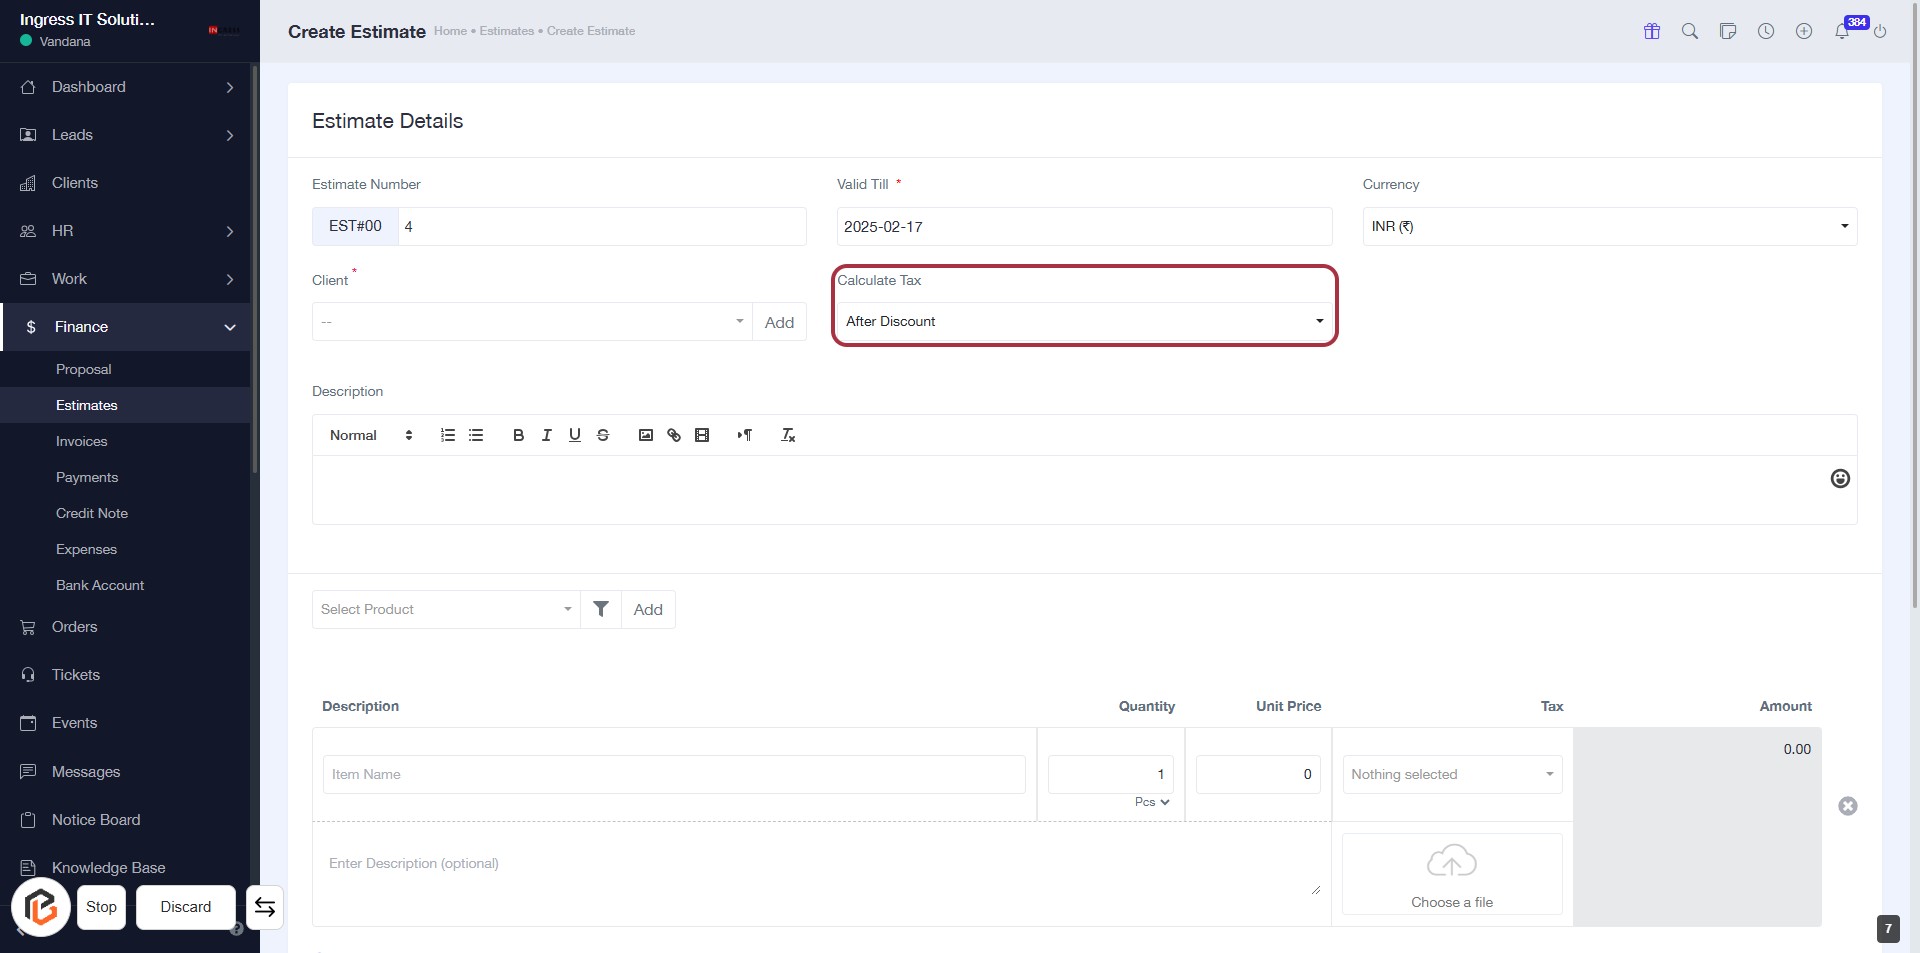
STEP 8: Select "Calculate Tax"
- Click on the "Calculate Tax" dropdown in the Estimate Details section.
- Choose the desired option (e.g., "After Discount") from the dropdown menu.
- Ensure all required fields marked with an asterisk (*) are filled out before proceeding.
- Review your selections before moving to the next step.
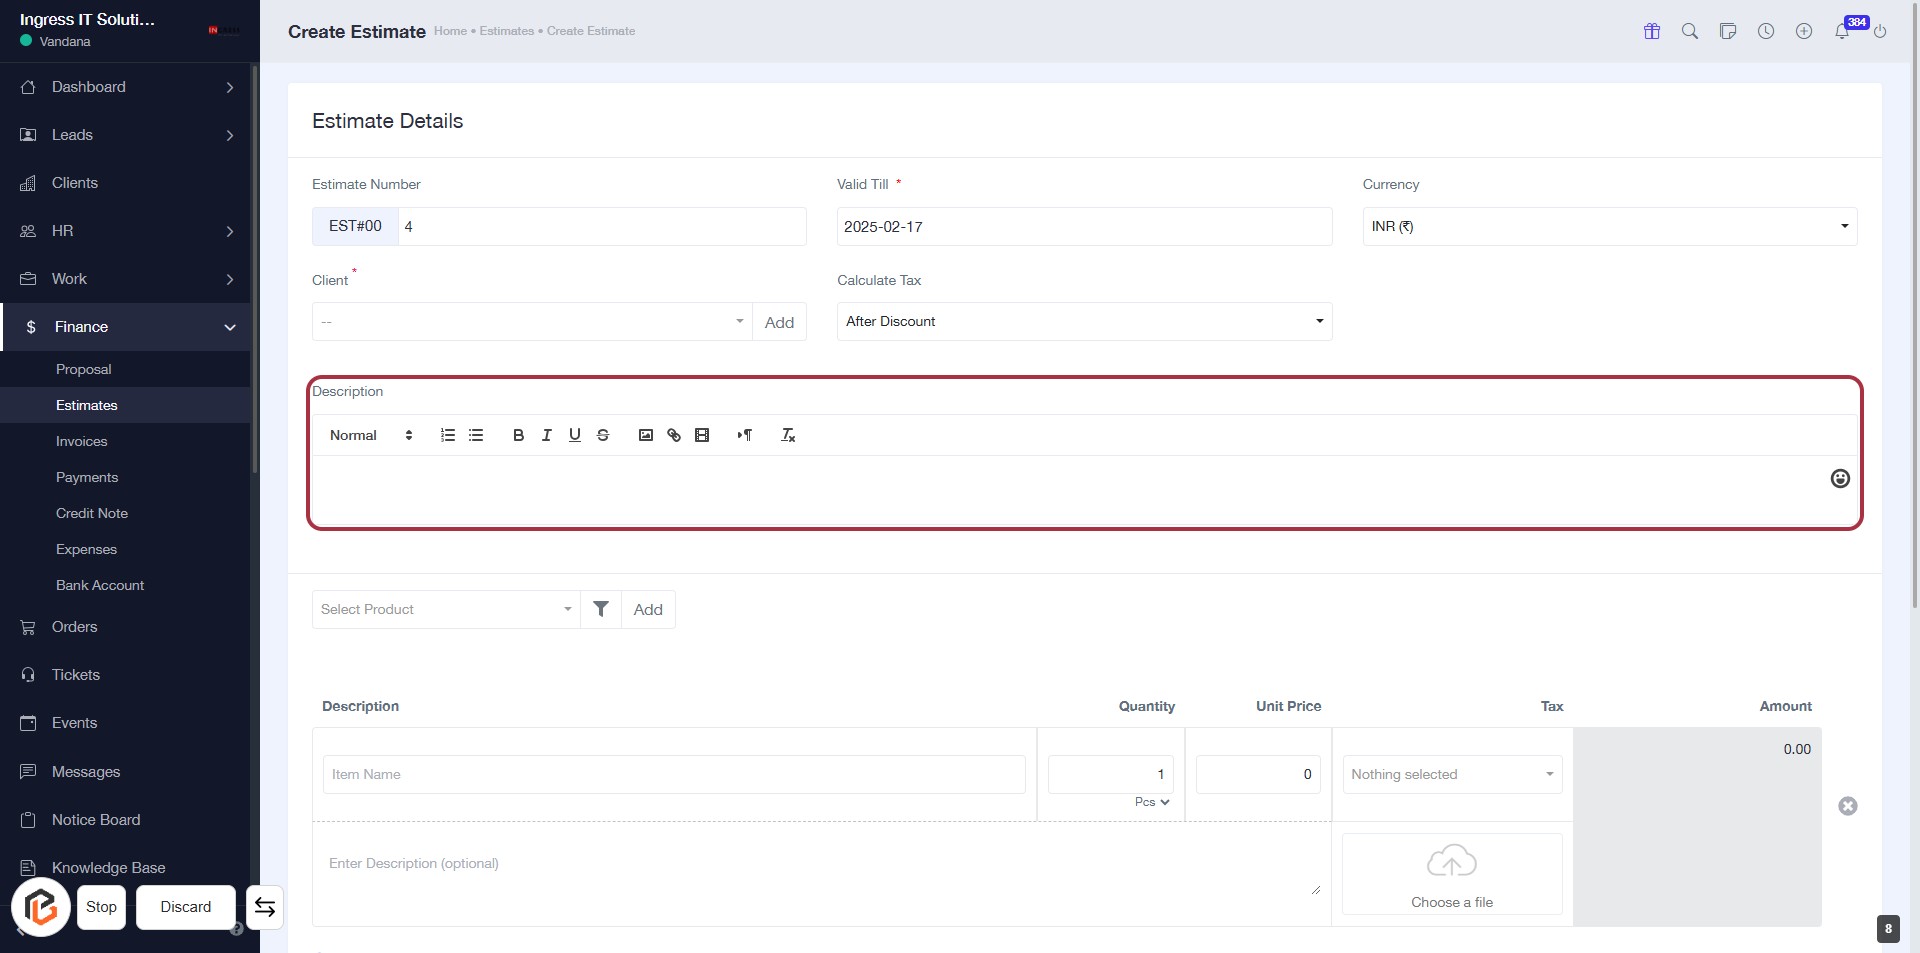
STEP 9: Click on "Description" to Add Details
- Click on the "Description" field to enter relevant information.
- Use the formatting options available (Normal, Bold, Italics, etc.) to style your text.
- Ensure to provide a clear and concise description for better understanding.
- This field is optional but recommended for clarity in estimates.
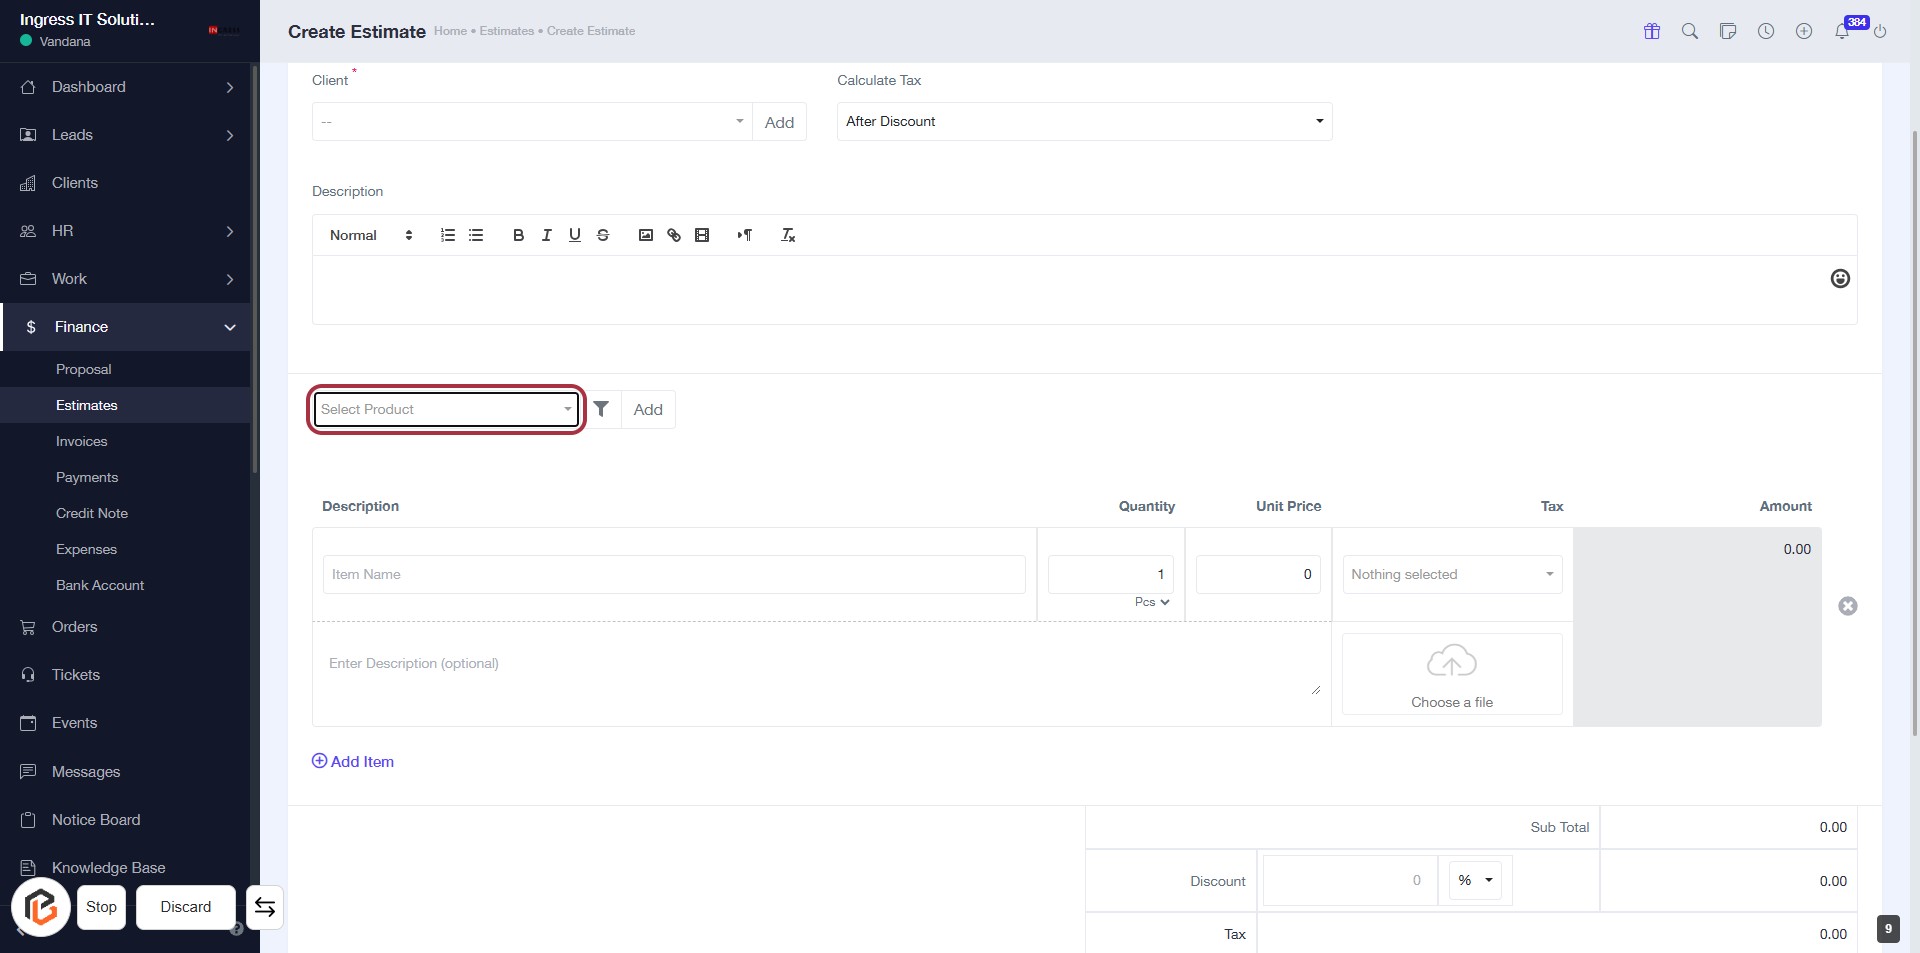
STEP 10: Click on "Select Product"
- Locate the "Select Product" button in the highlighted area.
- Click on the button to open the product selection dropdown.
- Choose the desired product from the list that appears.
- Ensure all required fields marked with an asterisk (*) are filled out before proceeding.
STEP 11: Enter Quantity in the Estimate Form
- Click on the Quantity field highlighted in red.
- Input the desired quantity for the product.
- Ensure the quantity is a numerical value.
- Proceed to the next step by entering the Unit Price after filling in the quantity.

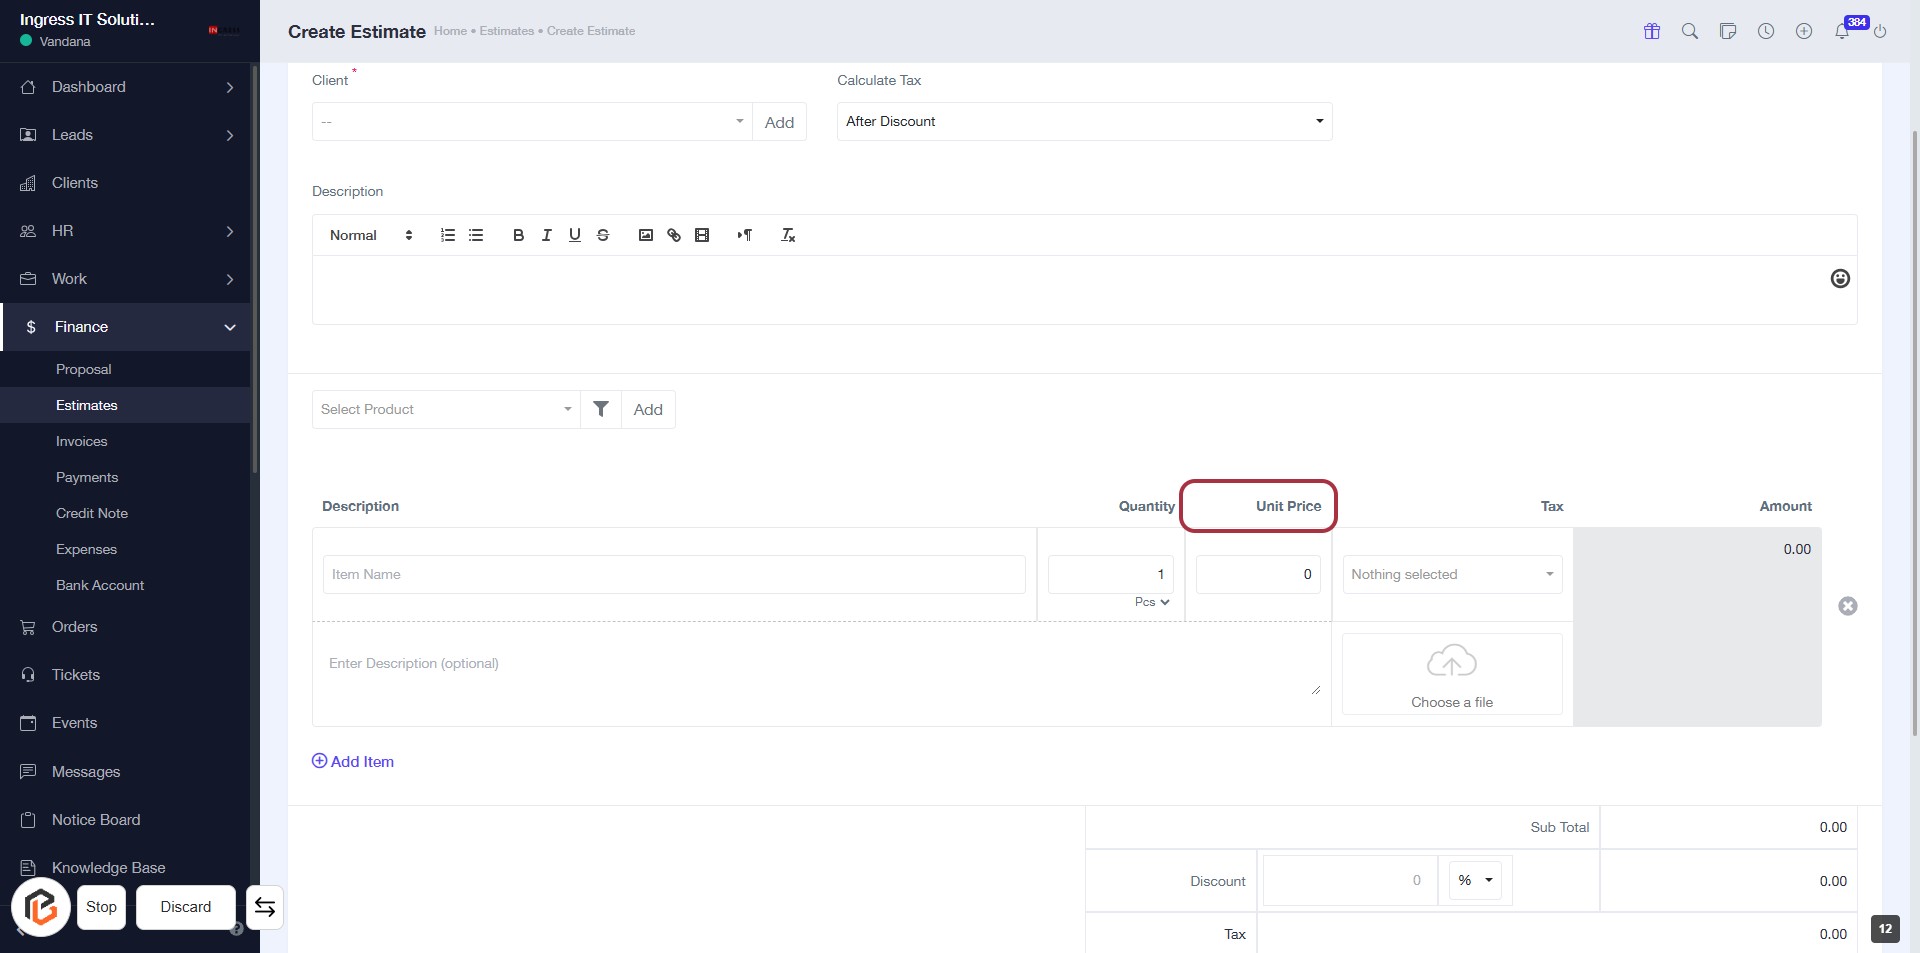
STEP 12: Enter Unit Price
- Click on the Unit Price field in the estimate form.
- Ensure to fill in the required information as indicated by the asterisk (*) next to the labels.
- Review other fields such as Quantity, Tax, and Amount for completeness.
- Proceed to the next step to select the Tax.
STEP 13: Select Tax
- Click on the "Tax" field highlighted in red.
- Ensure that the unit price and quantity are filled out before selecting tax.
- Review any available tax options that may appear after clicking.
- Proceed to the next step by clicking on "Add Item" once the tax is selected.

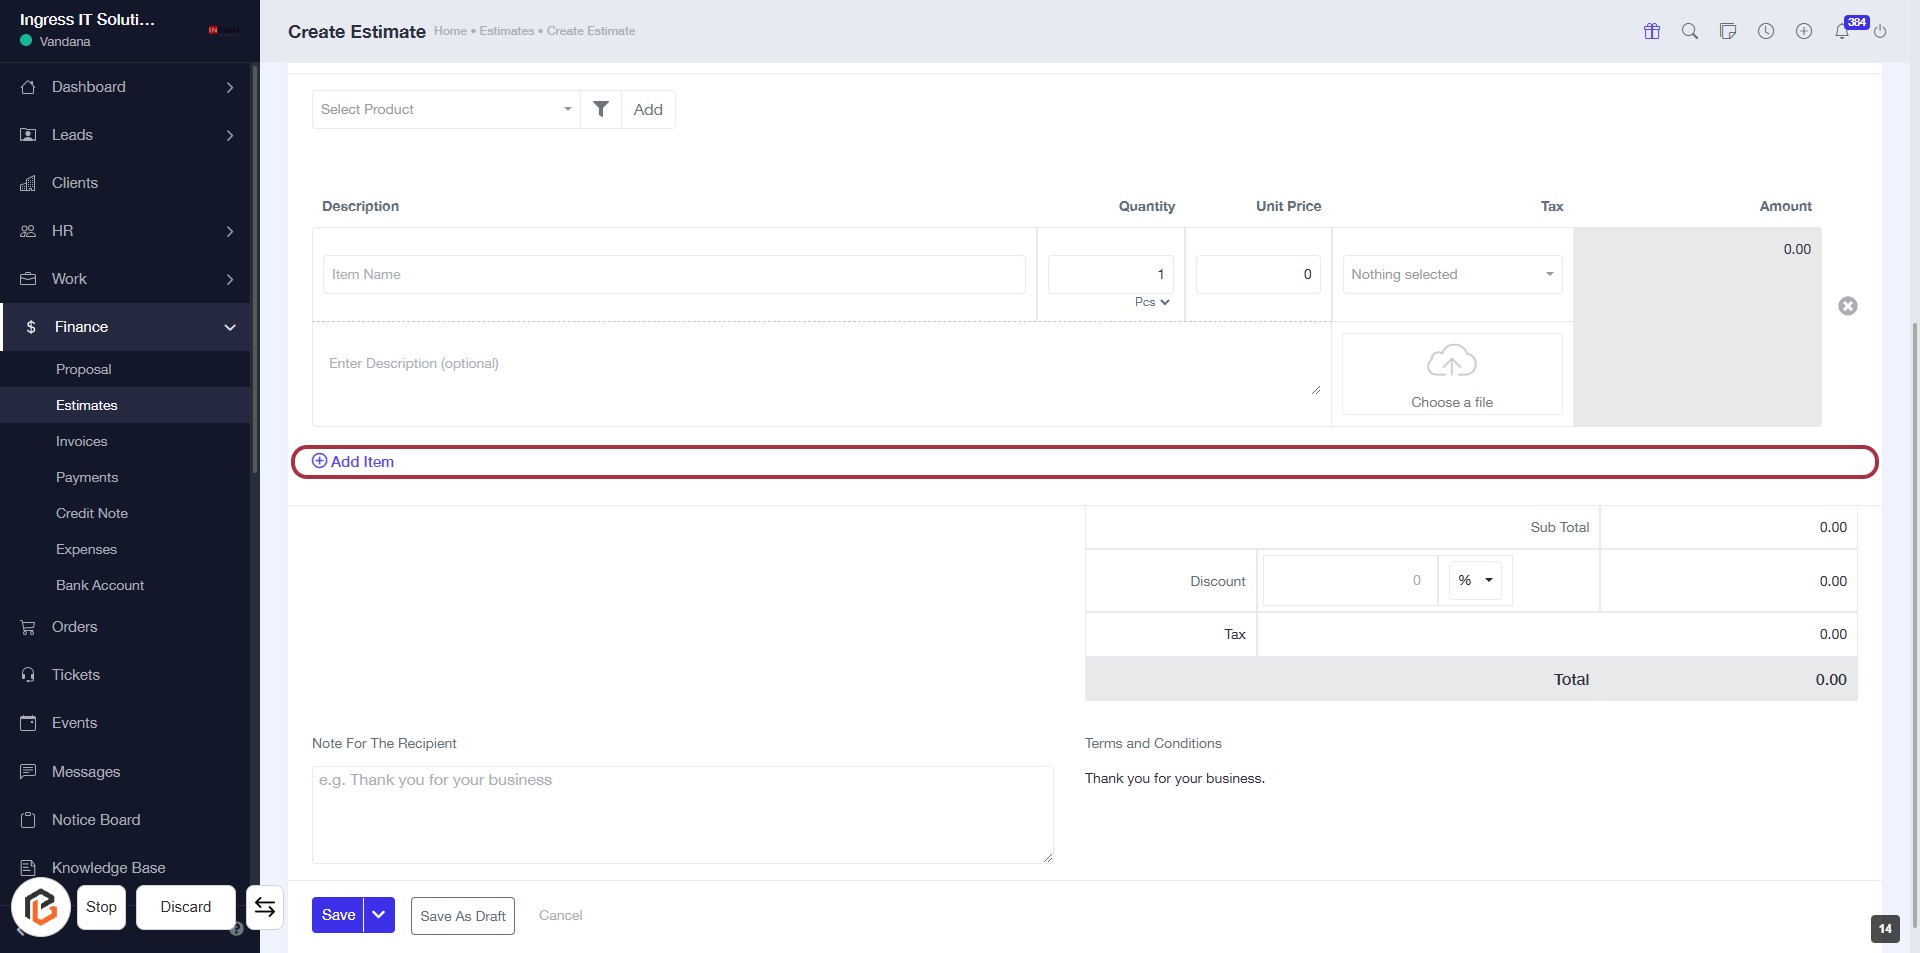
STEP 14: Click on "Add Item" to Include New Products
- Navigate to the highlighted area labeled "Add Item."
- Click on the "Add Item" button to initiate the process of adding a new item to your estimate.
- Ensure to fill in the required fields for the item, such as Description, Quantity, and Unit Price.
- Review the form for any optional fields marked with an asterisk (*).
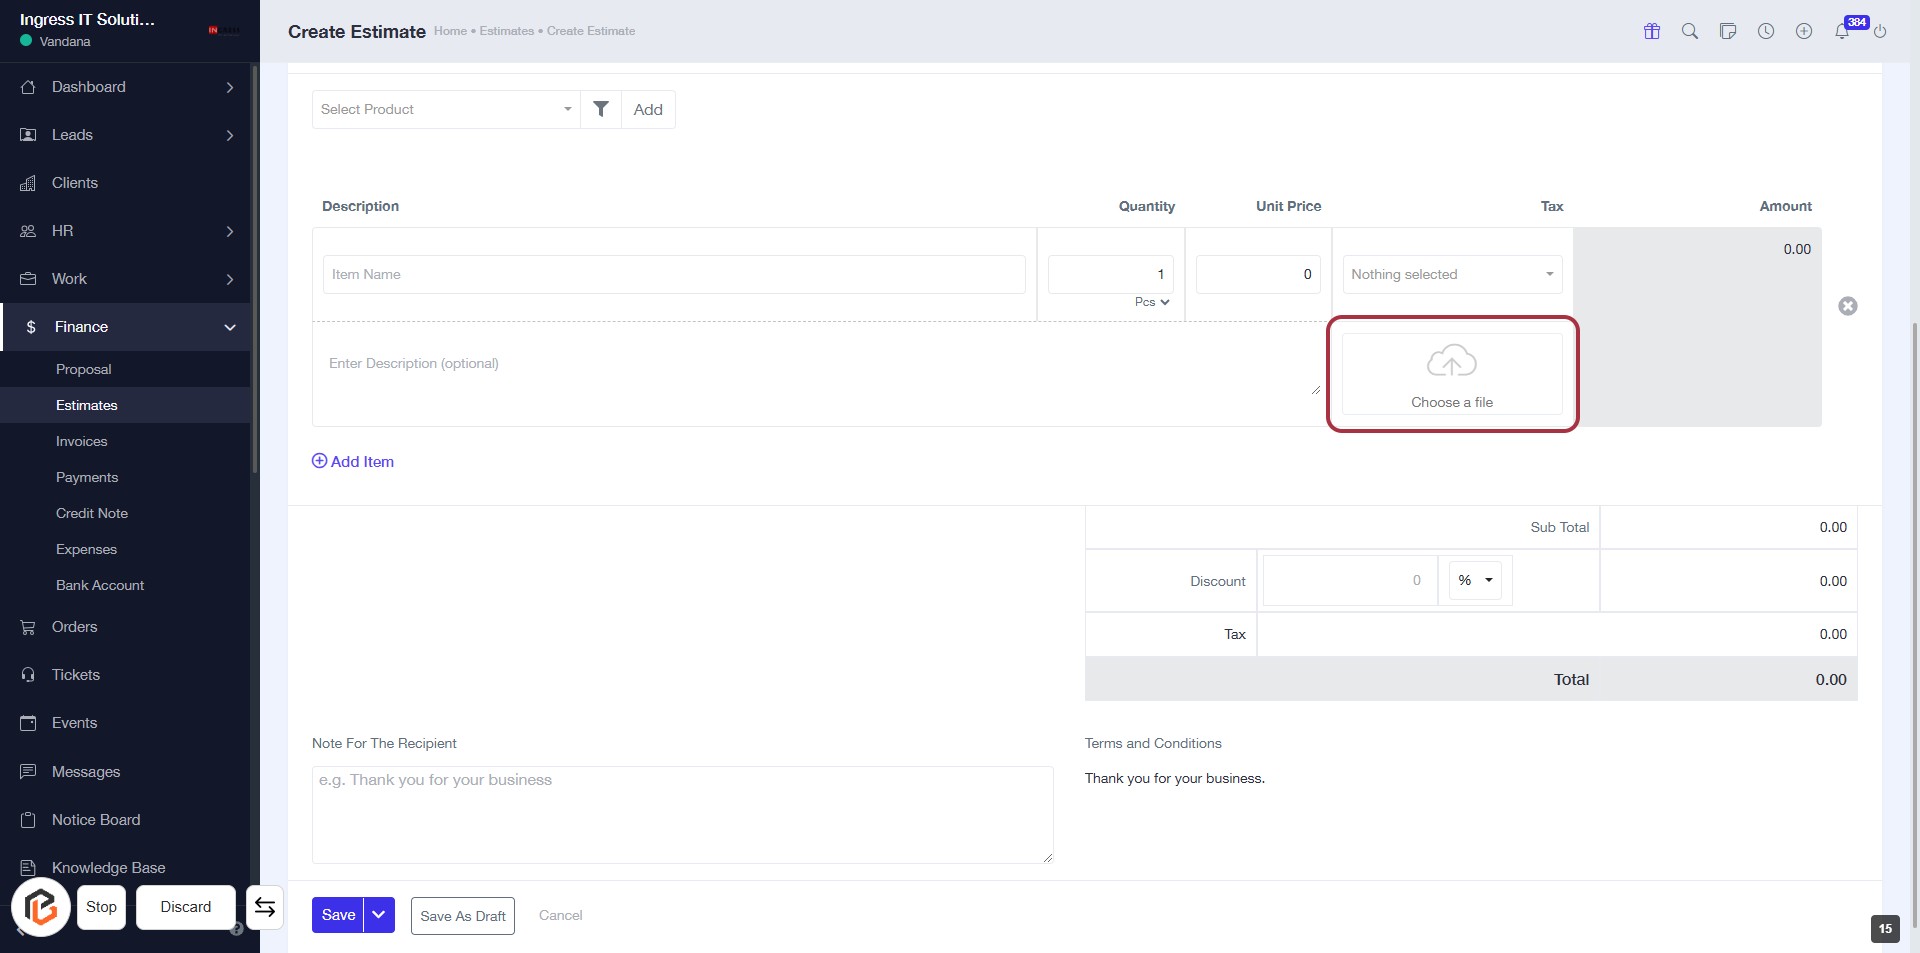
STEP 15: Upload File in "Choose a File"
- Click on the "Choose a file" button to upload your desired document.
- Ensure the file format is supported (e.g., PDF, DOCX).
- Look for any error messages that may appear during the upload process.
- After uploading, verify that the file is correctly displayed in the designated area.
STEP 16: Enter Note for the Recipient
- Click on the highlighted area labeled "Note For The Recipient."
- Provide any relevant message or note for the recipient in the text box.
- Ensure to include any specific instructions or appreciation as needed.
- Review your note before proceeding to the next step.

STEP 17: Click on "Save" to Finalize the Estimate
- Ensure all required fields are filled out, including the "Note For The Recipient."
- Review the details of the estimate for accuracy.
- Click the Save button located at the bottom of the form to save your changes.
- If needed, you can also choose Save As Draft to keep your work without finalizing it.
