Comprehensive Guide to Managing Estimates: Viewing, Editing, Sharing, and More
16 mins read · Updated 29 Sep, 2025
STEP 1: Click on "Estimate" to Access Options
- Navigate to the Estimates section on the dashboard.
- Click on the "Option Menu" icon highlighted in red.
- Review available options for managing estimates.
- Ensure to check for any required fields marked with an asterisk (*).

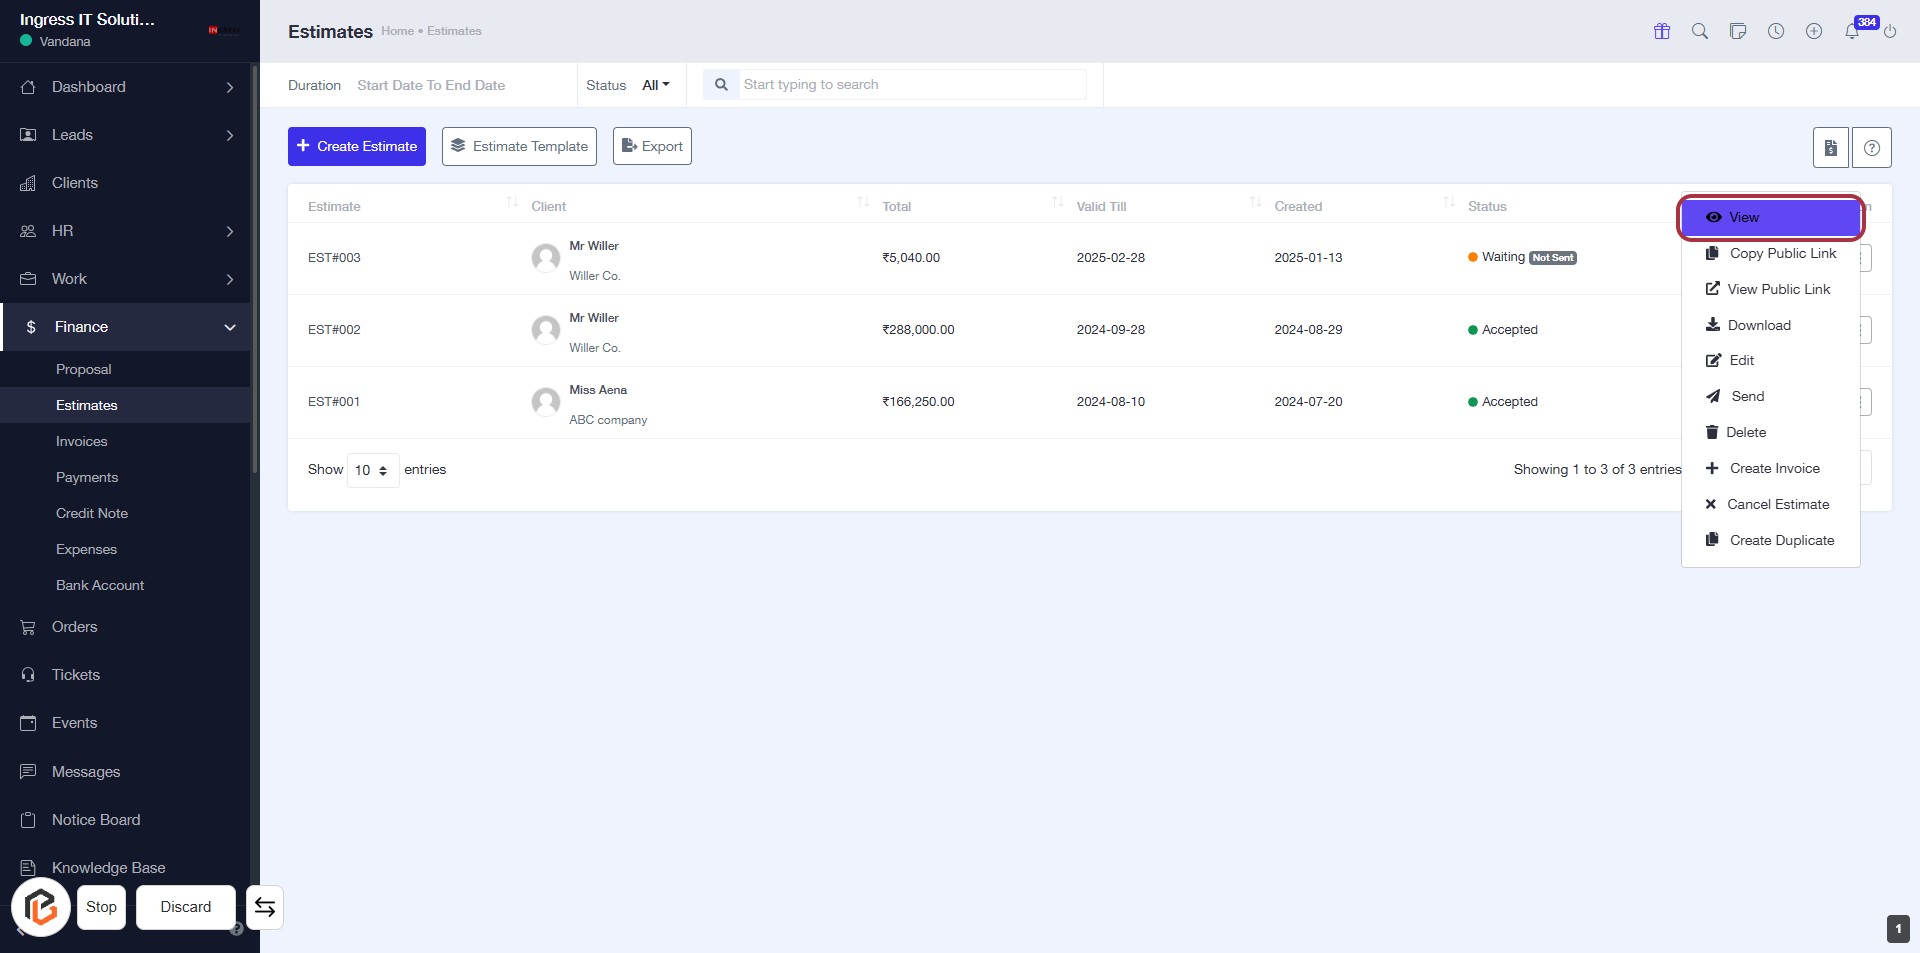
STEP 2: Click on "View" to Access Estimate Options
- Locate the "View" button highlighted in the interface.
- Click on "View" to reveal additional options related to the selected estimate.
- Options may include actions like Copy Public Link, Download, Edit, Send, and more.
- Ensure you have the correct estimate selected before proceeding.
STEP 3: Click on "Option Menu"
- Locate the highlighted area on the right side of the table.
- Click on the three-dot icon (⋮) to open the options menu.
- Review the available actions related to the selected estimate.
- Ensure to check for any additional options that may be relevant to your task.

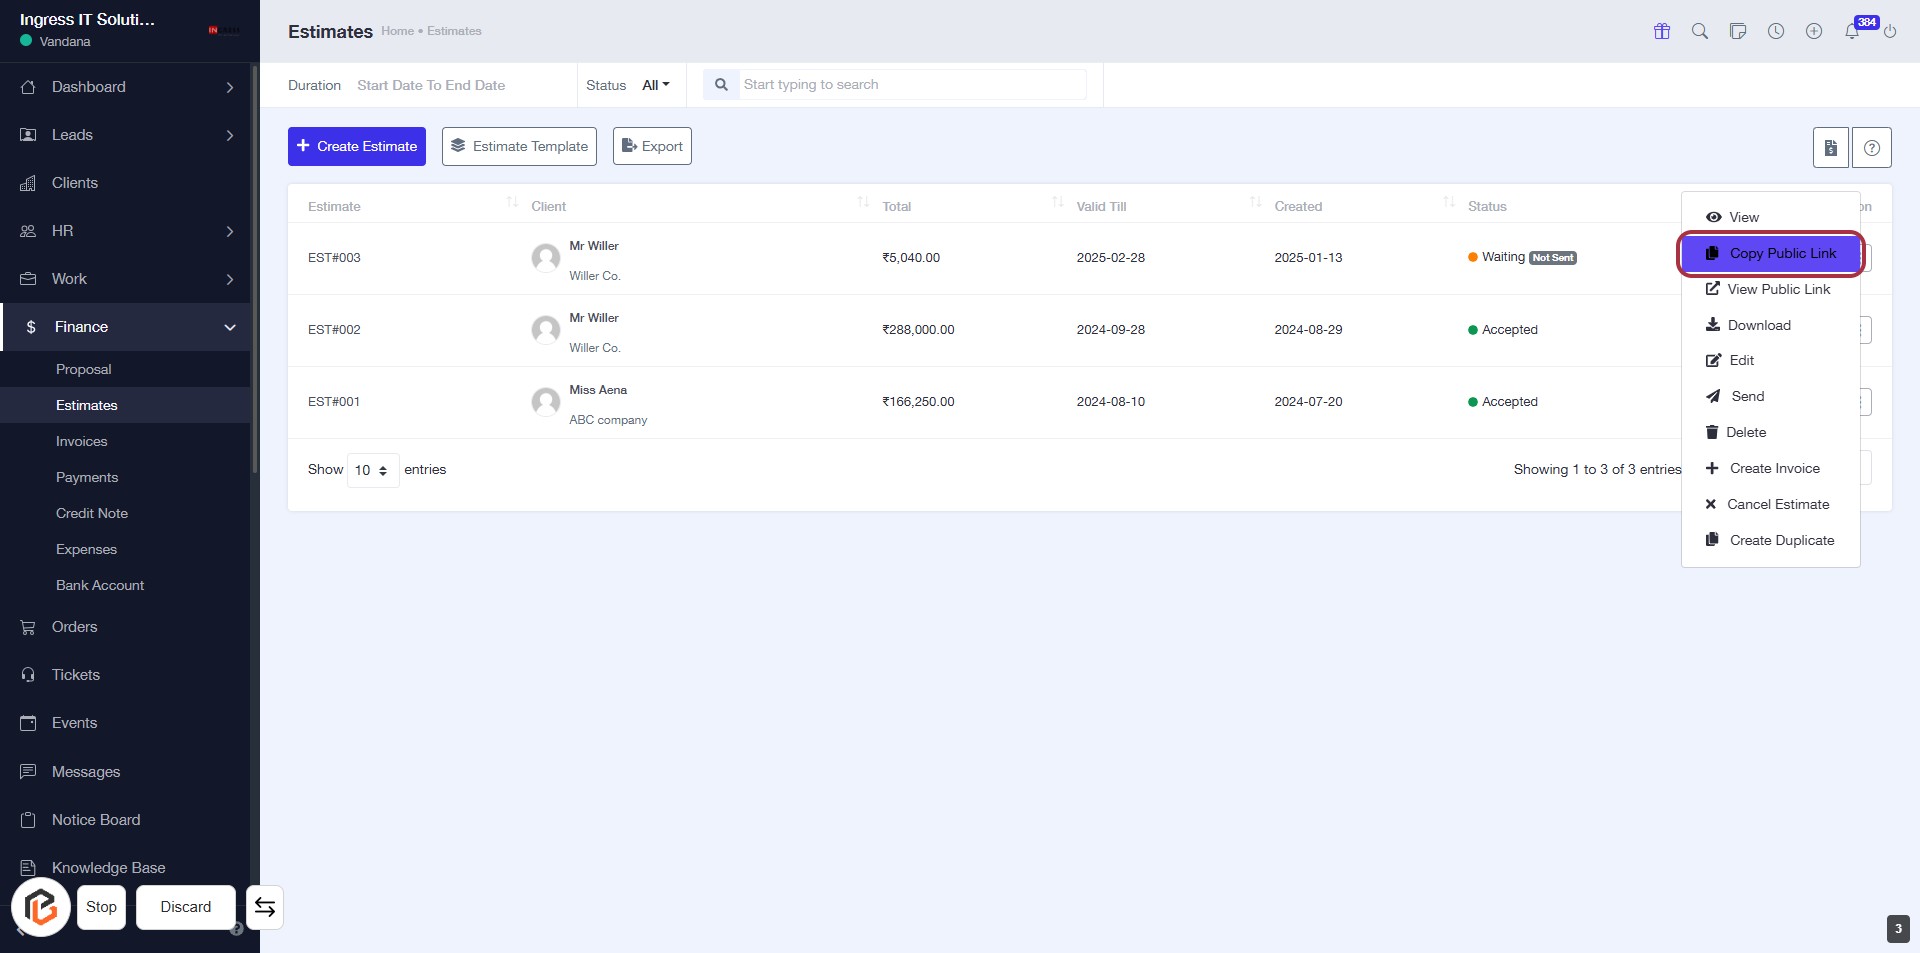
STEP 4: Click on "Copy Public Link"
- Navigate to the "Estimates" section.
- Locate the estimate you wish to share.
- Click on the "Copy Public Link" option in the dropdown menu.
- Ensure the link is copied to your clipboard for sharing.
This action allows you to easily share the estimate with others.
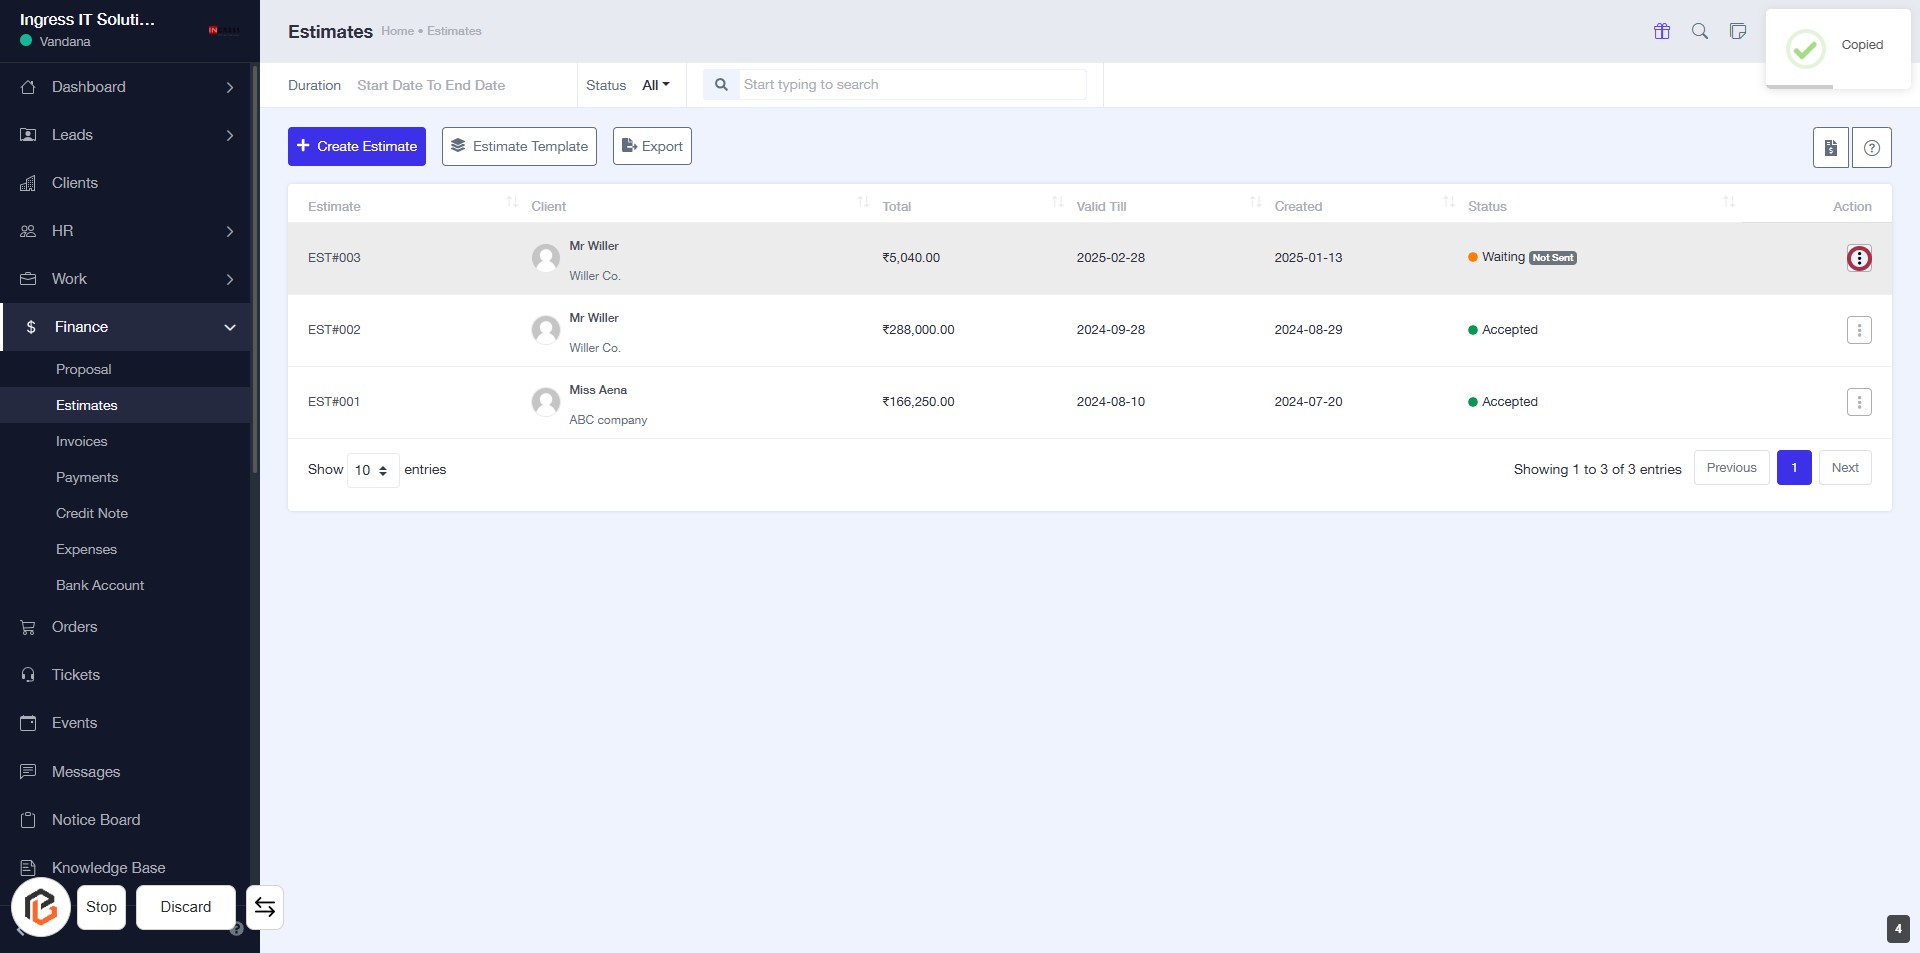
STEP 5: Click on "Option Menu"
- Navigate to the "Estimates" section.
- Locate the action column for the desired estimate.
- Click on the "Option Menu" icon (represented by an 'I') to reveal additional options.
- Ensure the highlighted area is selected for further actions.
- Proceed to the next step by clicking on "View Public Link."
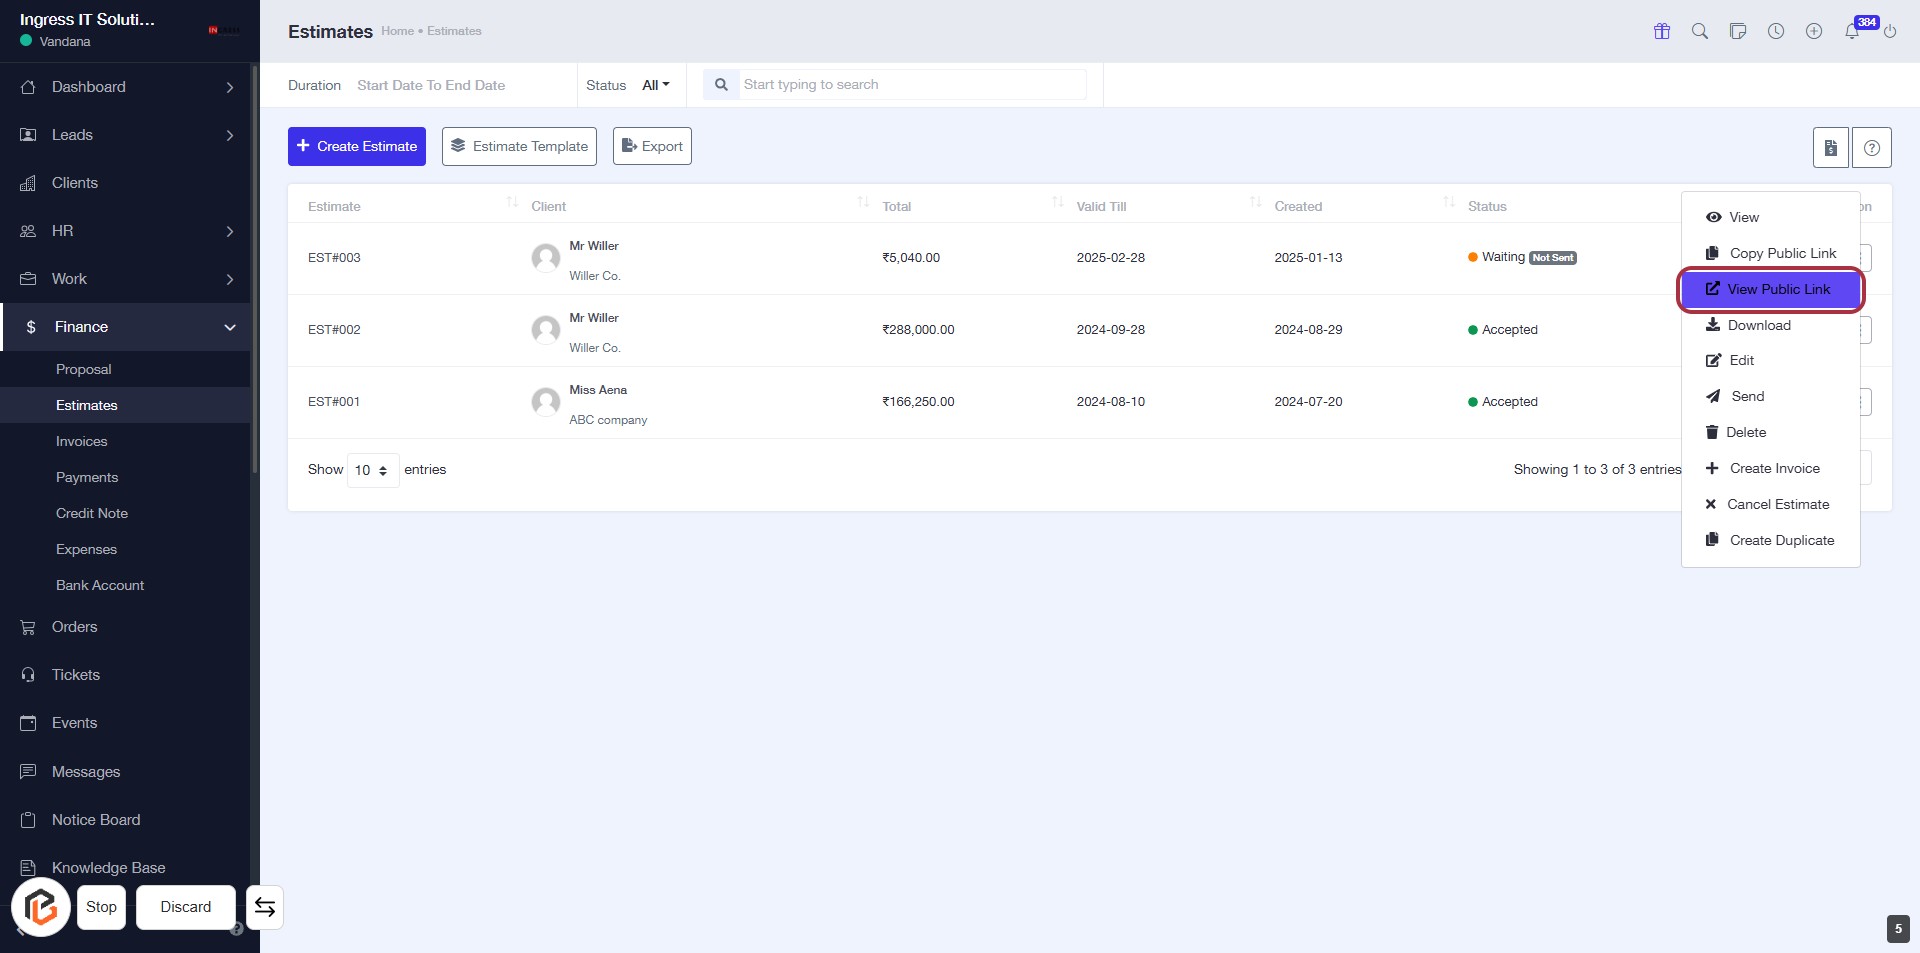
STEP 6: Click on "View Public Link"
- Locate the highlighted area with the "View Public Link" option.
- Click on the link to access the public view of the estimate.
- Ensure you have selected the correct estimate before clicking.
- Review the public link details that appear after clicking.
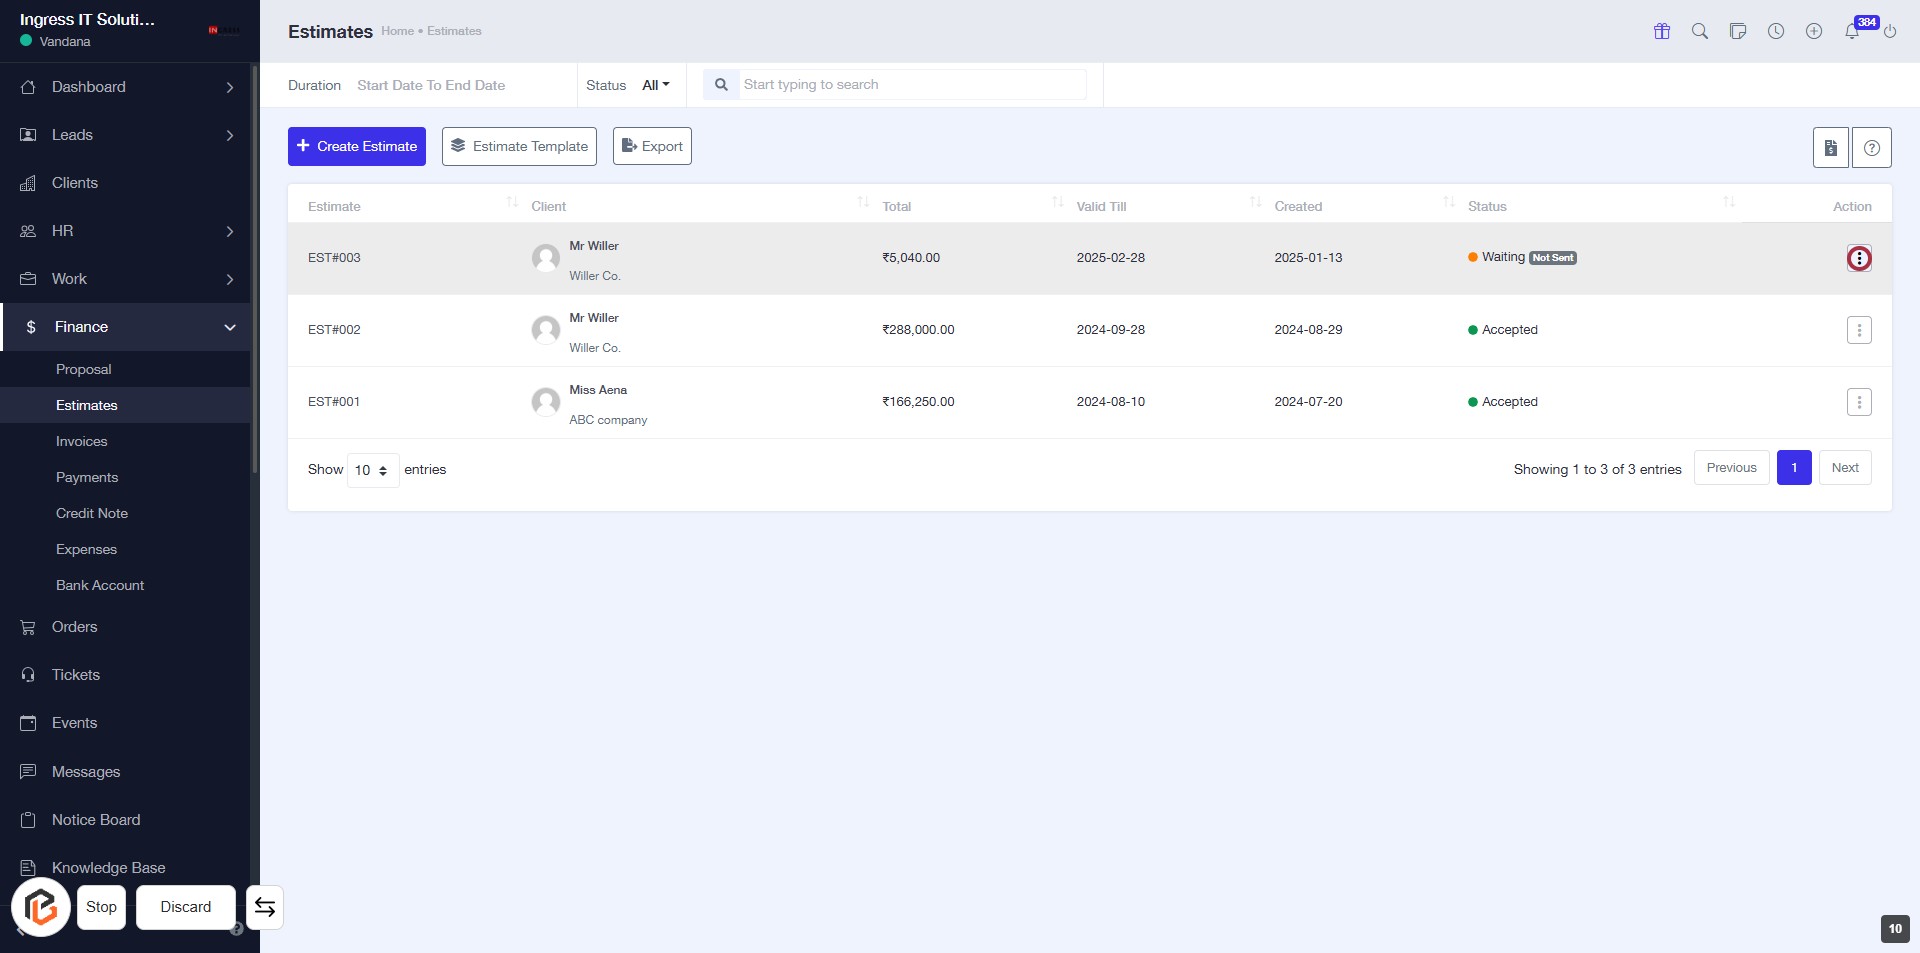
STEP 7: Click on "Option Menu"
- Navigate to the "Estimates" section.
- Locate the action column for the specific estimate.
- Click on the icon in the highlighted area to open the options menu.
- Review available actions such as "Download" or others listed.
- Ensure to proceed with the desired action from the menu.

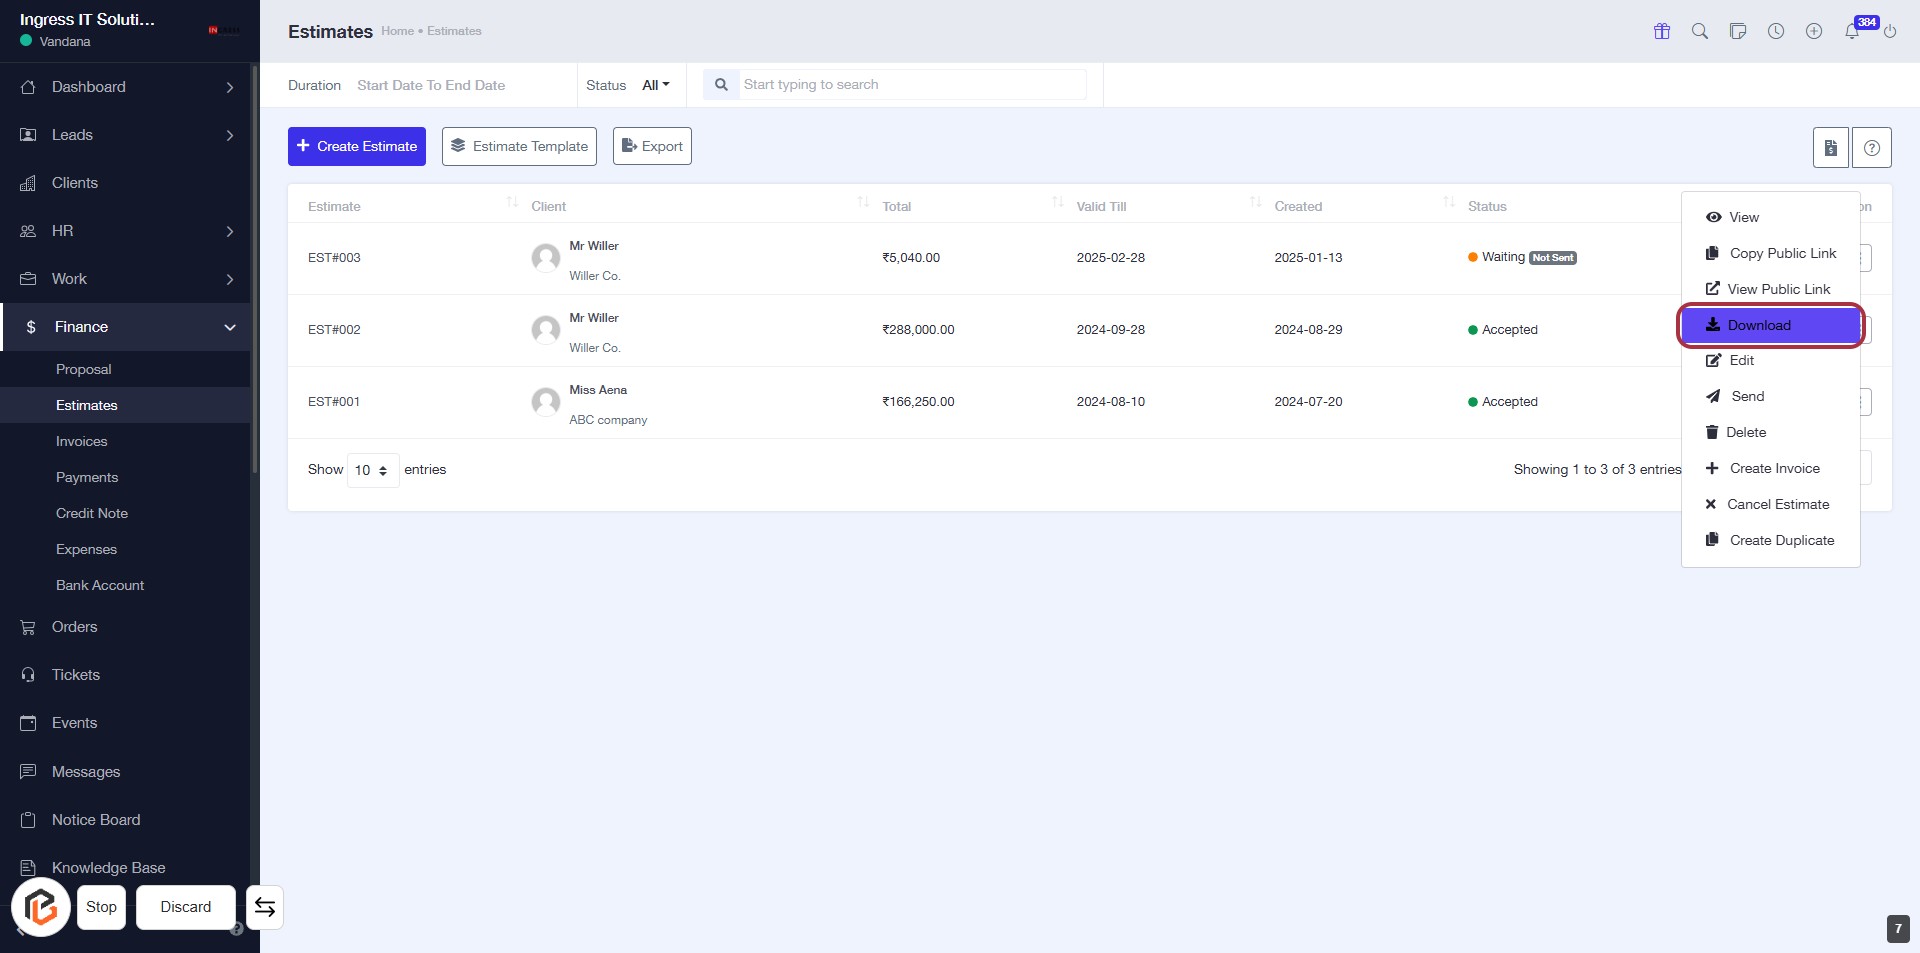
STEP 8: Click on "Download" to Retrieve Estimates
- Navigate to the "Estimates" section.
- Click on the "Download" option highlighted in the menu.
- Ensure you have selected the correct estimate before downloading.
- Follow any prompts to complete the download process.
STEP 9: Click on "Option Menu" to Access More Actions
- Locate the "Option Menu" icon in the action column of the estimates table.
- Click on the icon to reveal additional options related to the selected estimate.
- Review the available actions, such as editing or exporting the estimate.
- Proceed to the next step by clicking on "Edit" for further modifications.

STEP 10: Click on "Edit" to Modify Estimate
- Locate the "Edit" option highlighted in the action menu.
- Click on "Edit" to proceed with modifying the selected estimate.
- Ensure you have the necessary details ready for any changes you wish to make.
- Review the estimate details after editing to confirm accuracy.

STEP 11: Click on "Option Menu" to Access Further Actions
- Locate the "Option Menu" icon in the estimates table.
- Click on the icon to reveal additional actions related to the selected estimate.
- Ensure you have the correct estimate highlighted before clicking.
- Proceed to the next step by clicking on "Send" after accessing the options.
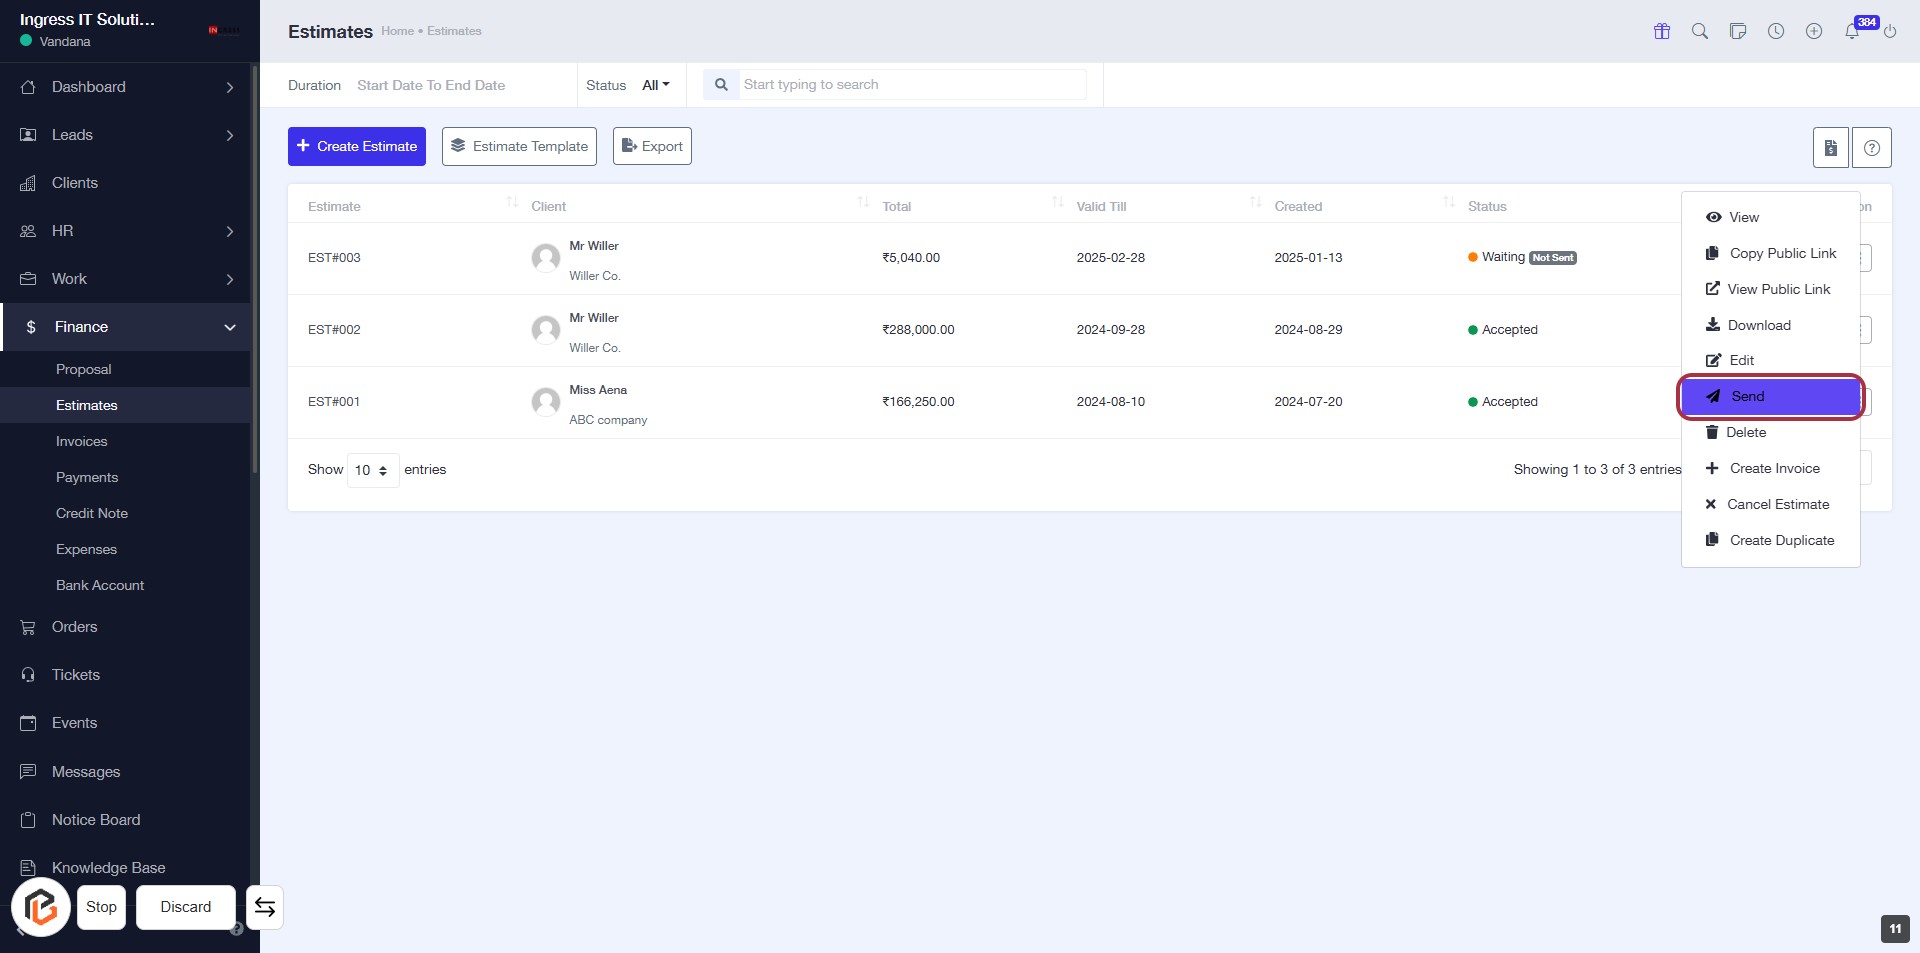
STEP 12: Click on "Send" to Dispatch the Estimate
- Locate the "Send" option highlighted in the action menu.
- Click on "Send" to initiate the dispatch of the selected estimate.
- Ensure that all necessary details are filled out before sending.
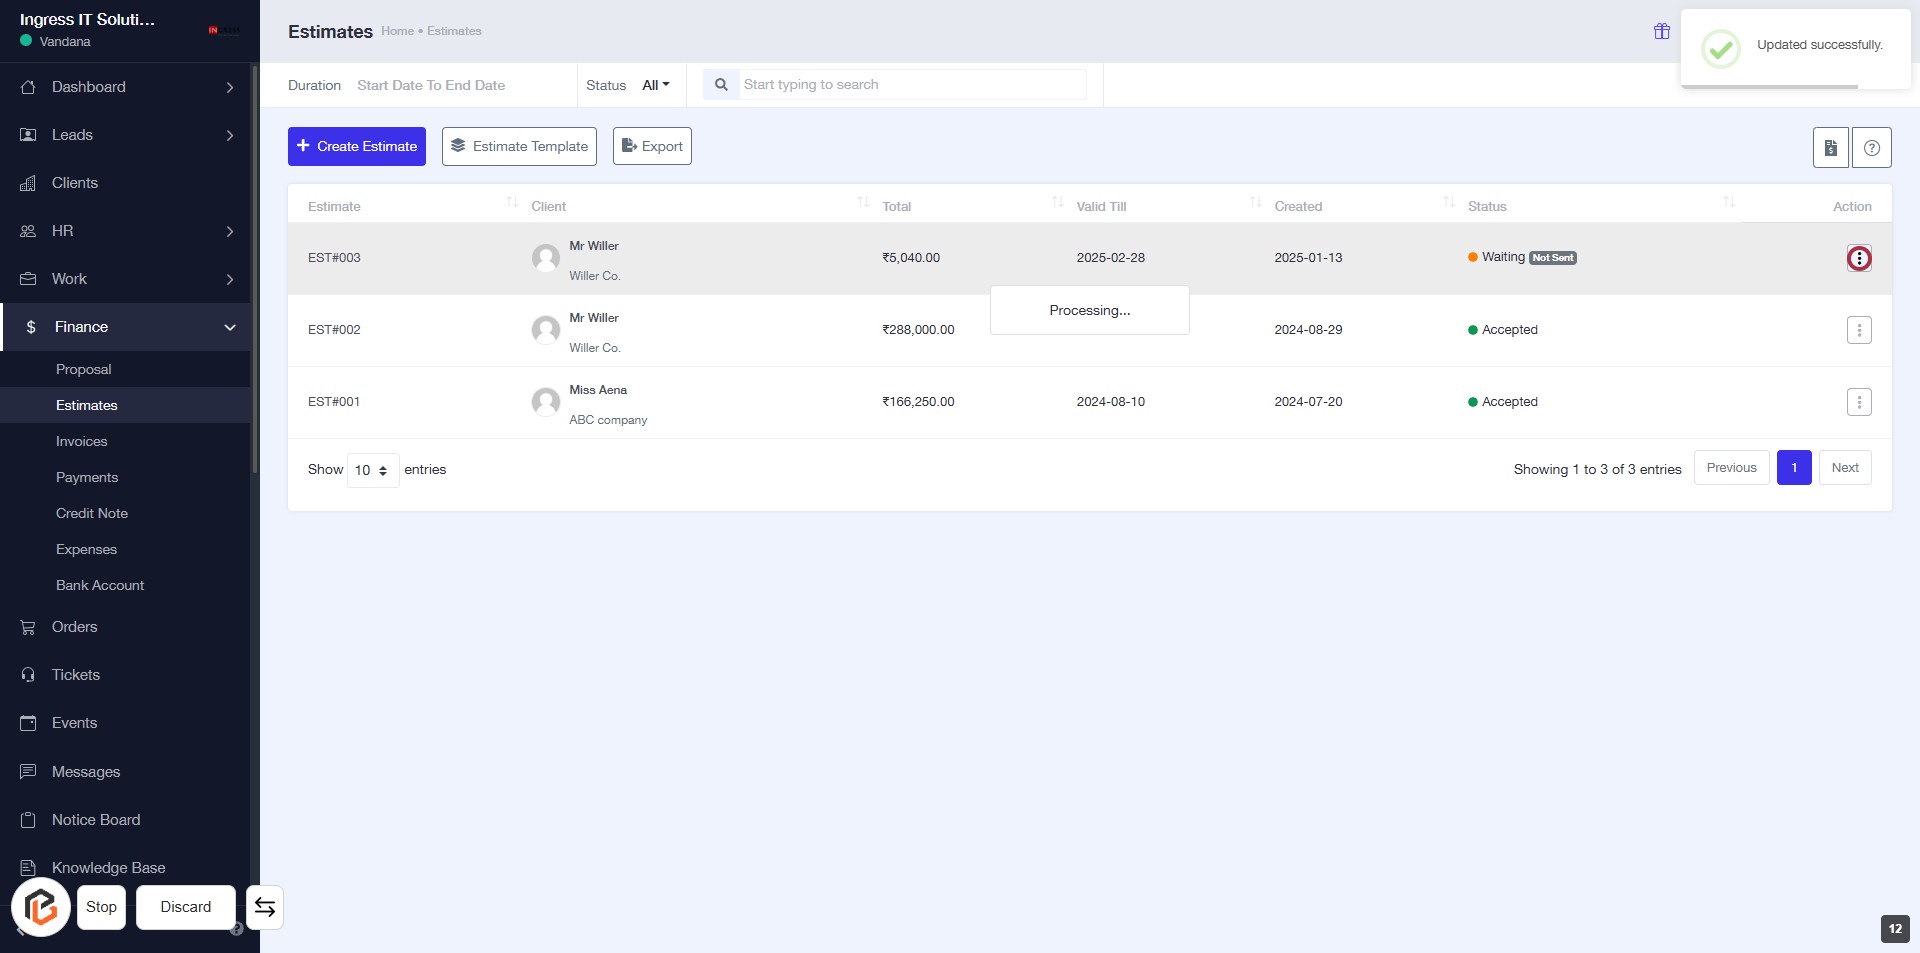
- Review the confirmation message that appears after clicking.
STEP 13: Click on "Option Menu"
- Navigate to the "Estimates" section.
- Locate the action column for the specific estimate.
- Click on the icon in the highlighted area to open the option menu.
- Review available options for further actions related to the selected estimate.
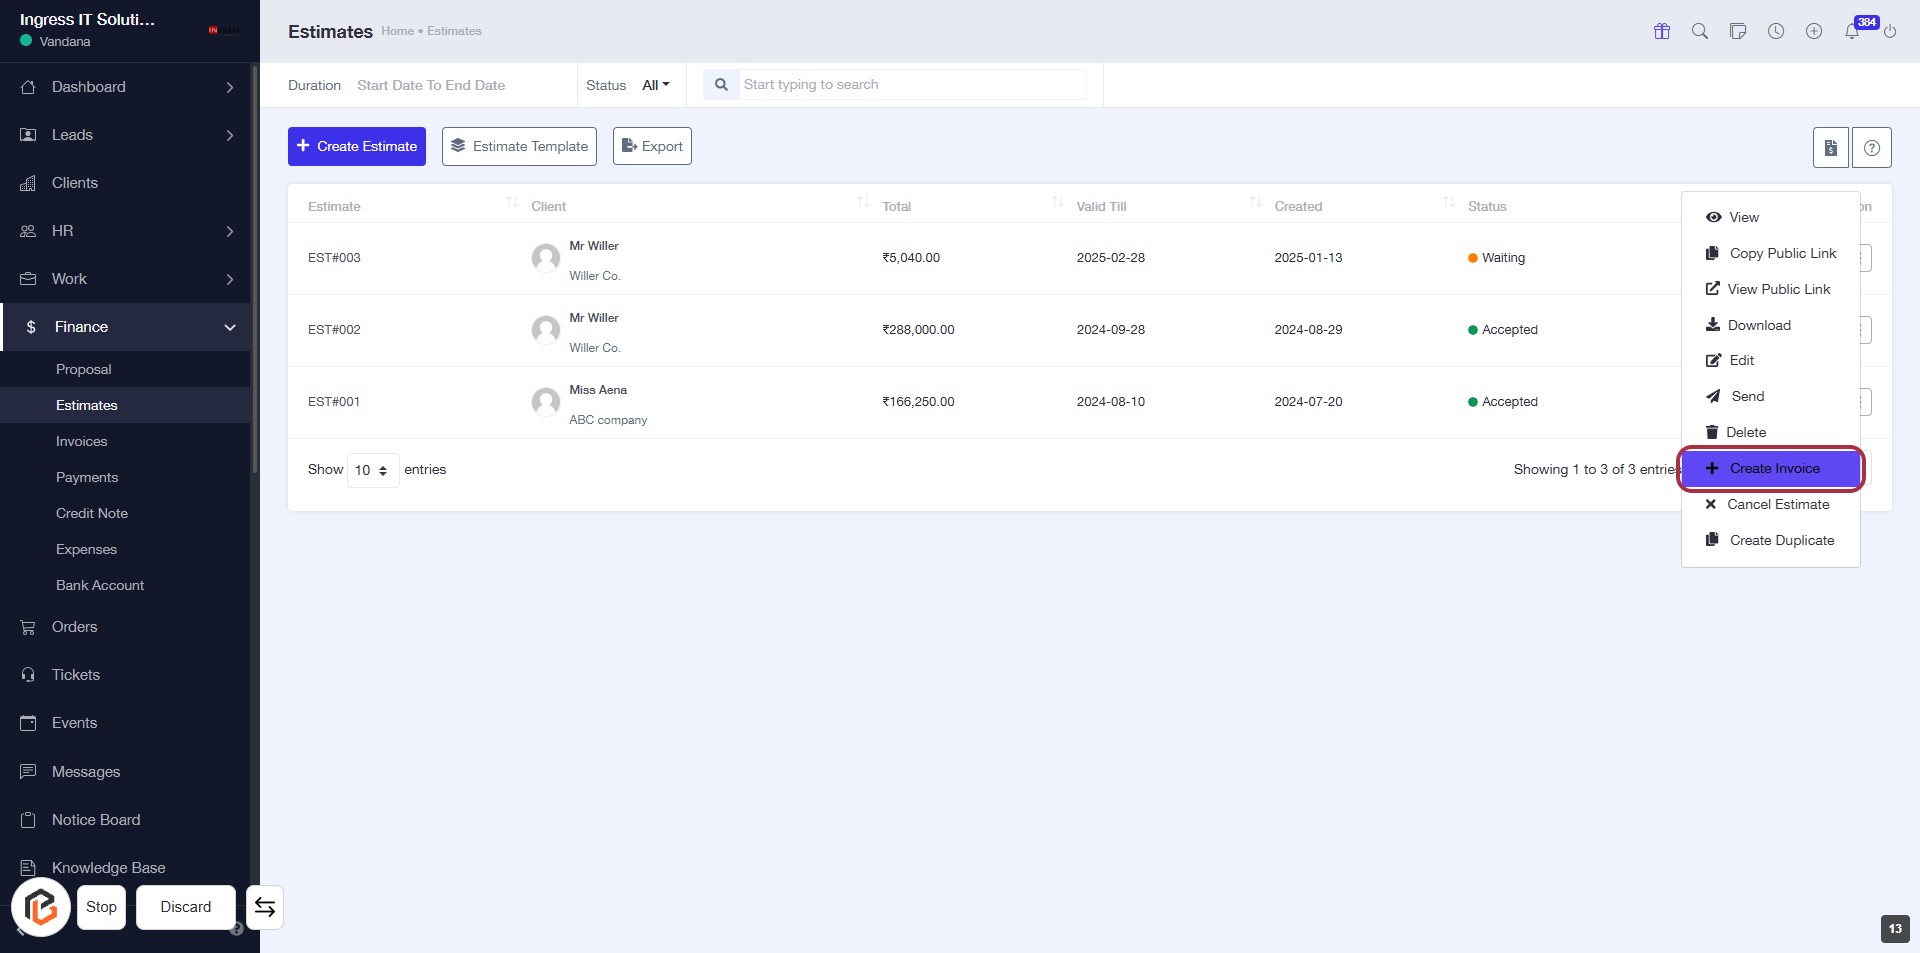
STEP 14: Click on "Create Invoice"
- Navigate to the highlighted area on the Estimates page.
- Click on the Create Invoice option to initiate the invoice creation process.
- Ensure you have selected the appropriate estimate before proceeding.
- Follow any prompts that appear after clicking to complete the invoice setup.
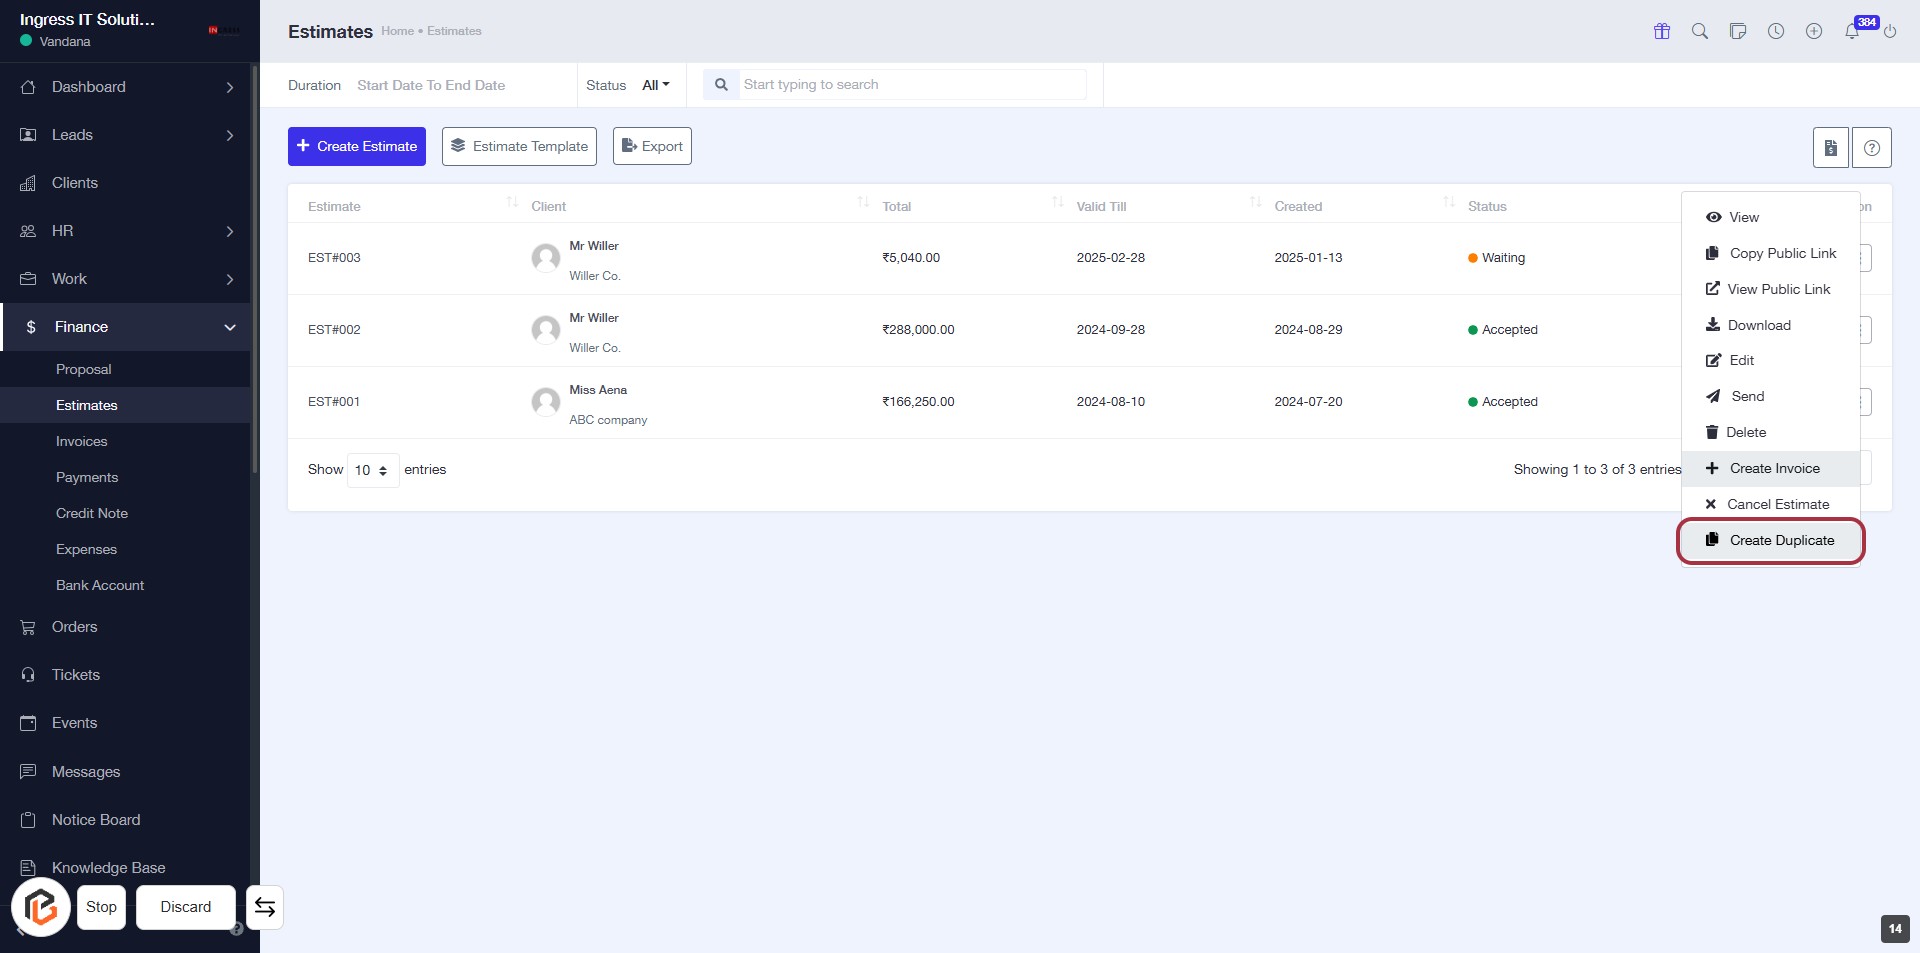
STEP 15: Click on "Create Duplicate" to create a duplicate Estimate
- Navigate to the highlighted area on the Estimates page.
- Click on the "Create Duplicate" link to initiate the duplication process.
- Ensure you have selected the correct estimate before proceeding.
- Review any additional prompts or fields that may appear after clicking.
STEP 16: Click on "Create Duplicate" to Duplicate an Estimate
- Navigate to the Estimates section.
- Locate the "Create Duplicate" option highlighted in the red border.
- Click on "Create Duplicate" to initiate the duplication process for the selected estimate.
- Ensure all necessary details are reviewed before proceeding.
