Comprehensive Guide to Managing Credit Notes: Viewing, Downloading, Editing, and Deleting
12 mins read · Updated 29 Sep, 2025
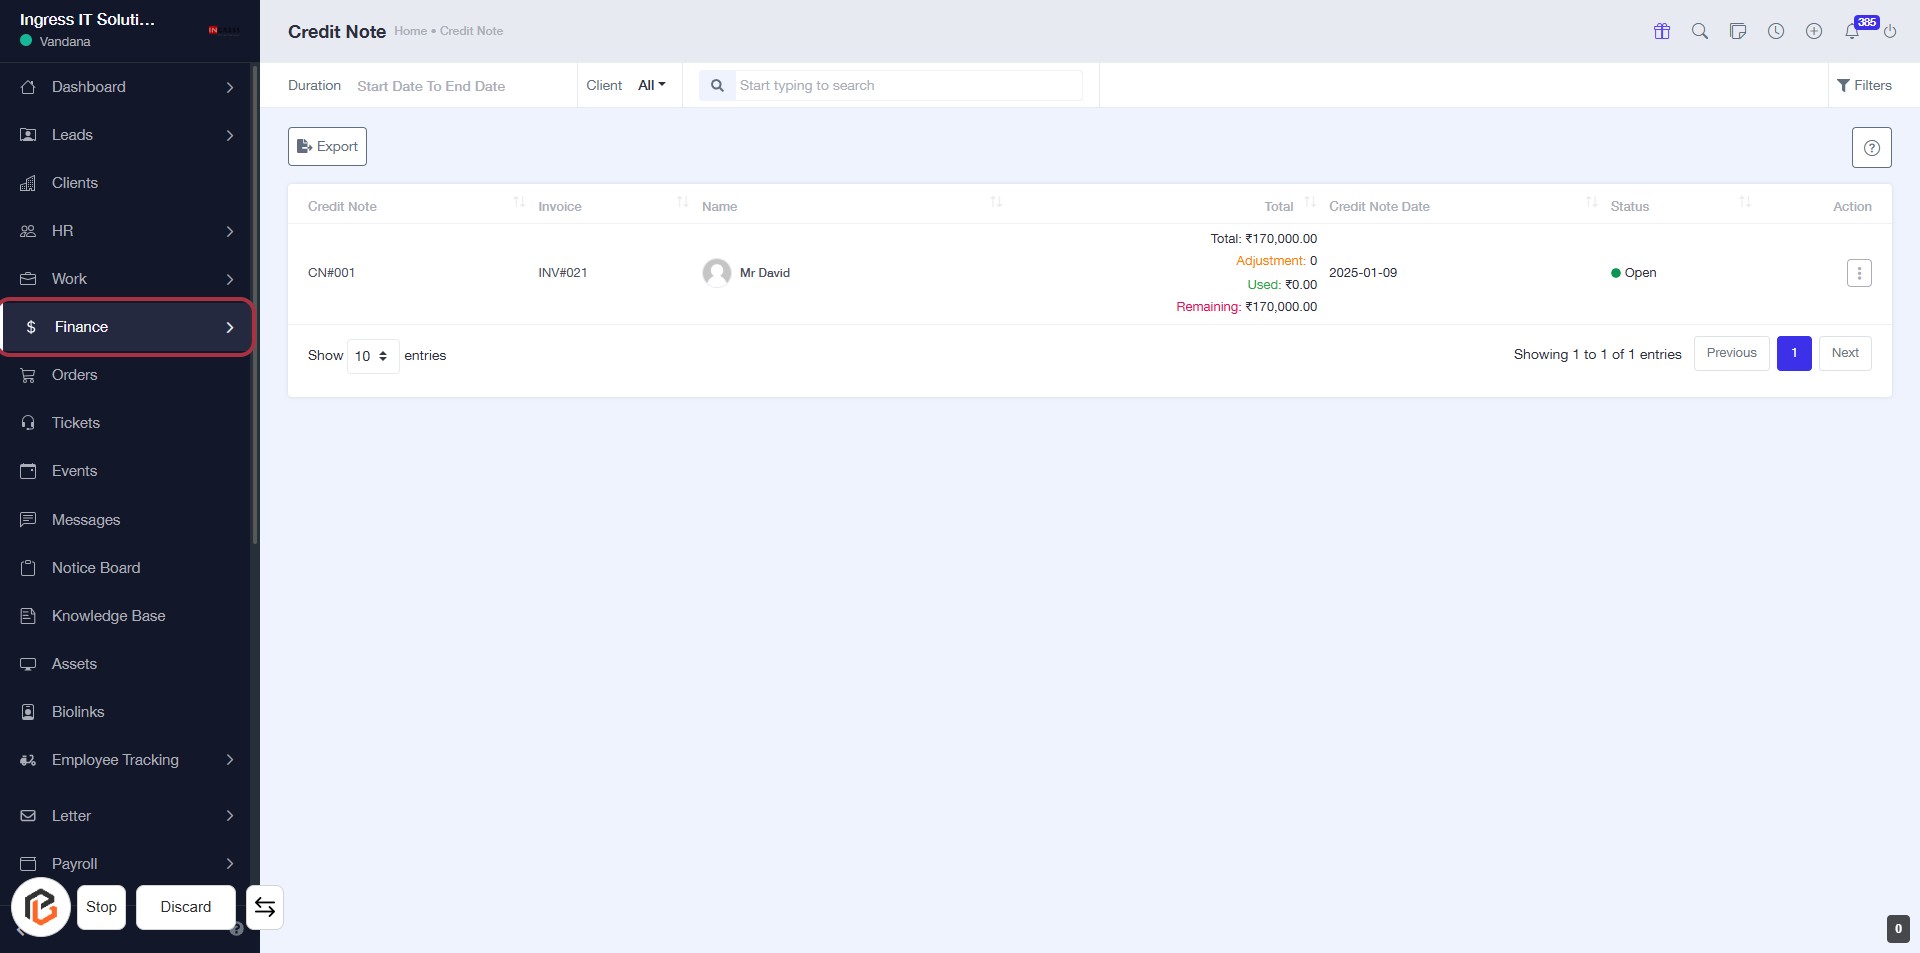
STEP 1: Click on "Finance" to Access Financial Records
- Navigate to the sidebar menu.
- Click on the Finance link to view financial records.
- This will direct you to the Credit Note section for further actions.
- Ensure you are on the correct page before proceeding to the next step.
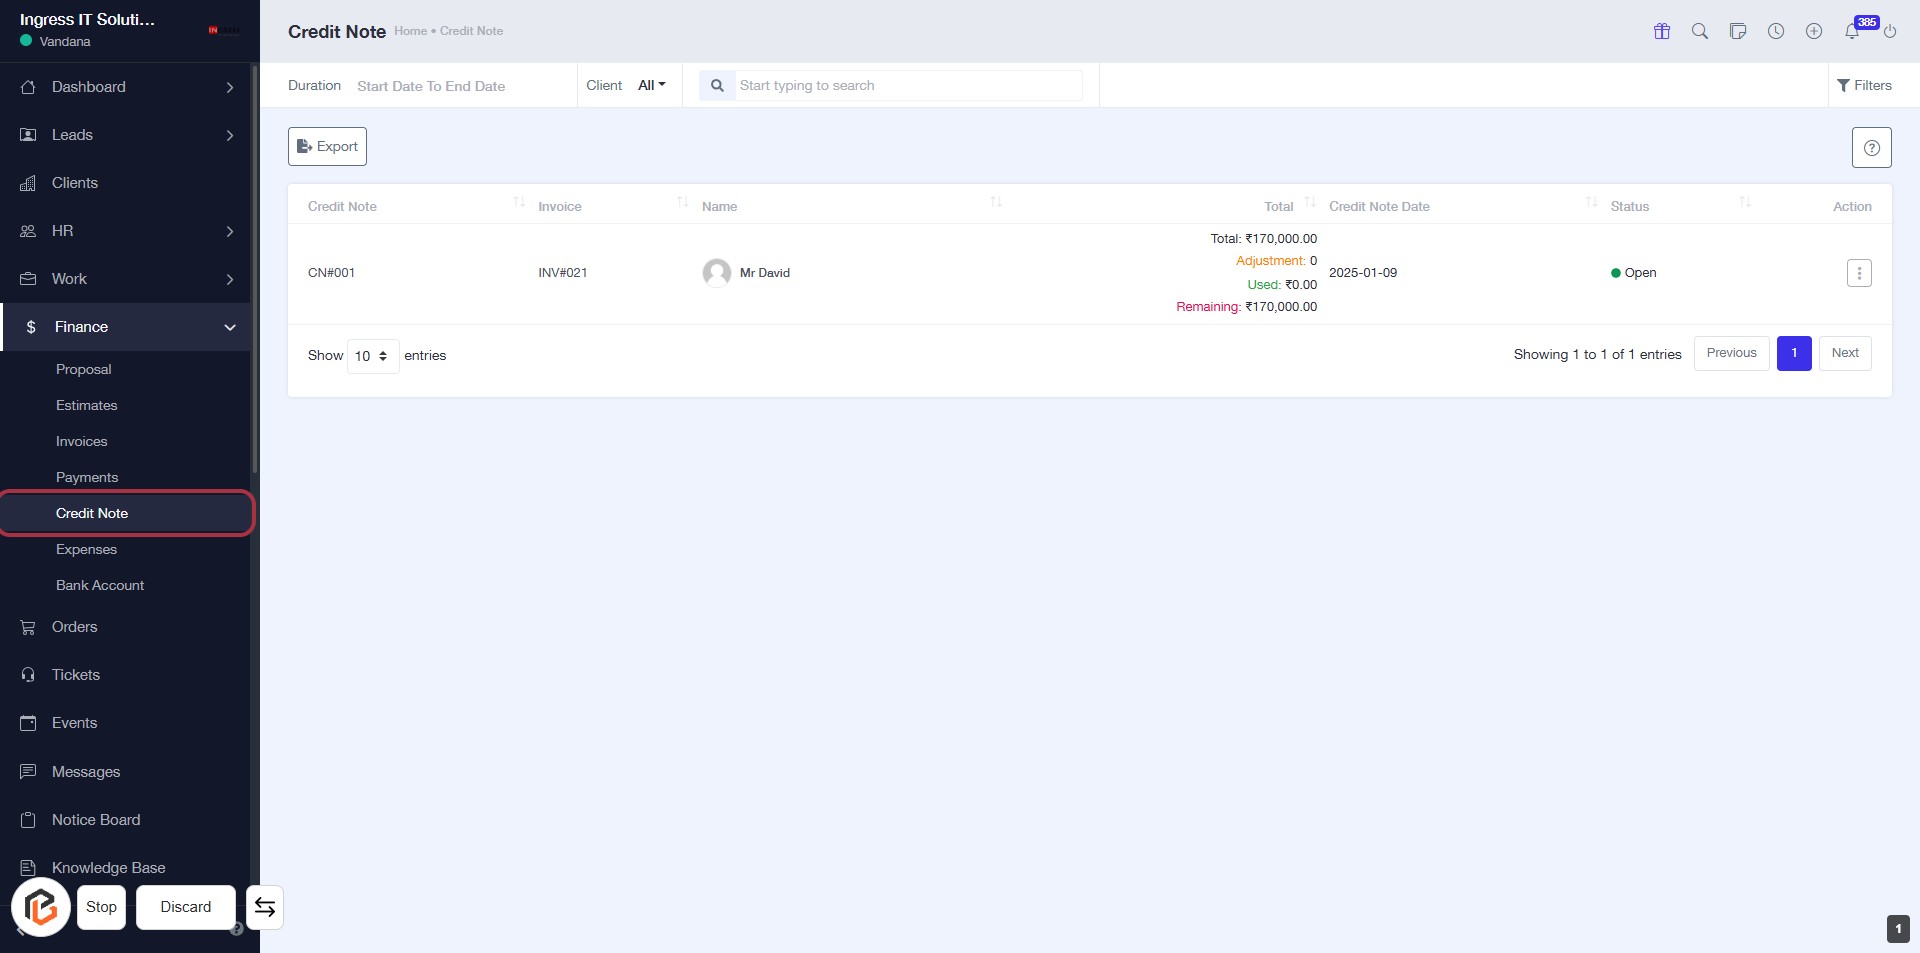
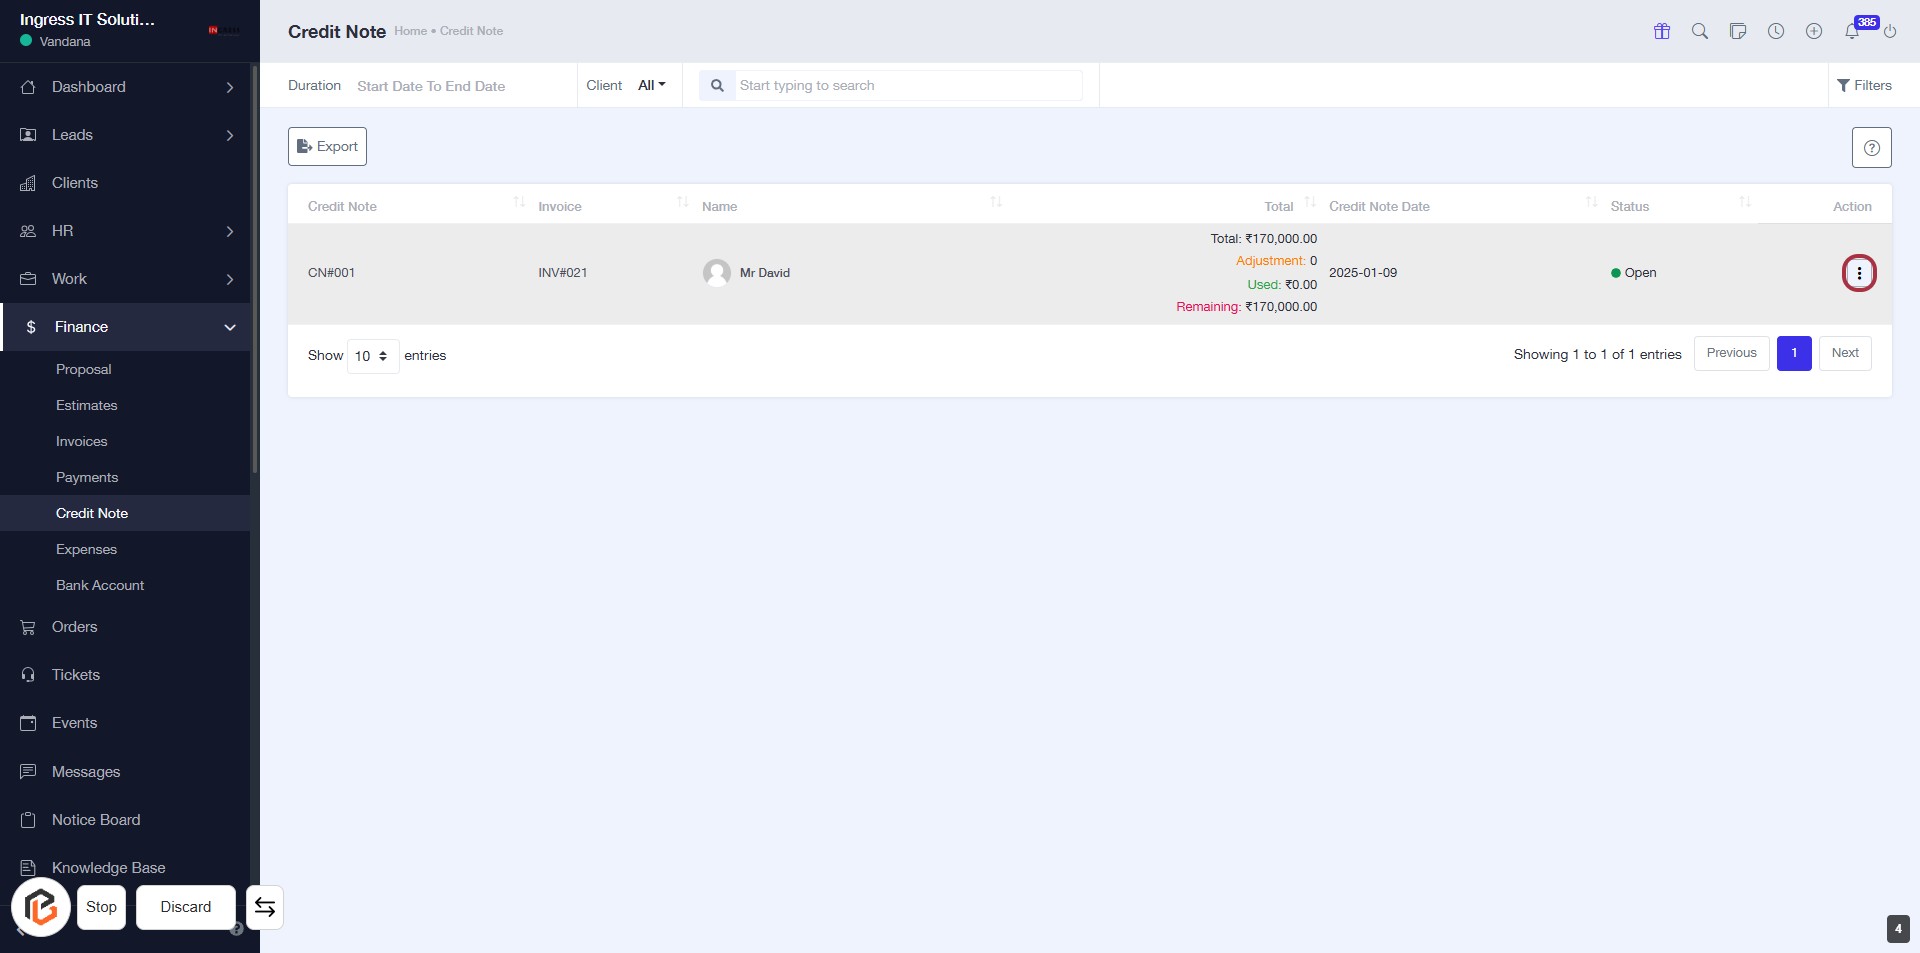
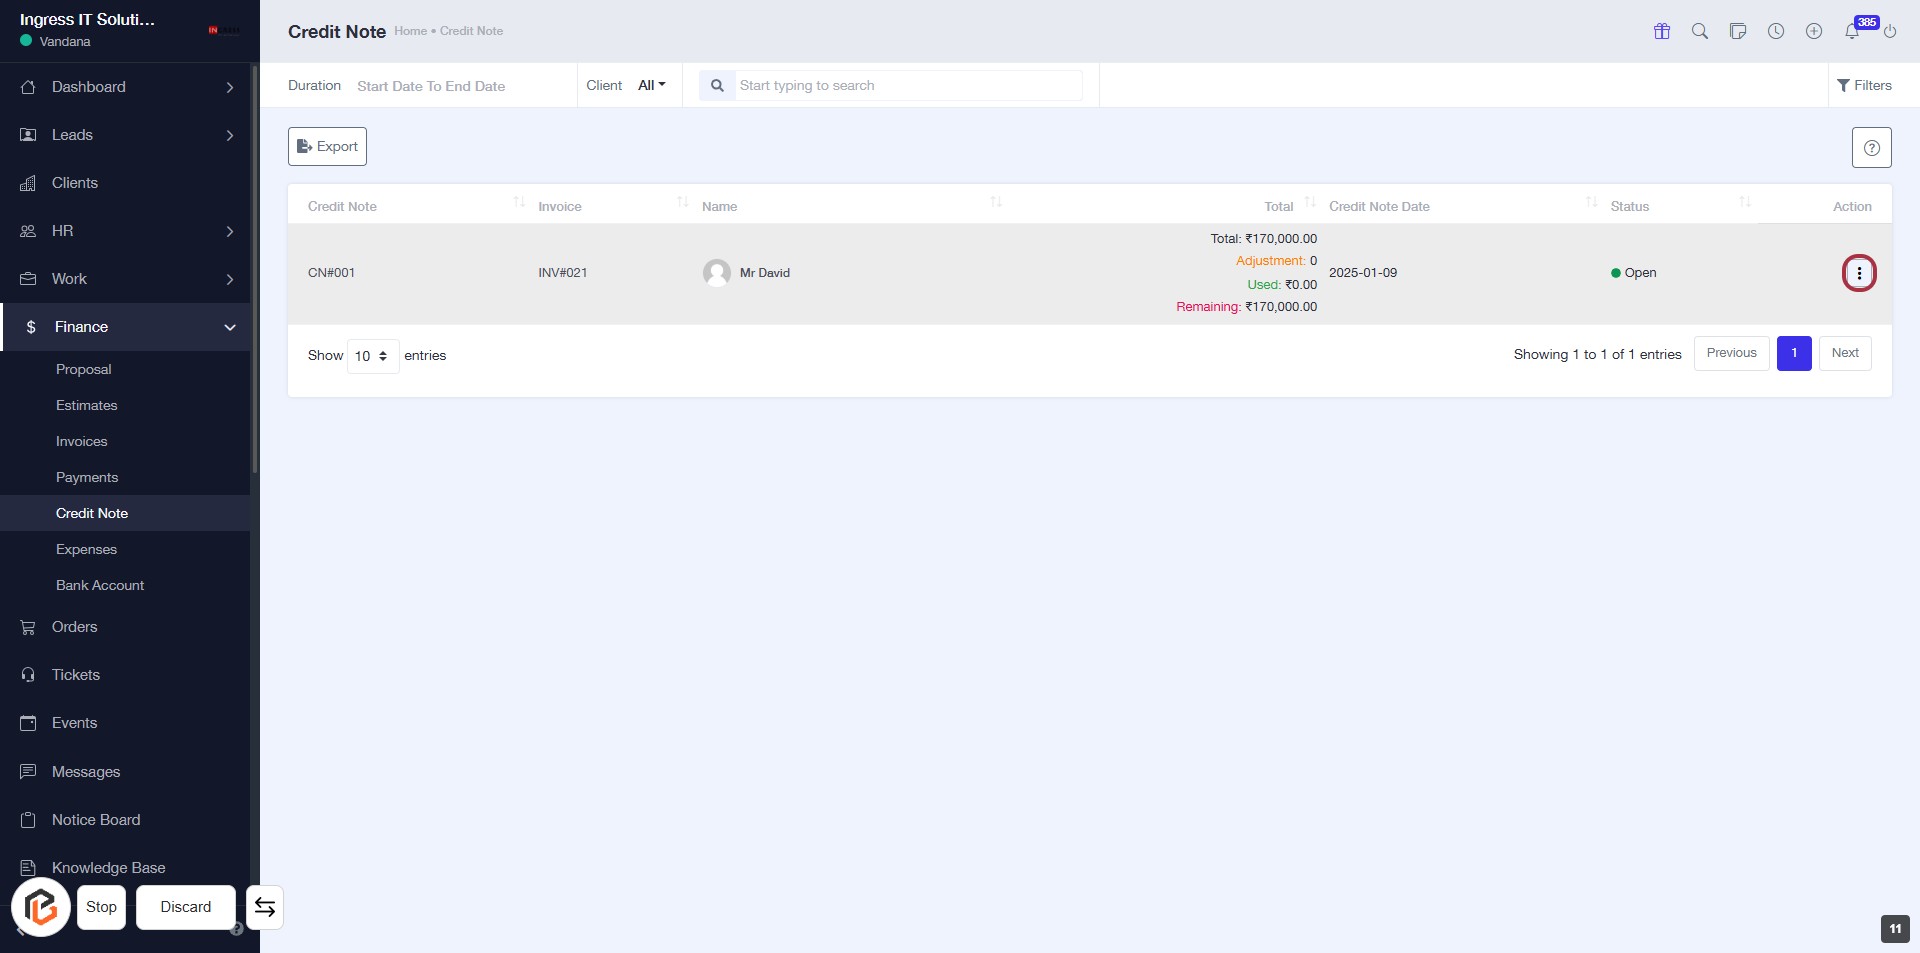
STEP 2: Click on "Credit Note" to Access Credit Records
- Navigate to the "Credit Note" section in the Finance menu.
- Click on the "Credit Note" link to view the details of credit notes.
- Ensure you check the displayed records, including Total, Adjustment, Used, and Remaining amounts.
- Prepare for the next action by reviewing the information available.
STEP 3: Click on "Option Menu" to Access Additional Actions
- Locate the highlighted area with the three-dot menu icon on the right side of the Credit Note table.
- Click on the icon to reveal additional options related to the selected credit note.
- Review the available actions to proceed with your desired task, such as downloading or editing the credit note.

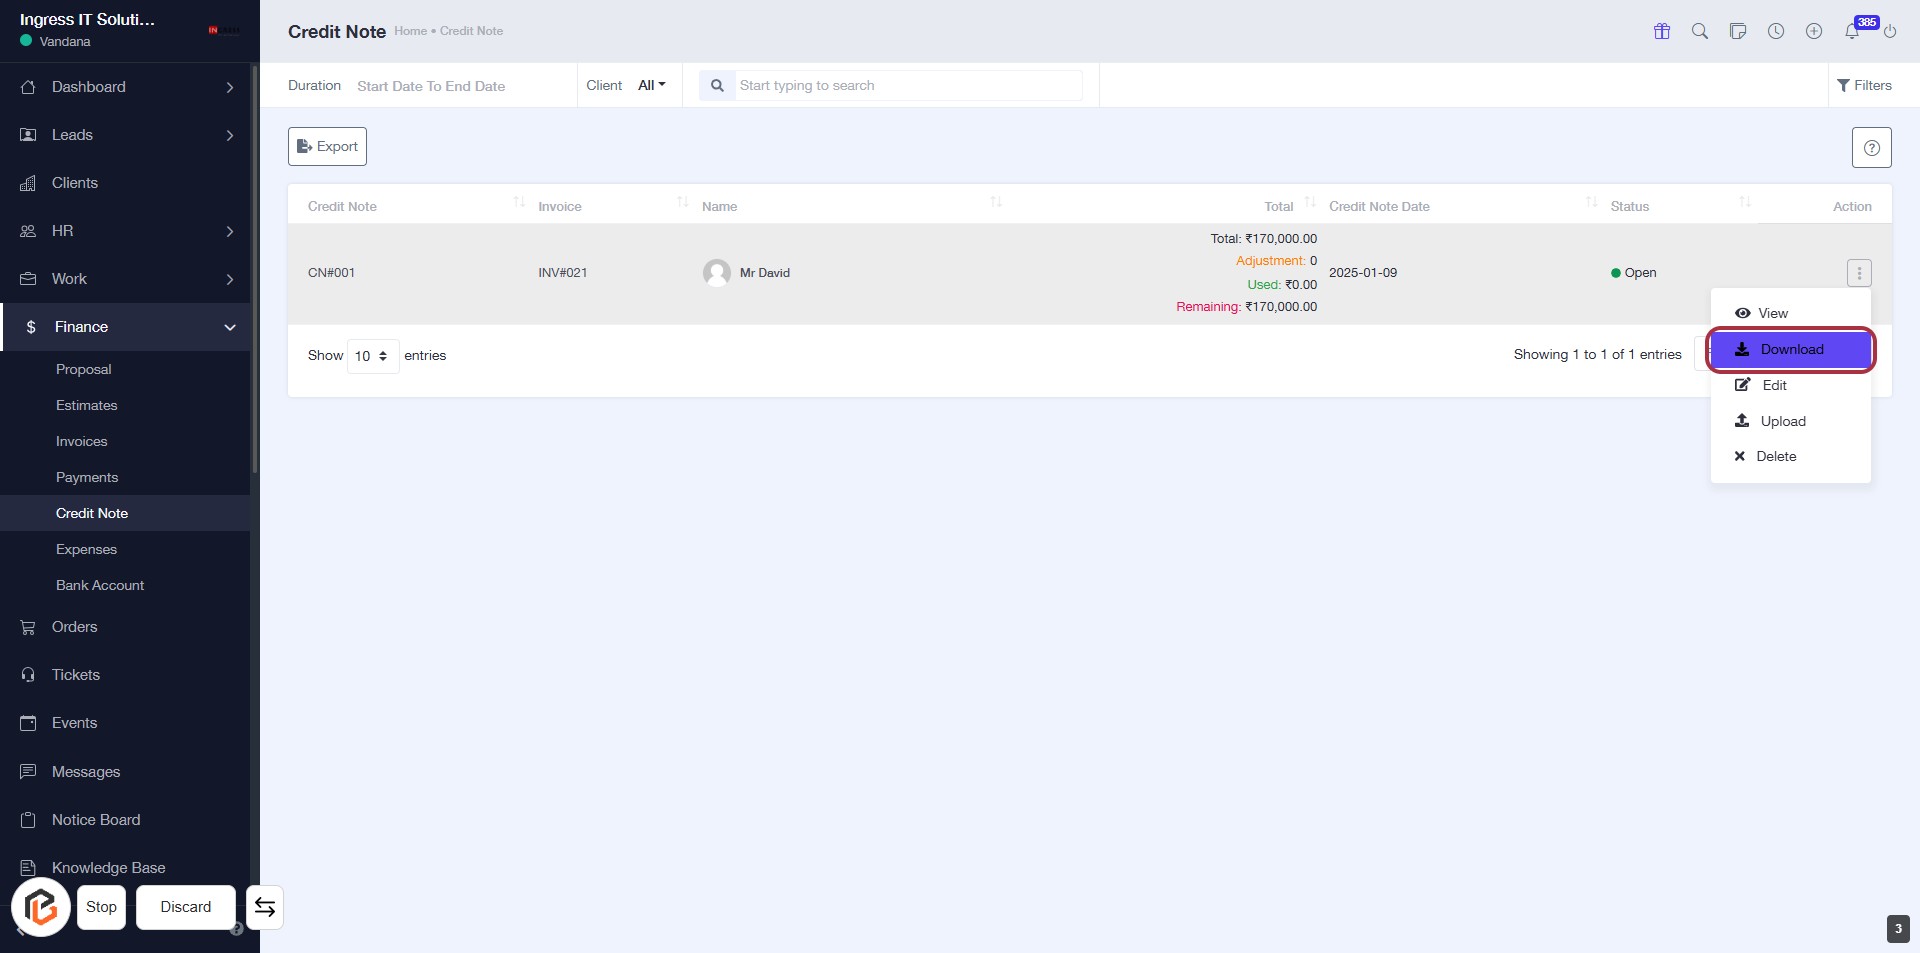
STEP 4: Click on "Download" to Retrieve Credit Note
- Navigate to the "Credit Note" section.
- Locate the "Download" option highlighted in the action menu.
- Click on "Download" to initiate the download of the selected credit note.
- Ensure you have the necessary permissions to download the document.
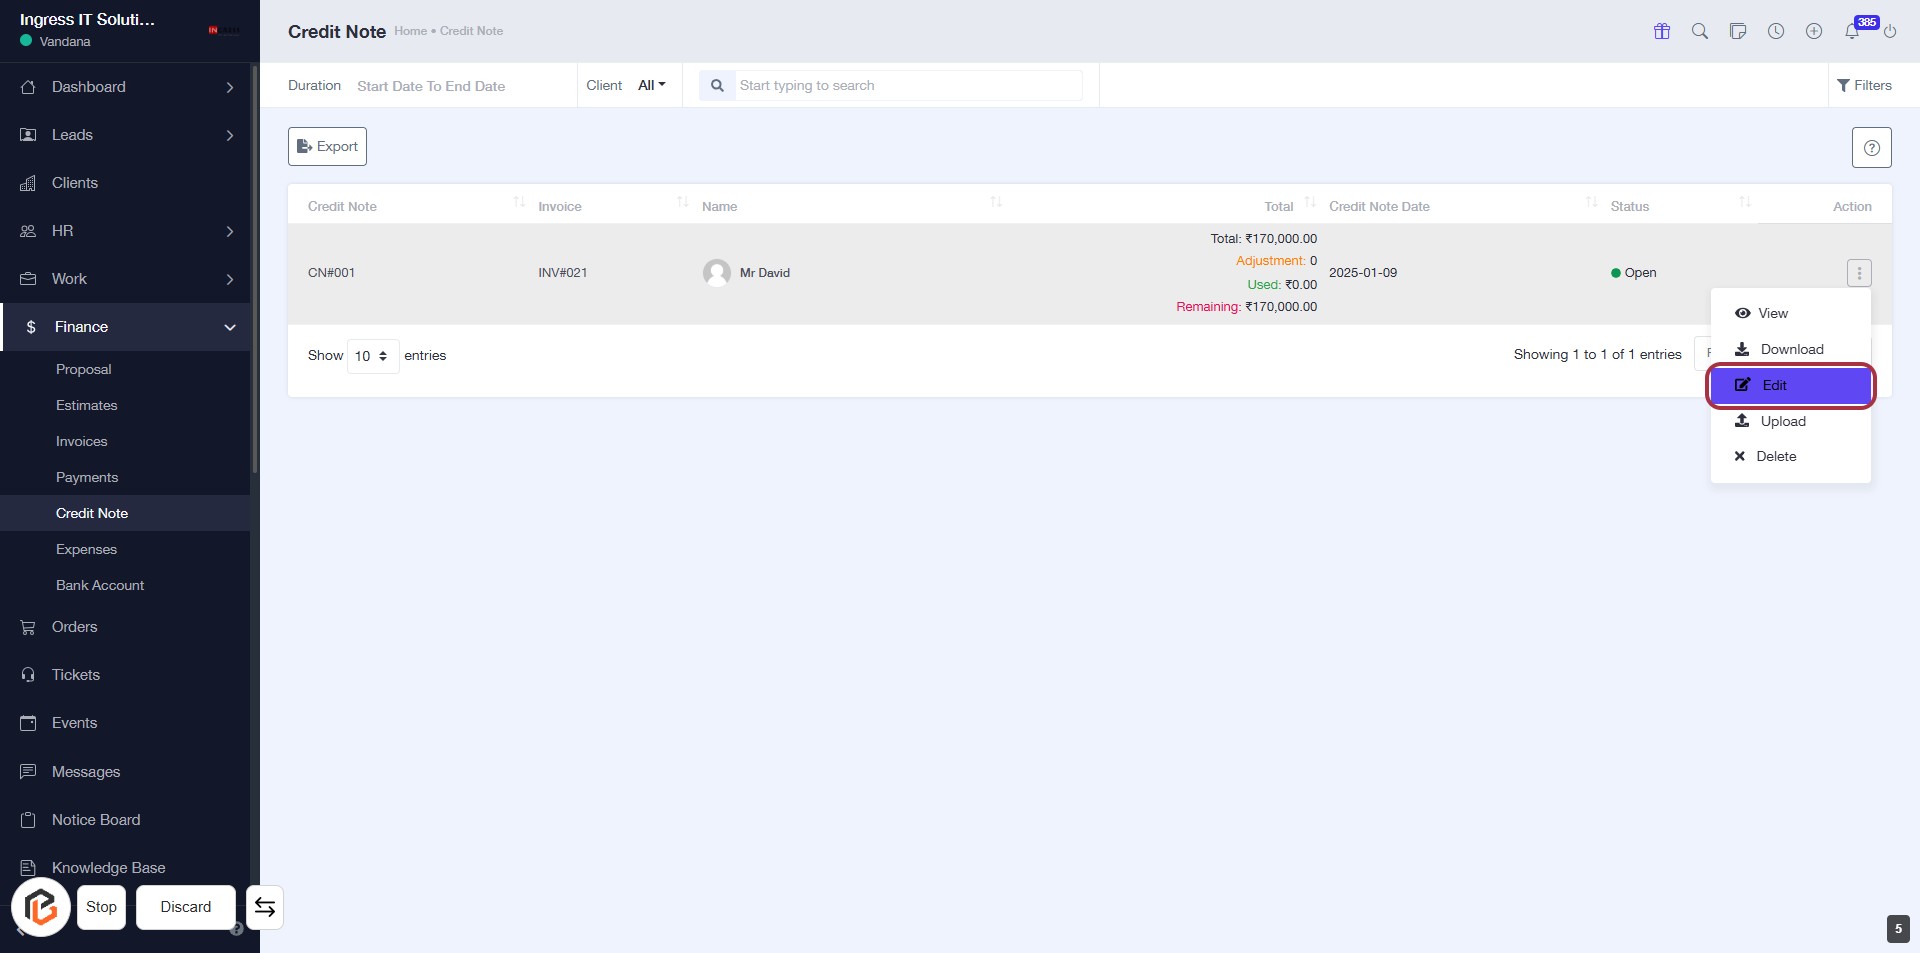
STEP 5: Click on "Option Menu" to Access More Actions
- Locate the highlighted area with the red border.
- Click on the option menu (three dots) to reveal additional actions.
- Review available options for managing the credit note.
- Ensure you have the necessary permissions to perform actions from the menu.
STEP 6: Click on "Edit" to Modify Credit Note
- Navigate to the "Credit Note" section.
- Locate the "Edit" option in the action menu highlighted in red.
- Click on "Edit" to proceed with modifications.
- Ensure all required fields marked with '*' are filled out as needed.
STEP 7: Click on "Option Menu" to Access Additional Actions
- Locate the highlighted area on the right side of the Credit Note table.
- Click on the three-dot icon (⋮) to open the options menu.
- Review the available actions for the selected credit note.
- Proceed to the next step by clicking on "Upload" after selecting the desired action.

STEP 8: Click on "Upload File" to Enter Password
- Locate the "PASSWORD" input field in the dialog box.
- Click on the input area to activate it.
- Enter your password as required.
- Ensure to fill out any other mandatory fields marked with an asterisk (*).
- After completing the form, proceed to click "Save" to finalize your action.
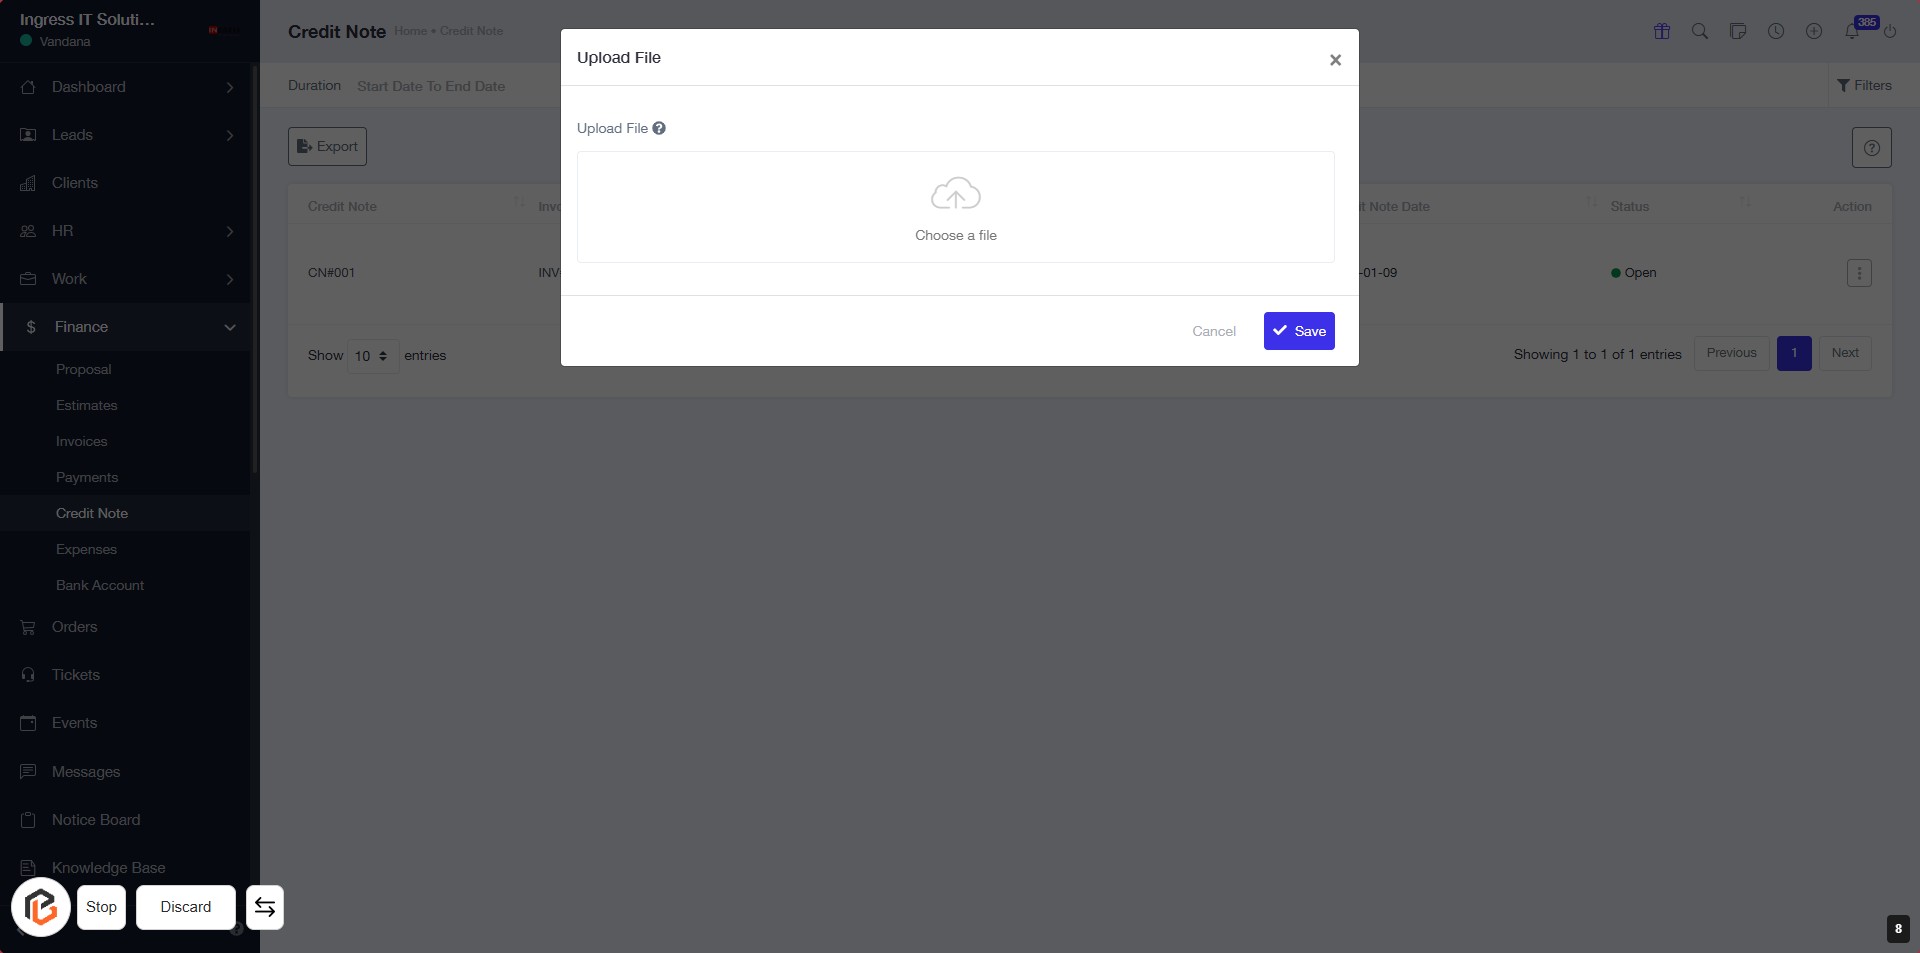
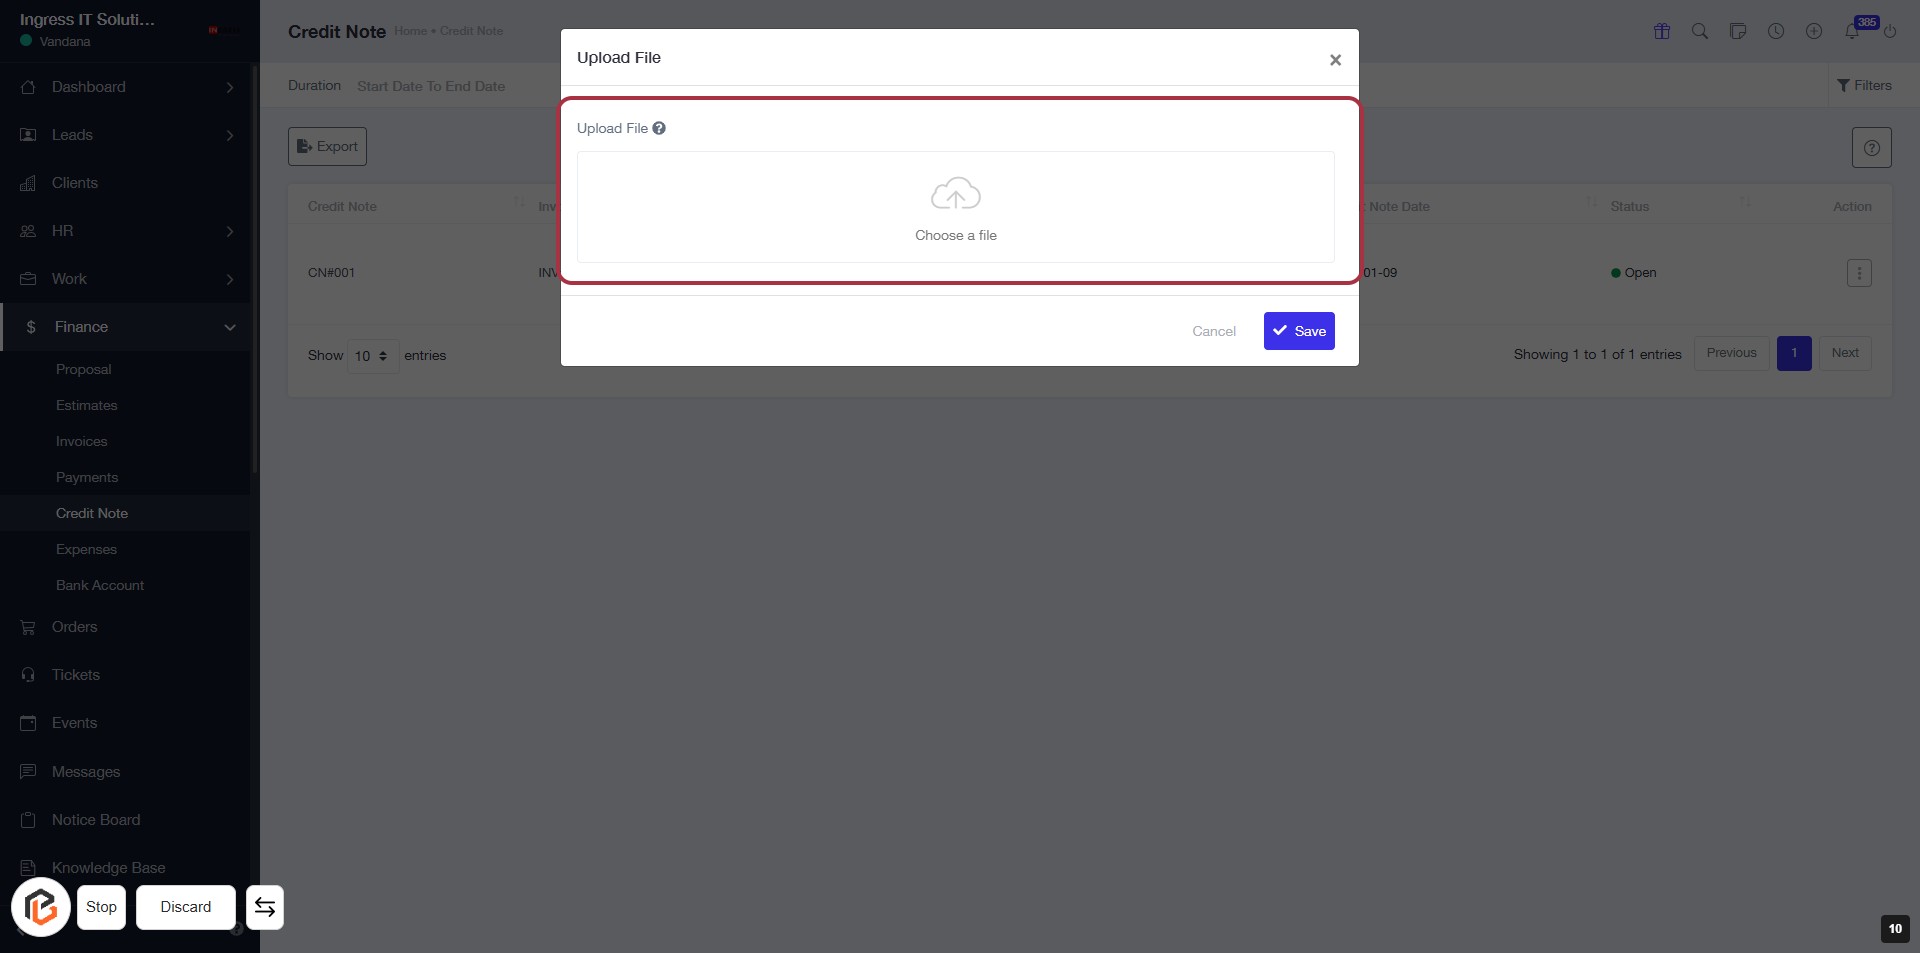
STEP 9: Click on "Upload File" to Choose a File
- Locate the "Upload File" section in the dialog box.
- Click on the highlighted area to initiate the file selection process.
- Ensure the file you want to upload is ready for selection.
- After clicking, proceed to the next step to upload your file.
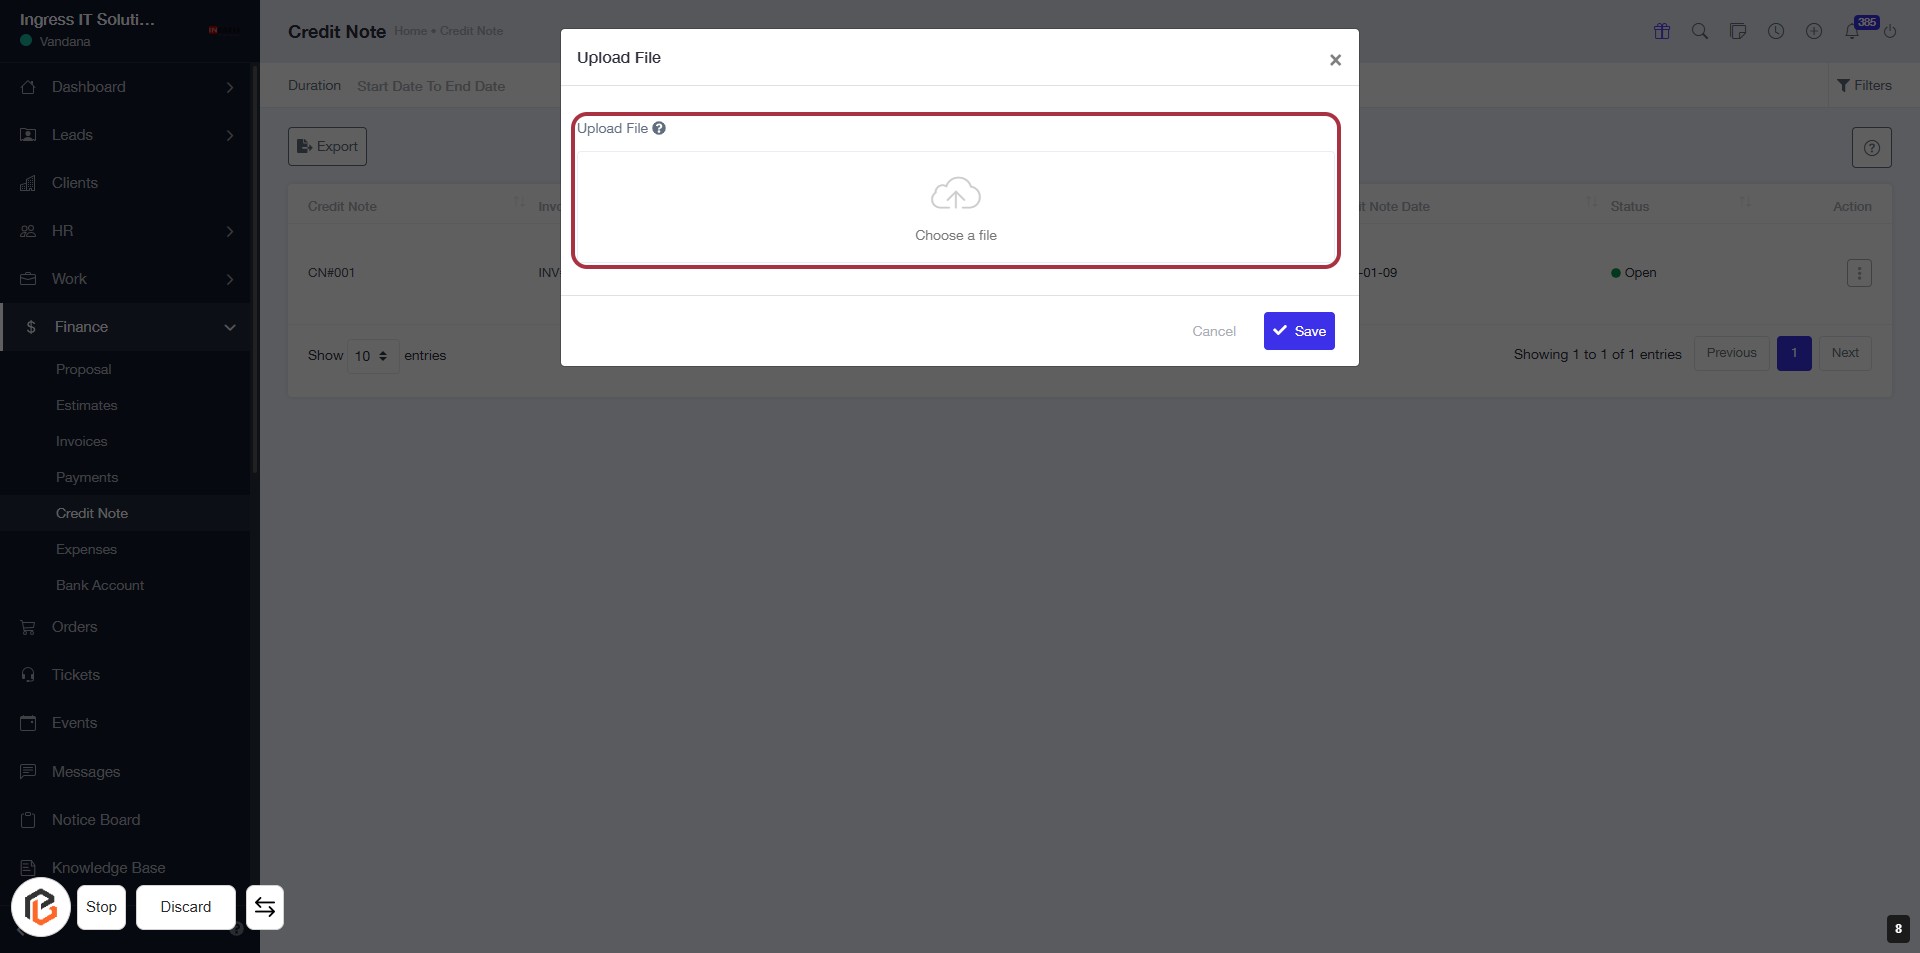
STEP 10: Upload File in "Choose a File"
- Navigate to the dialog box titled "Upload File."
- Locate the input field labeled "Upload File."
- Click on "Choose a file" to open your file explorer.
- Select the desired file from your device to upload.
- Confirm your selection by clicking the "Save" button to complete the upload process.
STEP 11: Click on "Option Menu" to Access Actions
- Navigate to the highlighted area on the right side of the table.
- Click on the three-dot menu icon to reveal additional options.
- Review available actions related to the selected credit note.
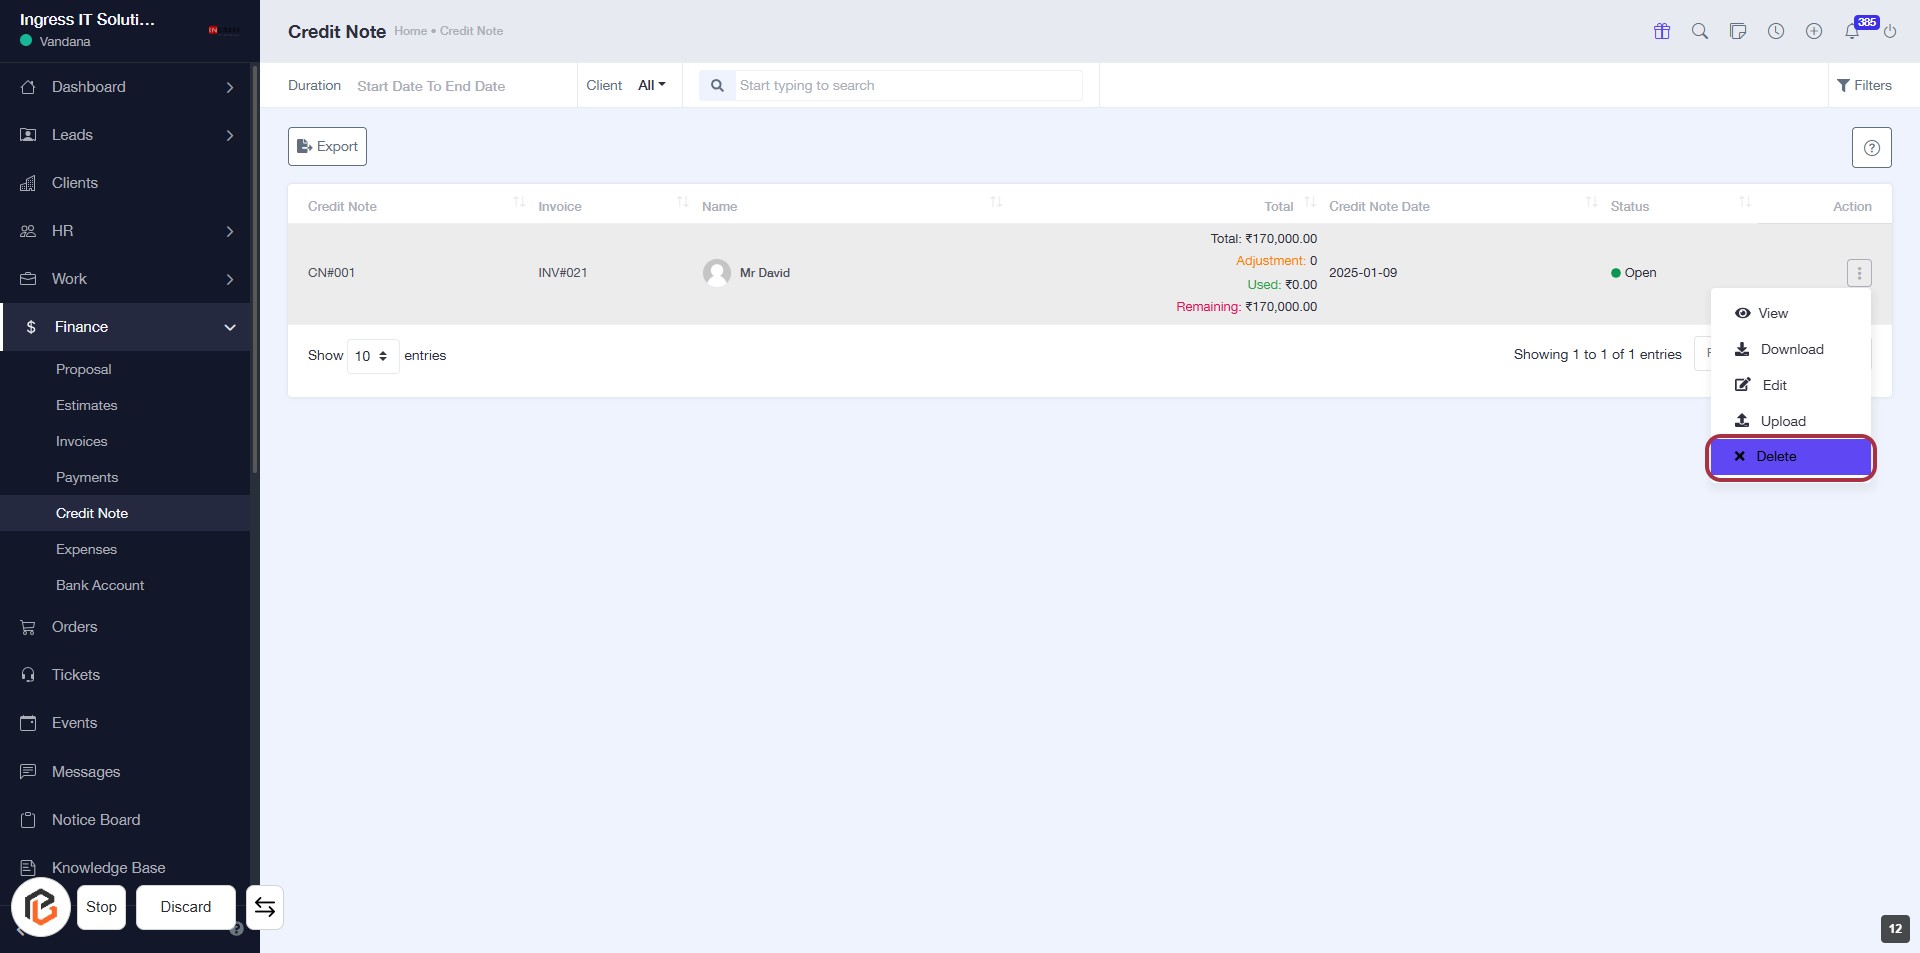
- Proceed to the next step by clicking "Delete" if you wish to remove the credit note.
STEP 12: CLICK on "Delete" to Remove Credit Note
- Navigate to the "Credit Note" section.
- Locate the credit note you wish to delete.
- Click on the "Delete" option highlighted in the action menu.
- Confirm the deletion if prompted to ensure the credit note is removed from the system.