Step-by-Step Guide to Creating and Managing Events in Your Dashboard
21 mins read · Updated 29 Sep, 2025
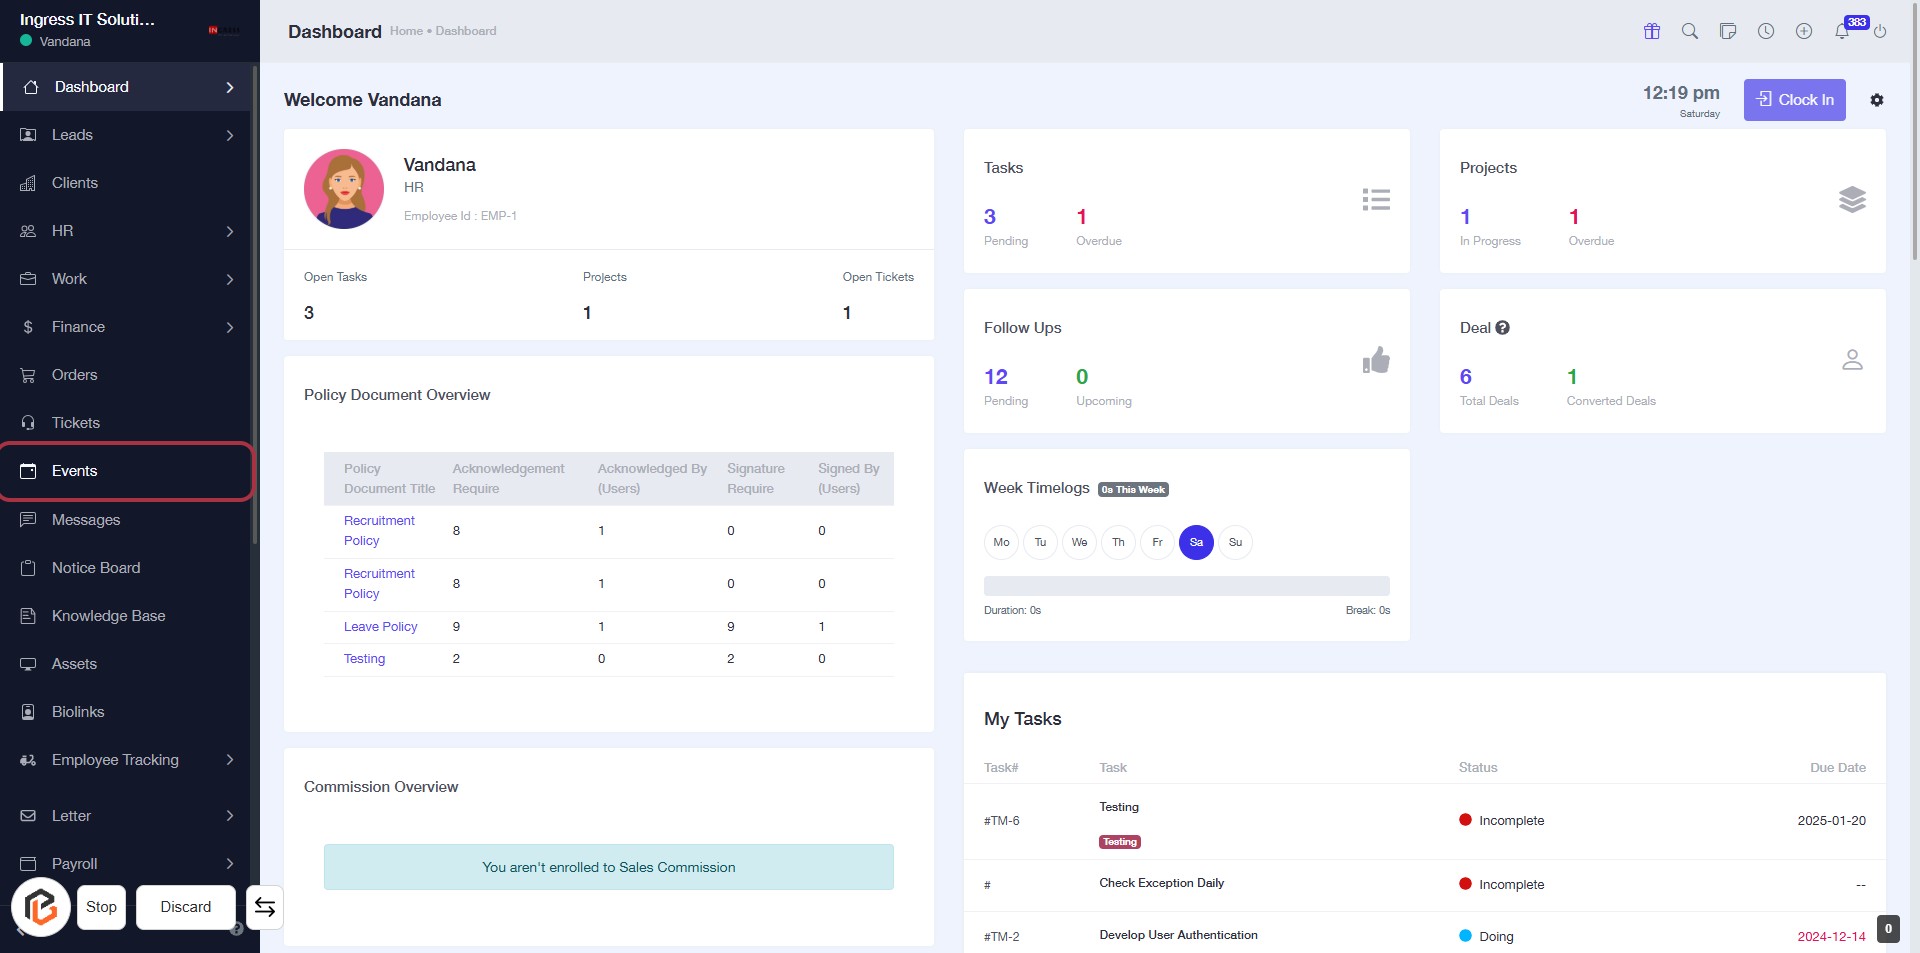
STEP 1: Click on "Events" in the Dashboard
- Navigate to the left sidebar and locate the "Events" option.
- Click on the "Events" link to access the events section of the application.
- Ensure you are on the dashboard page to perform this action.
- After clicking, you will be directed to the events overview page for further actions.
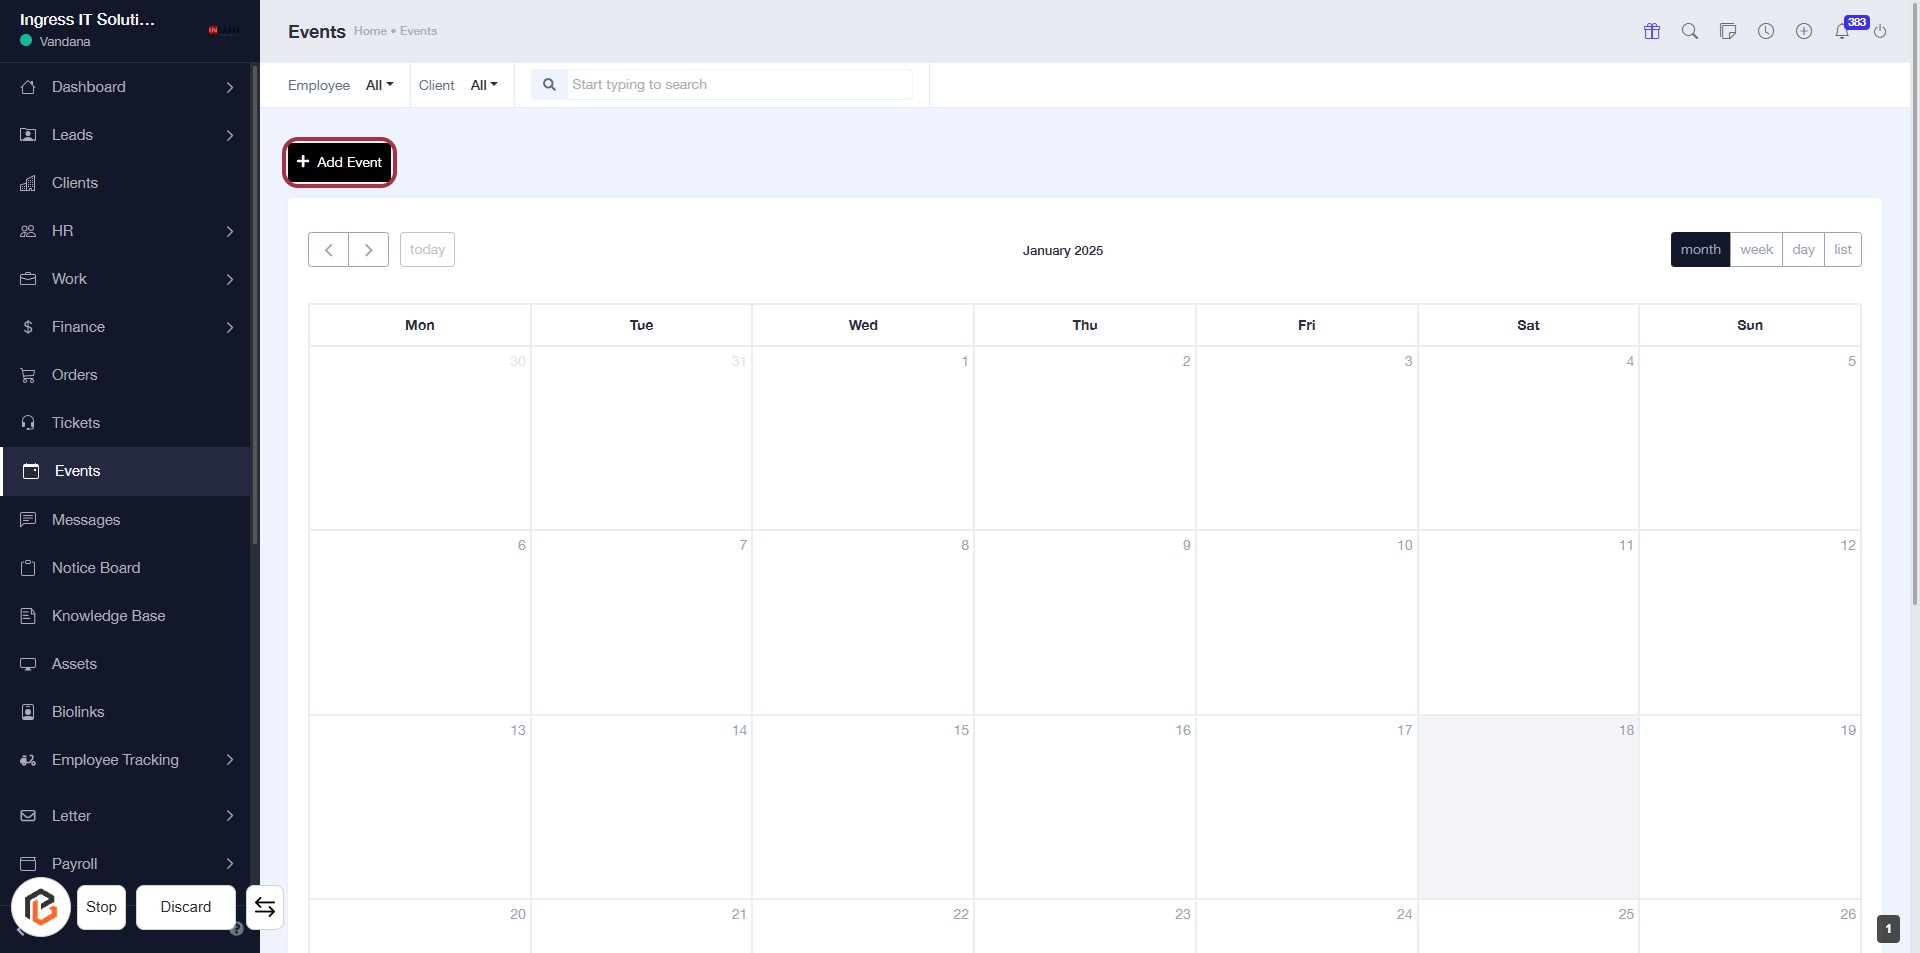
STEP 2: Click on "Add Event"
- Navigate to the "Events" section in the dashboard.
- Click on the Add Event button located at the top left of the calendar.
- Ensure you are ready to input details for the new event in the next step.
Note: Look for any required fields marked with an asterisk (*) in the upcoming form.
STEP 3: Enter Event Name
- Click on the highlighted area labeled "Event Name" to input the name of your event.
- Ensure to fill this field as it is marked with an asterisk (*), indicating it is required.
- After entering the event name, proceed to the next step by selecting "Label Color."
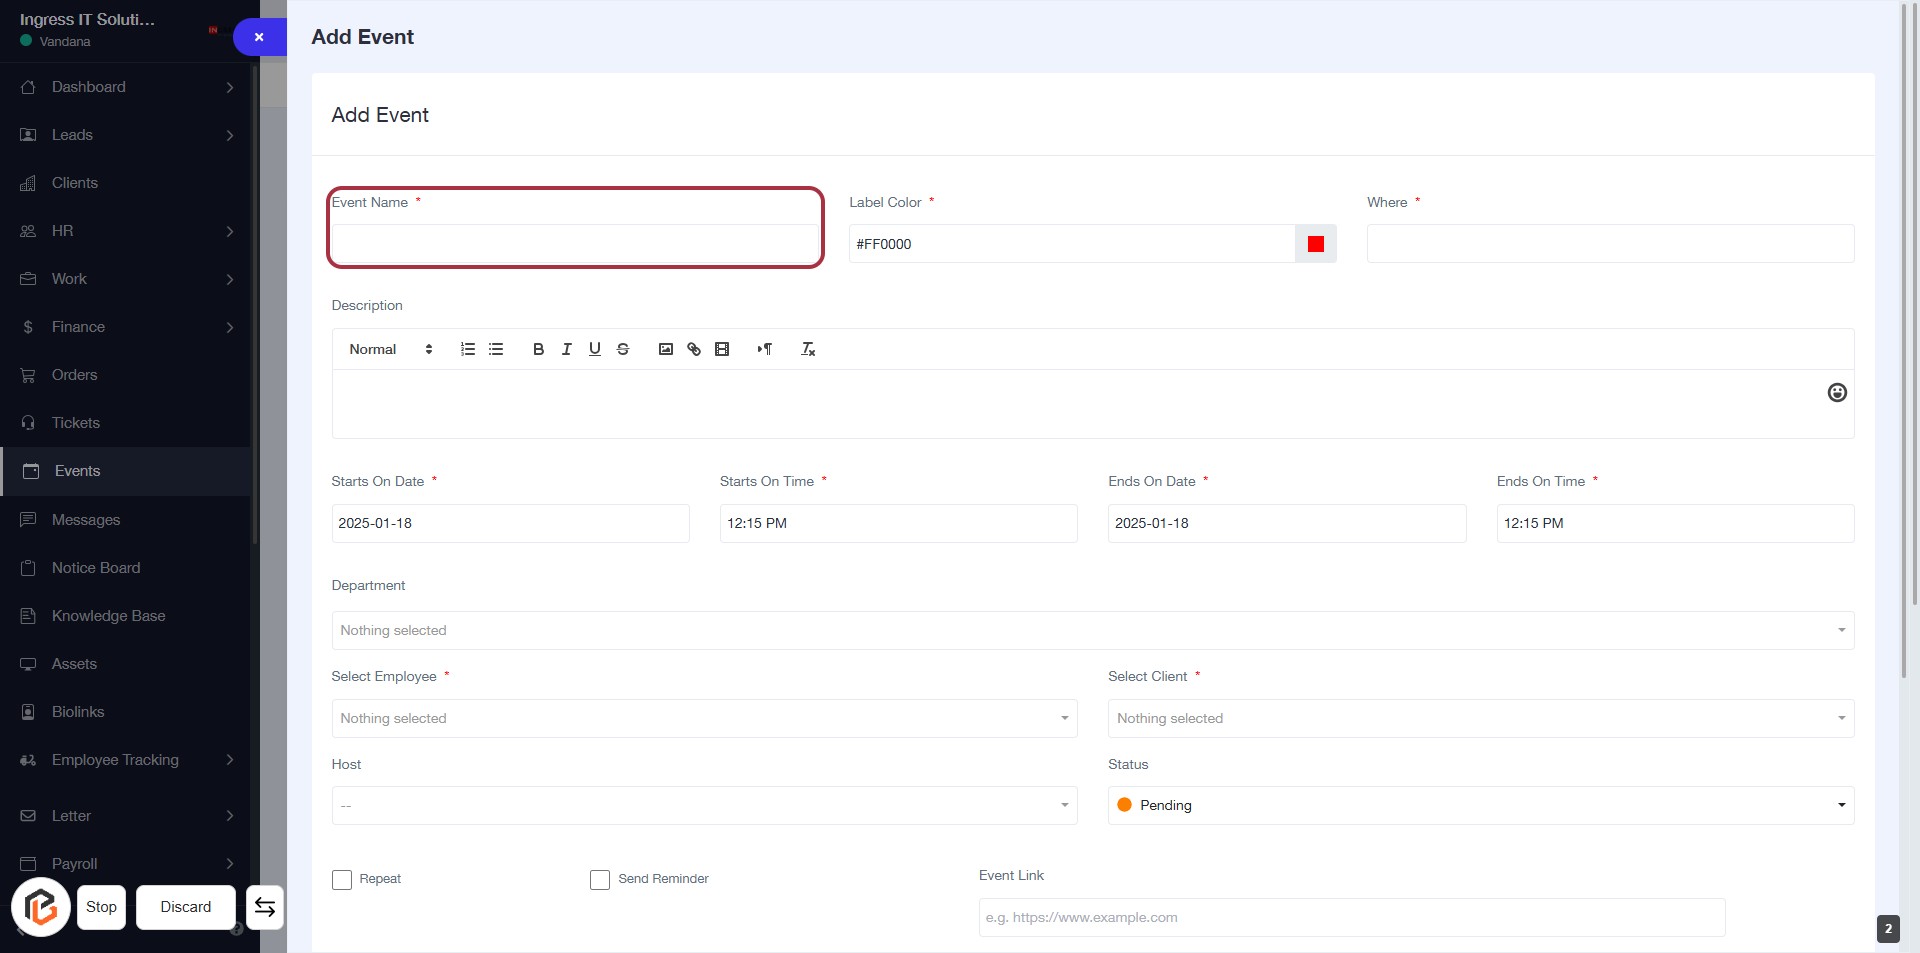
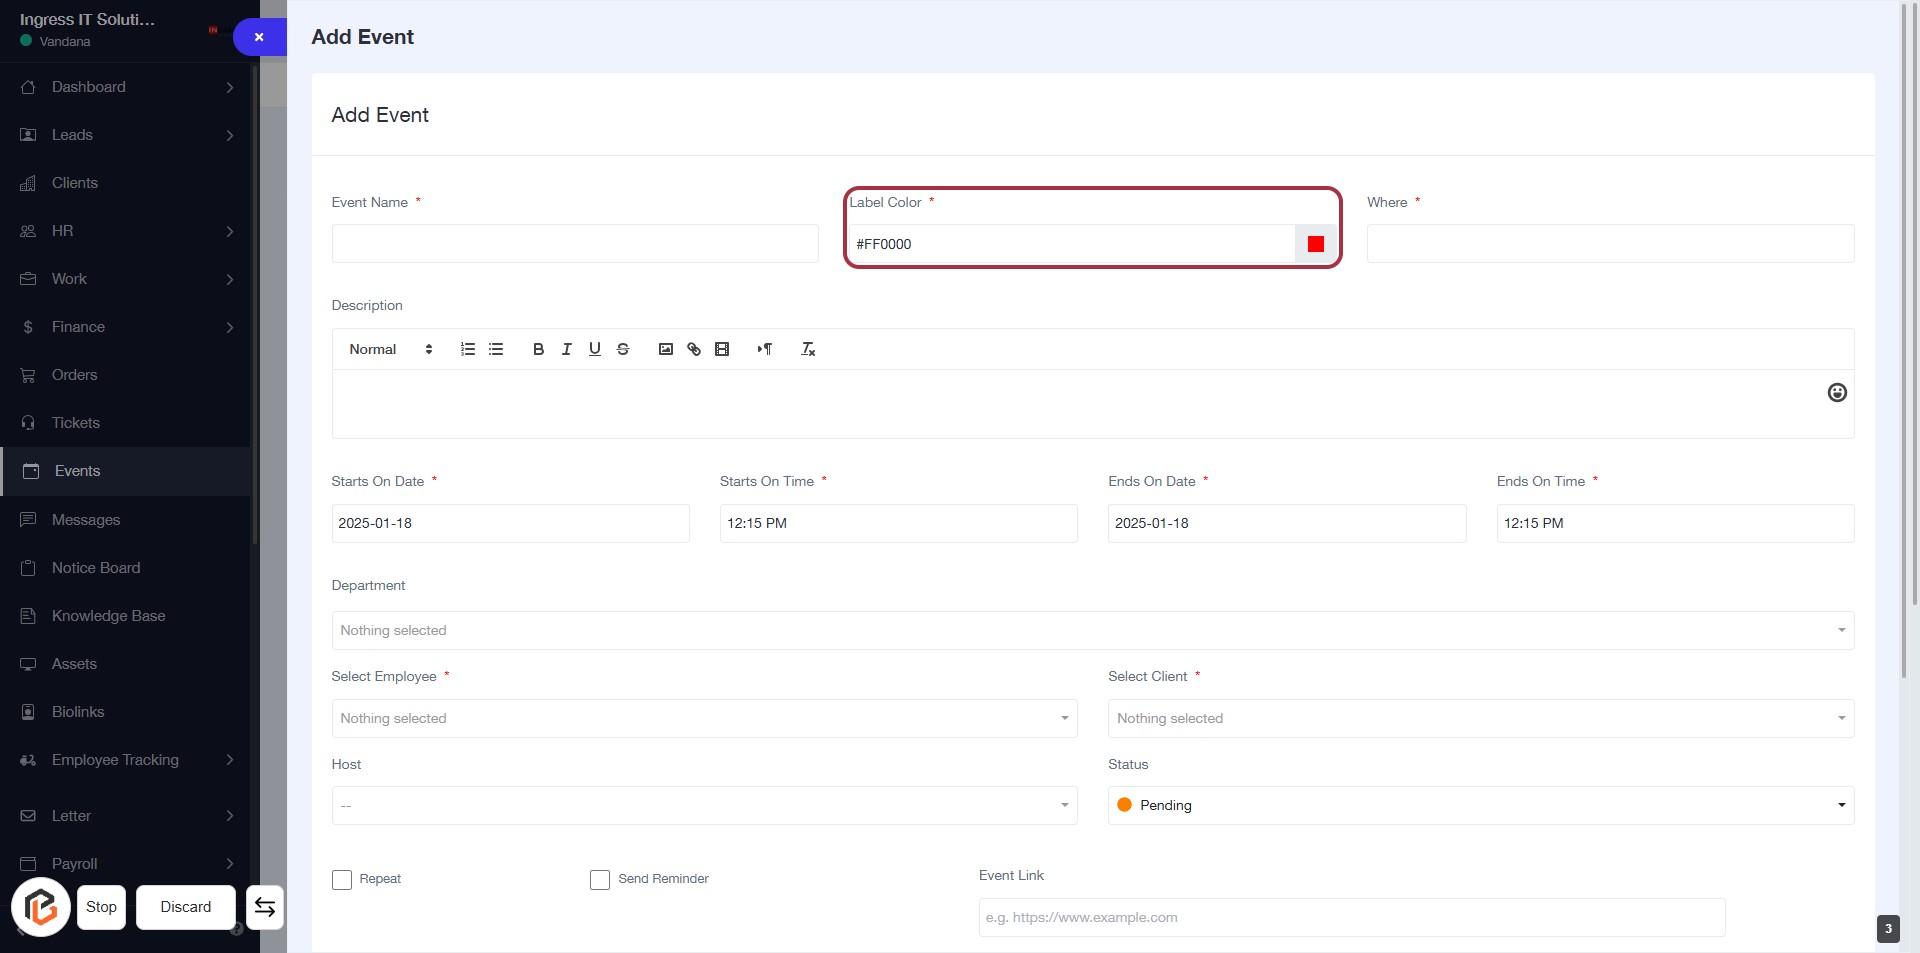
STEP 4: Select Label Color
- Click on the "Label Color" field (marked with a red border).
- Choose a color for the event label; this is a required field (indicated by the asterisk).
- Ensure the selected color is visually distinct for easy identification.
- Proceed to the next step by entering the "Where" location.
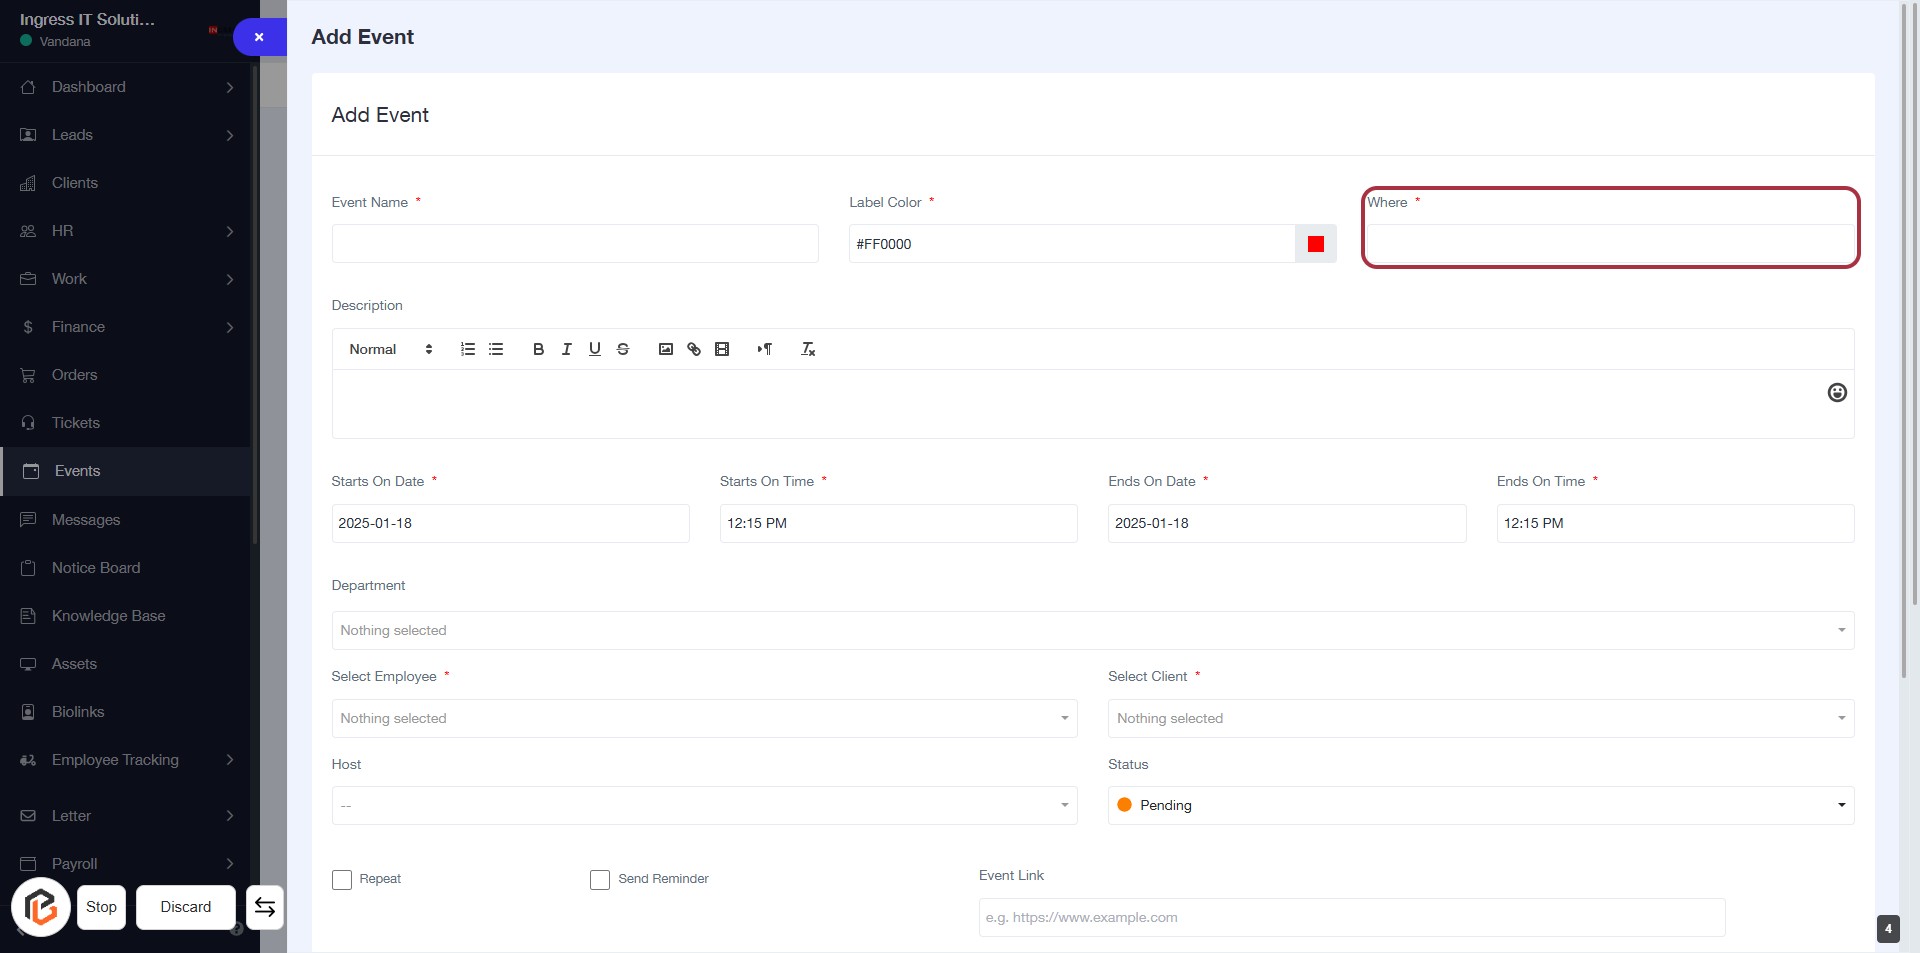
STEP 5: Enter "Where" Location
- Click on the "Where" field to specify the location of the event.
- Ensure to fill in this field as it is marked with an asterisk (*), indicating it is required.
- Review other fields for completeness before proceeding to the next step.
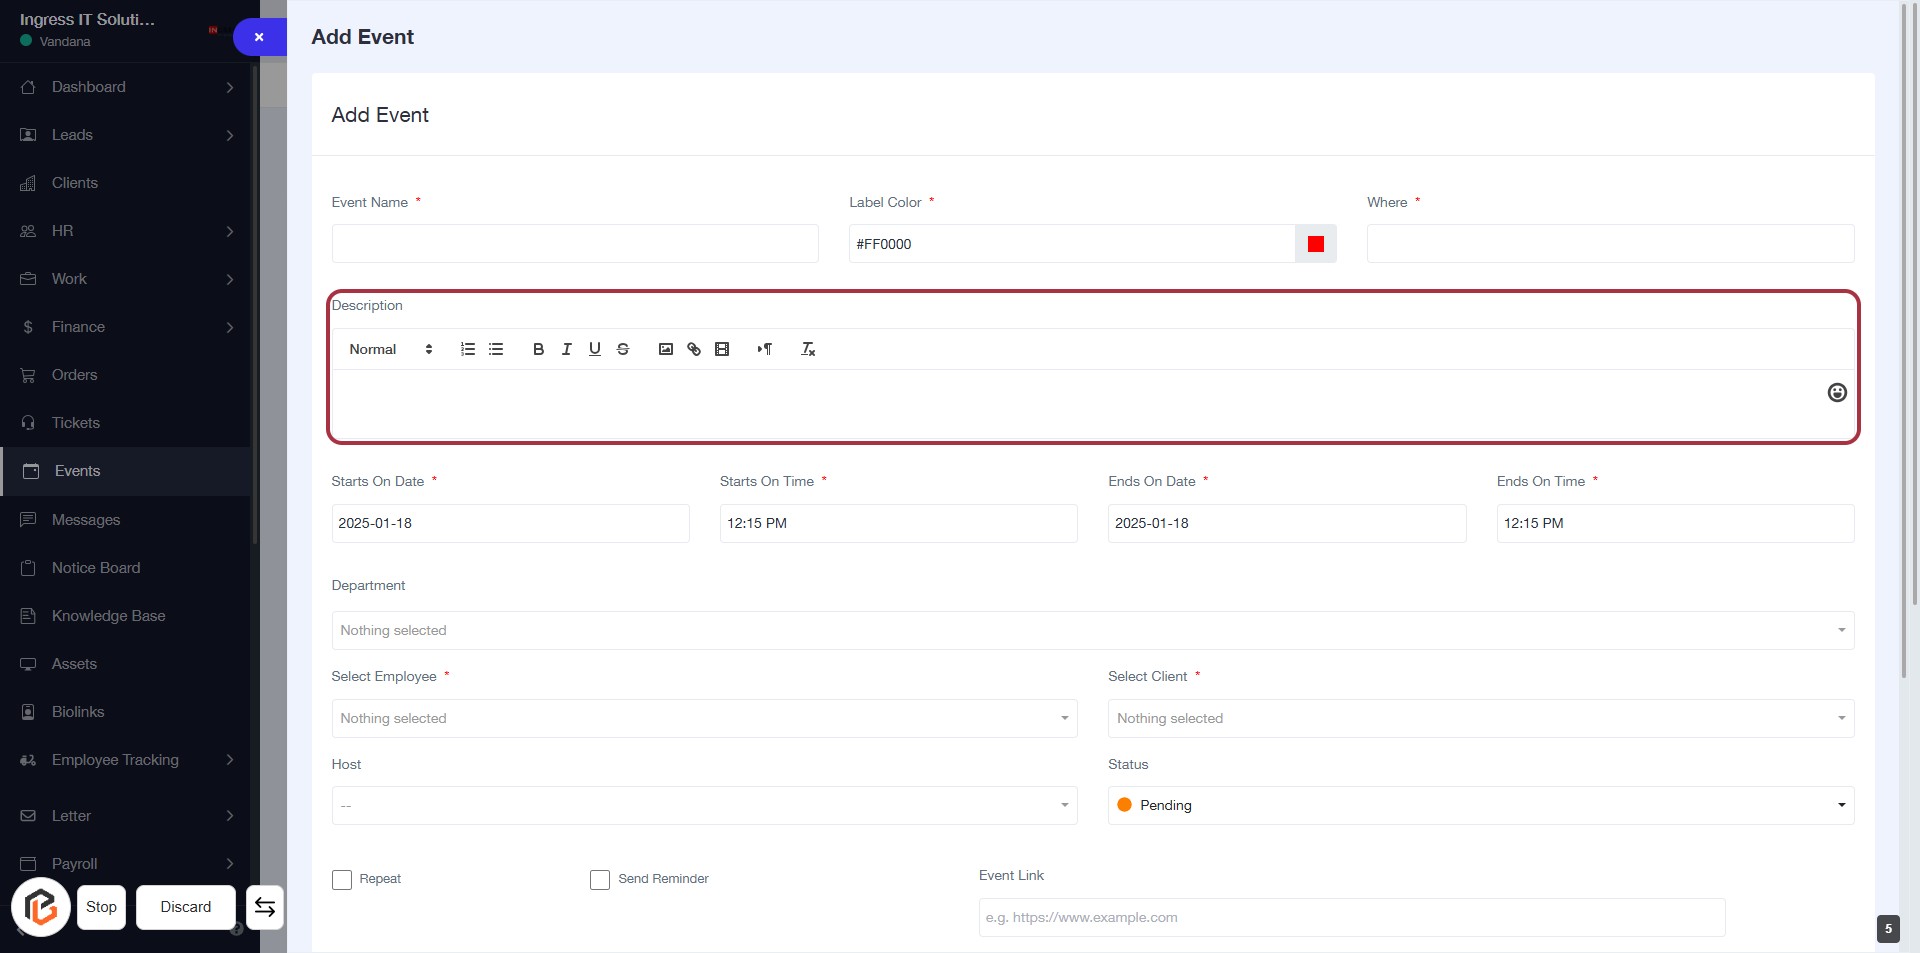
STEP 6: Fill "Description" for the Event
- Click on the Description field to enter details about the event.
- Use the formatting options (Normal, Bold, Italics, etc.) to style your text.
- Ensure to provide relevant context for the event.
- This field is typically required, so make sure to fill it out before proceeding.
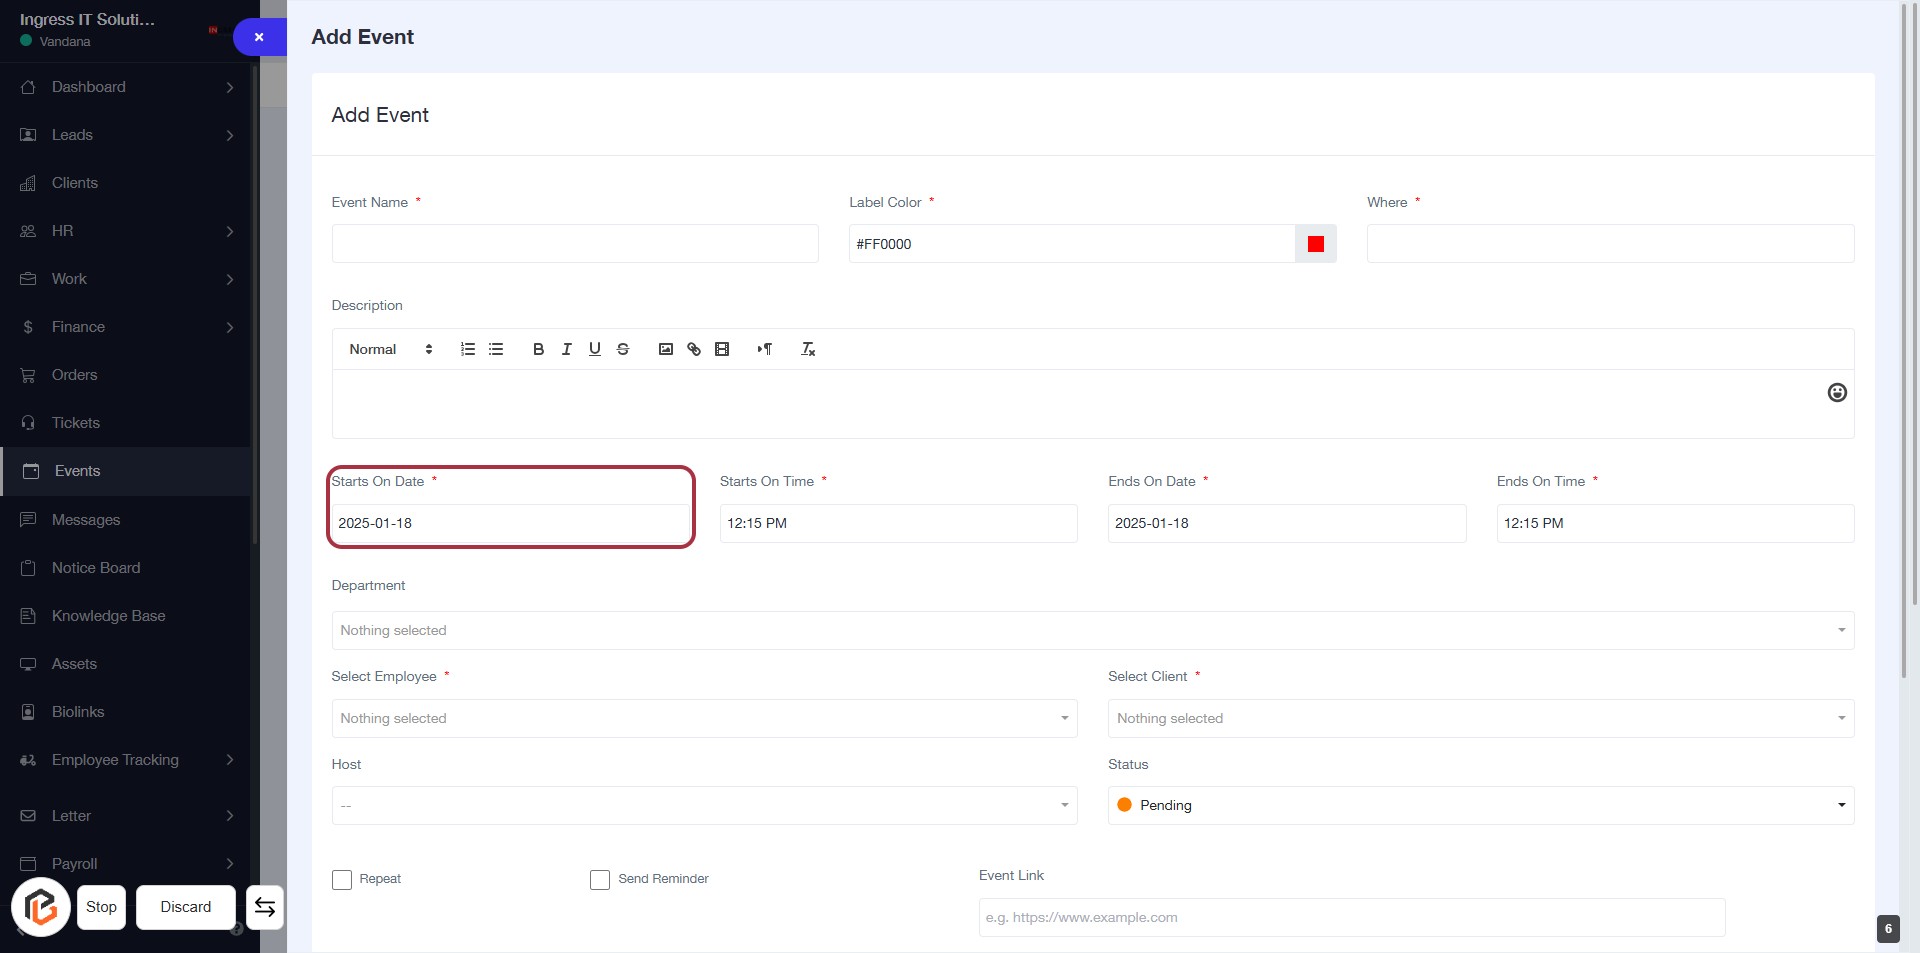
STEP 7: Select "Starts On Date"
- Click on the "Starts On Date" field to open the date selection.
- Ensure the field is marked with an asterisk (*) indicating it's a required input.
- Choose the desired date from the calendar popup that appears.
- Verify the selected date is correctly displayed in the field before proceeding to the next step.
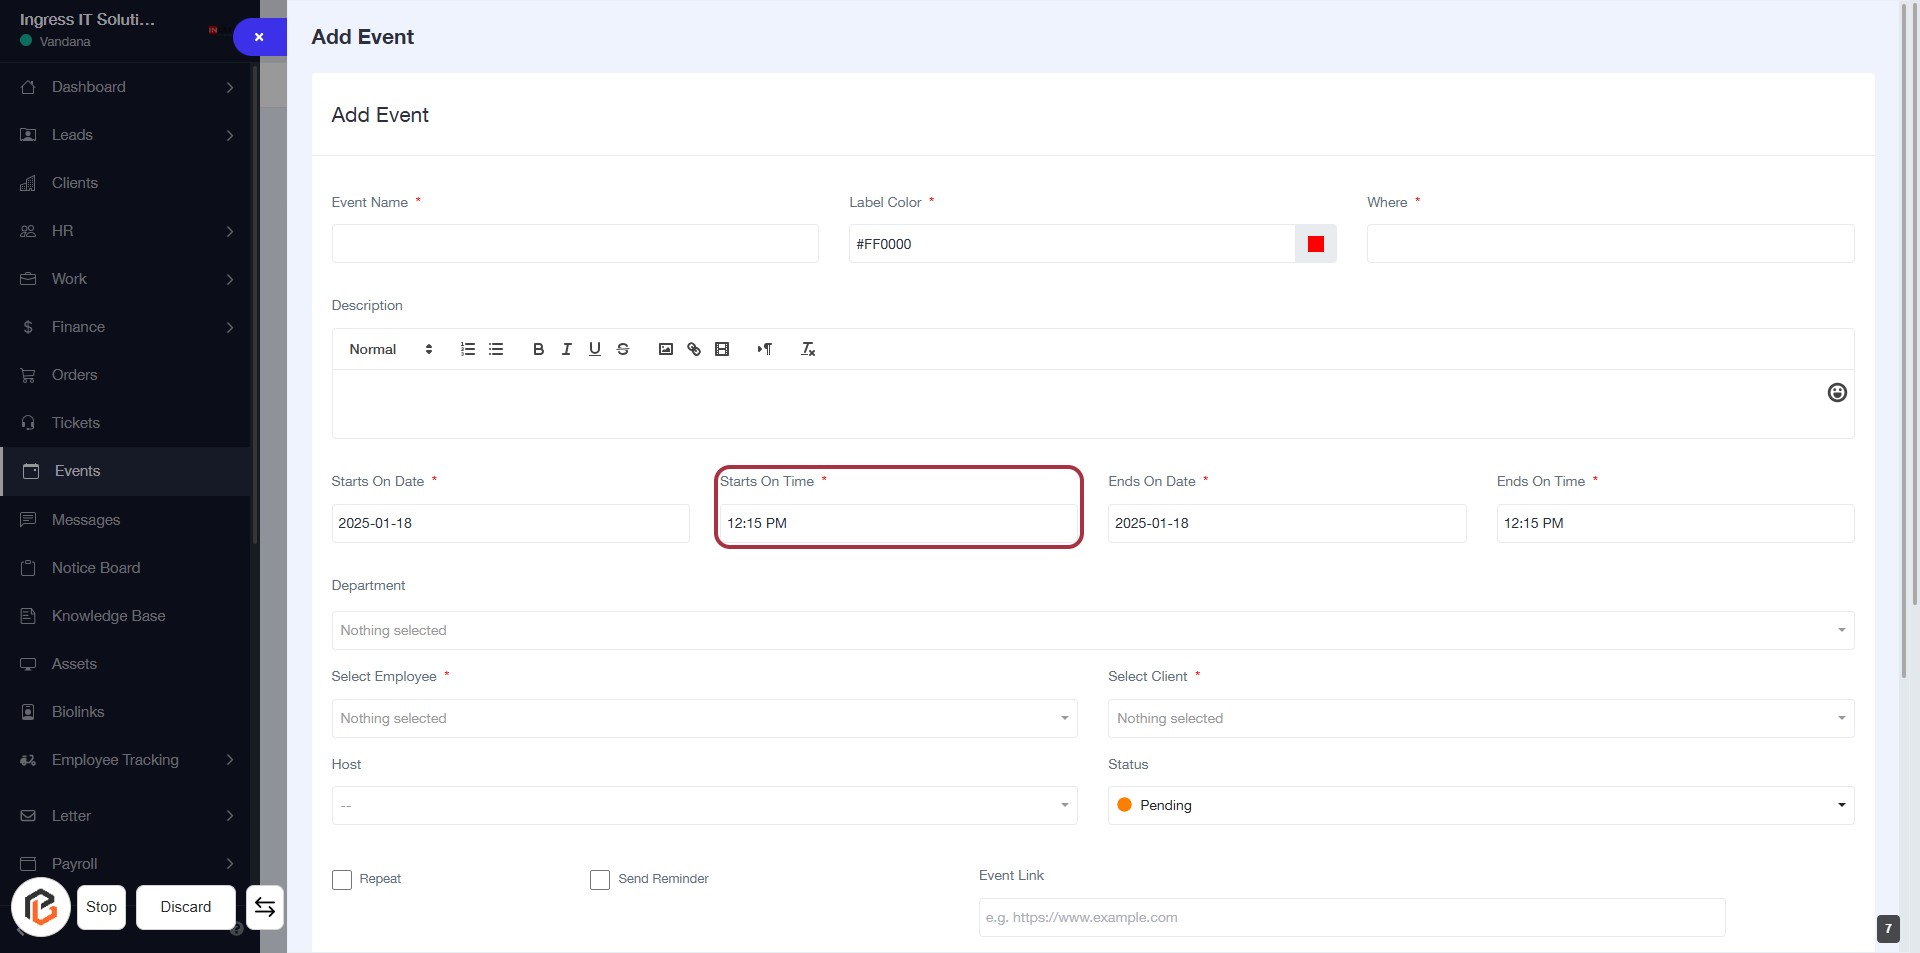
STEP 8: Enter "Starts On Time"
- Click on the "Starts On Time" field to input the time.
- Ensure to fill in the required field marked with an asterisk (*).
- Input the time in the format specified (e.g., 12:15 PM).
- Review other fields for completeness before proceeding to the next step.
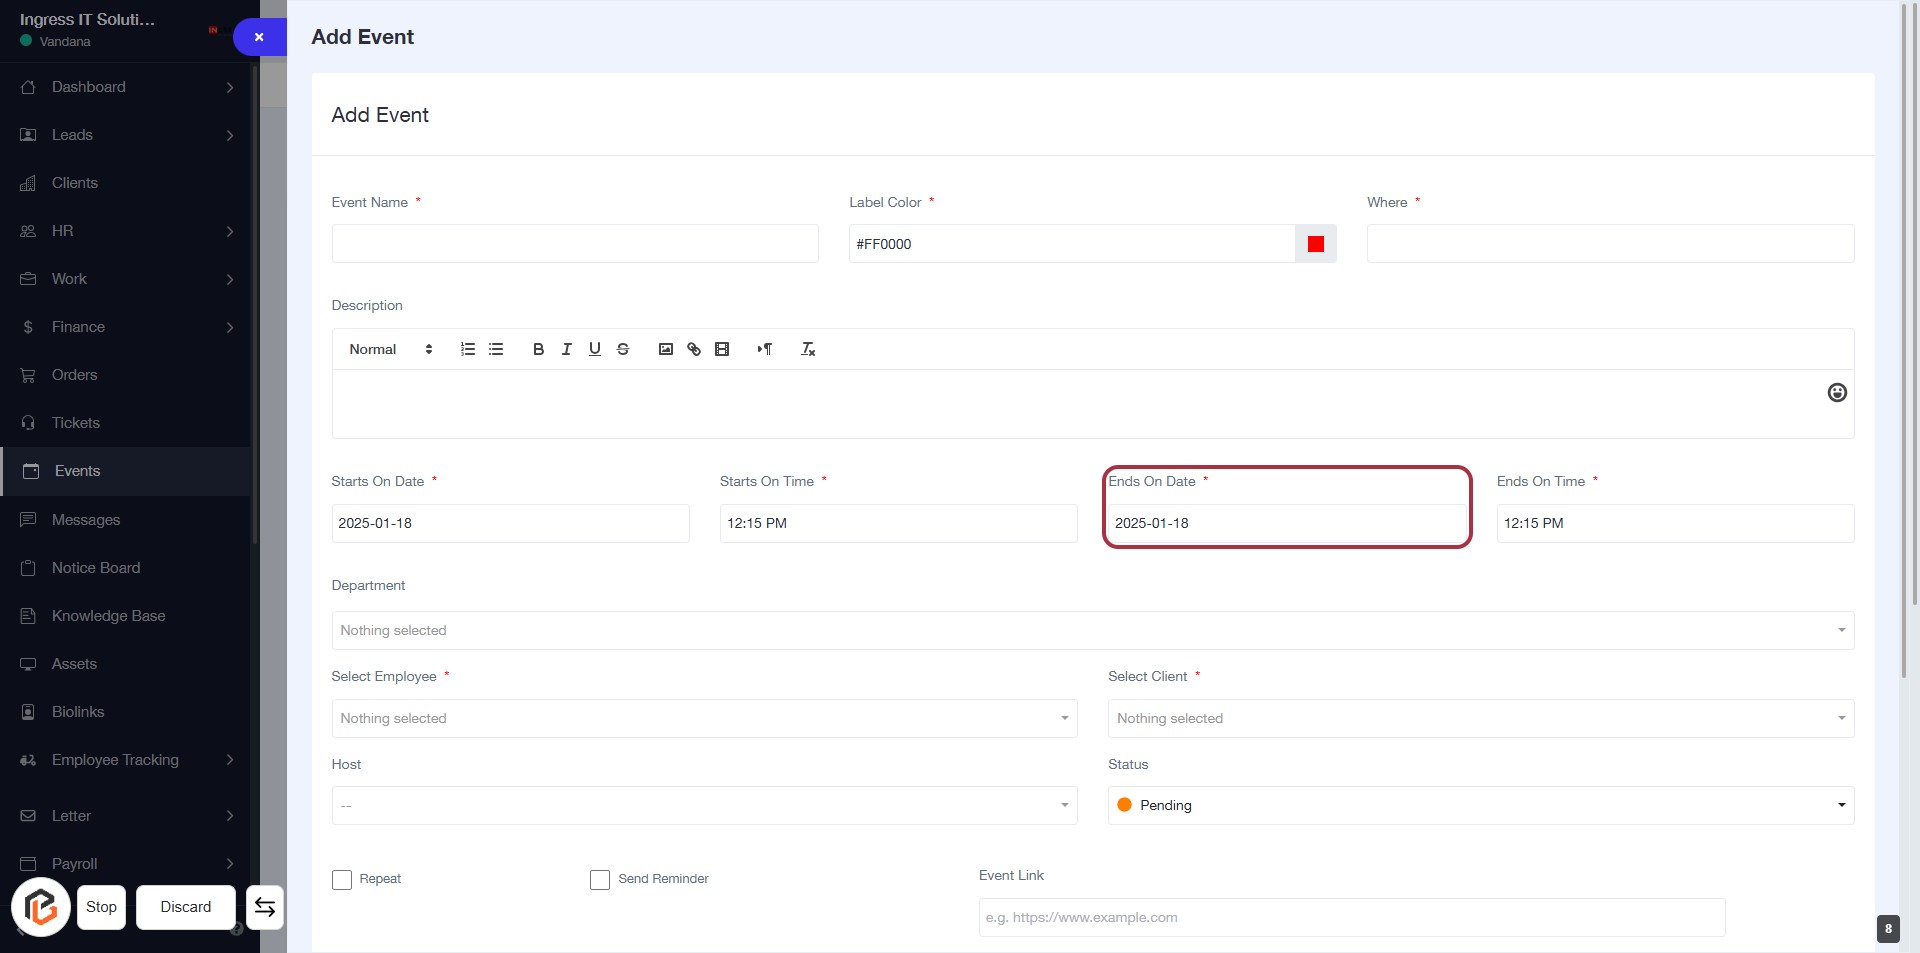
STEP 9: Select "Ends On Date"
- Click on the "Ends On Date" field (marked with an asterisk) to set the event's end date.
- Ensure to enter a valid date format.
- Review other required fields: "Event Name," "Label Color," "Where," "Starts On Date," and "Starts On Time."
- Proceed to the next step to enter "Ends On Time."
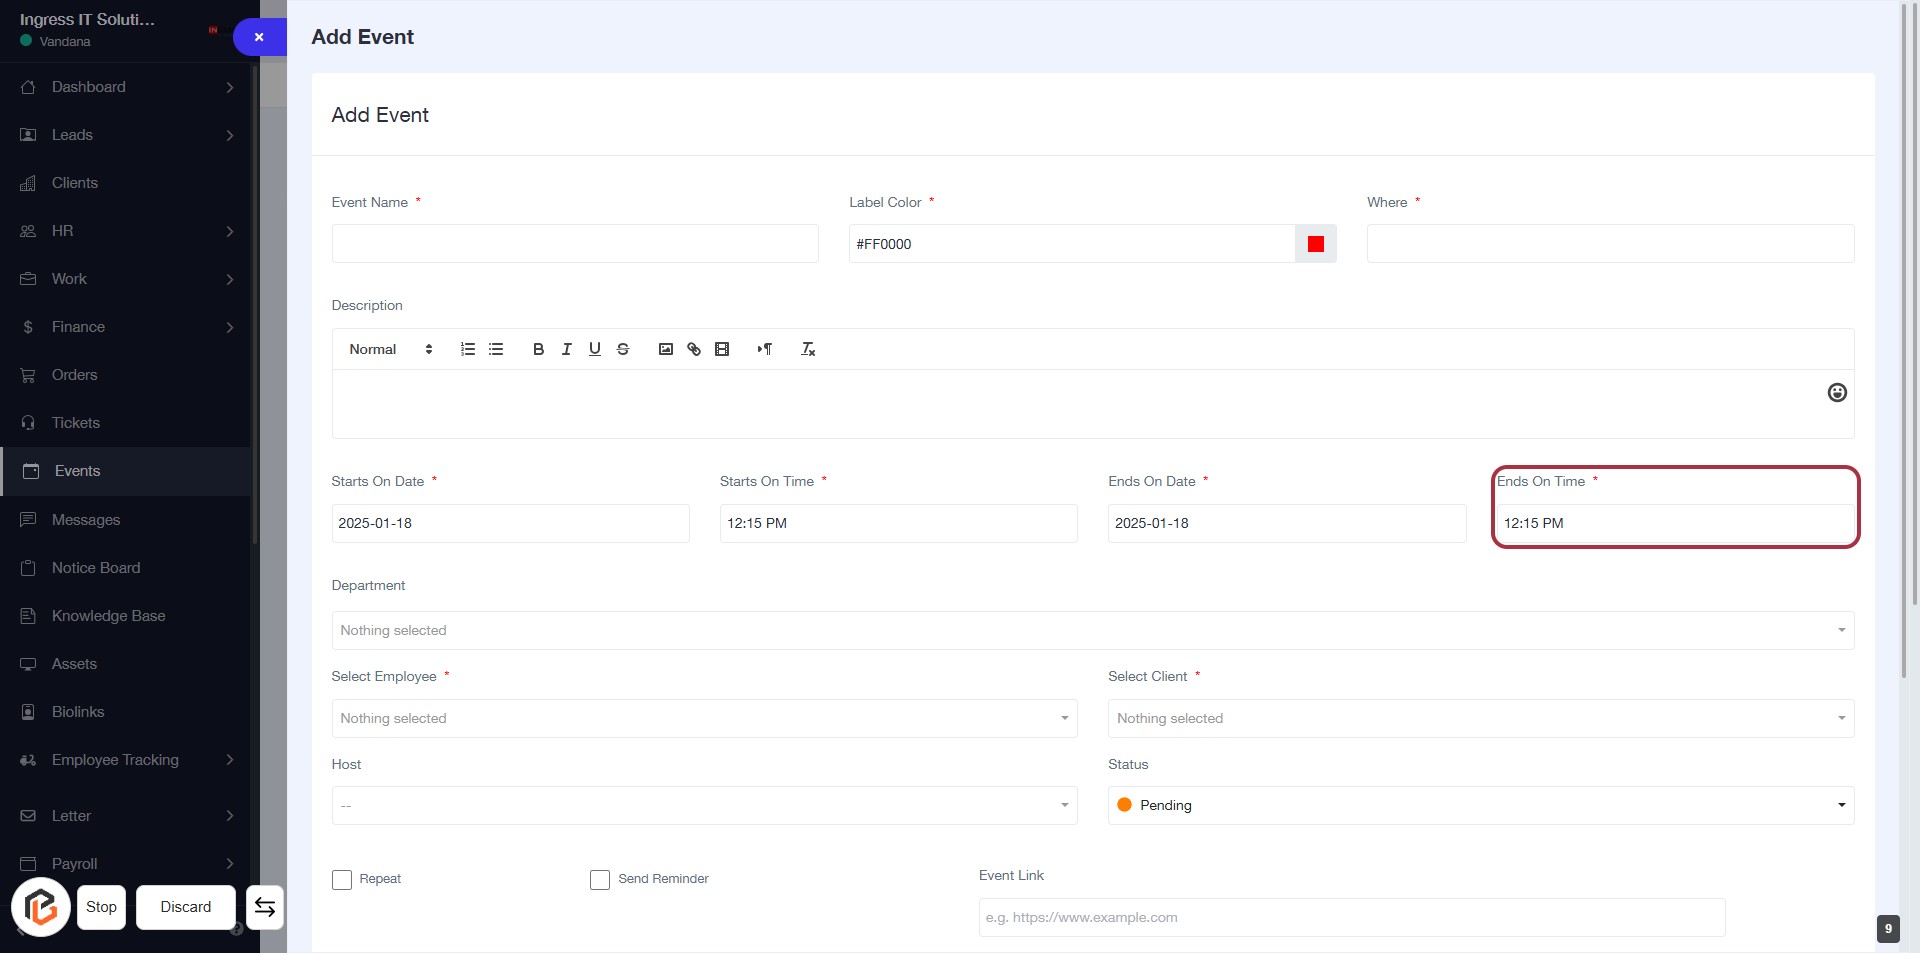
STEP 10: Enter "Ends On Time"
- Click on the "Ends On Time" field to input the ending time for your event.
- Ensure that the field is marked with an asterisk (*) indicating it is a required input.
- After entering the time, proceed to the next step by selecting the "Department" field.
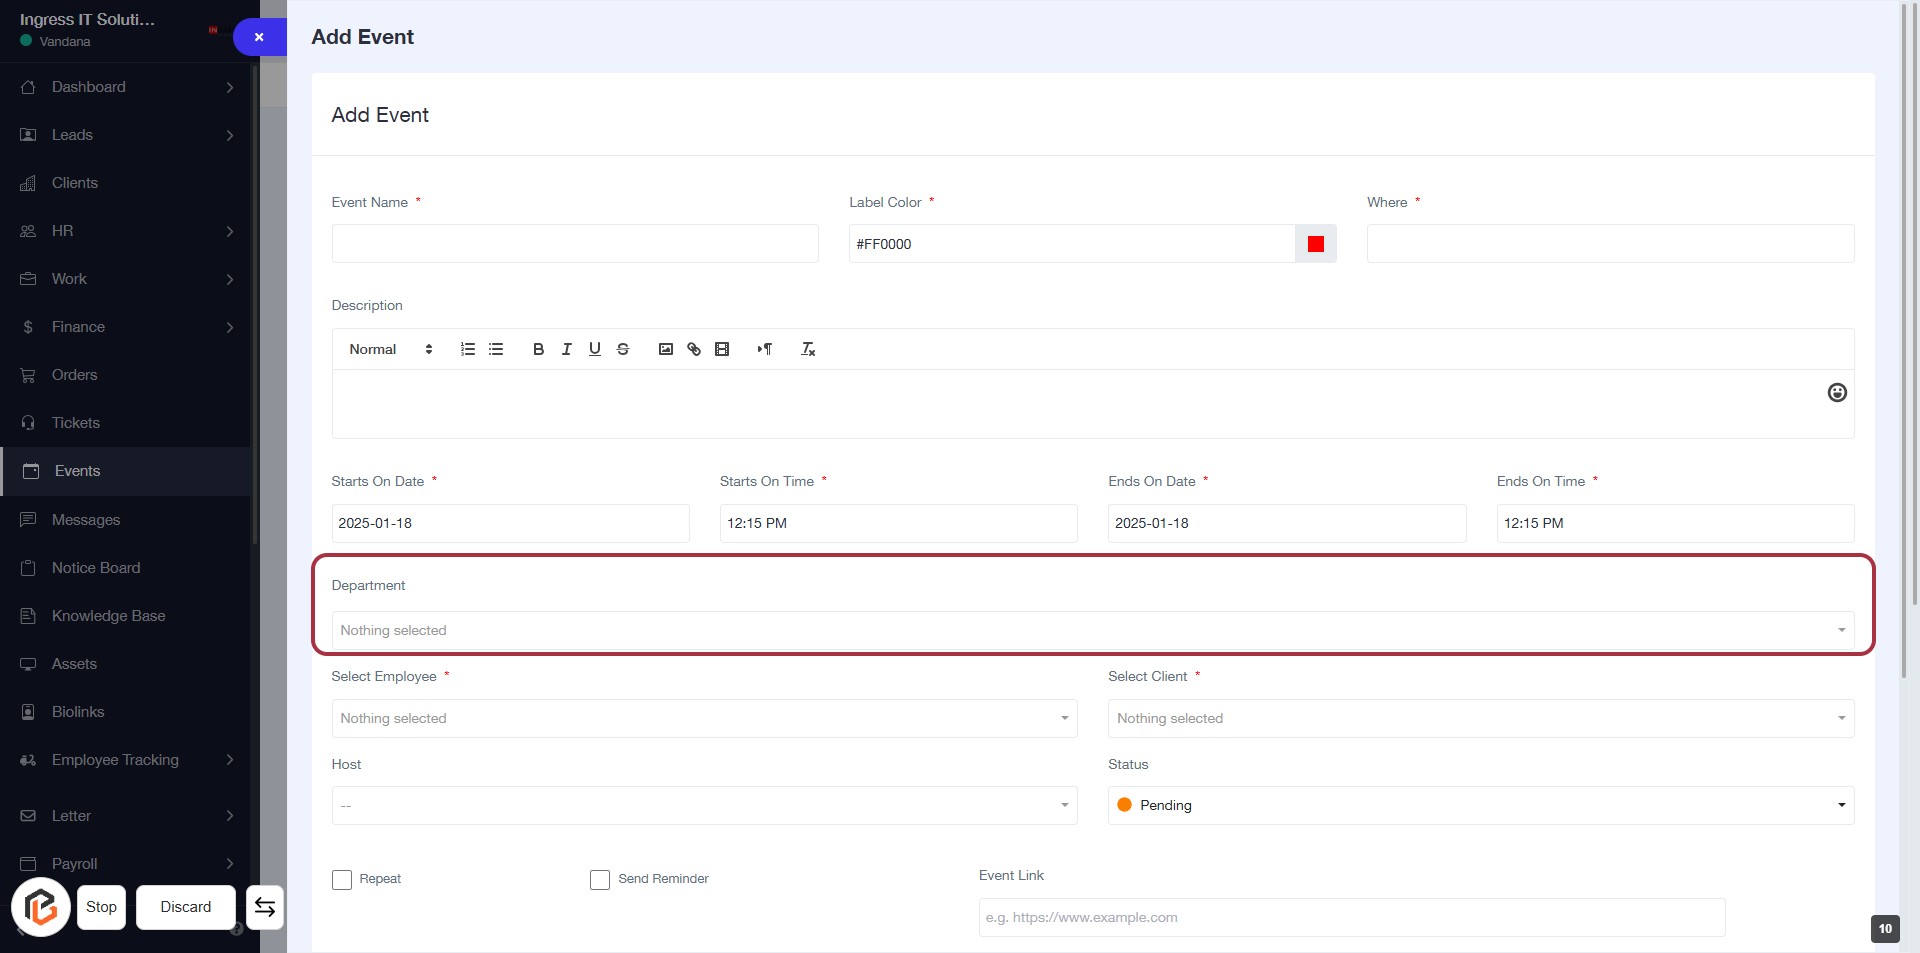
STEP 11: Select "Department"
- Click on the "Department" field to open the dropdown menu.
- Choose the appropriate department from the list.
- Ensure that the field is marked with an asterisk (*) indicating it's a required input.
- After selecting, proceed to the next step by clicking on "Select Employee *".
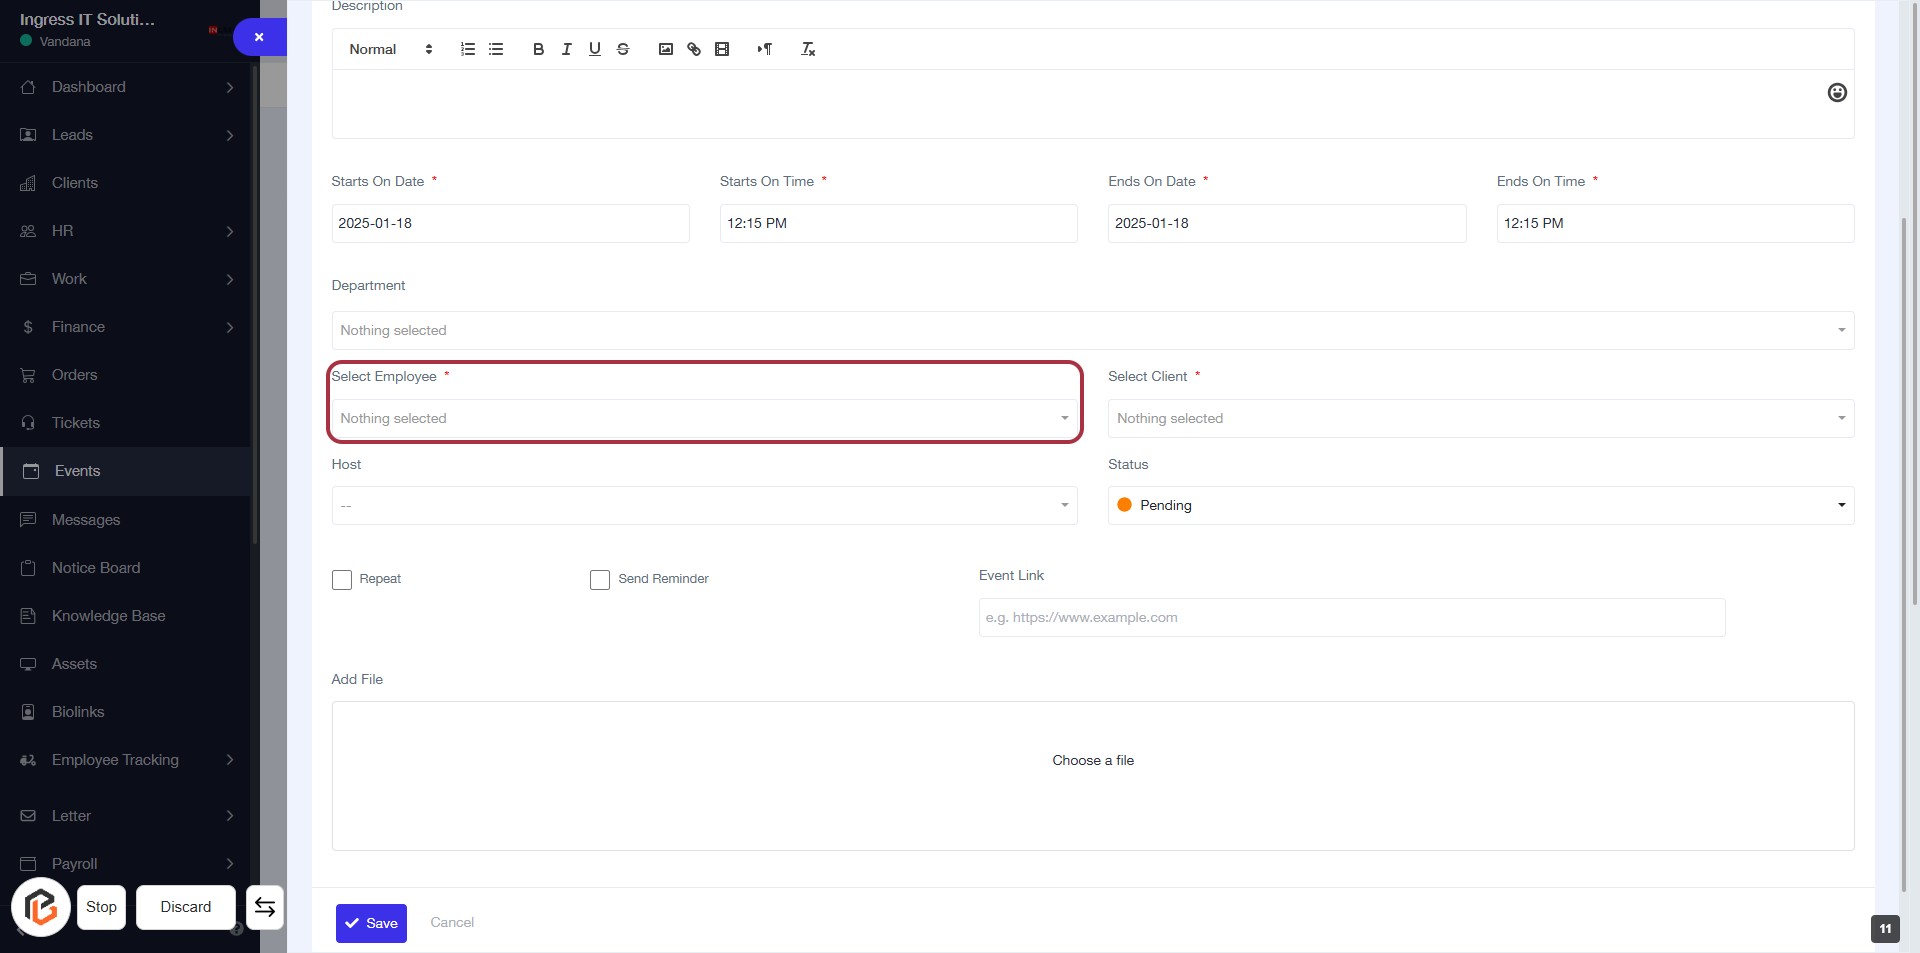
STEP 12: Click on "Select Employee"
- Navigate to the highlighted area labeled "Select Employee *".
- Click on the "Select Employee" dropdown to view available options.
- Choose an employee from the list to fill in this required field.
- Ensure that the field is marked with an asterisk (*) indicating it is mandatory.
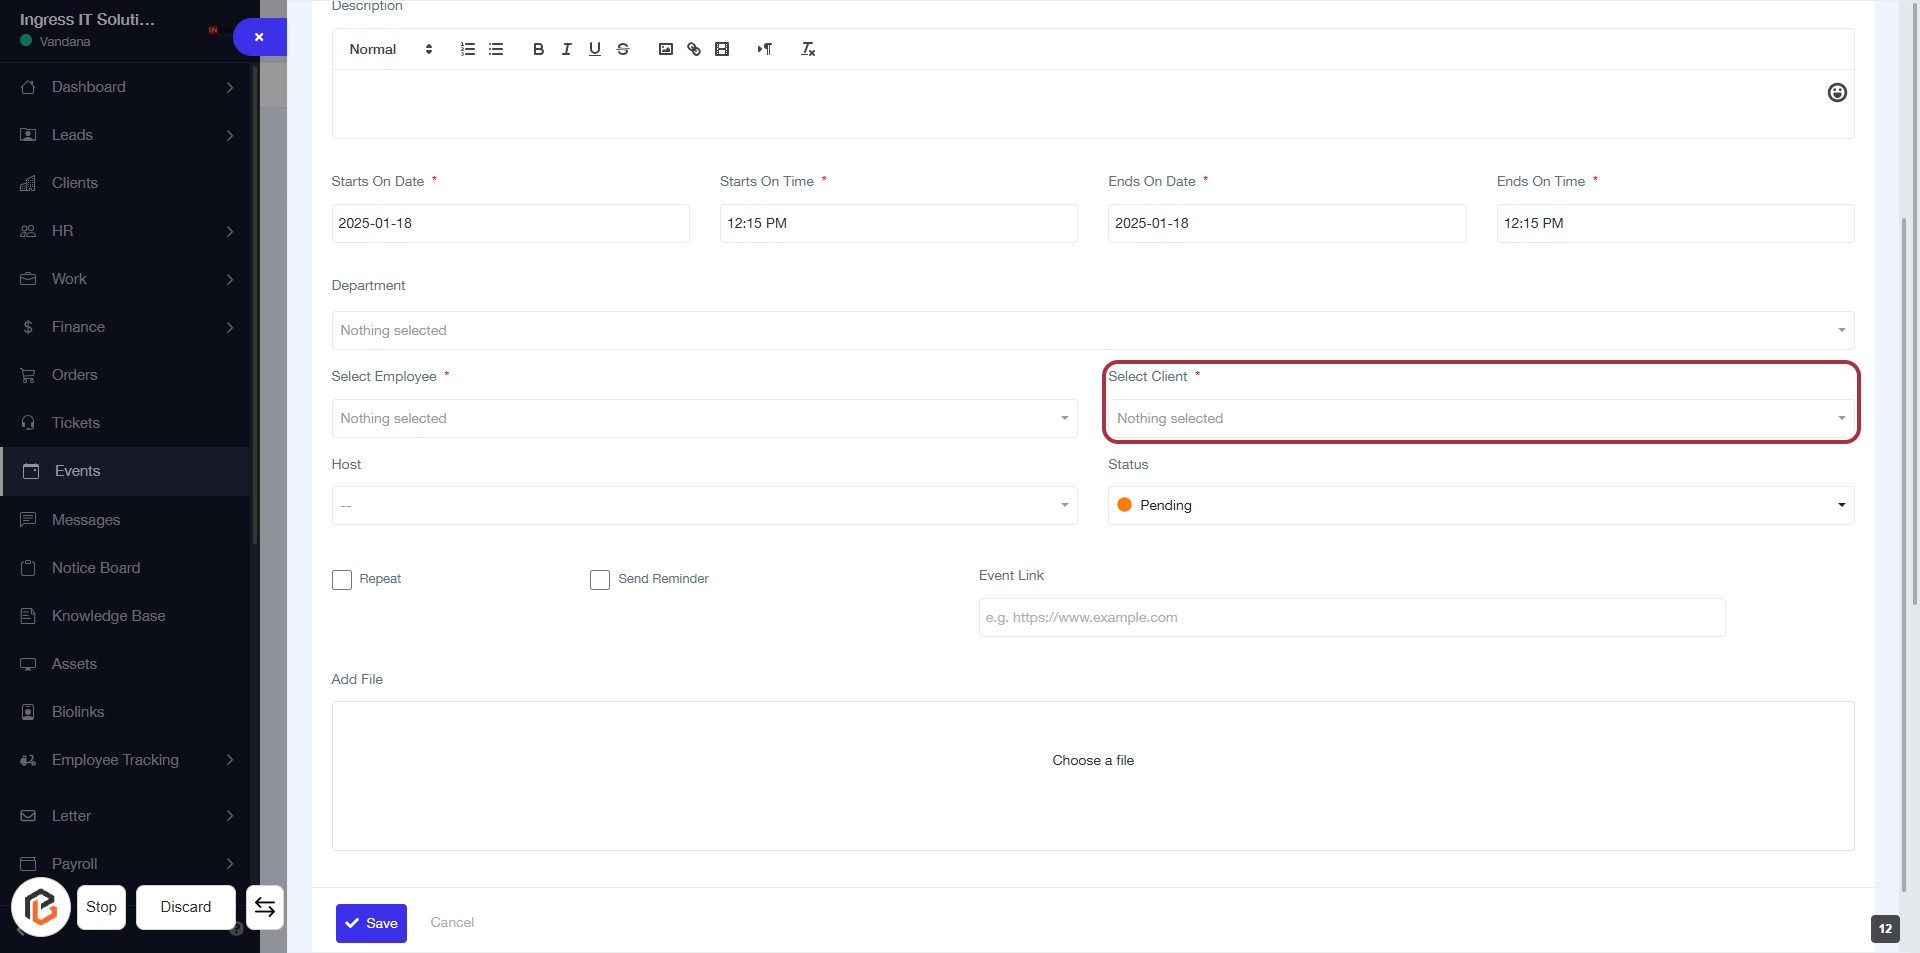
STEP 13: Click on "Select Client"
- Navigate to the highlighted area in the form.
- Click on the "Select Client" dropdown.
- Choose the appropriate client from the list.
- Ensure that the field marked with an asterisk (*) is filled, as it is required.
- Proceed to the next step by entering the "Host" information.
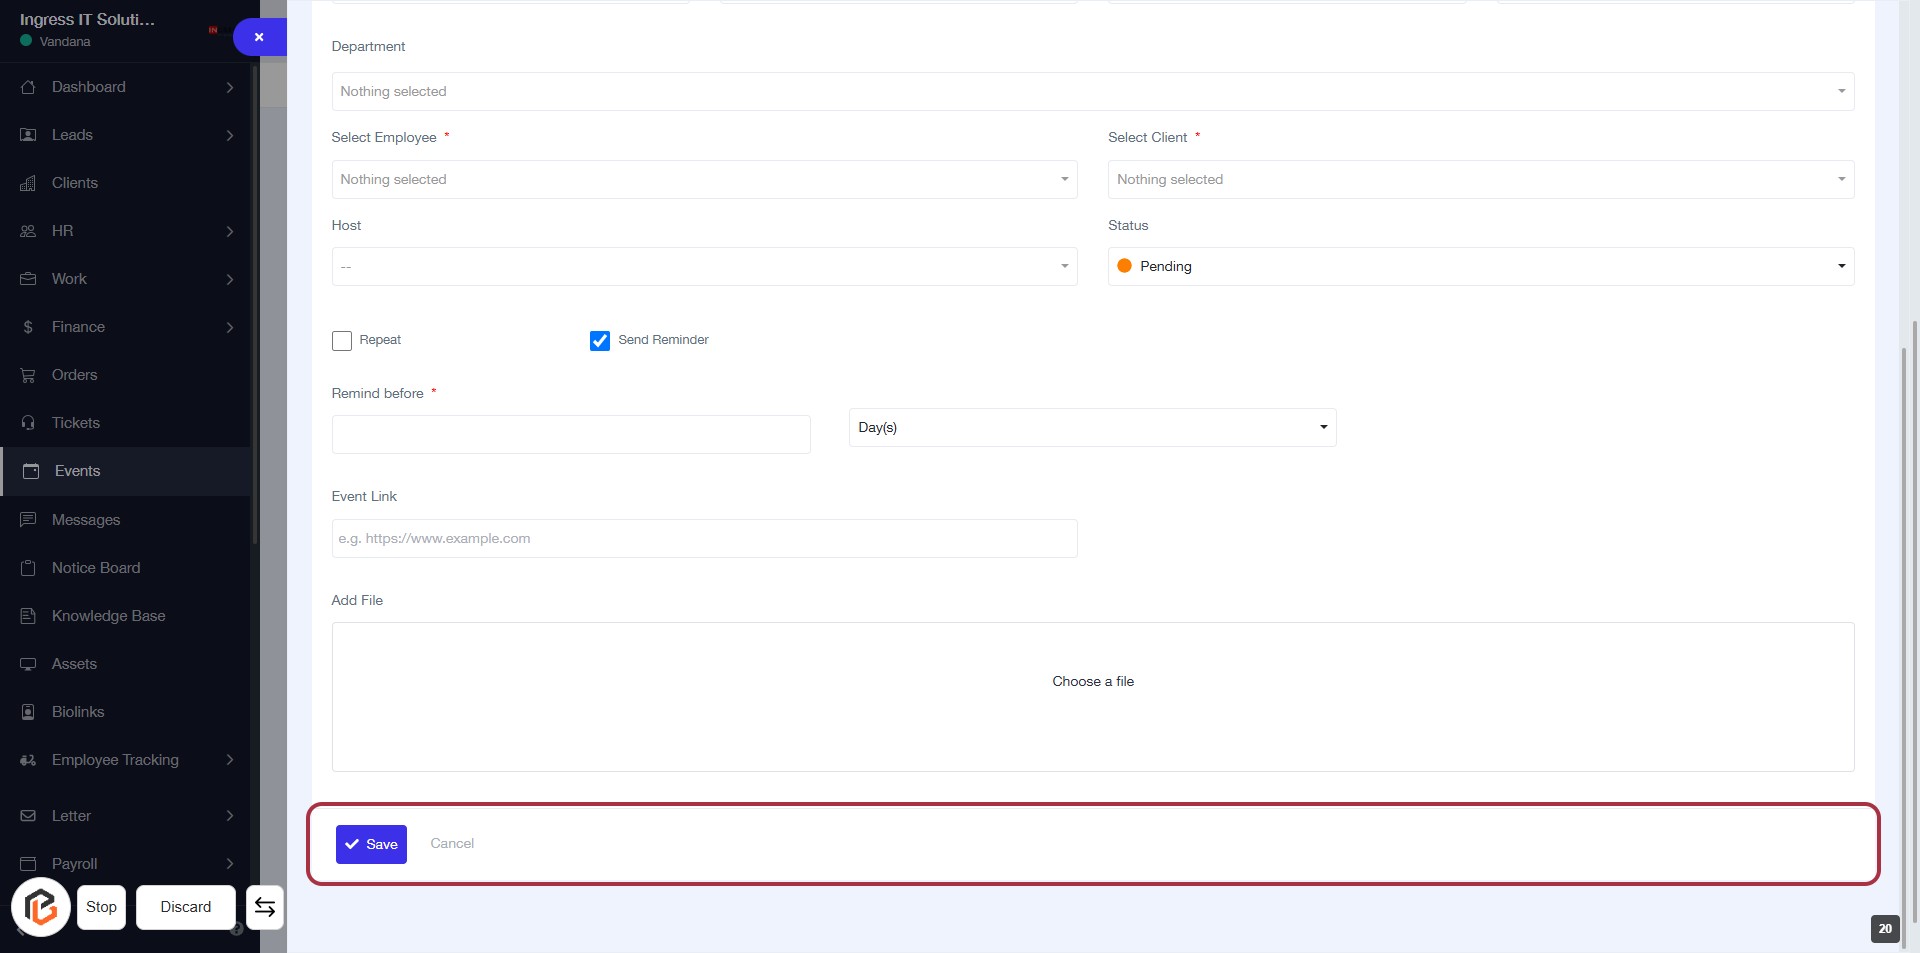
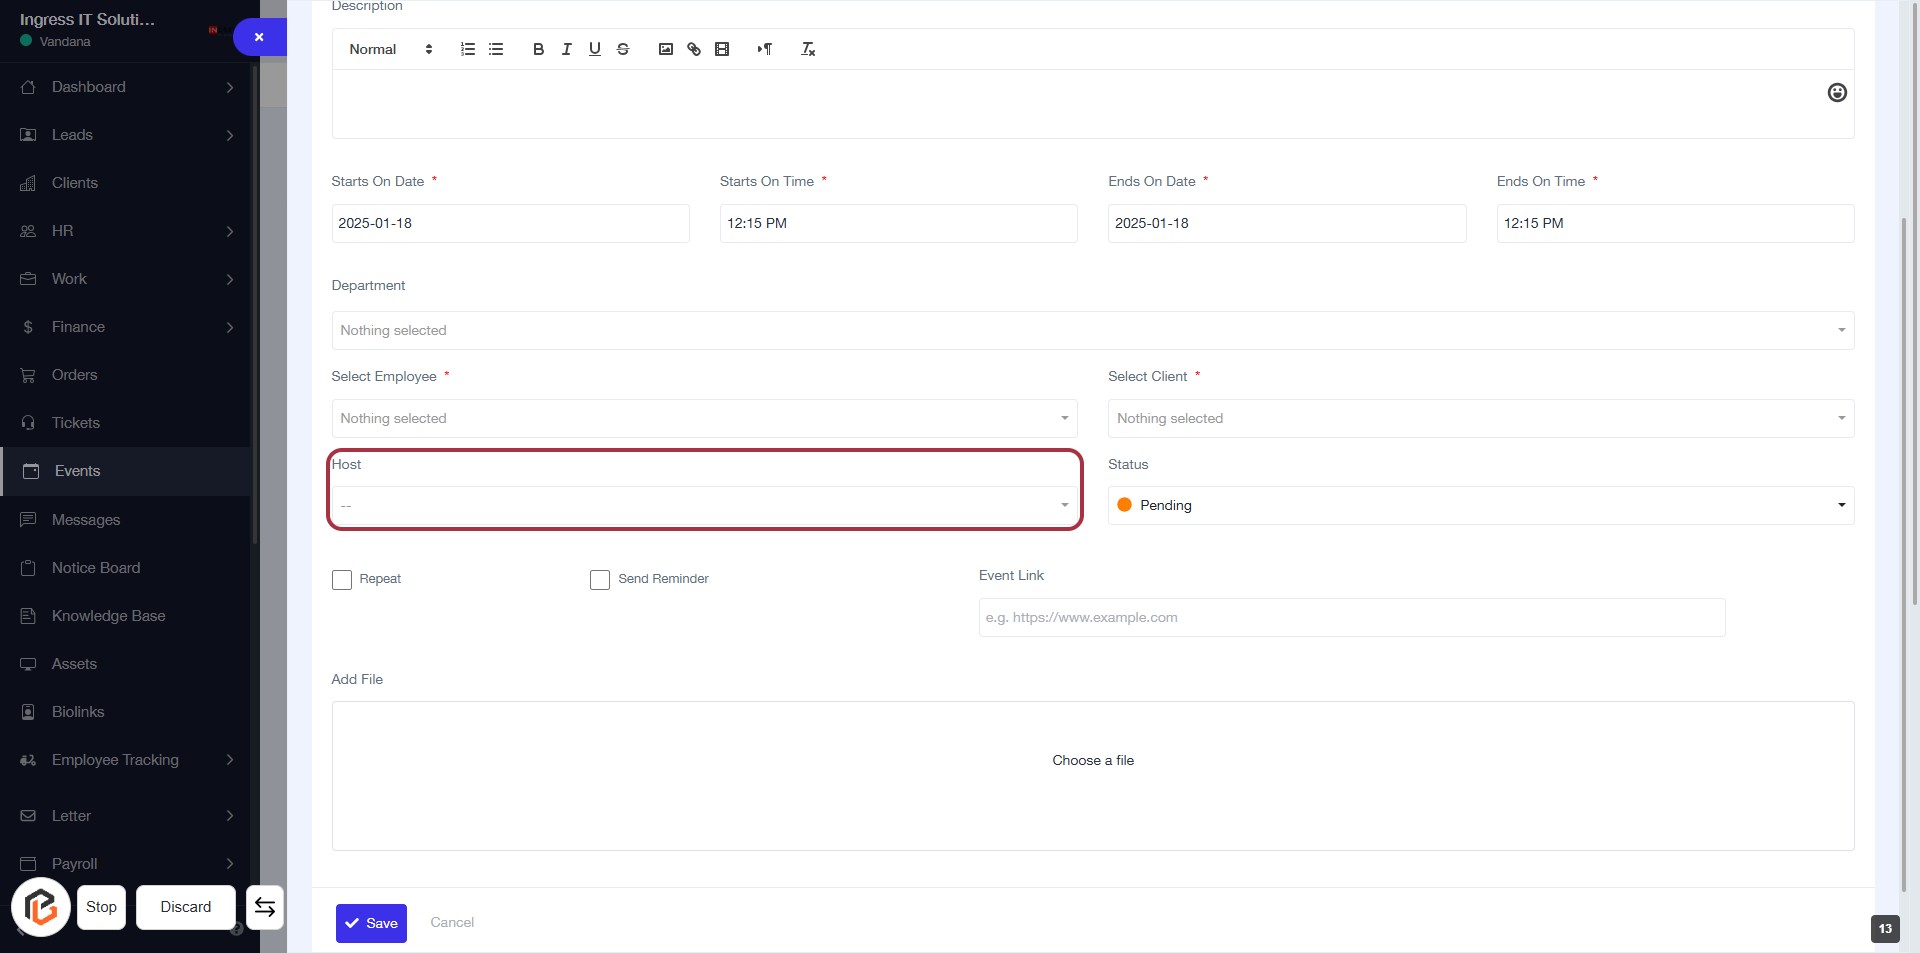
STEP 14: Enter Host Information
- Click on the "Host" field to input the host details.
- Ensure to fill in any required fields marked with an asterisk (*).
- Review other fields like "Select Client" and "Select Employee" for completeness.
- Proceed to the next step by selecting the "Status" option.
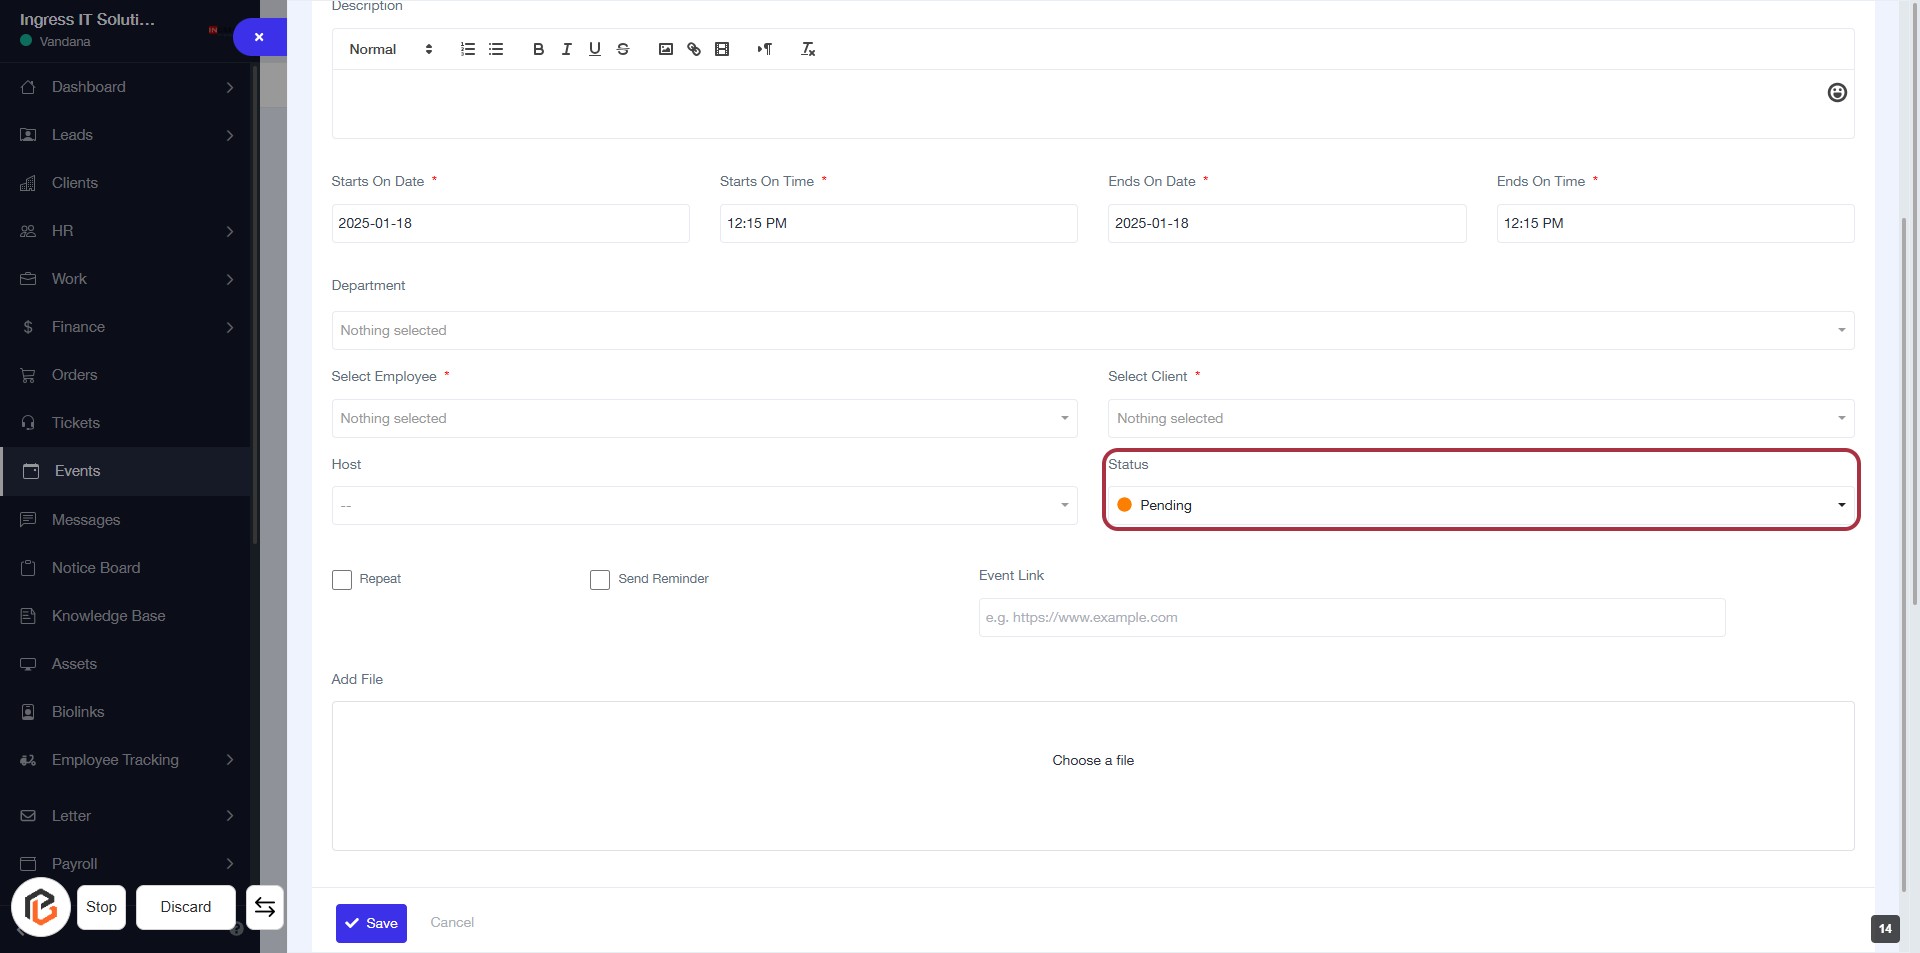
STEP 15: Select "Status"
- Click on the "Status" dropdown to view available options.
- Choose the appropriate status from the list (e.g., Pending).
- Ensure all required fields marked with an asterisk (*) are filled out.
- Review your selections before proceeding to the next step.
STEP 16: Click "Send Reminder" Checkbox
- Navigate to the event creation form.
- Locate the "Send Reminder" checkbox highlighted in red.
- Click on the checkbox to enable reminders for the event.
- Ensure other required fields are filled out before proceeding to the next step.

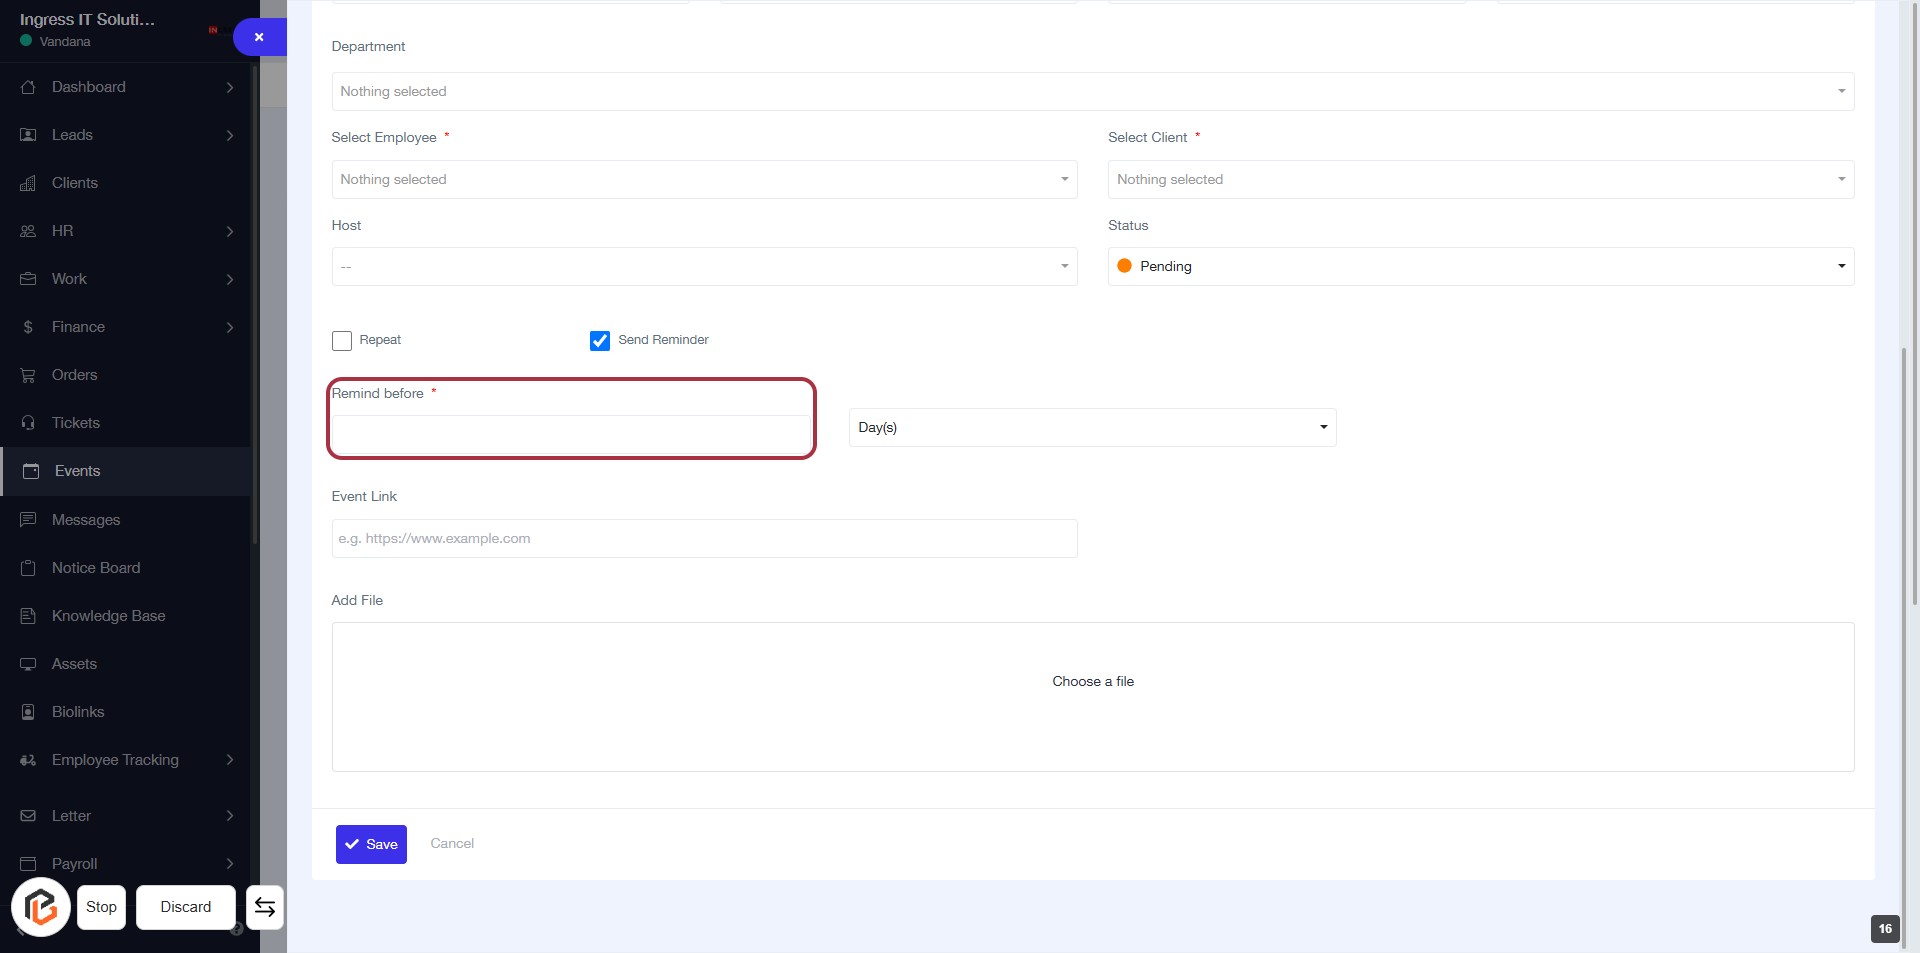
STEP 17: Enter "Remind before"
- Click on the "Remind before" field (marked with a red border).
- This field is mandatory (indicated by the asterisk).
- Input the desired reminder time before the event.
- Ensure to follow any specific format required for the input.
- Proceed to the next step by selecting "Day(s)" from the dropdown.
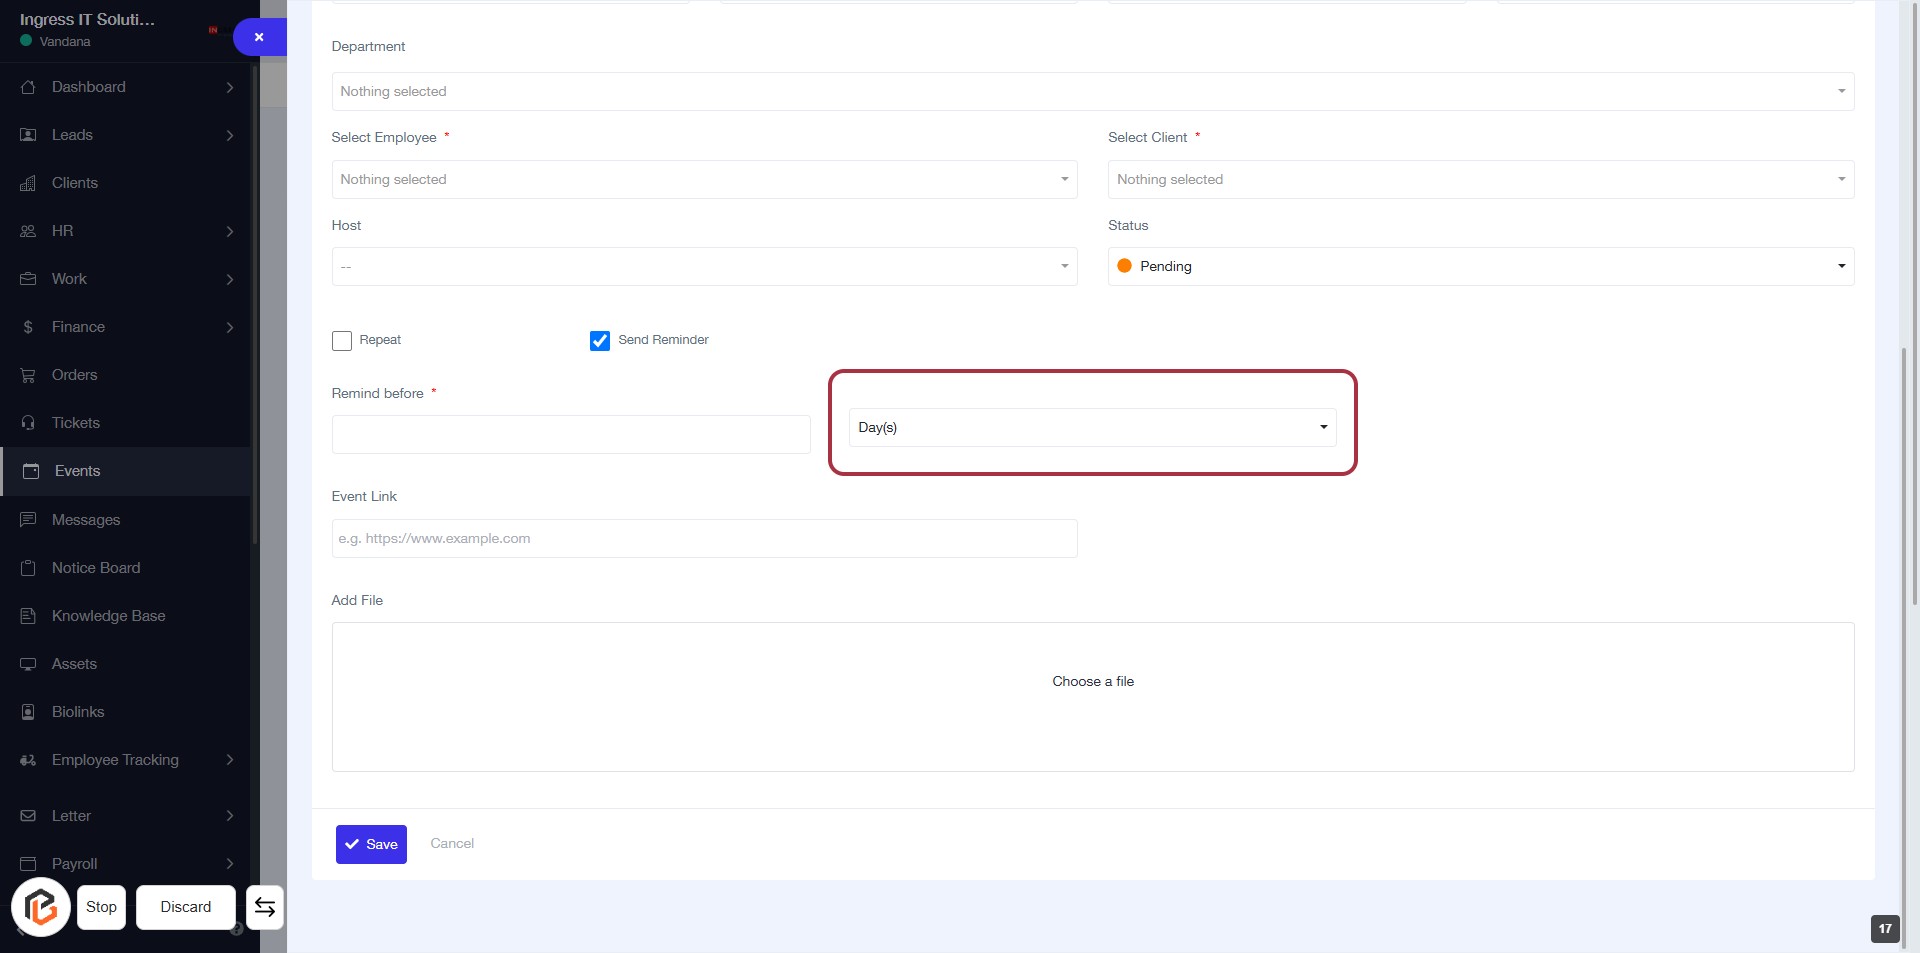
STEP 18: Select "Day(s)" for Reminder
- Click on the dropdown menu highlighted in red.
- Choose between "Day(s)" or "Hour(s)" for the reminder setting.
- Ensure the selection aligns with your event notification preferences.
- Proceed to the next step to fill out the "Event Link."
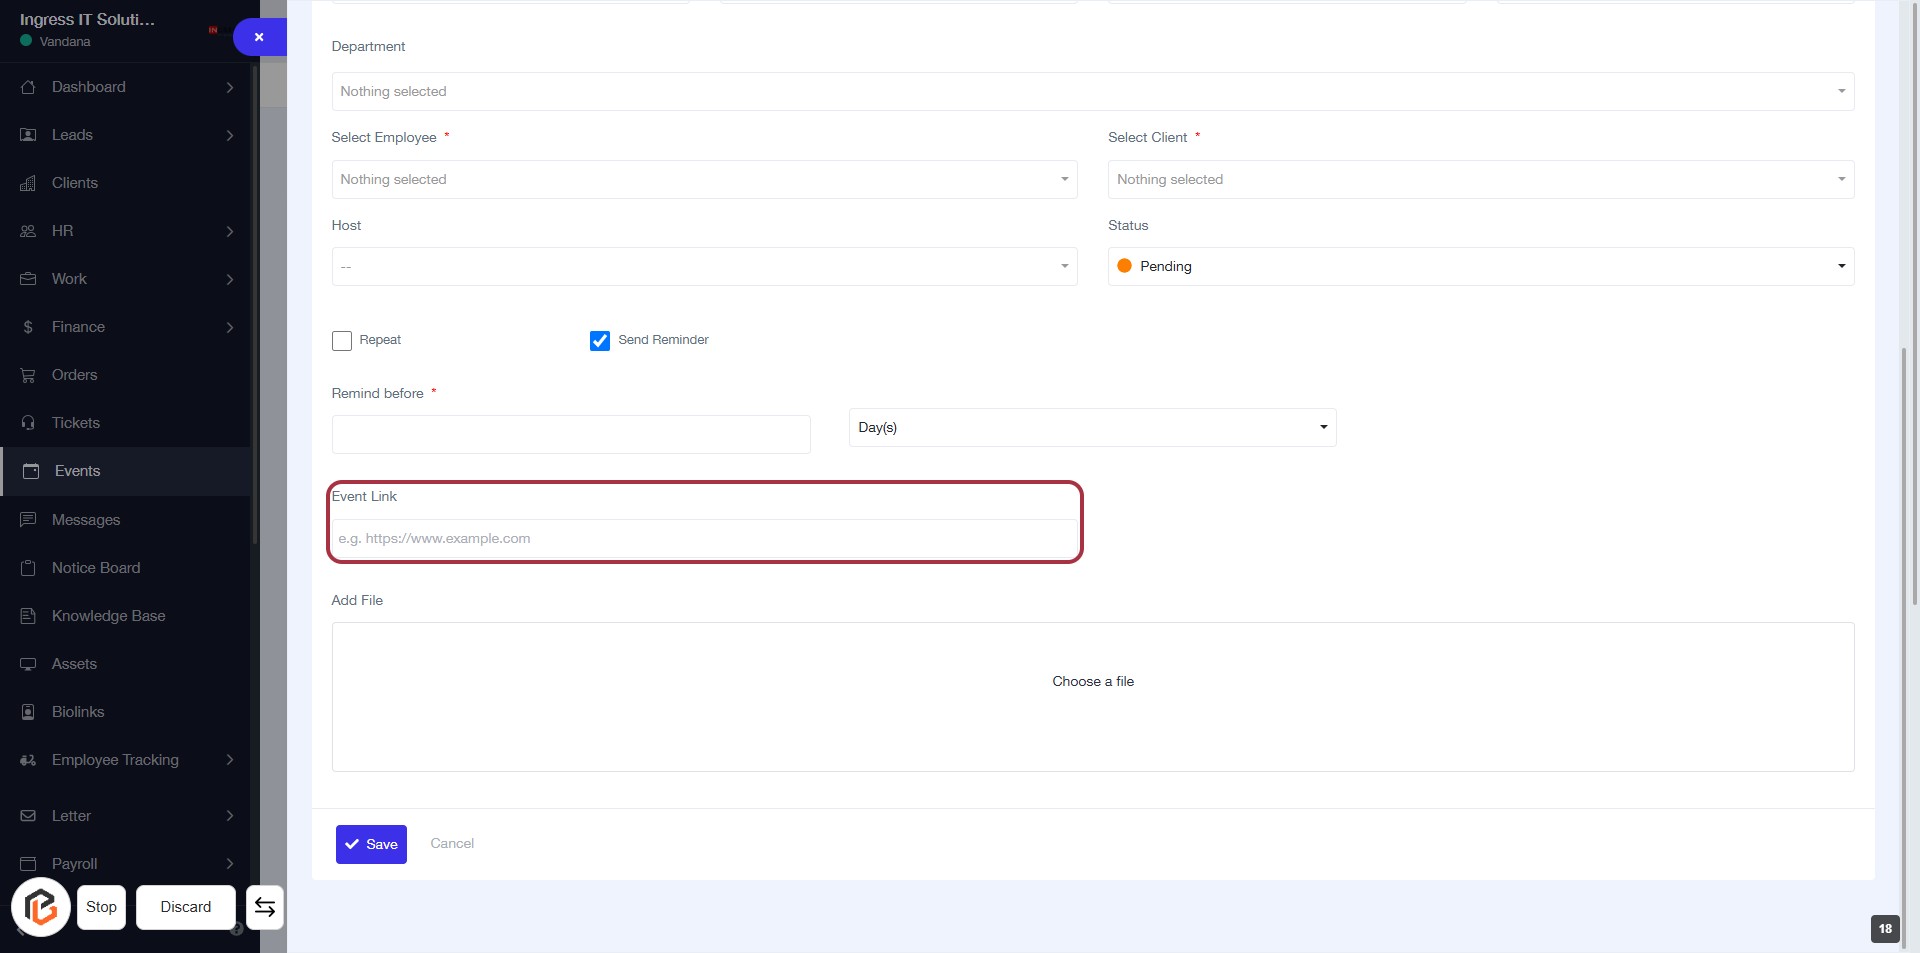
STEP 19: Fill "Event Link" Field
- Click on the "Event Link" field highlighted in red.
- Enter the URL for the event (e.g., https://www.example.com).
- Ensure the link is valid and accessible.
- Proceed to the next step by uploading a file in the "Add File" section.
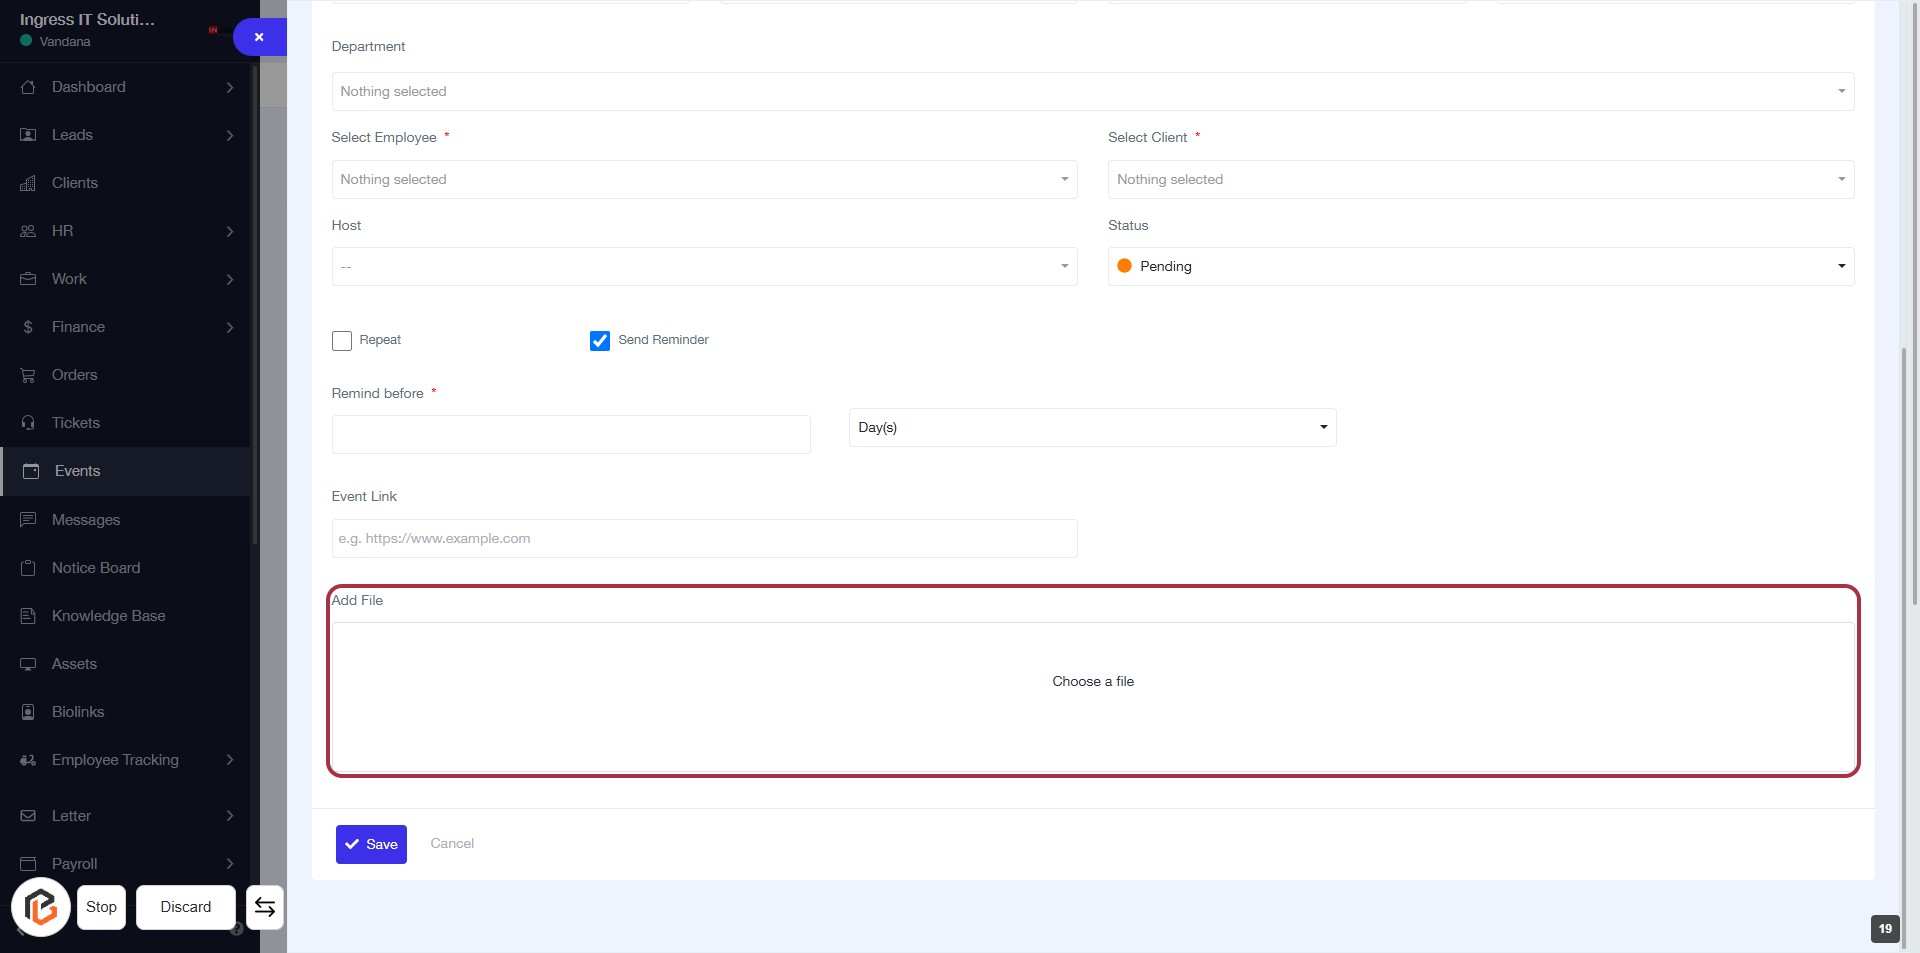
STEP 20: Upload File in "Add File" Section
- Click on the Add File area to upload a document.
- Ensure the file you wish to upload is ready and accessible.
- After clicking, select the file from your device.
- Confirm the upload by checking that the file name appears in the designated area.
STEP 21: Click on "Save" to Finalize Your Event
- Ensure all required fields marked with '*' are filled out.
- Review the information entered in the form.
- Click the Save button located at the bottom of the form to save your event details.
- If you wish to cancel, click the Cancel button instead.