Step-by-Step Guide to Adding a New Asset in the Dashboard
11 mins read · Updated 29 Sep, 2025
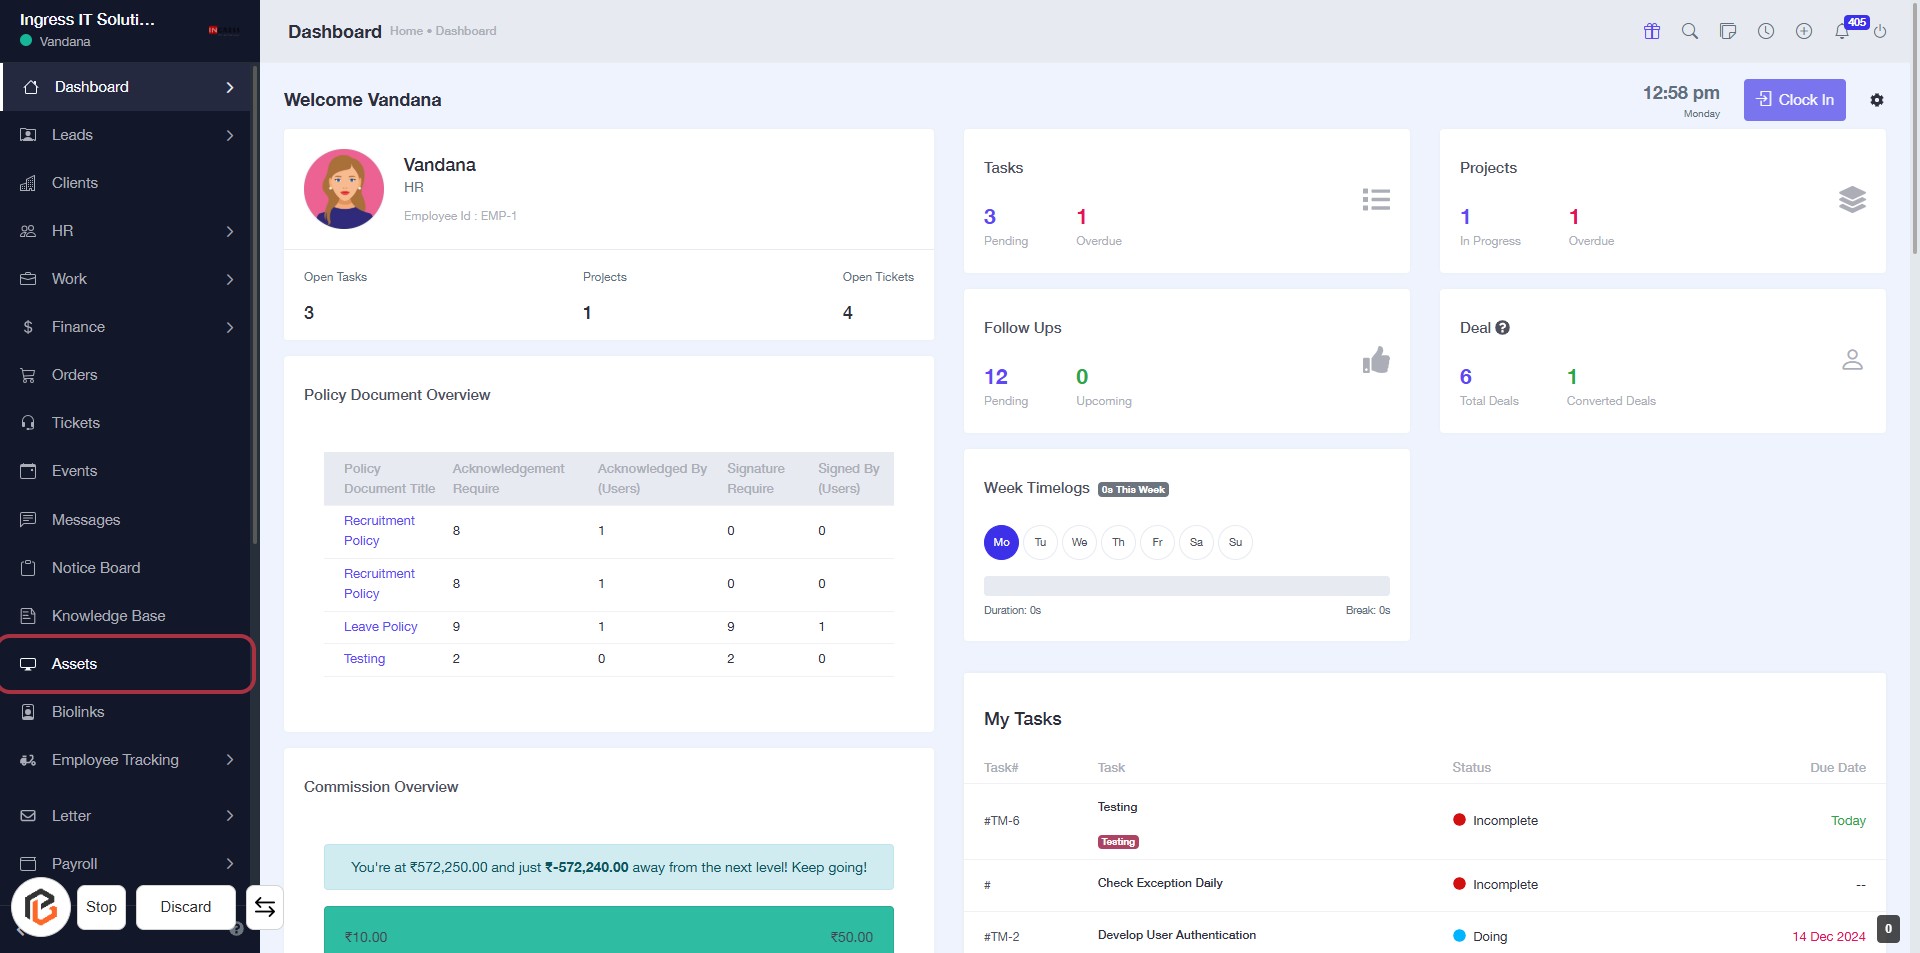
STEP 1: Click on "Assets" in the Dashboard
- Navigate to the Dashboard page.
- Locate and click on the "Assets" link in the sidebar menu.
- This action will direct you to the Assets section for further management.
- Ensure you are ready to proceed to the next step: Click on "Add New Asset".
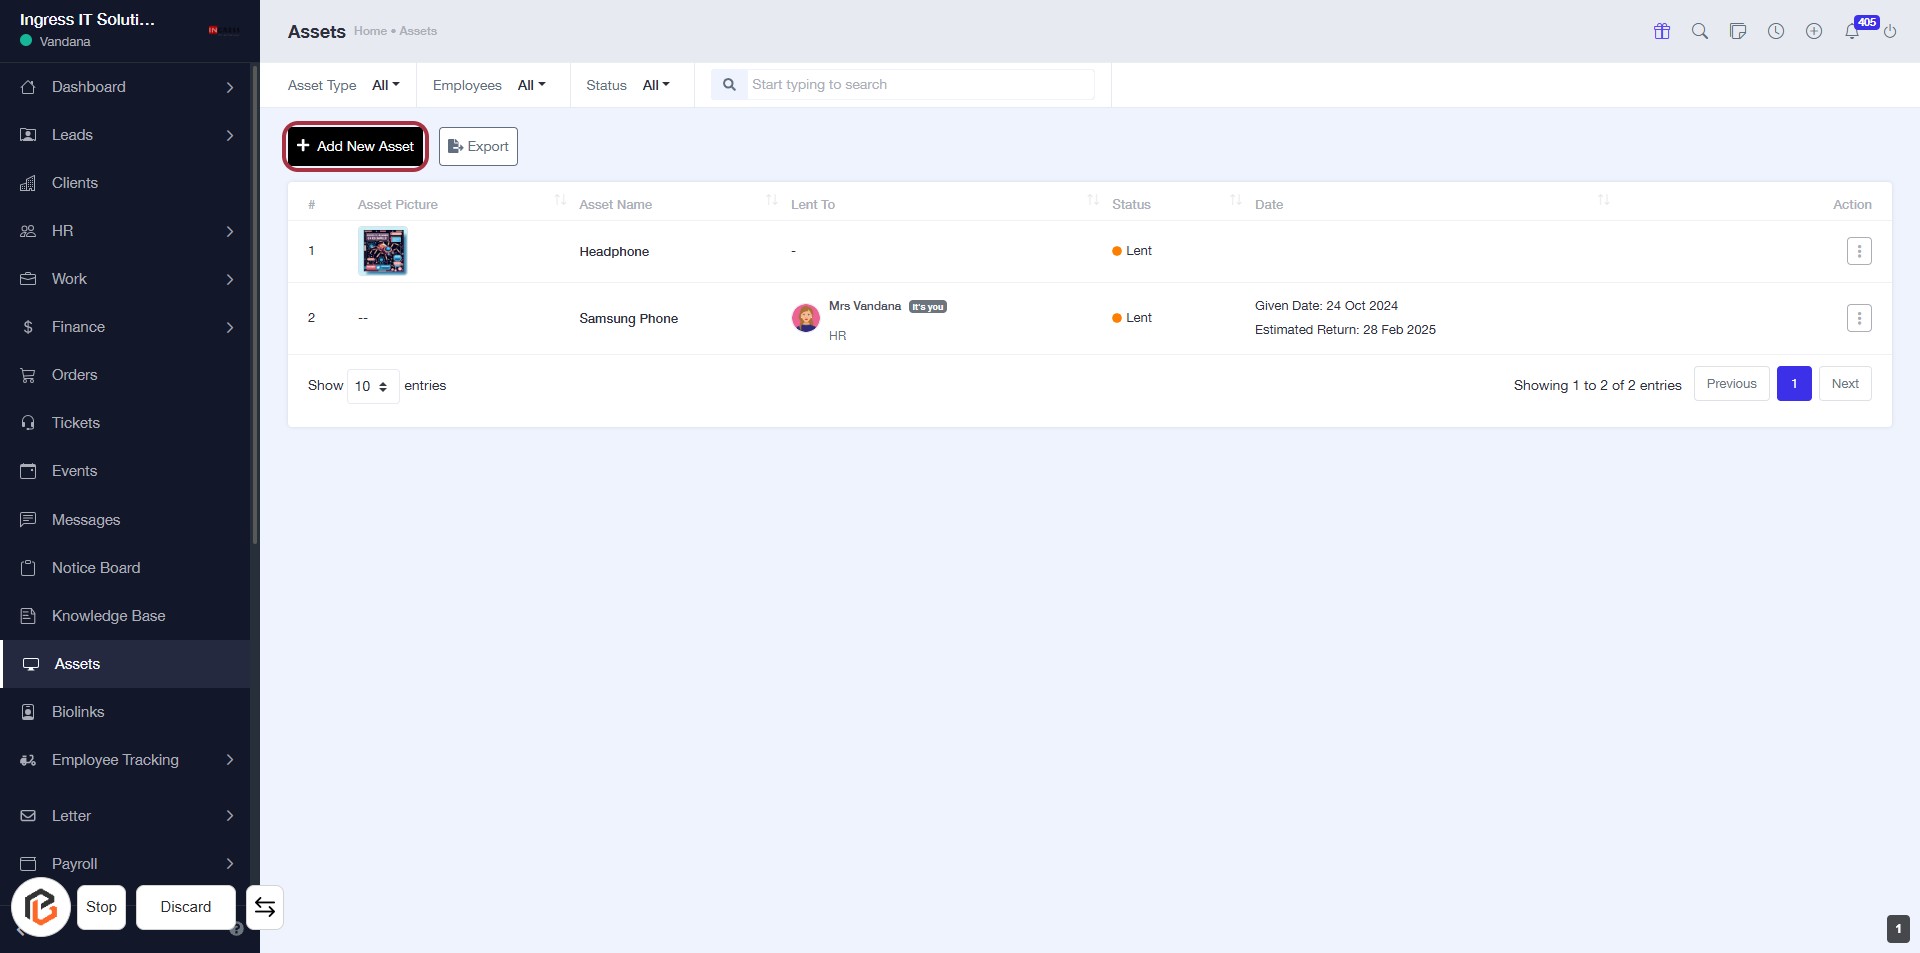
STEP 2: Click on "Add New Asset"
- Navigate to the "Assets" section in the dashboard.
- Click on the Add New Asset button located at the top left of the asset list.
- Ensure you are ready to enter the required details for the new asset in the subsequent form.
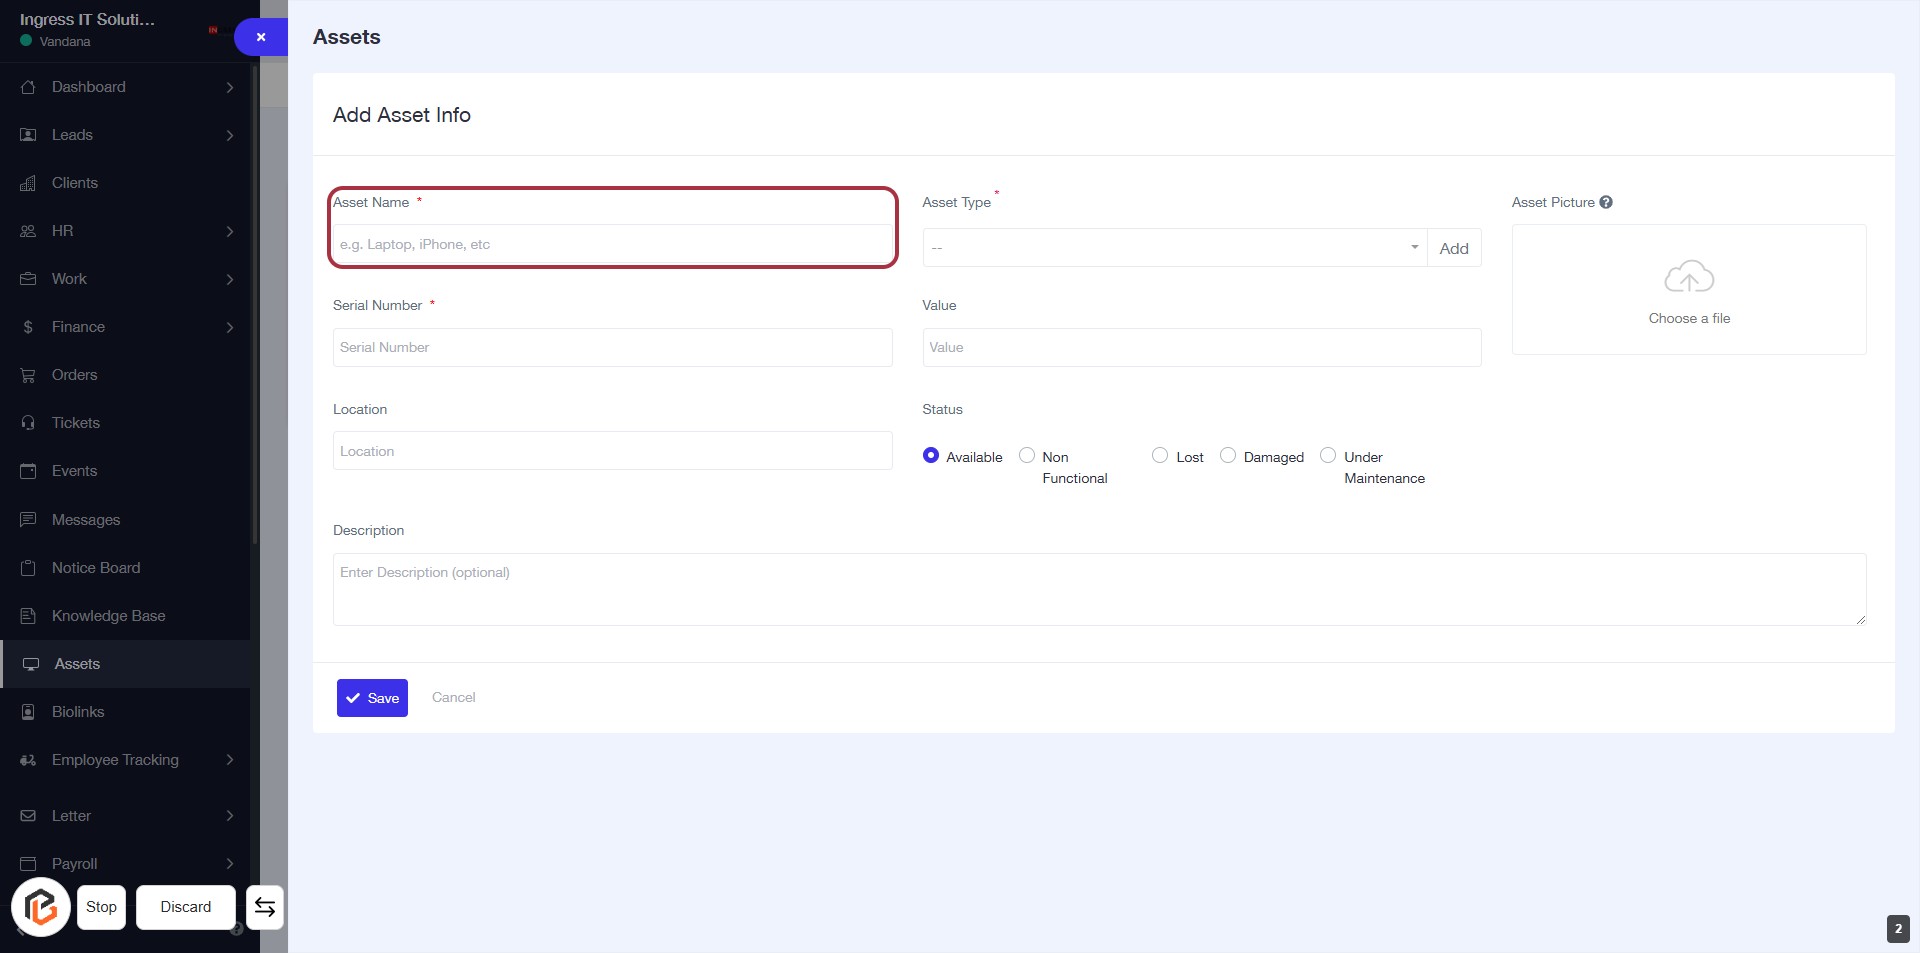
STEP 3: Enter Asset Name
- Click on the "Asset Name" field (marked with a red border).
- Enter the name of the asset (e.g., Laptop, iPhone, etc.).
- Ensure the field is filled as it is marked with an asterisk (*) indicating it is required.
- Proceed to the next step by selecting "Asset Type".
STEP 4: Select "Asset Type"
- Click on the "Asset Type" field highlighted in red.
- Choose the appropriate asset type from the dropdown menu.
- Ensure that the field is marked with an asterisk (*) indicating it is required.
- Proceed to the next step by entering the "Serial Number."

STEP 5: Enter "Serial Number"
- Click on the highlighted area labeled "Serial Number" (marked with an asterisk).
- Ensure to fill in the required field as it is mandatory.
- After entering the serial number, proceed to the next step to enter the "Value".

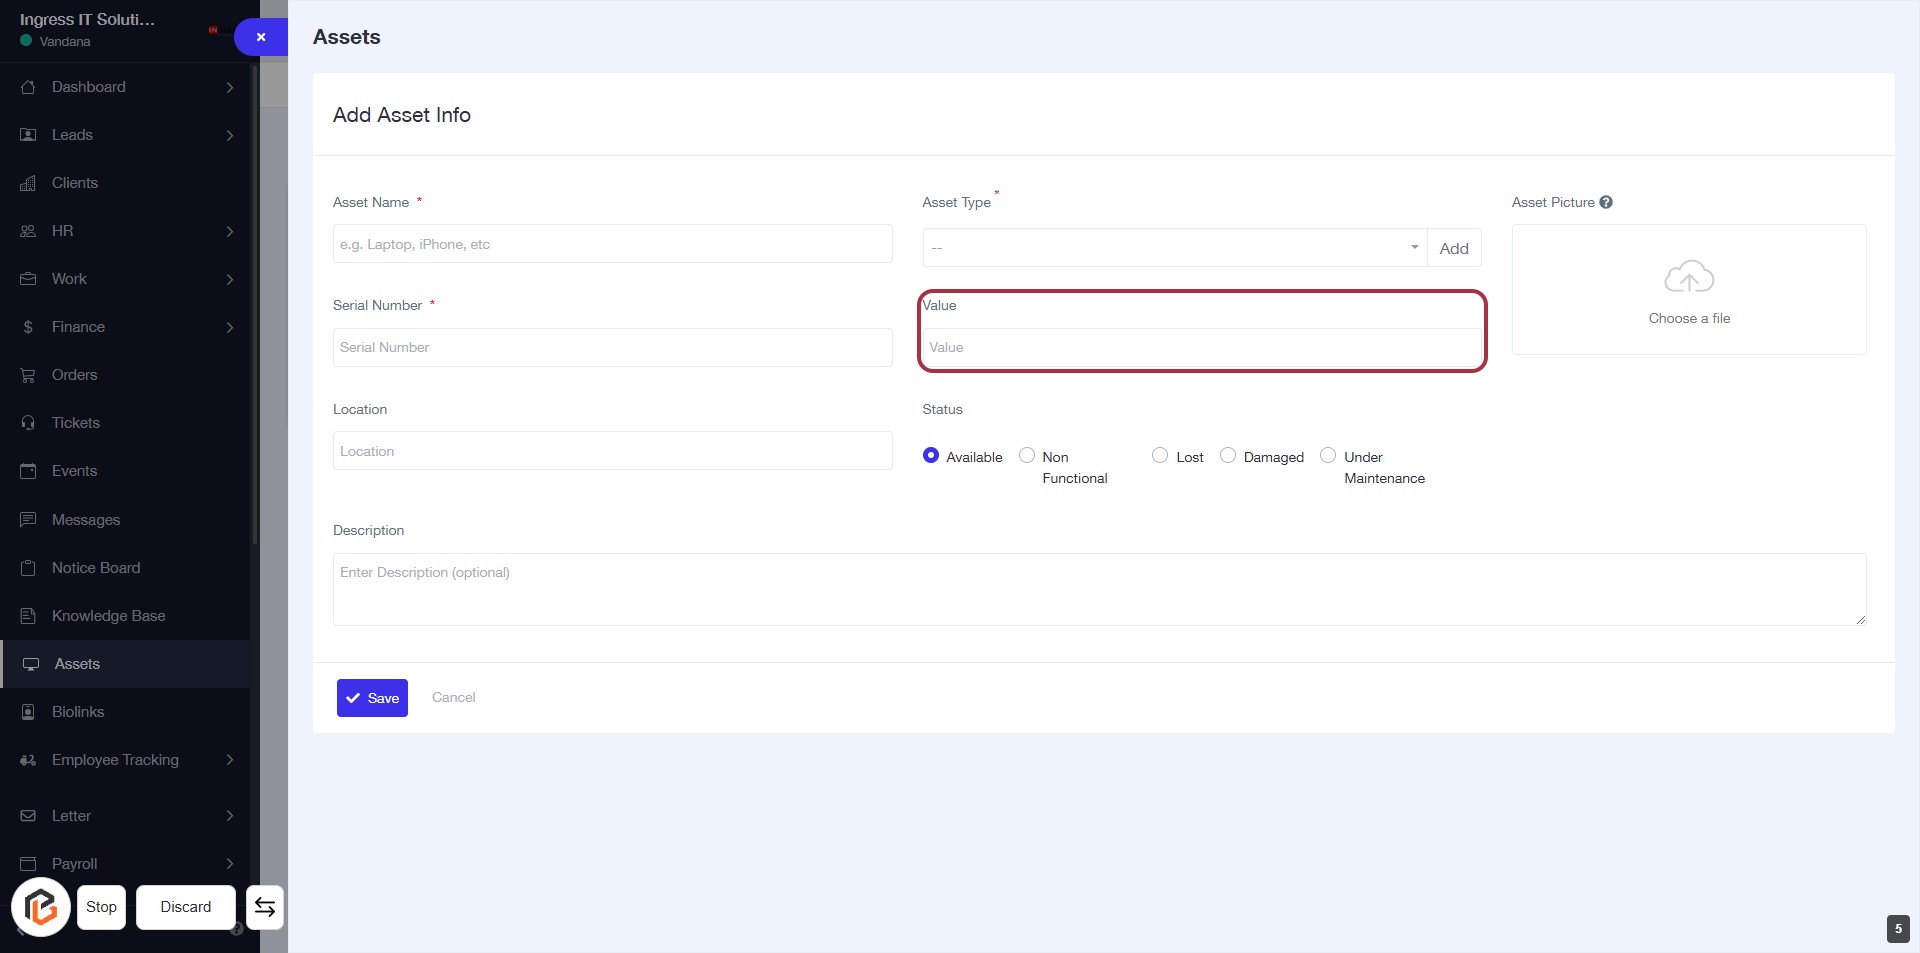
STEP 6: Enter "Value" for Asset Info
- Click on the highlighted area labeled "Value."
- Ensure to fill in the required information accurately.
- The "Value" field is essential for asset evaluation.
- After entering the value, proceed to the next step by adding the "Location."
STEP 7: Click "Location" to Add Asset Info
- Click on the Location field to specify where the asset is located.
- Ensure to fill in any required fields marked with an asterisk (*).
- Review other fields such as Asset Name, Serial Number, and Value for completeness.
- Proceed to the next step by selecting the Status of the asset.

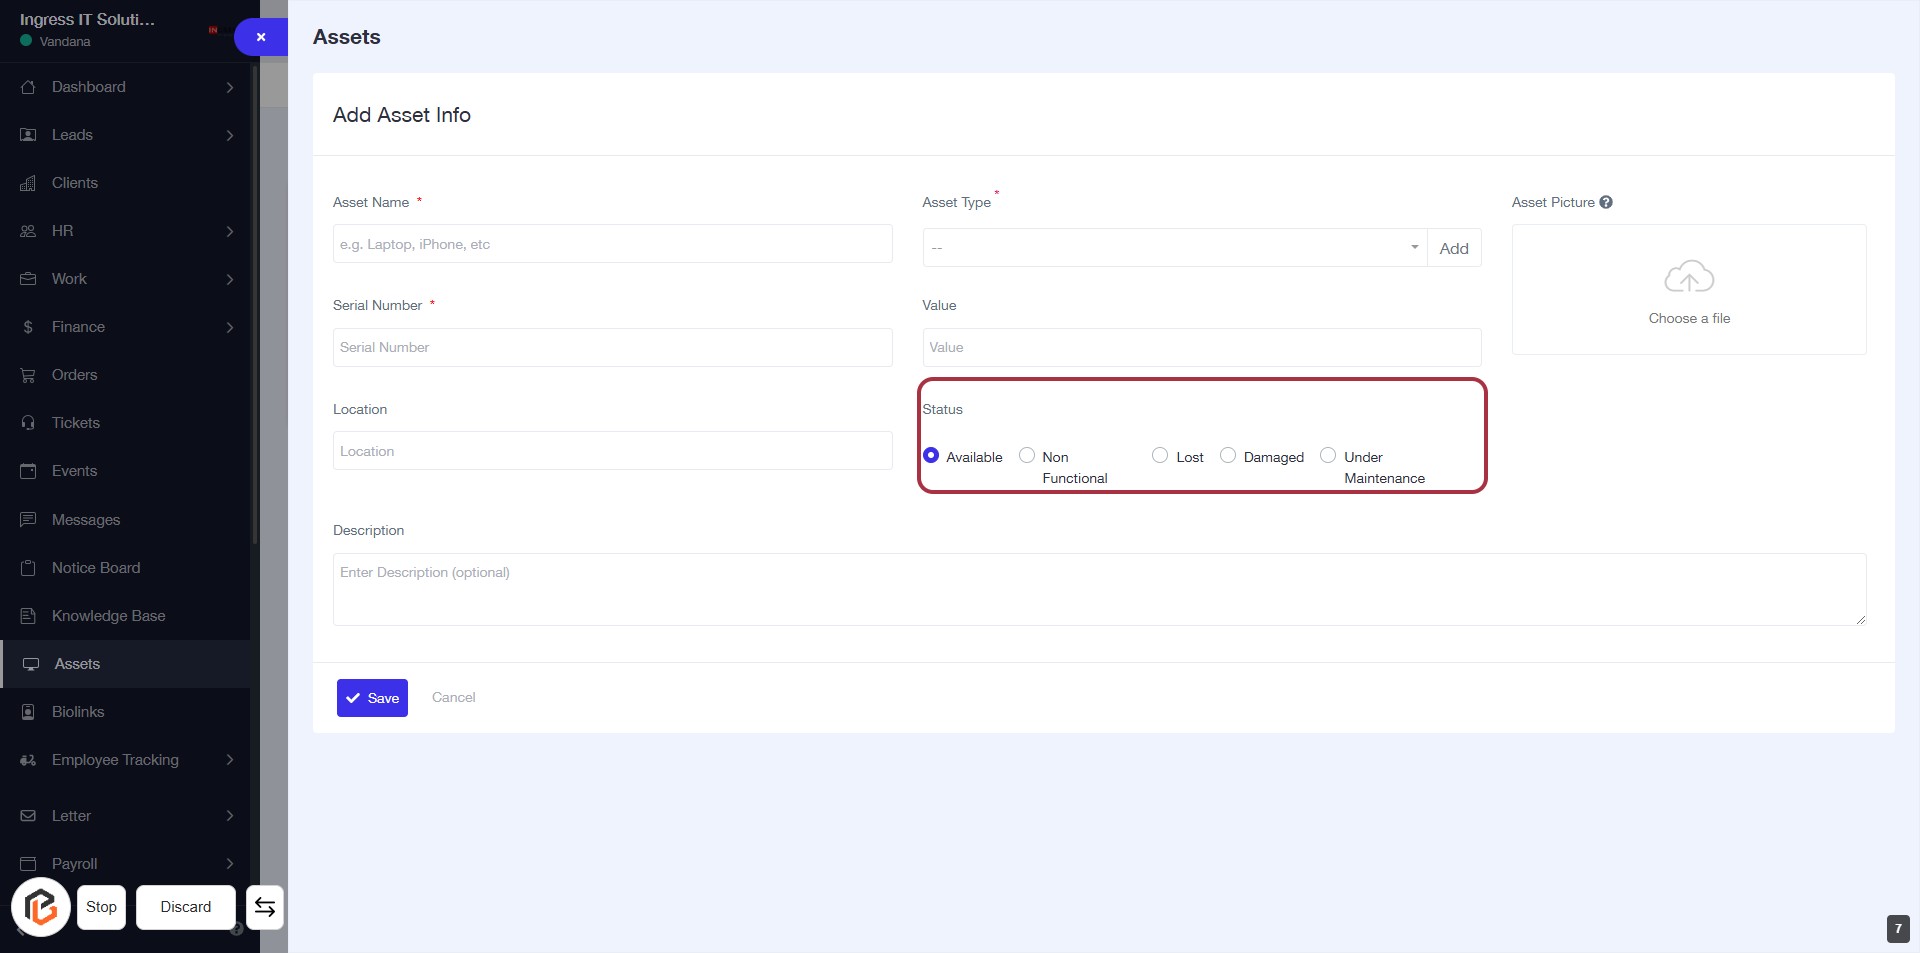
STEP 8: Select "Status" for the Asset
- Click on the "Status" section highlighted in red.
- Choose one of the following options:
- Available
- Non Functional
- Lost
- Damaged
- Under Maintenance
- Ensure the selection reflects the current condition of the asset.
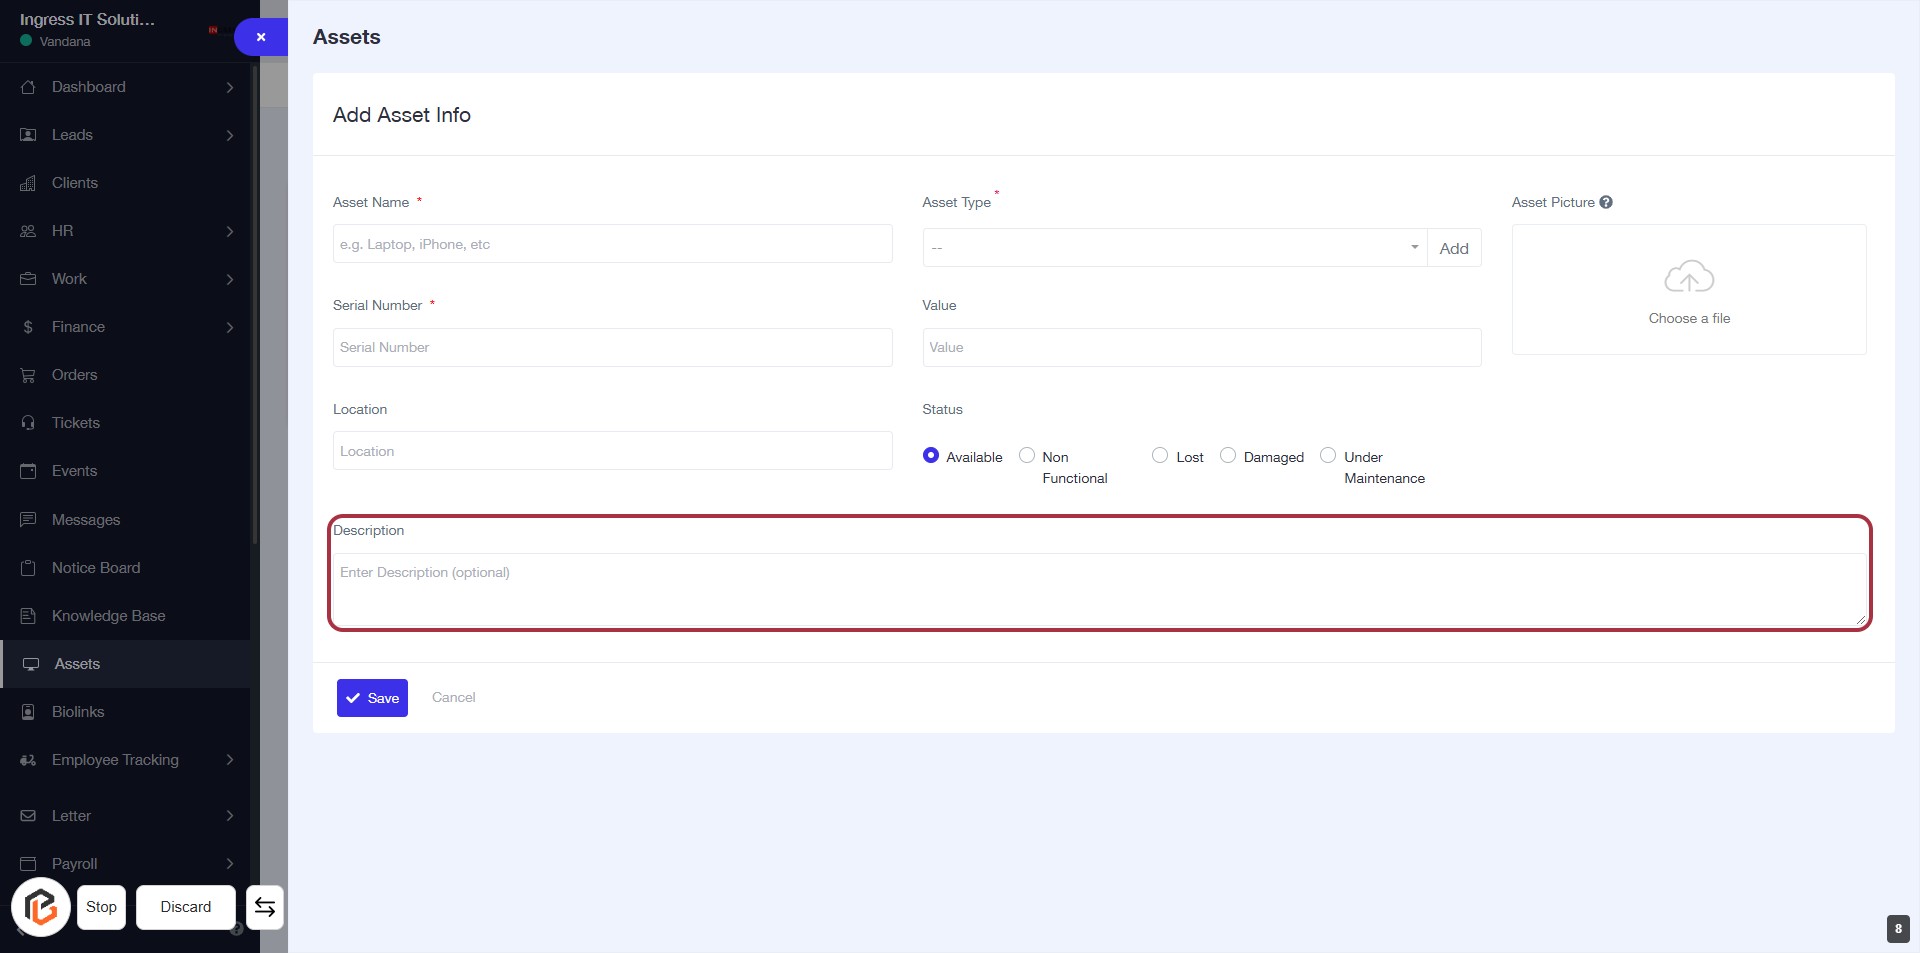
STEP 9: Click "Description" to Add Asset Details
- Click on the Description field to enter additional information about the asset.
- This field is optional, allowing you to provide context or details as needed.
- Ensure all required fields marked with an asterisk (*) are filled out before proceeding.
- After entering the description, you can continue to the next step by uploading the asset picture.
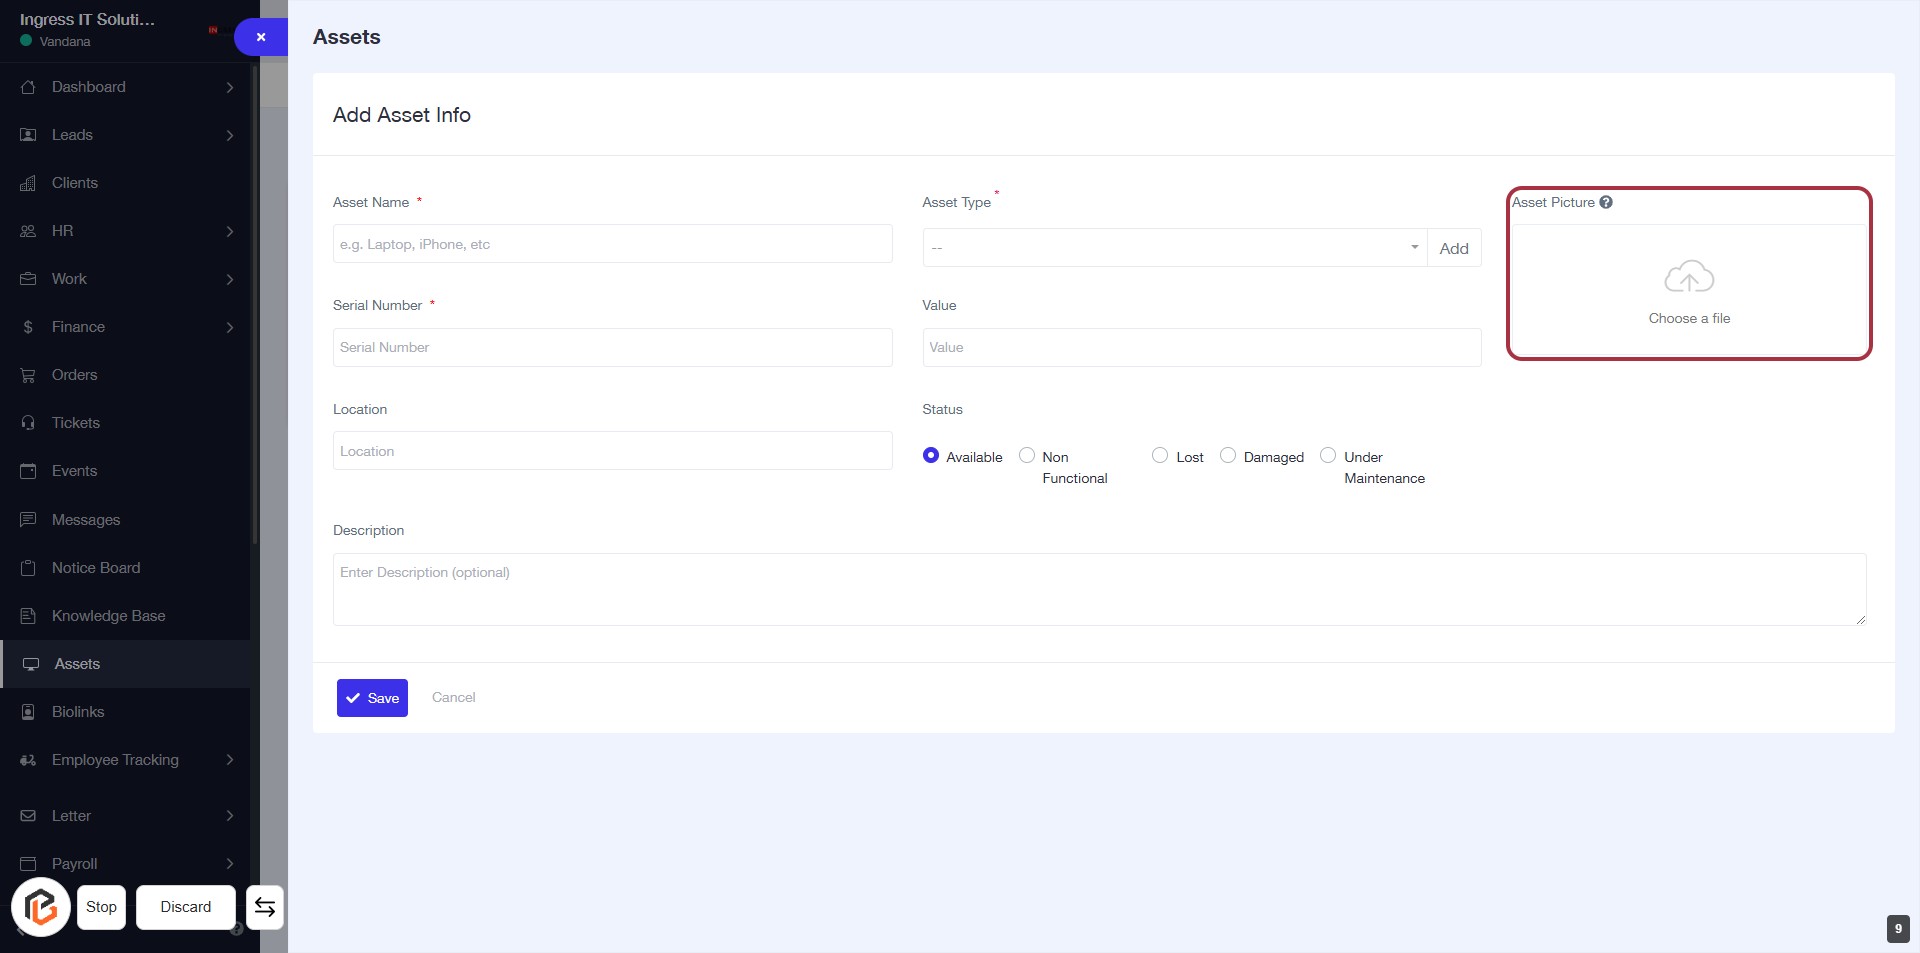
STEP 10: Upload Asset Picture
- Click on the "Asset Picture" area highlighted in red.
- A file selection dialog will open.
- Choose the image file you want to upload.
- Ensure the file meets any specified requirements (e.g., format, size).
- After selecting, proceed to the next step by clicking the "Save" button.
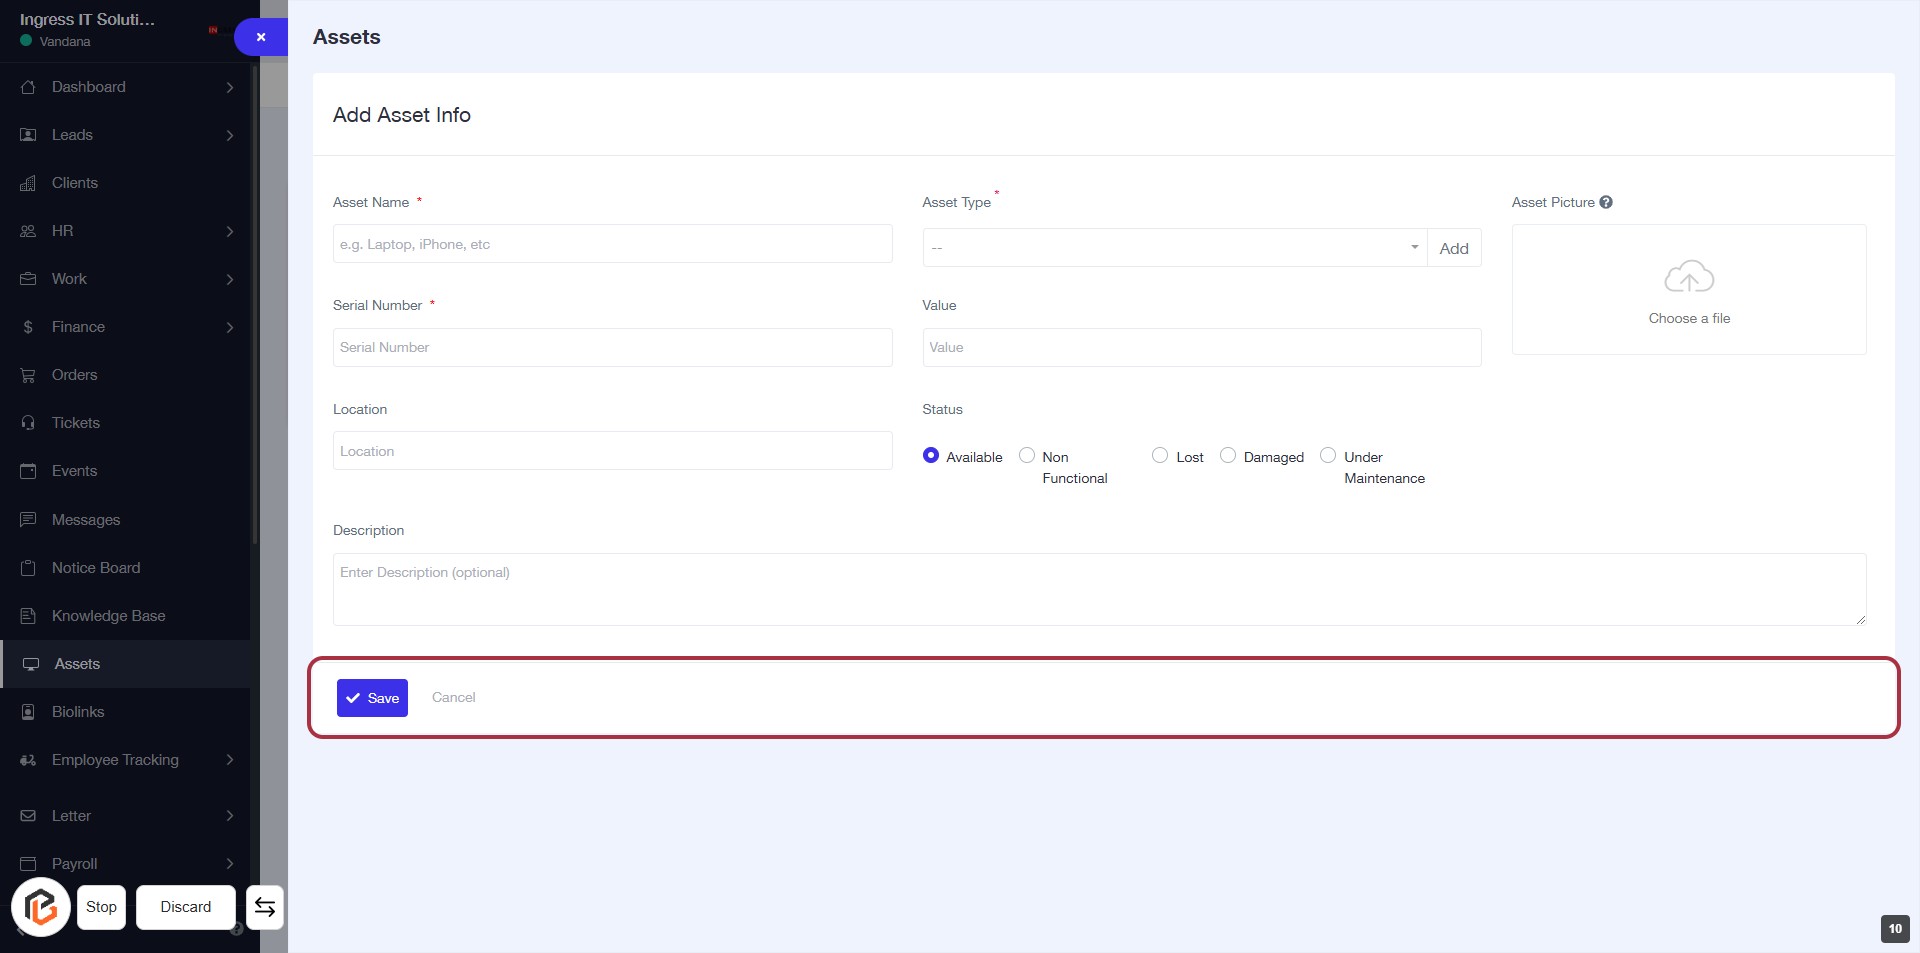
STEP 11: Click on "Save" to Finalize Asset Information
- Ensure all required fields (marked with *) are filled out.
- Review the asset details for accuracy.
- Click the Save button located at the bottom of the form to submit your asset information.
- If you wish to cancel, click the Cancel button instead.